The Toilet Flapper Replacement: A Quick Fix for Running Toilets
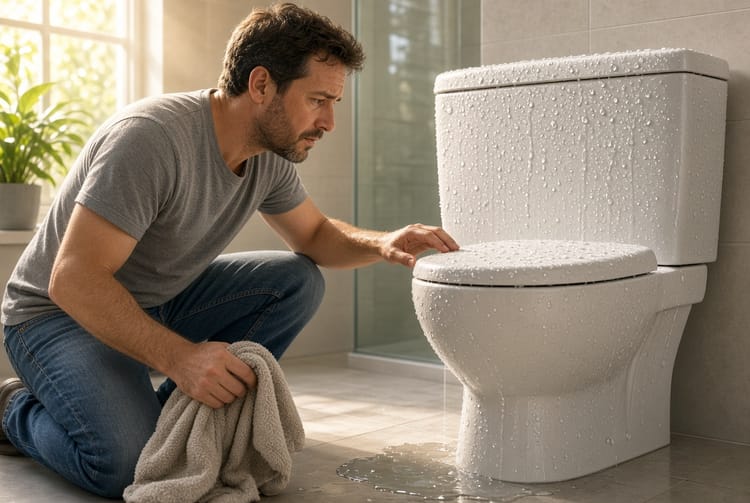
A running toilet is one of the most common and frustrating household issues. That constant trickle or intermittent refill sound wastes hundreds of gallons of water every month and quietly inflates your utility bill. The good news is that in the vast majority of cases the culprit is a simple, inexpensive component called the toilet flapper. Replacing it is a true DIY repair that most homeowners can complete in under thirty minutes with basic tools and zero specialized training. This guide walks you through exactly what the flapper does, how to recognize when it has failed, and the precise steps to install a new one so your toilet stops running and starts performing efficiently again.
Get Professional Toilet Flapper Installation – Call Today!
Understanding the Role of the Toilet Flapper
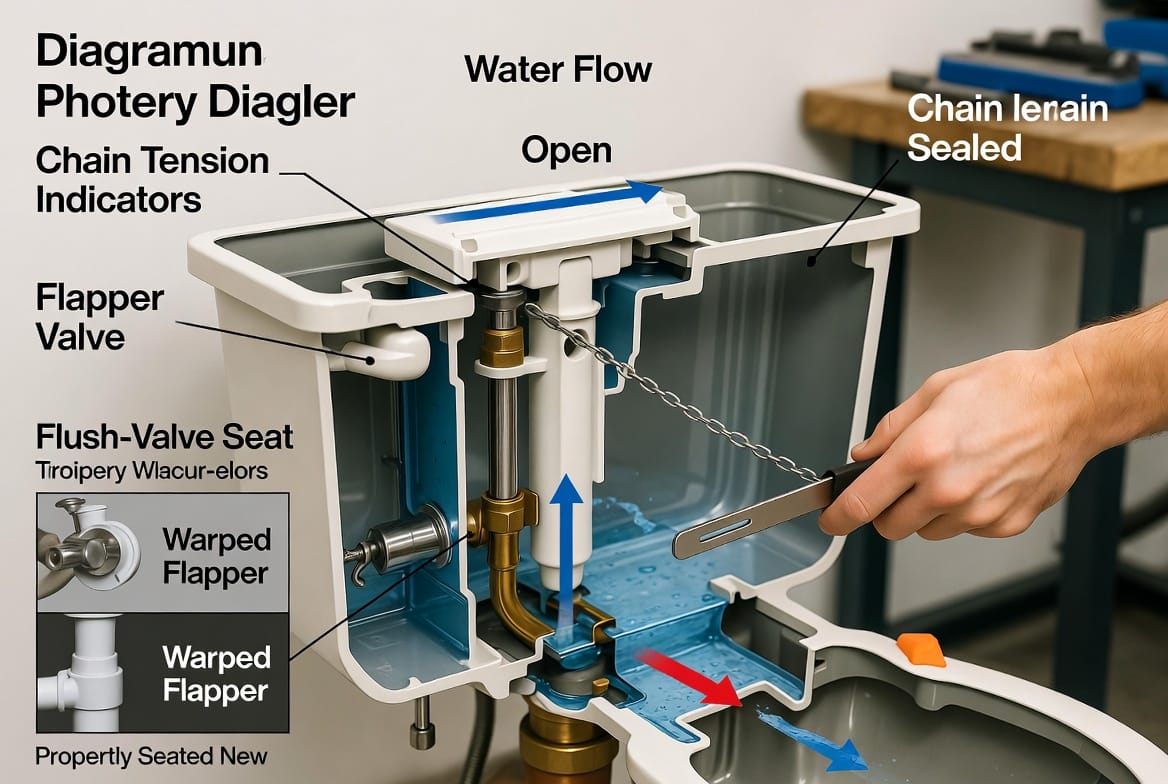
Inside every conventional toilet tank sits a rubber or silicone disc known as the flapper. Its primary job is to seal the flush valve at the bottom of the tank. When you press the handle, a chain or rod lifts the flapper, allowing stored water to rush into the bowl and create the siphon that empties waste. Once the tank is nearly empty, the flapper drops back into place, forming a watertight seal so the tank can refill without leaking.
Over time this constant up-and-down motion, combined with exposure to chlorinated water and mineral deposits, causes the material to degrade. A healthy flapper sits flat and centered, creating an airtight barrier. When that barrier fails, water slowly seeps past the seal, triggering the fill valve to top off the tank again and again. The result is the classic running toilet—a quiet but relentless cycle of waste.
Because the flapper is both the most frequently moving part and the least expensive component in the tank, it is also the first item most plumbing professionals inspect when diagnosing a running toilet. Mastering this single repair empowers you to solve the problem yourself, avoid unnecessary service calls, and keep your water usage under control.
Clear Signs Your Flapper Needs Replacement
Recognizing the symptoms early prevents weeks or months of wasted water. Watch for these unmistakable indicators:
- Continuous or intermittent running – You hear water flowing into the tank long after a flush, or the fill valve cycles on its own every few minutes.
- Unexplained rise in water bills – A single running toilet can add 200–600 gallons per day; the monthly statement often reveals the damage before the sound becomes obvious.
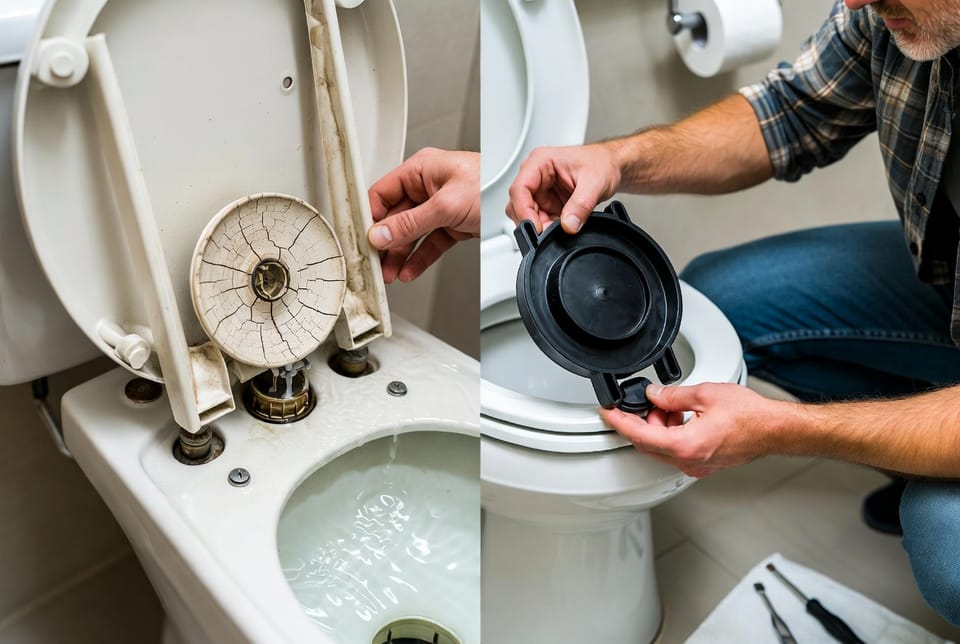
- Visible flapper damage – Lift the tank lid and inspect the flapper. Look for warping, cracking, stiffening, or misalignment. A healthy flapper remains soft and flexible; a failed one feels hard, misshapen, or sits crooked on the flush-valve seat.
- Weak or incomplete flushes – Water leaks past the seal so the tank never reaches its full level, reducing flush power.
- Phantom flushing – The toilet appears to flush by itself when no one has touched the handle, caused by a slow leak that eventually triggers the refill cycle.
If any of these signs appear, a new flapper is almost always the quickest and most cost-effective solution. Continuing to ignore the problem only multiplies water waste and the associated expense.
Tools and Materials You Will Need
Gather these everyday items before you begin. Most are already in a typical home toolbox:
- Replacement toilet flapper (universal models fit the majority of two-piece toilets; check your tank size if you have an uncommon brand)
- Adjustable pliers or channel-lock pliers
- Clean sponge or small towel
- Bucket or large container (optional but helpful)
- Rubber gloves (recommended for comfort)
A quality flapper costs only a few dollars yet can save hundreds over its lifespan. Choose one made of flexible, chlorine-resistant rubber or silicone for longest service life.
Step-by-Step Guide to Replacing the Toilet Flapper
Follow these clear, sequential actions. Work slowly and deliberately; the process is forgiving and requires no special skills.
1. Shut Off the Water Supply and Drain the Tank
Locate the shut-off valve on the wall or floor behind the toilet—usually a small oval or round handle. Turn it clockwise until it stops. Flush the toilet to empty most of the tank water. Hold the handle down to release as much remaining water as possible. Use a sponge or towel to soak up the last inch or two of water at the bottom. This keeps the work area dry and prevents accidental spills.
2. Remove the Old Flapper
Look inside the empty tank. The flapper is the round rubber piece covering the large opening at the center bottom. Most flappers attach in one of two ways: either they hook onto two small pegs on either side of the overflow tube, or they slide onto a ring that sits around the base of the overflow tube. Gently unhook or unclip the sides. Next, detach the chain or strap that connects the flapper to the flush handle lever. Note how the chain was linked so you can replicate the length later. Lift the old flapper out and set it aside for comparison.
3. Clean the Flush-Valve Seat
With the old flapper removed, wipe the circular rim of the flush valve with a clean cloth or sponge. Mineral deposits or debris can prevent a new flapper from sealing properly. A smooth, clean surface is essential for a lasting repair.
4. Install the New Flapper
Take the new flapper and orient it the same way the old one sat. Hook the side ears onto the pegs or slide the ring into place around the overflow tube. Ensure the flapper sits centered and flat against the valve seat. Attach the chain to the same hole on the flush lever that the previous chain used. The ideal chain length leaves roughly half an inch of slack when the flapper is closed—enough so the flapper rests fully without tension, yet short enough that lifting the handle raises the flapper completely. Too much slack can cause the chain to tangle; too little keeps the flapper from sealing.
5. Adjust and Test
Turn the water-supply valve counterclockwise to restore flow. Allow the tank to fill completely. Listen carefully. There should be no hissing or continuous running once the water reaches the fill-valve shut-off level. Flush several times and observe:
- The flapper should lift fully and drop cleanly.
- The tank should refill only once per flush and then remain silent.
- The water level should stabilize at the marked line inside the tank.
If the toilet still runs, double-check chain length and flapper seating. A slight adjustment of one or two chain links usually solves residual issues. Once everything operates quietly, replace the tank lid and wipe any water from the exterior.
Why This Simple Repair Matters
A properly functioning flapper restores full tank capacity, delivers stronger flushes, and eliminates the constant refill cycle that wastes water. Households that replace a leaking flapper often notice an immediate drop in monthly water consumption. Beyond the financial savings, you also reduce strain on municipal water systems and lower your environmental footprint—small actions that accumulate into meaningful impact.
Because the entire process requires no cutting, soldering, or permanent alteration of the toilet, the risk of error is extremely low. Even first-time DIYers succeed on the first attempt when they follow the steps carefully. Keep a spare flapper on hand; the next replacement will take even less time once you are familiar with your particular tank design.
Common Mistakes to Avoid
- Installing the flapper upside down or off-center—always match the orientation of the original.
- Leaving the chain too tight—this holds the flapper slightly open and recreates the leak.
- Skipping the seat-cleaning step—debris under a new flapper causes premature failure.
- Using an incompatible flapper size—most are universal, but measure the flush-valve diameter if your toilet is unusually old or specialized.
- Forgetting to turn the water back on fully—partial supply can cause weak flushes that mimic other problems.
Addressing these points ensures a professional-quality result that lasts for years.
Long-Term Maintenance Tips
Inspect the flapper once a year during routine bathroom cleaning. Flex the rubber gently; if it feels stiff or shows surface cracks, replace it proactively. Avoid dropping harsh chemical cleaners into the tank; they accelerate material breakdown. When the time comes for another replacement, you will already know the exact model and procedure, making future maintenance nearly effortless.
If after replacing the flapper the toilet continues to run, the issue may lie with the fill valve or a cracked overflow tube. In those rarer cases professional diagnosis is advisable. For the overwhelming majority of running toilets, however, the flapper remains the definitive and simplest solution.
Restoring Quiet Efficiency to Your Bathroom
A running toilet does not have to be a permanent annoyance or a source of rising bills. By understanding the flapper’s sealing function, recognizing the clear signs of wear—warping, cracking, and misalignment—and following the straightforward sequence of draining the tank, removing the old flapper, installing a new one, and adjusting the chain, you regain full control. The entire repair is inexpensive, fast, and deeply satisfying.
Stop wasting water with a new flapper today. If you prefer expert assistance or encounter any complication during the process. A quiet, efficient toilet is only a few simple steps—or one phone call—away.
Call Now to End Running Toilets & Lower Your Water Bill!