The Plumbing Rough-In Inspection: What to Expect and How to Prepare
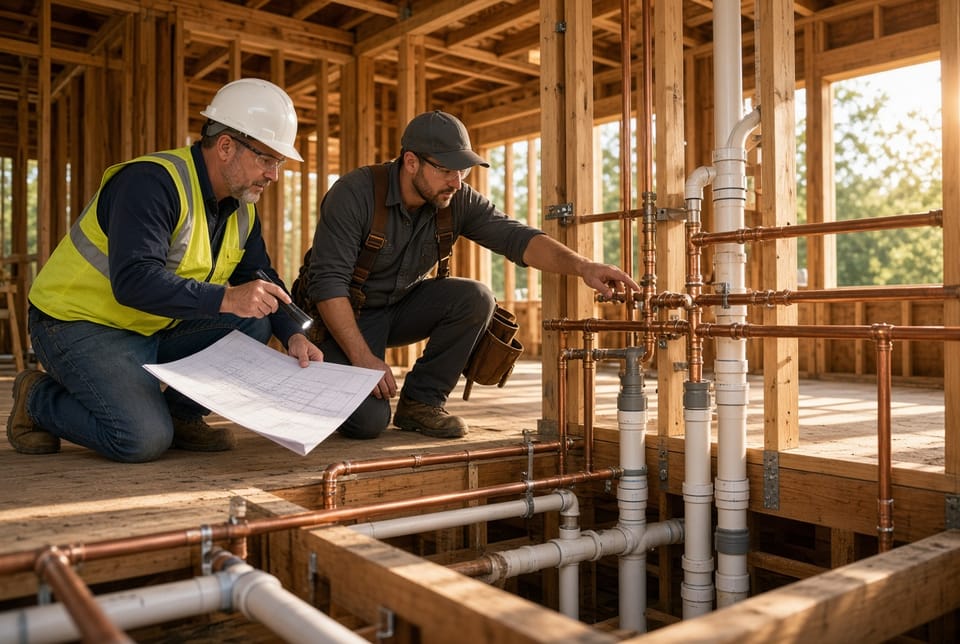
A successful plumbing rough-in inspection is one of the most important milestones in any new construction or major remodel. It occurs after all water-supply and drain-waste-vent piping has been installed but before insulation, drywall, or finishes conceal the work. Passing this inspection the first time keeps your project on schedule and protects the long-term performance of the entire plumbing system. This guide explains exactly what the inspector evaluates, how to prepare the site, and the most common reasons inspections fail—so you can move forward with confidence.
Book Professional Rough-In Installation Today
Understanding the Purpose of the Rough-In Stage
The rough-in phase is the last opportunity to verify that piping is installed correctly while everything remains fully accessible. Inspectors confirm that the system will deliver water at proper pressure, remove waste without backups, and vent sewer gases safely for the life of the building. In both new homes and remodels that involve moving fixtures or adding bathrooms, the same core standards apply. Local codes (typically based on the International Plumbing Code or Uniform Plumbing Code) set the minimum requirements; the inspector simply verifies that those requirements have been met on your job.
What the Inspector Looks For
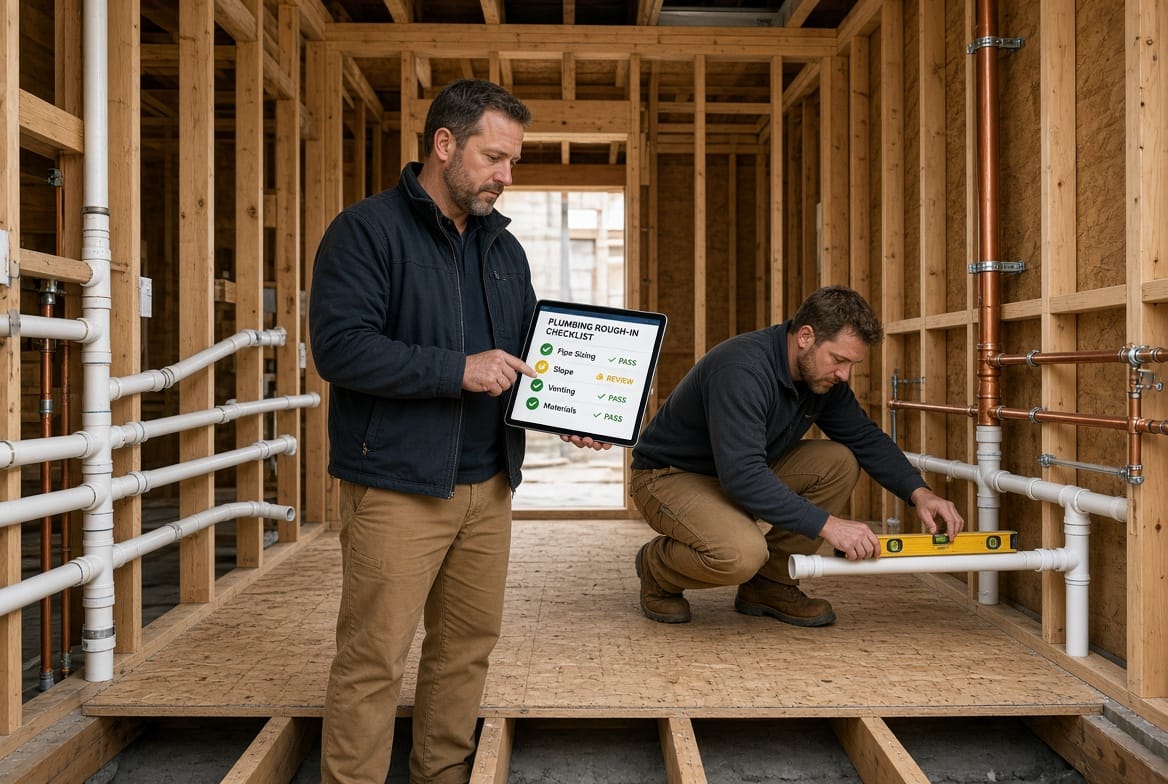
Inspectors follow a systematic checklist. The four primary categories are pipe sizing, slope, venting, and materials. Additional items such as supports, cleanouts, and pressure tests are also reviewed.
Proper Pipe Sizing
Supply lines and drain lines must be sized according to fixture-unit calculations. Undersized water lines cause low flow at distant fixtures; oversized drain lines can lose self-scouring velocity and allow solids to settle. The inspector compares installed diameters against the approved plans and code tables. Common supply sizes range from ½-inch branches to ¾-inch or 1-inch mains. Drain lines serving toilets are typically 3-inch or 4-inch; lavatories and showers use 1½-inch or 2-inch. Any deviation without an approved engineering change will be noted as a deficiency.
Correct Slope on Drain Lines
Gravity drainage depends on consistent pitch. Horizontal drain pipes 2½ inches and smaller generally require ¼ inch of fall per foot; larger pipes may use ⅛ inch per foot where allowed. The inspector uses a level or laser to confirm slope at multiple points, especially after changes in direction. Reverse grade or flat sections create standing water and eventual clogs. Vertical stacks must be truly plumb. Even a small error here is one of the most frequent reasons for a failed inspection.
Adequate Venting
Every fixture trap must be protected by a vent that prevents siphoning and allows air to enter the system. Inspectors look for proper vent sizing, maximum distances from trap to vent, and termination locations that meet height and setback rules above the roof. Common-vent, wet-vent, and circuit-vent configurations are accepted only when they follow code tables. Missing or undersized vents, or vents that terminate too close to windows or air intakes, will result in a correction notice.
Approved Materials and Workmanship
Only listed materials may be used: copper, PEX, CPVC, or approved plastics for supply; PVC, ABS, or cast iron for drains, depending on local amendments. Inspectors check for manufacturer markings, proper solvent-weld or mechanical joints, and absence of cracks, kinks, or incompatible fittings. Supports must be spaced according to pipe type and diameter so that lines do not sag. Nail plates must protect pipes that pass through studs within 1¼ inches of the face. Any unlisted product or sloppy joint is grounds for rejection.
Additional items commonly reviewed include:
- Presence and accessibility of cleanouts at required intervals and changes in direction
- Water-supply pressure test (typically 50–100 psi for a specified duration with no drop)
- Drain-waste-vent air or water test
- Proper sleeve or wrapping where pipes pass through concrete
- Fixture locations matching the approved floor plan
- Isolation valves and hose-bibb vacuum breakers where required
How to Prepare for a Smooth Inspection
Preparation is straightforward and dramatically increases first-time pass rates.
- Expose every pipe. Remove any temporary covering, insulation, or debris so the inspector can see every joint, support, and change in direction. Concealed work cannot be approved.
- Have approved plans and the permit on site. The inspector will compare installed piping against the stamped drawings. Keep a printed set and the permit card in a visible, weather-protected location.
- Complete required tests before the inspector arrives. Most jurisdictions require the supply system to hold pressure and the DWV system to hold air or water. Perform these tests the day before and leave gauges in place.
- Mark fixture locations clearly. Use spray paint or tags on the floor or walls so the inspector can confirm that drains and supplies line up with future toilets, sinks, and showers.
- Provide safe access. Temporary lighting, solid walk boards, and a clear path through the framed structure allow the inspector to move efficiently and reduce the chance of missed items.
- Notify the building department promptly. Schedule the inspection only after the plumber confirms the work is complete and tests have passed. Last-minute cancellations waste everyone’s time.
When these steps are followed, the inspection itself usually takes 30–60 minutes for a typical residence.
Common Failures and How to Avoid Them
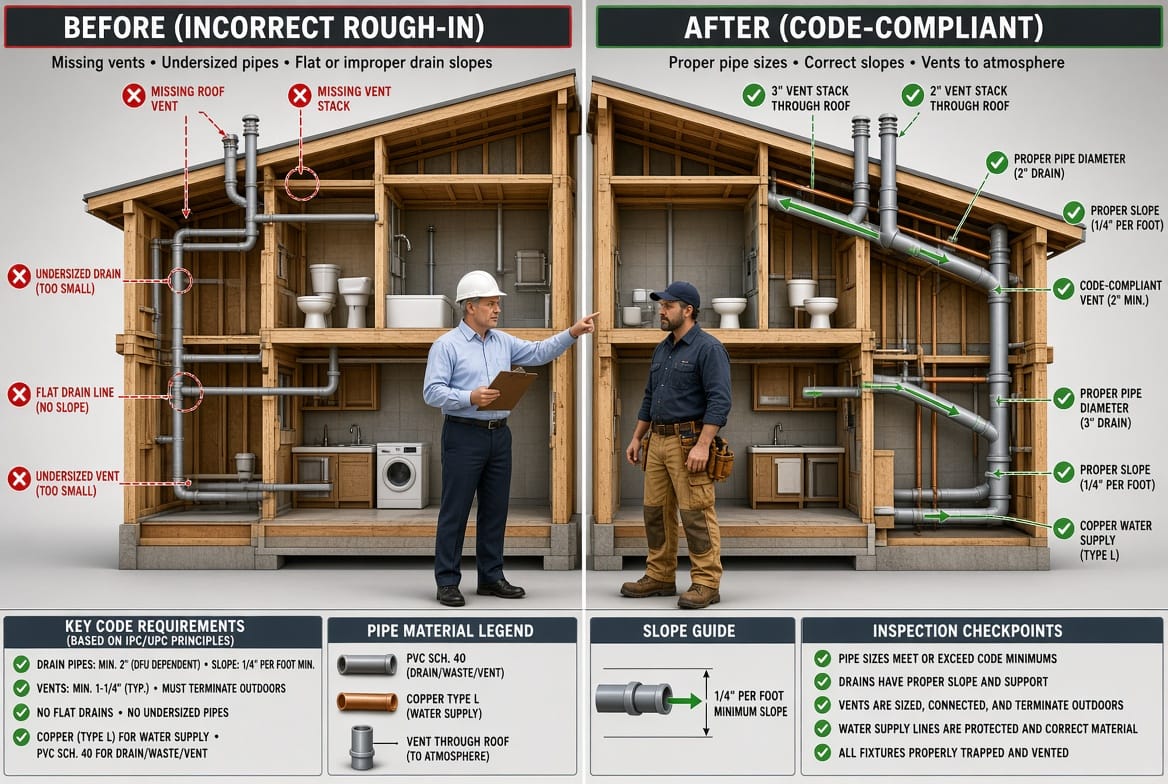
Even experienced crews occasionally miss details. The most frequent deficiencies include:
- Insufficient slope on horizontal drains, especially after a 90-degree turn
- Undersized or missing vents for island sinks or distant fixtures
- Use of unlisted or incompatible fittings (for example, mixing ABS and PVC without an approved transition)
- Missing nail plates on pipes close to the face of studs
- Sagging pipes caused by inadequate hangers
- Pressure-test failures due to a single loose joint or forgotten cap
- Fixture rough-in dimensions that do not match the approved plans (toilet too close to a wall, shower drain off-center)
- Lack of required cleanouts at the base of stacks or at 100-foot intervals
Each of these issues is preventable with a pre-inspection walkthrough by the installing plumber. A second set of eyes the day before the official visit catches most problems while they are still easy to correct.
Special Considerations for Remodels Versus New Construction
In new construction the entire system is visible and can be installed to current code in one coordinated effort. Remodels present extra challenges: existing piping may be grandfathered in some areas but new additions must meet today’s standards. Inspectors will require that any new work tying into old lines uses approved adapters and that the combined system still functions correctly. In both cases the same four core criteria—sizing, slope, venting, and materials—remain the focus.
The Value of Professional Installation
A licensed plumbing contractor who understands local amendments and inspection procedures designs the layout, selects the correct materials, and performs the work so that it is inspection-ready. Attempting the rough-in without that expertise often leads to costly re-work, delayed occupancy, and potential long-term leaks or drainage problems. Professional installation also includes the required tests and documentation that inspectors expect to see.
When the inspector signs off, you gain official confirmation that the hidden infrastructure of your home meets the standards that protect health and property. Walls can then be closed with confidence, and the project can proceed to finish plumbing and occupancy.
Pass your plumbing inspection the first time.
Get Expert Rough-In Plumbing Before Walls Close