The Roof-to-Wall Flashing: Preventing Leaks at Intersections
Roof-to-wall intersections represent one of the most vulnerable areas in any home’s exterior envelope. Water intrusion at these critical junctions can lead to extensive damage if not properly addressed with high-quality roof-to-wall flashing. This essential component acts as a reliable barrier, directing rainwater away from your home’s structure and into the gutter system. In this comprehensive guide, we explore how effective flashing works, common failure points, proper installation techniques, and why professional attention is crucial for maintaining your roof’s integrity.
Protect Intersections from Leaks – Call Today
Whether you’re a homeowner noticing early warning signs or planning preventive maintenance, understanding roof flashing at wall intersections empowers you to protect one of your largest investments.
Understanding Roof-to-Wall Flashing and Its Vital Role
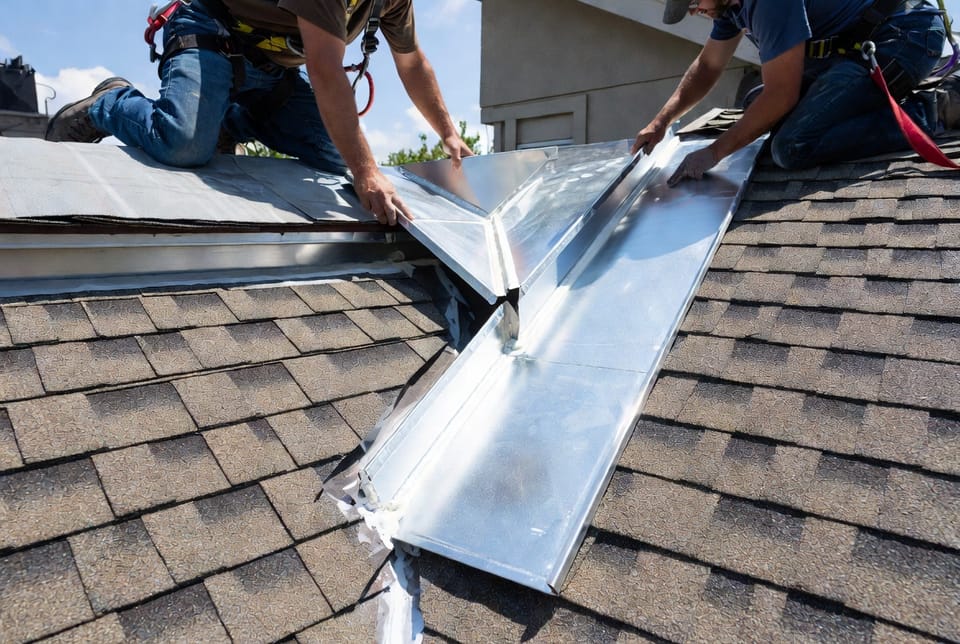
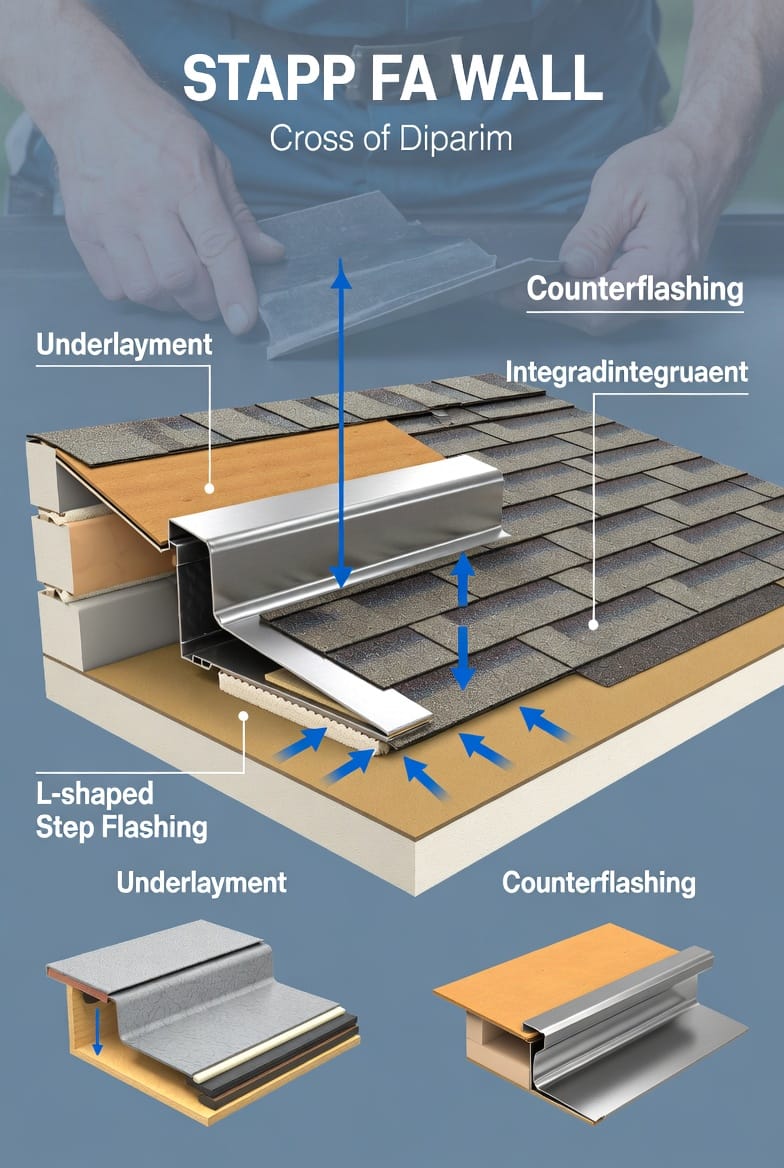
Roof-to-wall flashing is typically an L-shaped metal piece designed to bridge the gap where a roof plane meets a vertical wall. This flashing carries water from the roof surface down and away, preventing it from seeping behind siding or into the building’s framing.
The most common and effective type is step flashing, which consists of individual L-shaped pieces integrated with each course of shingles. Unlike continuous flashing, step flashing allows the roof to expand and contract naturally with temperature changes while maintaining a watertight seal.
Key benefits include:
- Effective water diversion away from sensitive wall areas
- Compatibility with various roofing materials like asphalt shingles, metal, or tile
- Long-term durability when installed correctly with quality materials
- Prevention of hidden moisture damage that could compromise insulation and structural elements
Without proper flashing, even moderate rainfall can penetrate these intersections, leading to costly repairs down the line. Professional roofing teams understand that these details make the difference between a leak-free home and recurring water issues.
Investing in quality roof-to-wall flashing not only safeguards your property but also contributes to energy efficiency by keeping moisture out of walls and attics.
Why Wall Intersections Are Particularly Leak-Prone
Wall intersections create natural challenges for water management. Roof slopes direct water toward these junctions, where materials with different expansion rates meet. Over time, wind-driven rain, thermal movement, and debris accumulation put immense pressure on these areas.
Common risks at roof-to-wall intersections:
- Gaps forming due to settling or material fatigue
- Inadequate overlap between flashing and shingles
- Corrosion or deterioration of older flashing materials
- Improper sealing around penetrations like vents or chimneys near walls
Homeowners often underestimate these vulnerabilities until visible damage appears. However, addressing flashing issues proactively can prevent thousands in potential repair costs. A well-executed flashing system provides peace of mind, knowing your home is protected against the elements.
Recognizing the Signs of Flashing Failure
Early detection of flashing problems can save significant time and money. Water stains on interior walls below roof intersections are among the most telling indicators. These stains may appear yellowish or brownish and often worsen after heavy rain.
Other visible and hidden signs include:
- Visible flashing damage, such as bent, rusted, or missing pieces along the wall-roof junction
- Missing or improperly installed step flashing, leaving gaps between shingles
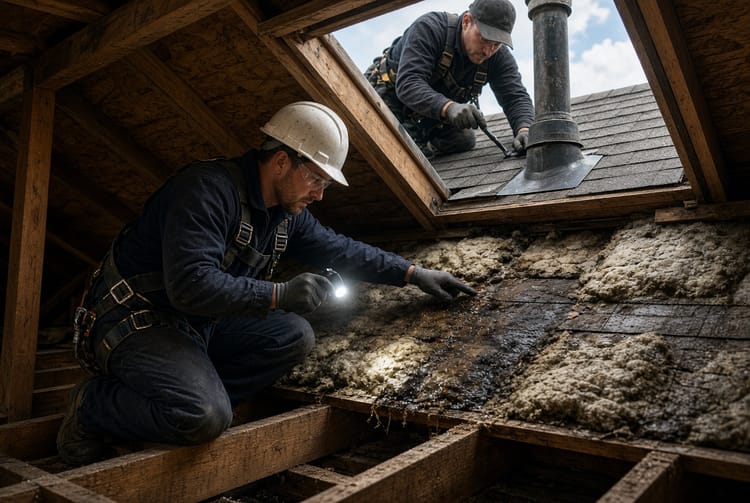
- Damp spots or mold growth in attics near exterior walls
- Peeling paint or bubbling siding near the roofline
- Musty odors or increased humidity inside the home
If you notice any of these symptoms, it’s essential to act promptly. Ignoring them allows moisture to penetrate deeper into your home’s structure, potentially affecting electrical systems, insulation, and even framing.
Professional roof inspectors use specialized tools to identify issues before they become major problems. Their expertise ensures a thorough assessment of roof flashing conditions across all intersections.
Proper Installation: Step Flashing Integrated with Shingles
Successful roof-to-wall flashing installation requires precision and adherence to best practices. The process begins with careful preparation of the substrate, followed by layering materials in the correct sequence to ensure water flows outward.
Key steps in professional installation:
- Remove damaged or old flashing and clean the area thoroughly
- Install underlayment for an additional moisture barrier
- Place individual step flashing pieces under each shingle course, overlapping them properly
- Secure flashing with appropriate fasteners that accommodate movement
- Apply high-quality sealant at critical points without over-sealing (which can trap water)
- Integrate counterflashing where walls meet the roof for complete protection
L-shaped metal flashing must extend sufficiently up the wall and under the shingles to create an effective watershed. Experienced installers ensure each piece overlaps the one below it by several inches, forming a continuous barrier.
This method allows the roof to breathe while directing water safely to the gutters. Homes with properly installed step flashing routinely withstand severe weather conditions far better than those with shortcuts.
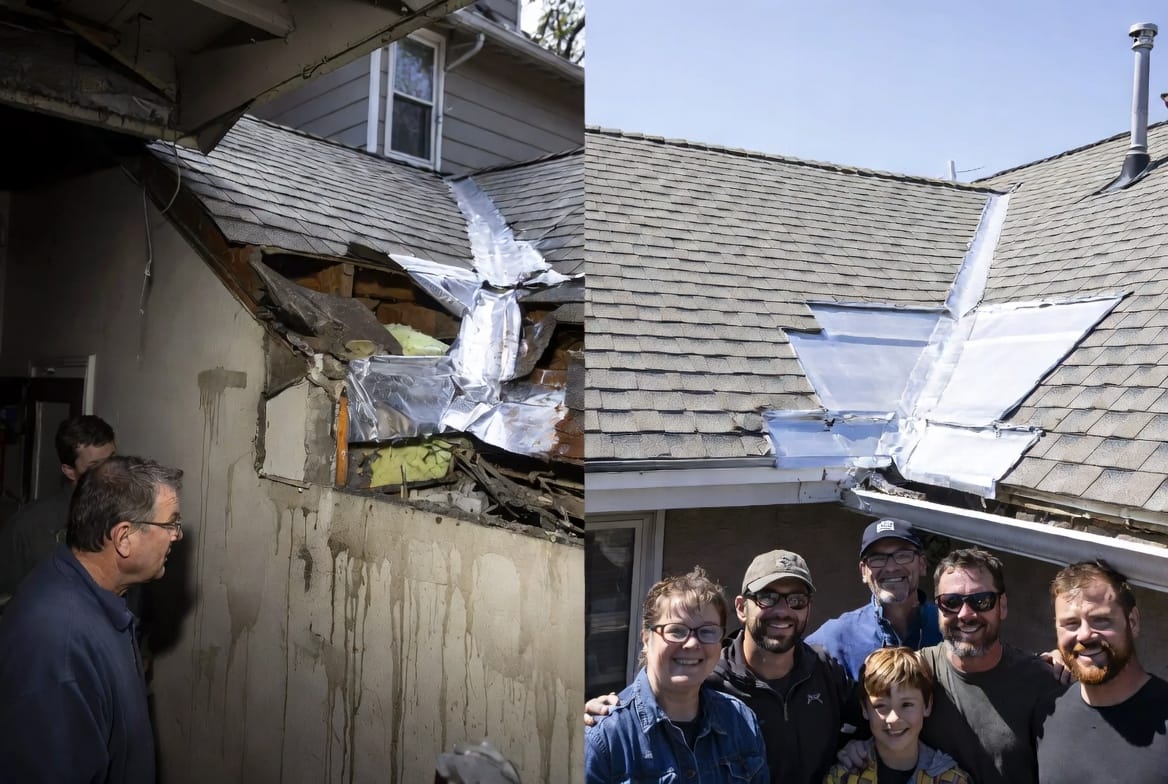
Common Mistakes to Avoid in Flashing Projects
Many DIY attempts or low-quality installations fail due to avoidable errors. Using the wrong materials, insufficient overlaps, or skipping underlayment are frequent pitfalls that compromise the entire system.
Risks of improper flashing include:
- Premature corrosion from incompatible metals
- Shingle buckling due to restricted movement
- Ice dam formation in colder climates trapping water behind flashing
- Aesthetic issues that reduce curb appeal
Relying on certified roofing professionals minimizes these risks. They bring the right tools, materials, and knowledge to deliver lasting results tailored to your specific roof design and local climate.
The Benefits of Timely Flashing Repair and Replacement
Addressing roof-to-wall flashing issues promptly delivers multiple advantages. You’ll enjoy reduced energy bills from better-insulated walls, fewer indoor air quality concerns, and extended roof lifespan.
Long-term value includes:
- Protection against structural rot and mold
- Maintained warranty coverage on roofing materials
- Increased home resale value through demonstrated maintenance
- Peace of mind during storm seasons
A small investment in professional flashing repair today prevents far more expensive water damage restoration later.
Maintenance Tips for Lasting Protection
Regular inspection and maintenance keep your flashing performing optimally. Schedule professional roof checks at least twice a year, ideally in spring and fall.
Simple homeowner maintenance steps:
- Keep gutters and downspouts clear of debris
- Trim overhanging branches that could damage flashing
- Monitor for new stains or loose materials after storms
- Avoid pressure washing near flashing edges
When in doubt, consult experts who can perform detailed evaluations and recommend targeted solutions.
When to Call Roofing Specialists for Flashing Repair
Wall intersections are inherently leak-prone. If you suspect issues with your roof-to-wall flashing, professional assessment is the safest path forward.
Our experienced team specializes in precise flashing repairs and installations that restore full protection to your home. Don’t wait for leaks to escalate — contact us today for a thorough inspection and reliable solutions.
Call for flashing repair at (855) 321-3154 to schedule your consultation. Our experts will evaluate your roof-to-wall intersections and provide effective, long-lasting repairs you can trust.
Conclusion: Secure Your Home Against Leaks at Critical Junctions
Roof-to-wall flashing stands as a cornerstone of effective home protection. By understanding its function, recognizing failure signs, and ensuring proper step flashing installation, you safeguard your property from preventable water damage.
At every stage — from initial installation to ongoing maintenance — quality workmanship makes all the difference. Trusting professionals ensures your roof performs reliably for years to come, keeping your family and home secure.
Ready to address your roof-to-wall flashing concerns? Wall intersections are leak-prone.
Expert Roof-to-Wall Flashing Repair – Call Now