The Roof Replacement Process: Step-by-Step from Tear-Off to Final Inspection
A full roof replacement is a major home-improvement project that protects your largest investment for the next two to three decades. When shingles reach the end of their service life, when storm damage compromises the system, or when chronic leaks appear, piecemeal repairs no longer suffice. A systematic replacement—from tear-off through final inspection—restores structural integrity, improves energy performance, and gives you documented peace of mind.
Get a Step-by-Step Roof Replacement Consult
This guide walks you through every phase a professional crew follows on a typical residential job. You will know what happens on your property, how long each stage usually lasts, which risks must be controlled, and why licensed, insured teams complete the work far more safely and durably than an inexperienced crew.
Why a Complete Replacement Matters
Aging roofs rarely fail in a single obvious spot. Granule loss, cracked flashing, clogged ventilation, and hidden deck rot accumulate together. Leaving any of these conditions unaddressed after a partial repair invites water intrusion, interior mold, and premature failure of the new materials. A full replacement lets the crew inspect every square foot of decking, replace compromised wood, install modern underlayment and flashing details, and balance the ventilation system so the new roof can actually reach its rated lifespan.
Homeowners who understand the sequence make better decisions about materials, scheduling, and contractor selection. The process itself is straightforward when executed by trained technicians who follow manufacturer specifications and local building codes.
Pre-Project Preparation and What You Should Expect
Before the first shingle is removed, a reputable company performs a detailed assessment, photographs existing conditions, and pulls required permits. You receive a written scope that lists tear-off method, deck-repair allowances, underlayment type, flashing upgrades, shingle product, ventilation corrections, and cleanup standards.
Expect dumpsters or roll-off containers on the driveway, protective plywood or tarps over landscaping and HVAC units, and daily magnetic sweeps for nails. Most crews work 7 a.m. to 5 p.m. and will notify you of weather delays. Communication is part of professional service; you should never be surprised by extra charges or leftover debris.
Step 1: Tear-Off — Removing the Old Roof
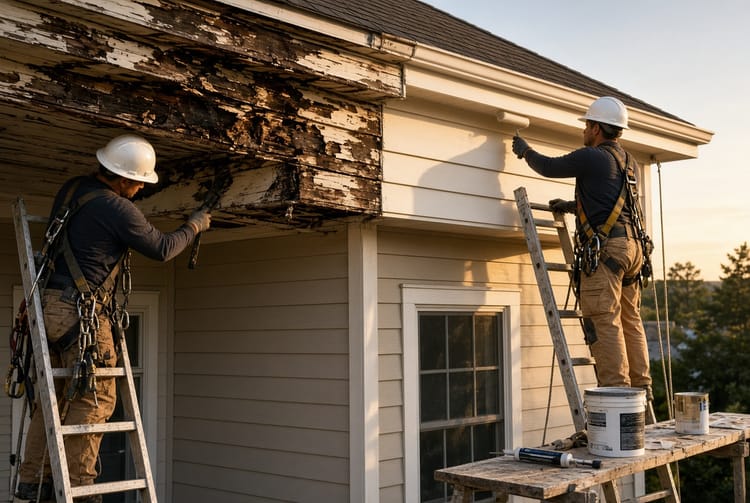
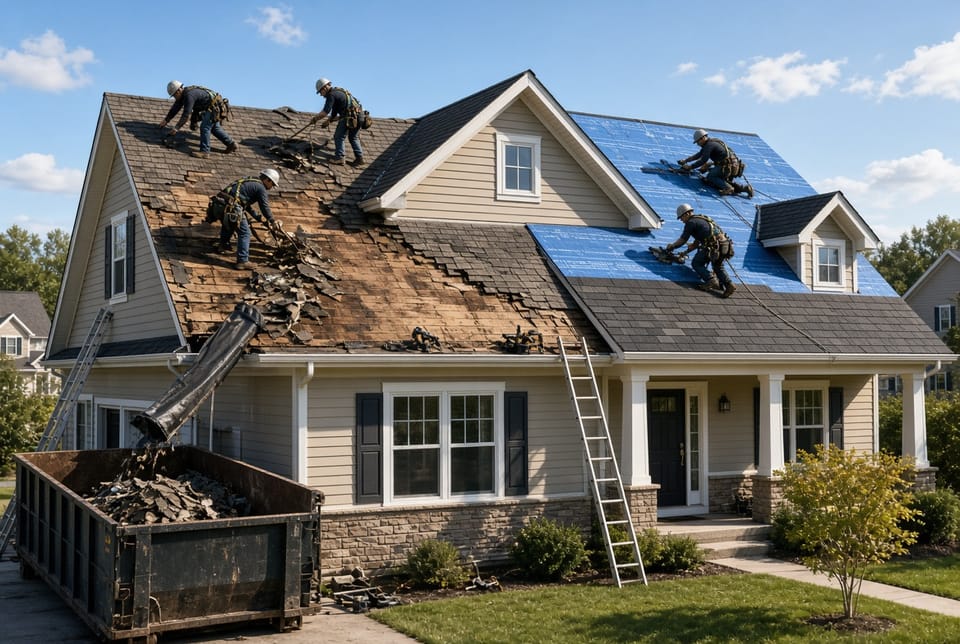
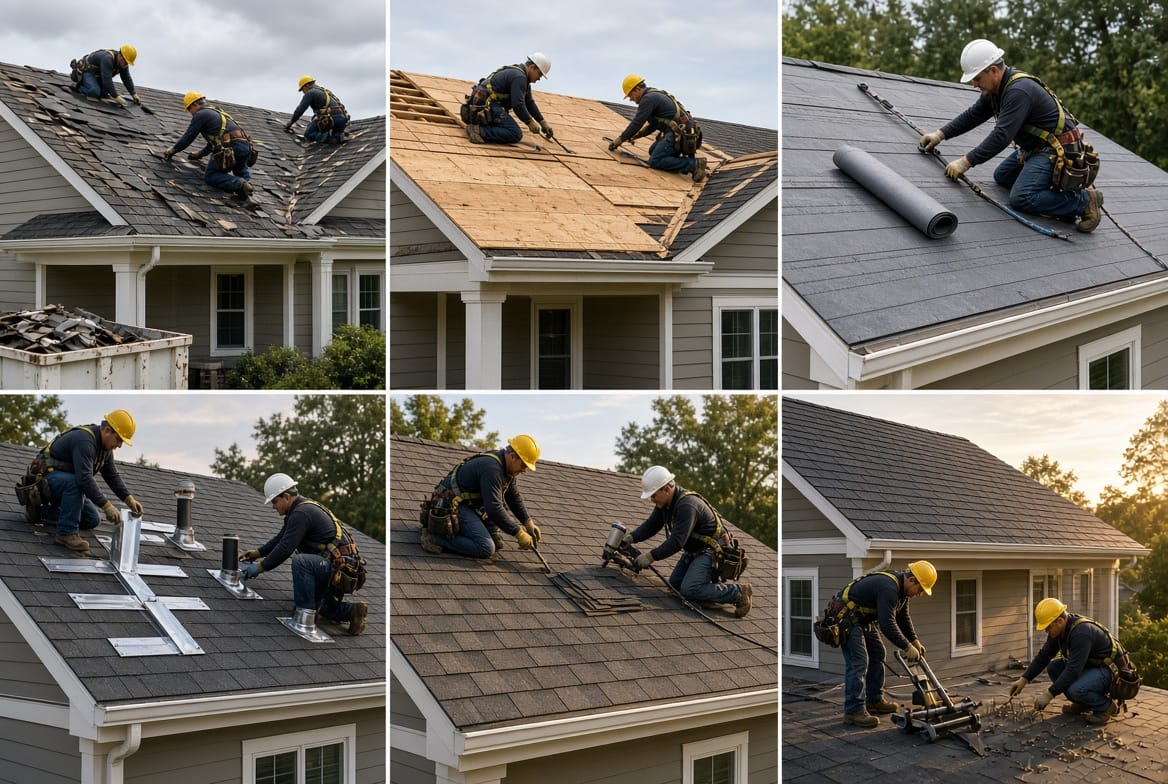
The tear-off is the most visible and dusty phase. Technicians start at the ridge and work downward, using roofing shovels and pry bars to strip all layers of existing shingles, felt, and damaged flashing. Multiple layers add weight and hide problems; most jurisdictions and manufacturers require complete removal down to the bare deck.
Old materials travel down debris chutes into a lined dumpster. A thorough tear-off typically occupies the first half-day on a standard 2,000-square-foot roof. Crews protect valleys, chimneys, and skylights so interior spaces stay dry even if weather changes suddenly.
Key risk at this stage: rushing the tear-off and leaving fasteners or rotten wood in place. Residual nails puncture new underlayment; hidden rot later becomes a leak. Professional teams inspect as they strip and flag every questionable board immediately.
Step 2: Deck Inspection and Repair
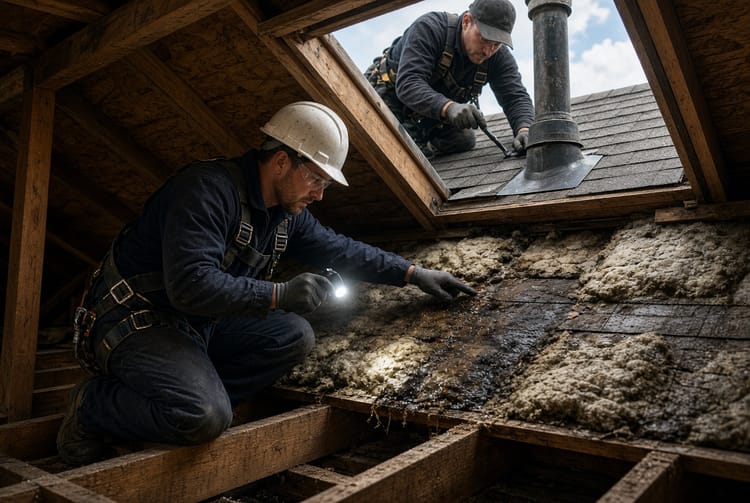
Once the old roofing is gone, the plywood or OSB deck is fully exposed. This is the most important diagnostic moment of the entire project. Technicians walk the surface, sounding for soft spots, checking for delamination, and looking for water stains around penetrations.
Any board that flexes, shows dark staining, or has lost structural integrity is marked and replaced with matching thickness exterior-grade plywood. Sistering or full-sheet replacement occurs before anything new is installed. Fastener patterns are verified so the new roof has a solid, code-compliant nailing surface.
Deck work usually adds two to six hours depending on the extent of damage. Homes with long-term leaks or poor prior ventilation often need more replacement than expected; a transparent contractor discusses findings with you before proceeding.
Critical risk: covering questionable decking “to save time.” New shingles cannot perform if the substrate moves or continues to decay. Reputable companies treat deck repair as non-negotiable.
Step 3: Underlayment Installation
With a sound deck in place, the crew installs the weather-resistant barrier. Modern synthetic underlayment has largely replaced traditional felt because it is lighter, more tear-resistant, and stays in place during wind events.
In valleys and along eaves, an additional self-adhered ice-and-water shield membrane is applied. This peel-and-stick layer seals around fasteners and provides a secondary defense against ice dams and wind-driven rain—the two most common sources of leaks after a new roof is installed.
Underlayment is rolled horizontally, lapped according to manufacturer instructions, and fastened only as specified so it does not wrinkle or create telegraphing under the finished shingles. This stage is relatively quick—often two to three hours—but must be completed before any precipitation.
Risk to avoid: skipping ice-and-water shield in cold-climate eaves or using cheap felt that tears during installation. Those shortcuts show up as leaks two or three winters later.
Step 4: Flashing — The Details That Prevent Leaks
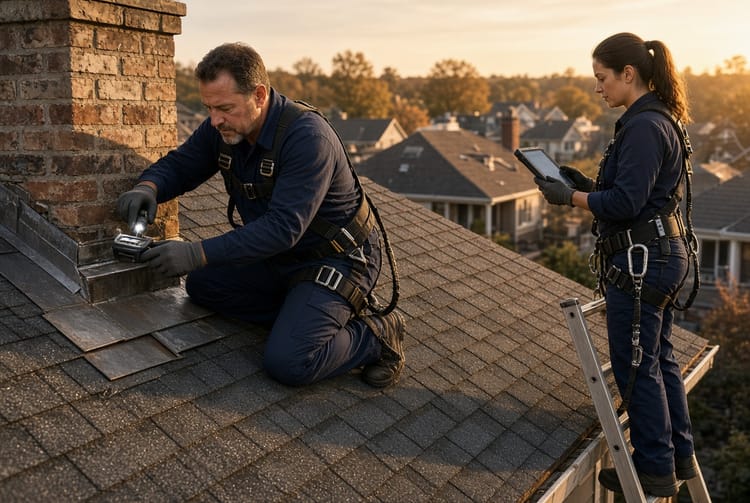
Flashing is the system of metal pieces that direct water around chimneys, sidewalls, skylights, pipes, and valleys. It is frequently the first component to fail on an aging roof and the most commonly neglected item in a poor-quality replacement.
Crews remove old flashing, clean the surfaces, and install new step flashing, continuous flashing, and pipe boots. Counter-flashing is let into masonry mortar joints rather than surface-caulked. Valleys receive either woven, closed-cut, or metal-open details depending on the shingle style and roof pitch.
Proper flashing work is meticulous and time-consuming; it can occupy several hours on a roof with multiple penetrations. The payoff is a watertight transition that lasts as long as the shingles themselves.
Major risk: reusing old flashing or relying on roofing cement instead of mechanical metal details. Cement dries, cracks, and fails. Metal flashing installed to code does not.
Step 5: Shingle Installation
Once underlayment and flashing are complete, the visible roof covering goes on. Architectural or designer asphalt shingles remain the most common choice for residential work because they balance cost, wind rating, and appearance.
Installation begins with a starter strip along the eaves to lock the first course and provide a straight line. Subsequent courses are offset so seams never align. Nailing pattern, exposure, and alignment follow the manufacturer’s printed instructions exactly; deviation can void the warranty.
Ridge-cap shingles finish the peaks and hips. On a typical home this phase occupies the remainder of day one or most of day two. Color, shadow lines, and overall appearance become obvious at this point, which is why many homeowners like to be present for a mid-job walk-through.
Risk: incorrect nail placement (too high, too low, or over-driven) that allows wind uplift or creates leaks. Certified installers use pneumatic nailers set to the correct depth and perform periodic quality checks.
Step 6: Ventilation Corrections
A new roof that cannot breathe will cook from the underside and fail early. Balanced intake and exhaust ventilation keeps attic temperatures closer to outdoor temperatures, reduces ice-dam potential, and helps shingles reach their full lifespan.
The crew evaluates existing soffit vents, ridge vents, and any box or turbine vents. Blocked soffits are cleared, ridge vents are installed or upgraded, and outdated or conflicting vents are removed so the system works as a single designed unit. Baffles are added where insulation had previously covered intake pathways.
Ventilation adjustments are often completed in tandem with shingle work and add little extra calendar time, yet they are among the highest-value improvements in the entire project.
Overlooked risk: installing a ridge vent while leaving soffits blocked. Hot air has nowhere to enter, so the ridge vent pulls conditioned air from the living space instead—an energy and moisture problem.
Step 7: Cleanup and Site Restoration
After the last shingle is nailed, the crew conducts a systematic cleanup. Magnetic rollers sweep the lawn, driveway, and gutters for nails. Tarps are removed, plants are checked, and the dumpster is hauled away the same day or the next morning.
Gutters are cleared of granules and debris. A final walk-around with the homeowner confirms that no tools or scraps remain and that the property looks as good as—or better than—when work began.
Cleanup is not an afterthought; it is a contractual obligation. A company that leaves a messy site after a major project is signaling that other details may have been rushed as well.
Timeline Expectations for a Typical Residential Replacement
Most single-family homes between 1,500 and 2,500 square feet are completed in one to three working days of active roofing, provided weather cooperates and deck repairs stay within normal limits.
- Day 0: Permit issuance, material delivery, and site protection.
- Day 1: Full tear-off, deck inspection and repair, underlayment, and flashing.
- Day 2: Shingle installation, ventilation upgrades, ridge completion, and initial cleanup.
- Day 3 (if needed): Punch-list items, final magnetic sweep, gutter cleaning, and homeowner walk-through.
Larger or steeper roofs, multiple layers, or extensive wood replacement can extend the schedule by a day. Rain, high wind, or extreme heat pauses work for safety and material-performance reasons; a professional company builds modest weather contingency into the estimate rather than promising an unrealistic finish date.
Municipal final inspection usually occurs within a few days after completion. The inspector verifies flashing, ventilation, and fastener patterns. Once the inspection passes, you receive documentation that the work meets code—an important record for insurance and future resale.
Protecting Your Investment After the Crew Leaves
Keep the manufacturer’s warranty registration and the contractor’s workmanship warranty in one file. Most premium shingle warranties require registration within a set window. Avoid pressure-washing the new roof and keep trees trimmed so branches cannot scour the surface.
Schedule a courtesy inspection after the first heavy storm or at the one-year mark. Early detection of any settling or minor flashing adjustment is far easier than waiting years.
Understanding the Process Gives You Control
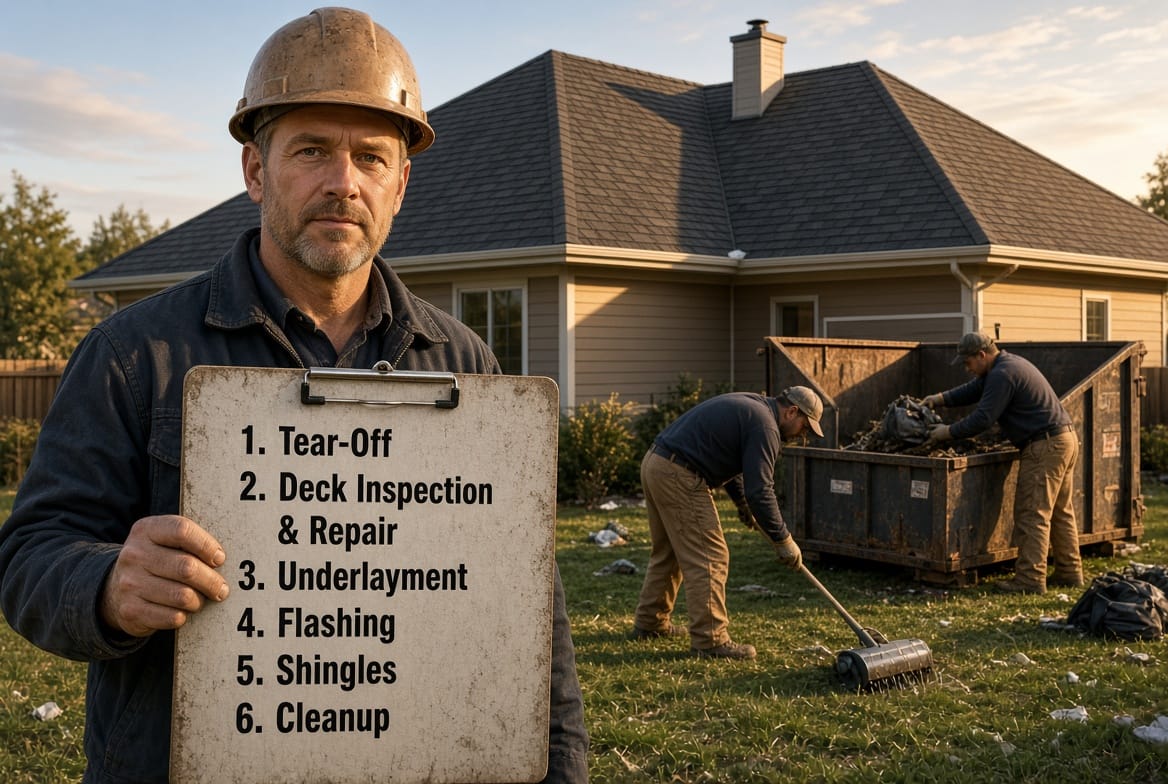
A roof replacement is a significant project, yet it follows a logical, repeatable sequence when performed by trained professionals. Tear-off exposes the truth about your deck. Inspection and repair create a reliable foundation. Underlayment, flashing, shingles, and ventilation each add a distinct layer of protection. Thorough cleanup and a passed final inspection close the job correctly.
When you understand each step, you can ask informed questions, recognize quality workmanship, and avoid the risks that turn a necessary upgrade into a future headache. The result is a weathertight, code-compliant roof that performs as designed for decades.
Understand the roof replacement process. If you are planning a replacement or have received an estimate that feels incomplete. A clear explanation of scope, timeline, and materials is the first sign you are working with a team that treats your home with the care it deserves.
Start Your Tear-Off to Inspection Plan Today