The Roof Shingle Repair: Replacing Damaged Shingles
A sound roof stands as your home’s primary shield against rain, wind, sun, and temperature swings. When individual asphalt shingles crack, curl, lose granules, or tear, that shield develops weak points. Left unaddressed, even a few damaged shingles allow water to seep beneath the surface, leading to interior leaks, wood rot, mold growth, and far more expensive structural repairs. The good news is that replacing a limited number of isolated damaged shingles is a DIY-possible repair for many homeowners who follow a methodical process and respect safety rules.
Get Professional Shingle Replacement – Call Now
This guide walks you through the complete, practical method: how to remove the old shingle, slide a new one into position, apply sealant, and nail it securely. Every step includes the reasoning behind it so you understand not only what to do but why it matters. With the right preparation and caution, you can restore weather-tight integrity quickly and avoid letting a small problem become a major one.
Why Prompt Shingle Replacement Matters
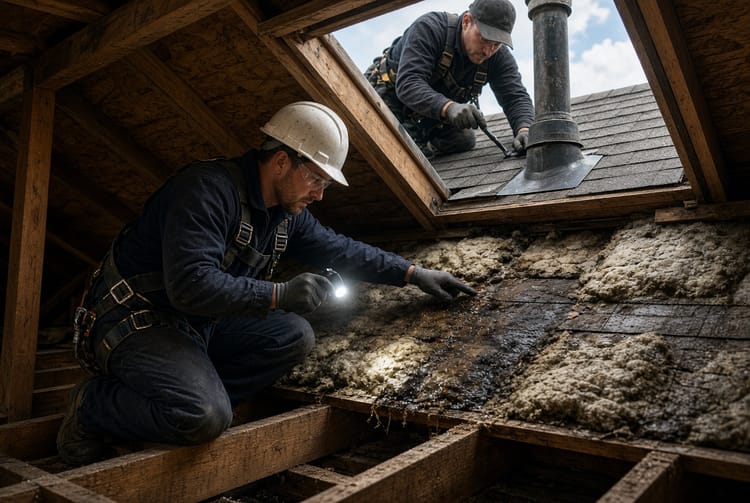
Wind storms, hail, falling branches, and simple aging are the most common causes of isolated shingle damage. A single lifted or cracked shingle may look minor from the ground, yet it creates an entry path for moisture. Once water reaches the underlayment or roof deck, deterioration accelerates. Granule loss also reduces ultraviolet protection and shortens the remaining life of surrounding shingles.
Acting while the damage remains localized keeps the repair small, inexpensive, and within reach of a careful homeowner. Delaying often means more shingles fail, the underlayment saturates, and professional intervention becomes the only safe option. Regular visual checks after severe weather and twice-yearly inspections help you catch problems early.
Safety Considerations Before You Climb
Roof work carries inherent fall risk, exposure to heat or cold, and the possibility of damaging adjacent shingles if force is applied incorrectly. Treat safety as the non-negotiable first step.
- Work only on a dry, calm day. Avoid rain, dew, high wind, ice, or extreme heat that makes shingles brittle or overly soft.
- Use a sturdy extension ladder that extends at least three feet above the roof edge and is set at the proper angle. Maintain three points of contact while climbing.
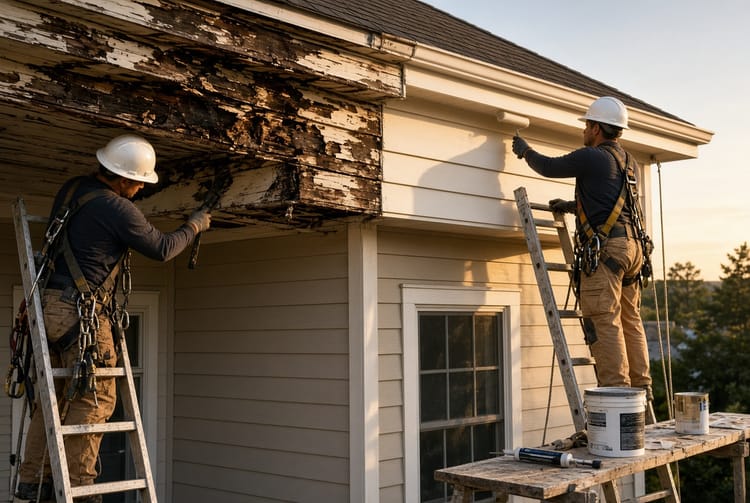
- Wear a properly fitted safety harness anchored to a secure roof point whenever the pitch is moderate or steep. Non-slip footwear, work gloves, and eye protection are essential.
- Never work alone. A helper on the ground can stabilize the ladder, pass tools, and call for help if needed.
- Stay clear of power lines and overhead obstacles. If the roof pitch exceeds a comfortable walking angle or the damaged area sits near the edge or valley, stop and call professionals.
- Take frequent breaks. Heat buildup on dark shingles can cause fatigue and poor judgment.
These precautions turn a potentially hazardous task into a manageable one. Thousands of homeowners complete small shingle replacements each year by respecting these limits rather than rushing.
Tools and Materials You Will Need
Gather everything before you begin so you are not climbing up and down repeatedly.
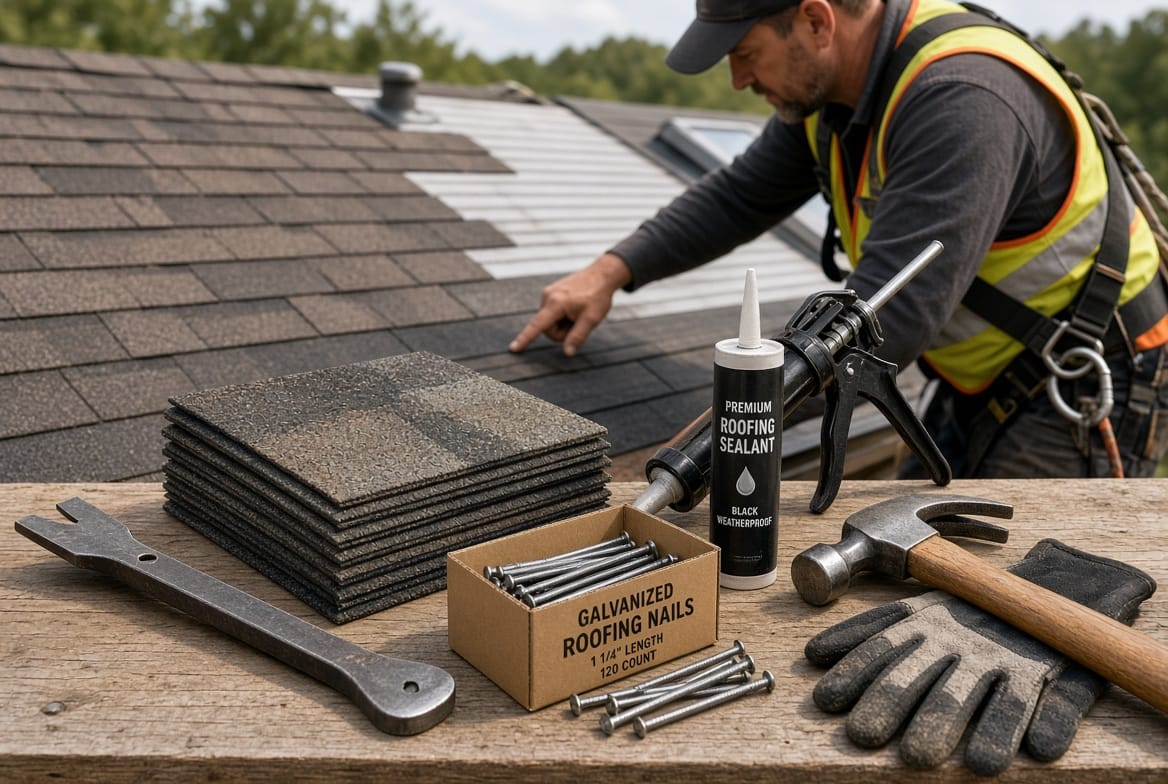
- Flat pry bar or dedicated shingle remover
- Replacement asphalt shingles that match the existing color, style (3-tab or architectural), and thickness as closely as possible
- Galvanized roofing nails of the correct length (typically 1¼ to 1½ inches)
- Roofing sealant or plastic roofing cement and a caulking gun
- Hammer or pneumatic roofing nailer
- Utility knife with extra blades
- Chalk or marker for alignment
- Work gloves, safety glasses, and harness
Store extra shingles from the original installation whenever possible; exact color matching becomes harder as shingles weather.
Step-by-Step Process for Replacing Damaged Shingles
Choose the coolest part of a dry day. Begin by confirming the exact location of the damaged shingle or small group of shingles. From the ground or a safe vantage, note any additional loose or missing granules nearby.
Preparing the Work Area
Clear debris from the surrounding shingles. If several consecutive shingles in one column are damaged, plan to work from the highest damaged shingle downward so each new piece is covered by the one above it. For truly isolated damage, you can address one shingle at a time.
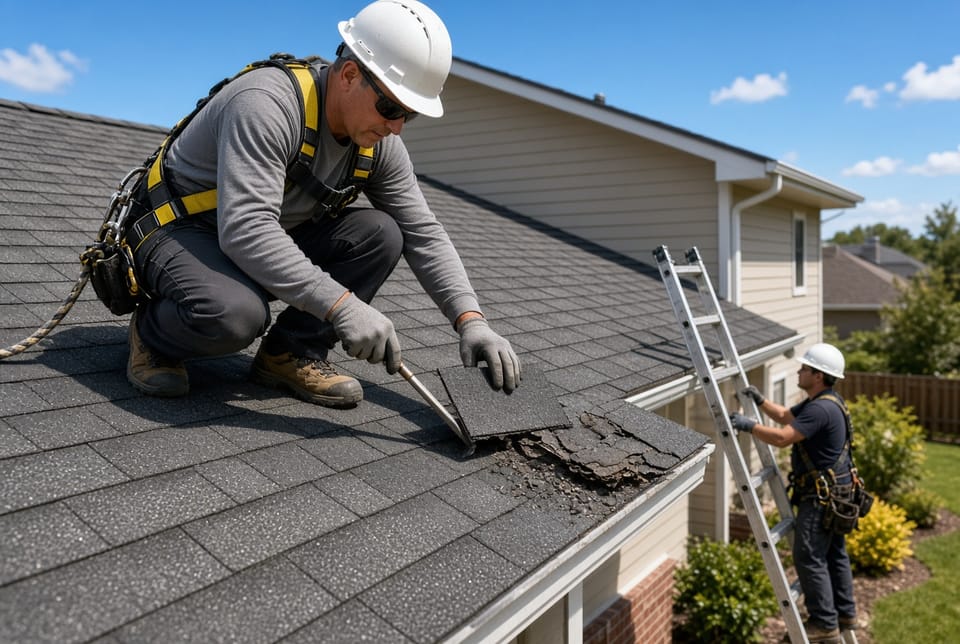
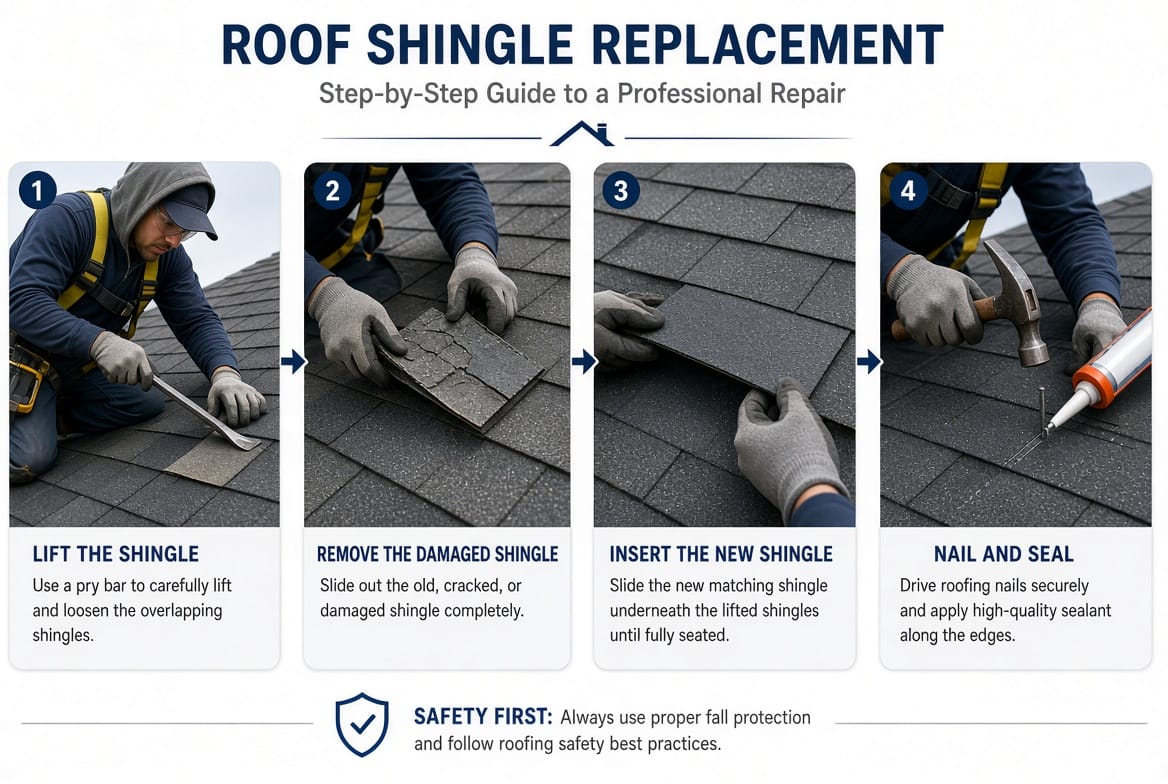
Gently lift the shingles that overlap the damaged one using the pry bar. Work slowly and insert the bar only far enough to expose the nails holding the damaged shingle. Excessive force cracks neighboring shingles and creates new leaks.
Removing the Old Damaged Shingle
Once the overlapping tabs are raised, locate the nails securing the damaged shingle. Use the pry bar to loosen and extract each nail. If a nail head is covered by sealant or another shingle, carefully break the seal without tearing the surrounding material. After the nails are out, slide the old shingle downward and out. Remove any remaining fragments, old nails, or dried sealant from the exposed underlayment or deck. The surface should be clean and dry before the new shingle goes in.
Sliding the New Shingle into Position
Take the replacement shingle and, if necessary, trim it with the utility knife so it matches the width and exposure of its neighbors. Apply a thin, even bead of roofing sealant along the back of the new shingle or on the exposed deck according to the product instructions—enough to create a water-resistant bond without squeezing out excessively.
Slide the new shingle upward into the exact space vacated by the old one. Align the side edges with adjacent shingles and the bottom edge with the course below. The new piece must sit fully underneath the overlapping shingles above it. Press it flat so there are no wrinkles or gaps.
Nailing and Sealing the Repair
Drive roofing nails through the new shingle in the manufacturer’s designated nailing zone—usually four nails per shingle, placed above the sealant strip and below the exposure line of the shingle above. Drive nails straight and flush; over-driving cuts the shingle and under-driving leaves a raised head that can catch wind or leak. If any nail heads remain slightly exposed, cover them with a small dab of sealant.
Apply an additional thin line of sealant along the top edge of the new shingle where it meets the overlapping course and along any cut sides. Gently press the lifted overlapping shingles back down so their own sealant strips make contact again. A few extra dabs of sealant under those tabs help them reseal against wind lift.
Step back and sight along the course to confirm the new shingle sits at the same height and alignment as its neighbors. The finished appearance should be nearly invisible from the ground.
Extra Tips for a Lasting Result
Color matching improves with time as the new shingle weathers, but buying from the same manufacturer and product line yields the best immediate blend. If the roof is older, expect a slight shade difference that usually becomes less noticeable after one season.
Avoid walking on the newly installed shingle until the sealant has set. Check the repair after the next rainfall from inside the attic or living space for any signs of moisture. Keep leftover shingles and sealant for future small repairs.
Common mistakes include nailing too high (where the next shingle cannot cover the nails) or too low (into the exposed area), lifting neighboring shingles so aggressively that they crack, and skipping sealant on nail heads. Each of these errors recreates the original leak path.
After-Repair Care and Ongoing Maintenance
Once the repair is complete, inspect the rest of the roof for similar early-stage damage. Clean gutters so water does not back up under the shingles. Trim overhanging branches that could scrape or drop debris. Schedule a professional inspection every few years even if you handle small replacements yourself; an experienced eye spots underlayment or flashing issues that are easy to miss.
A well-executed DIY shingle replacement restores the roof’s ability to shed water and resist wind. It also gives you firsthand knowledge of your roof’s condition, which helps you decide future maintenance priorities.
When to Call a Professional Instead
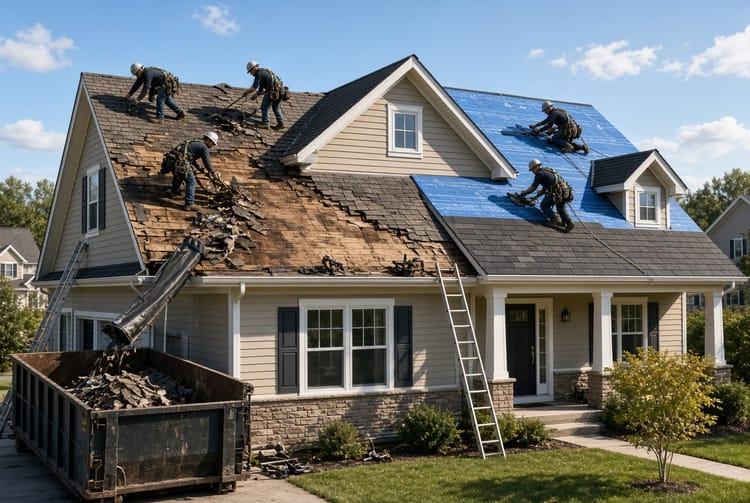
Isolated, accessible damage on a moderate-pitch roof is often suitable for a careful homeowner. Larger areas of missing or curling shingles, damage near valleys, chimneys, or skylights, a roof that already has two layers, or any sign of deck rot require professional evaluation. Steep pitches, multi-story homes, and work near electrical lines also fall outside typical DIY scope.
If you feel uncertain at any point—about harness setup, shingle alignment, or the extent of hidden damage—stop. Continuing when conditions exceed your comfort or skill level increases both personal risk and the chance of creating additional leaks.
Protect Your Home by Acting Quickly
Damaged shingles rarely stay isolated. Moisture that enters today can travel and expand tomorrow. Completing the repair described here—removing the old shingle, sliding the new one into place, sealing, and nailing—stops that progression while the job remains small and manageable.
Repair damaged shingles quickly. If the damage is more extensive than a few isolated pieces, the roof is steep, or you prefer the peace of mind that comes with a warranty-backed installation. They can assess the full roof, match materials accurately, and complete the work safely so your home stays dry and protected for years to come.
Protect Your Roof from Water Damage – Call Today