The Roof Insulation Ventilation Baffles: Keeping Airflow Clear
Proper attic ventilation stands as one of the most critical yet frequently overlooked elements of a healthy, energy-efficient home. When insulation settles or expands against the underside of the roof deck, it can silently choke the very pathways designed to move air. That is exactly where roof insulation ventilation baffles come in. These simple but essential inserts keep insulation from blocking soffit vents, maintaining a continuous channel for fresh air to enter and moist, heated air to exit. Without them, even the best insulation package can create serious problems ranging from ice dams to skyrocketing energy bills.
Stop Ice Dams & Hot Attics – Schedule Inspection Today
In the pages that follow, we explore precisely what baffles are, why every insulated attic needs them, the clear warning signs that vents have become blocked, and the correct way to install them so airflow remains unobstructed for decades. The goal is straightforward: give homeowners the authoritative knowledge needed to protect their roofs and lower long-term costs.
Understanding Roof Insulation Ventilation Baffles
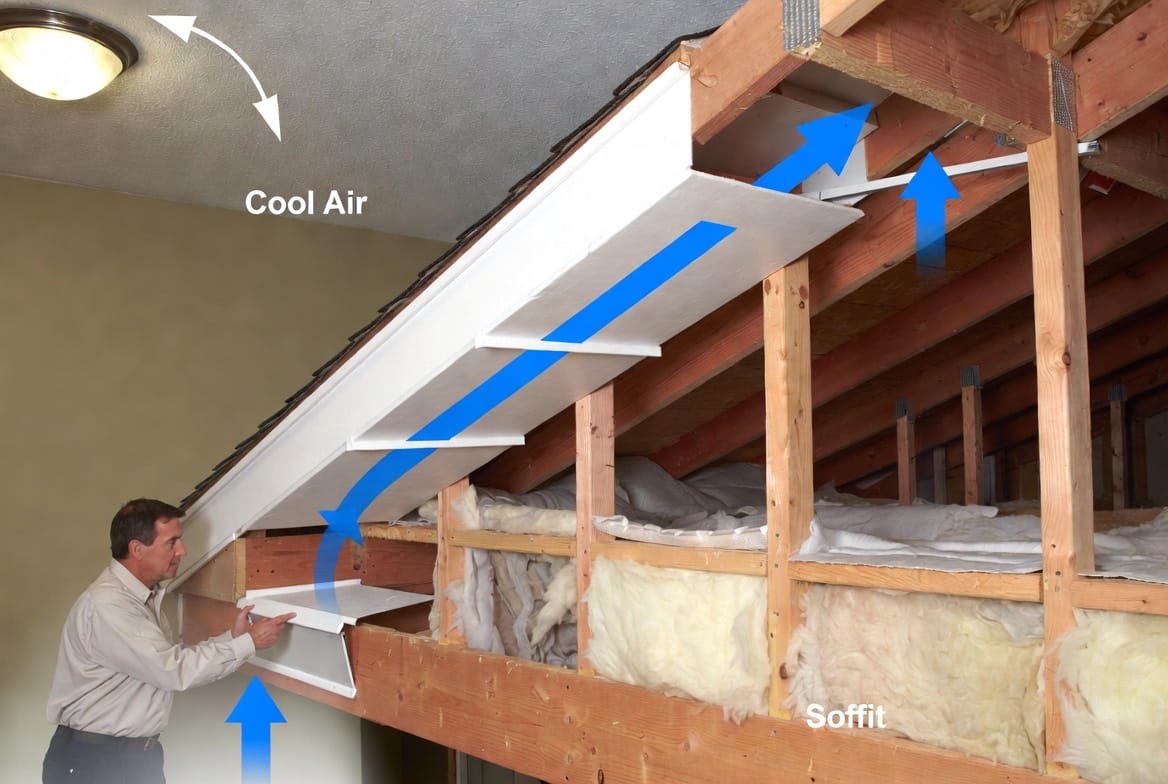
Roof insulation ventilation baffles, sometimes called rafter vents or insulation dams, are lightweight channels or chutes installed between roof rafters directly above the exterior wall plate. Their primary job is to create a permanent air space that prevents loose-fill or batt insulation from migrating into and sealing off the soffit vents.
Most modern baffles are manufactured from rigid foam, plastic, or cardboard-reinforced materials. They are typically 14 to 22 inches wide to fit standard rafter spacing and extend from the soffit upward along the roof slope for at least 24 to 48 inches. Once in place, they form a protected tunnel that allows outside air to travel freely from the soffit intake vents into the attic space, where it can rise and exit through ridge vents, gable vents, or roof vents.
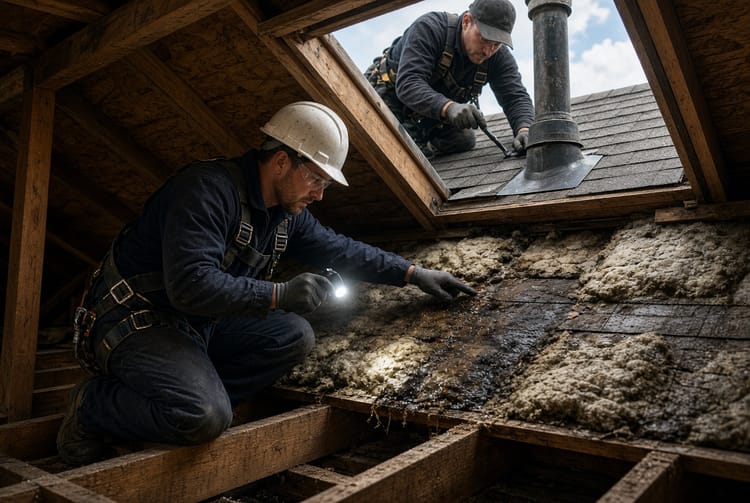
Without these inserts, blown-in cellulose or fiberglass can easily fill the triangular space at the eaves. Once that space is packed, the soffit vents cease to function. Airflow stops. Heat and moisture become trapped. The consequences accumulate season after season.
Why Attic Airflow Matters So Much
Continuous attic ventilation performs three vital functions simultaneously. First, it removes excess heat that builds up under the roof deck during summer months. Second, it carries away moisture generated by daily household activities—cooking, showering, laundry—that migrates upward. Third, it helps equalize temperature across the roof surface in winter, reducing the conditions that form ice dams.
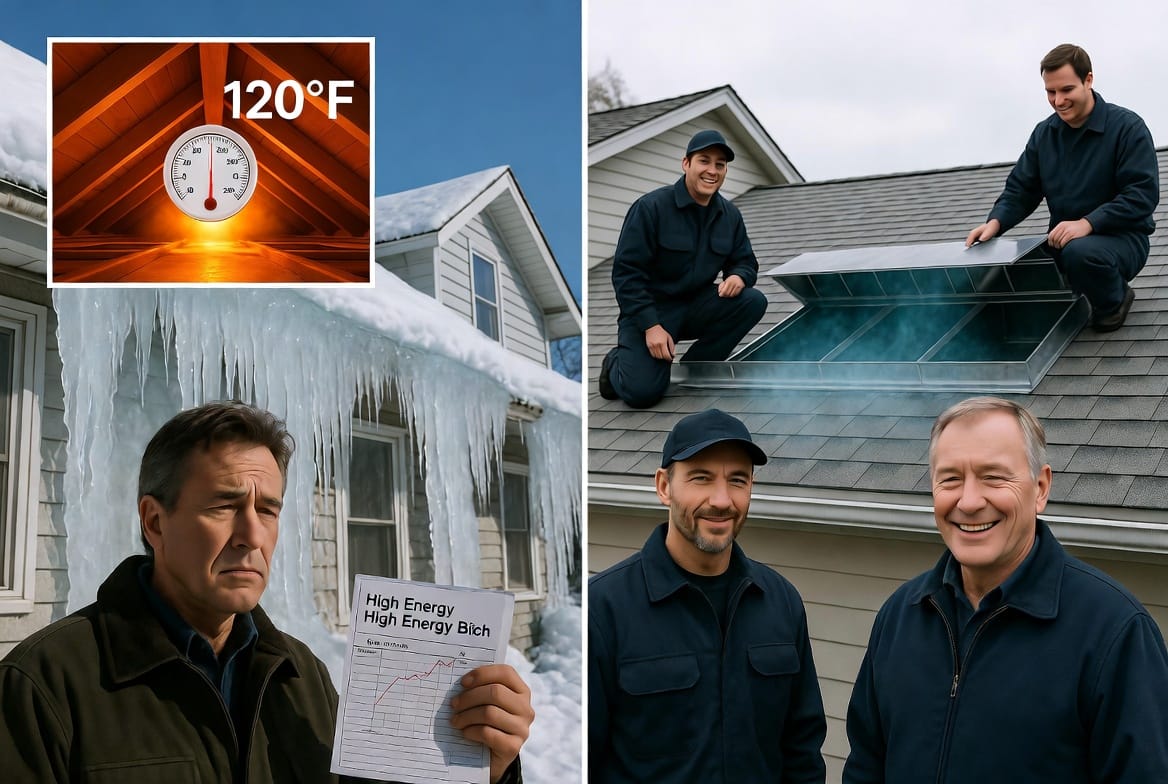
When insulation blocks the soffit vents, the entire ventilation system fails. Hot air stagnates in summer, driving attic temperatures well above 130°F in many climates. That heat radiates downward into living spaces, forcing air-conditioning systems to work harder and driving up electricity costs. In winter, warm air trapped near the roof deck melts snow from underneath. The water runs to the colder eaves, refreezes, and creates heavy ice dams that can force water under shingles and into the home.
Blocked soffit vents therefore represent both an energy problem and a structural risk. Baffles solve the issue at its source by guaranteeing that insulation stays where it belongs—on the attic floor—while the air channel above it remains open year-round.
Recognizing the Signs of Blocked Vents
Homeowners rarely notice a problem until visible symptoms appear. The most common indicators include:
- Ice dams forming along the eaves after snowfall, often accompanied by water stains on interior ceilings near exterior walls.
- An unusually hot attic during summer, noticeable when climbing into the space or when upstairs rooms feel significantly warmer than the rest of the house.
- Persistently high energy bills despite reasonable thermostat settings, especially spikes in cooling costs.
- Condensation or frost on the underside of the roof sheathing in cold weather.
- Premature aging or curling of roof shingles caused by excessive heat.
- Musty odors or visible mold growth on roof decking or trusses.
Any one of these signals warrants a careful inspection of the soffit-to-attic transition. In many cases the root cause is simply insulation that has drifted or been over-filled against the vents.
The Benefits of Keeping Airflow Clear
Installing or restoring ventilation baffles delivers measurable returns. Homes with properly functioning soffit-to-ridge airflow typically experience:
- Lower summer cooling loads because attic temperatures drop closer to outdoor ambient levels.
- Reduced risk of ice dams and the costly water damage they cause.
- Longer roof covering life; cooler roof decks mean less thermal stress on asphalt shingles.
- Improved indoor comfort with fewer hot spots on upper floors.
- Better performance from any existing insulation, since moisture is less likely to condense within the material and reduce its R-value.
- Decreased likelihood of mold or wood rot in the roof structure.
These advantages compound over time. A modest investment in baffles often pays for itself through energy savings and avoided repairs within a few seasons.
Step-by-Step Installation Guidance
Correct installation is straightforward yet requires attention to detail. Whether performed by a homeowner comfortable working in an attic or by a professional crew, the process follows the same logical sequence.
Begin by clearing the eaves. Remove any existing insulation that has packed against the soffit vents. Use a shop vacuum or carefully scoop material by hand, taking care not to damage wiring or plumbing that may run through the area. Once the triangular space at the exterior wall plate is open, measure the rafter spacing and select baffles that fit snugly between the framing members.
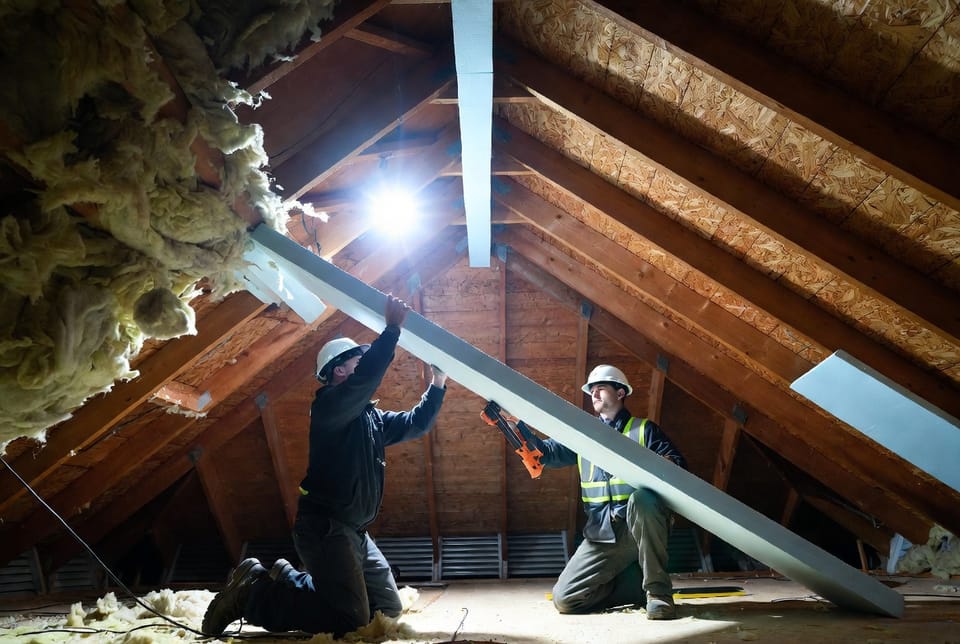
Position each baffle so its lower end sits just above the soffit vent opening and its upper end extends far enough up the roof slope to remain above the final insulation level. Most manufacturers recommend a minimum of four feet of channel length in colder climates to keep insulation from eventually bridging the gap. Secure the baffle to the underside of the roof deck or to the sides of the rafters using the manufacturer’s recommended staples, nails, or adhesive. The goal is a continuous, unbroken air chute with no gaps where insulation can later infiltrate.
After all baffles are in place, reinstall or add insulation across the attic floor, taking care to keep the material below the top of the baffles. Never bury the upper ends of the channels. Finally, verify that the soffit vents themselves remain unobstructed from the exterior and that ridge or other exhaust vents are clear.
When the project involves dense-pack cellulose or thick fiberglass batts, temporary dams or cardboard barriers can help hold the material back until the baffles are fully seated. In retrofits where access is limited, flexible fabric baffles or shorter rigid sections can sometimes be slid into place from the attic side.
Choosing the Right Baffle Material
Several options exist, each with distinct advantages. Rigid polystyrene or polyisocyanurate foam baffles offer excellent durability and insulation value of their own. Plastic versions resist moisture and are easy to clean. Cardboard or fiberboard styles remain economical for new construction but should be protected from prolonged moisture exposure. Whatever material is selected, confirm that it carries a Class A fire rating and is compatible with the climate zone.
In regions with heavy snowfall or high humidity, longer baffles that extend higher up the roof slope provide extra insurance against insulation migration. Some premium systems include perforated designs that allow limited air exchange while still blocking bulk insulation.
Common Installation Mistakes to Avoid
Even experienced crews occasionally make errors that compromise performance. The most frequent include:
- Installing baffles that are too short, allowing insulation to eventually cover the upper openings.
- Leaving gaps between the baffle and the rafter sides, creating pathways for insulation to squeeze through.
- Over-filling the attic so that insulation rises above the baffle tops.
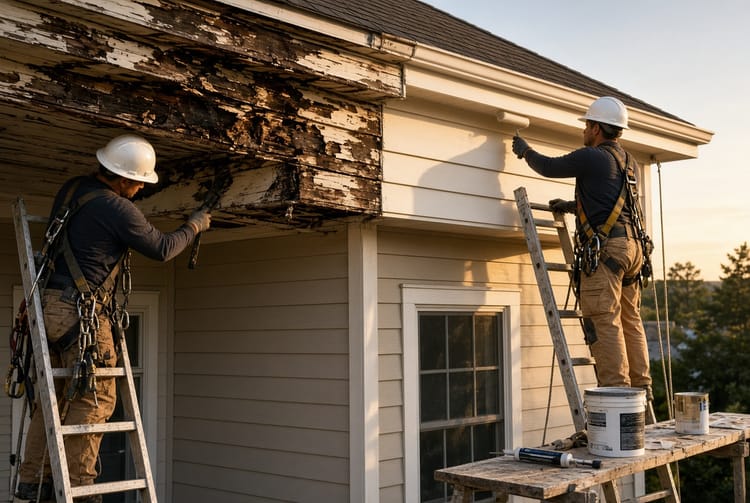
- Blocking the exterior soffit vents with paint, debris, or poorly designed soffit covers.
- Neglecting to balance intake and exhaust ventilation; baffles only work when both ends of the system are open.
Avoiding these pitfalls ensures the airflow path remains reliable for the life of the roof.
Seasonal Considerations and Long-Term Maintenance
In winter, inspect the exterior eaves after major storms to confirm that snow or ice has not sealed the soffit vents. In summer, a quick attic temperature check on a hot afternoon can reveal whether heat is escaping properly. Every few years, especially after any insulation upgrade, re-examine the baffle channels to verify they remain open and free of debris or pest nests.
If the home undergoes a major energy retrofit—such as adding several inches of new insulation—plan to reassess and possibly extend the existing baffles at the same time. This coordinated approach prevents the very blockage the original installation sought to eliminate.
Professional Installation Versus Do-It-Yourself
While the concept is simple, working in an unfinished attic involves navigating heat, limited headroom, possible wiring, and the physical challenge of moving insulation. Homeowners comfortable with basic carpentry and safety protocols can successfully install baffles themselves. Others prefer the reassurance of a trained crew that can complete the work quickly, dispose of old material, and verify overall attic ventilation balance.
A professional assessment also evaluates whether the existing ridge or roof vents provide adequate exhaust capacity relative to the soffit intake. Proper net free area calculations ensure the entire system functions as designed.
Protecting Your Home for the Long Term
Roof insulation ventilation baffles represent a low-cost, high-impact improvement that safeguards both the structure and the comfort of the household. By keeping insulation from blocking soffit vents, they preserve the continuous airflow that attics require to stay dry, cool, and efficient. The signs of failure—ice dams, hot attics, and elevated energy bills—are unmistakable once recognized. Addressing them promptly with correctly installed baffles restores balance and prevents more expensive repairs later.
Whether the attic is being insulated for the first time or an existing system is being upgraded, never allow insulation to seal the eaves. The modest space reserved by a properly fitted baffle pays dividends every season of the year.
Keep your attic vents clear with baffles. For a thorough attic inspection that identifies blocked vents and recommends the right ventilation solution. A clear airflow path is one of the simplest and most effective steps any homeowner can take toward a healthier, more efficient roof system.
Prevent Costly Roof Damage with Baffles – Call Now