The PEX Crimp Connection: Tools and Techniques for DIY Plumbing
PEX tubing has revolutionized modern plumbing, offering homeowners a flexible, durable, and cost-effective alternative to traditional rigid piping systems. Among the various connection methods available, PEX crimp connections stand out for their reliability and straightforward approach when done correctly. Whether you're tackling a bathroom remodel, upgrading your kitchen lines, or addressing a minor leak repair, understanding the proper PEX crimping technique empowers you to create secure, long-lasting joints that resist leaks and pressure issues.
Get Leak-Free PEX Installation Today – Call Now!
In this comprehensive guide, we'll walk you through everything you need to know about PEX crimp connections — from essential tools to step-by-step methods and critical quality checks. With the right knowledge, DIY enthusiasts can achieve professional-grade results while saving significantly on labor costs.
Why Choose PEX Plumbing and Crimp Connections?
Cross-linked polyethylene (PEX) tubing has become a go-to material for residential and light commercial plumbing projects. Its flexibility allows it to snake through tight spaces without numerous joints, reducing potential leak points compared to copper or CPVC systems.
Key advantages include:
- Corrosion resistance — Unlike metal pipes, PEX won't rust or degrade from water chemistry.
- Freeze tolerance — The material expands slightly under pressure, lowering burst risk in cold climates.
- Cost efficiency — Lower material and installation expenses make it ideal for DIY projects.
- Quiet operation — Reduced water hammer noise for a more peaceful home environment.
The PEX crimp method uses a copper or stainless steel crimp ring compressed around the tubing and fitting to create a watertight seal. When executed with precision, these connections can last decades under normal household conditions. However, improper technique is one of the leading causes of PEX system failures, often resulting in hidden leaks that cause water damage over time.
Essential Tools for Successful PEX Crimping
Investing in quality tools is non-negotiable for reliable PEX crimp connections. Here's what you'll need:
- PEX Crimper (Crimp Tool): A ratcheting or compound-lever tool designed specifically for your tubing size (commonly 1/2-inch or 3/4-inch). Look for models with comfortable grips and consistent pressure application to avoid hand fatigue during longer projects.
- PEX Tubing Cutter: Sharp, ratcheting cutters ensure clean, square cuts without crushing or deforming the tubing ends — a critical factor for proper fitting insertion.
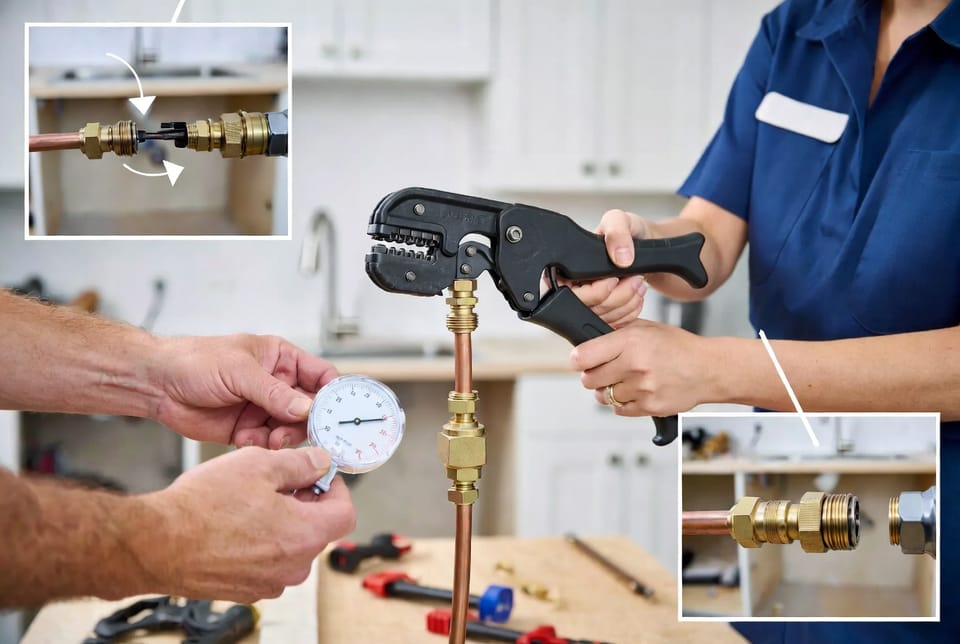
- Go/No-Go Gauge: This simple but essential calibration tool verifies that your crimp has been applied with the exact force needed.
- Additional helpful items: Deburring tool, PEX expander (for comparison), marker for depth measurements, and safety gear like gloves and eye protection.
Pro Tip: Always match your crimp rings and tool to the exact PEX tubing size and type (PEX-A, PEX-B, or PEX-C) specified by the manufacturer for optimal compatibility.
Step-by-Step Guide to Perfect PEX Crimp Connections
Achieving leak-free results requires attention to detail at every stage. Follow these proven techniques carefully.
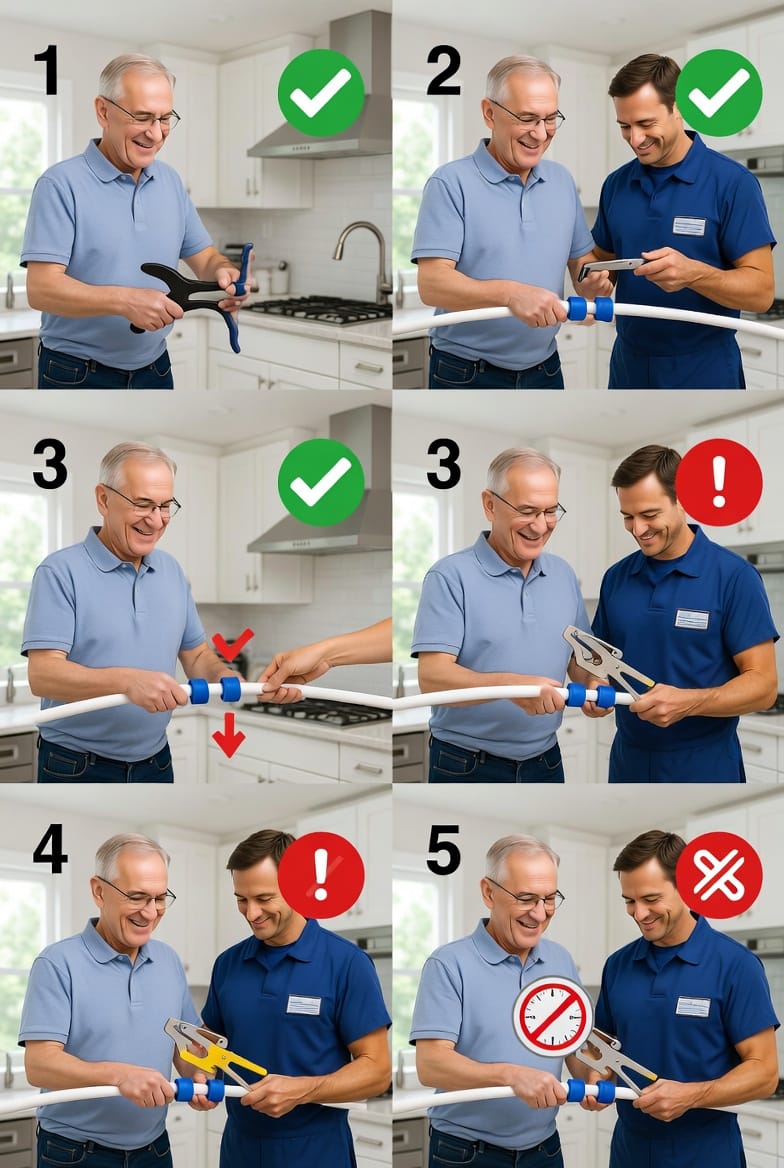
1. Preparation and Measurement
Start by measuring and marking the insertion depth on your PEX tubing. Most fittings require the tubing to slide fully onto the barb until it reaches a shoulder or depth mark. Use a square cut to ensure the end sits flush without gaps.
2. Sliding the Crimp Ring
Slide the copper crimp ring onto the tubing first, positioning it about 1/8 to 1/4 inch from the end. This allows room for the fitting to insert completely before crimping. Avoid sliding the ring after the fitting is inserted, as this can damage the connection.
3. Inserting the Fitting
Push the fitting barb fully into the tubing until it bottoms out. You should feel firm resistance and see the tubing seated evenly around the fitting. Partial insertion is a major risk factor for leaks and pull-apart failures under pressure.
4. Positioning and Crimping
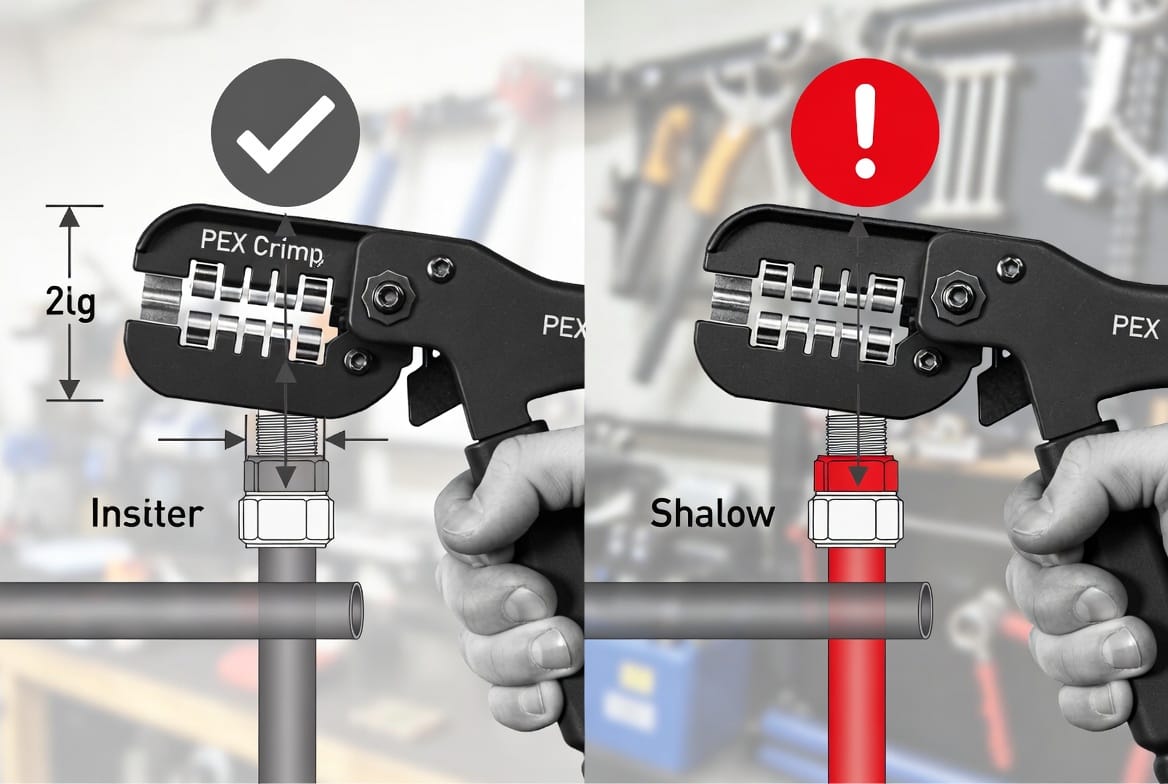
Align the crimper jaws squarely over the crimp ring, ensuring the jaws fully encircle the ring without overlapping the tubing or fitting edges. Apply steady pressure until the tool ratchets closed completely. Proper crimp depth and position are vital — the ring should compress uniformly, creating a distinctive hexagonal or rounded shape depending on your tool.
5. Quality Verification with the Go/No-Go Gauge
This step separates amateur work from professional results. Insert the "Go" side of the gauge over the crimped ring — it should slide on with slight resistance but without forcing. The "No-Go" side should not fit over the crimp. If the gauge doesn't pass, cut out the connection and start over.
The go/no-go gauge is essential because visual inspection alone cannot detect under- or over-crimped rings that may fail months or years later, leading to costly water damage.
Common Mistakes to Avoid in PEX Crimping
Even experienced DIYers can encounter issues. Here are frequent pitfalls and how to prevent them:
- Non-square cuts leading to uneven seals.
- Insufficient insertion depth causing weak connections.
- Misaligned crimper jaws resulting in distorted rings.
- Skipping the gauge check — one of the biggest risks in DIY plumbing.
- Using the wrong size rings or tools for your tubing diameter.
Taking time to double-check each connection dramatically reduces the chance of callbacks or emergency repairs.
Testing Your PEX System for Peace of Mind
After completing all connections, pressure test the system according to local codes — typically 50-100 PSI for several hours. Inspect all joints visually and listen for drips. Address any issues immediately before closing walls or floors.
Modern PEX systems, when properly installed, offer excellent longevity and performance. The PEX crimp connection method remains popular due to its accessibility and proven track record in residential applications.
Safety Considerations and Best Practices
Always work in a well-ventilated area and shut off the main water supply before starting. Wear appropriate protective equipment. If your project involves gas lines, high-pressure systems, or structural modifications, prioritize safety by consulting local building codes.
For larger renovations or if you're uncertain about any step, professional installation ensures compliance and warranty protection.
When to Call the Professionals
PEX crimping requires the right technique. While many homeowners successfully complete small projects, complex installations involving multiple fixtures, manifold systems, or tight spaces benefit from expert handling. Don't risk hidden leaks that could lead to expensive damage.
Our experienced team specializes in reliable PEX plumbing solutions tailored to your home's needs. We're here to help you achieve lasting results with confidence.
Conclusion: Build with Confidence Using Proper PEX Techniques
Mastering the PEX crimp connection opens up exciting possibilities for updating and maintaining your home's plumbing system. By selecting quality tools, following precise techniques, and always verifying with a go/no-go gauge, you can create durable, leak-free connections that stand the test of time.
Remember, preparation and attention to detail are your greatest allies in DIY plumbing. Whether you're a seasoned renovator or a first-time homeowner, these methods provide a solid foundation for successful projects.
Ready to tackle your plumbing upgrade or need expert assistance? We're committed to delivering exceptional service and helping you enjoy worry-free water systems for years to come.
Avoid Costly PEX Mistakes – Call for Pro Service!