The Toilet Fill Valve Replacement: Fixing Running Toilets and Slow Fills
A running toilet or one that fills painfully slowly is more than a minor annoyance — it wastes hundreds of gallons of water each month, inflates utility bills, and can signal the early stages of bigger plumbing problems. The good news? This is one of the most common DIY toilet repairs you can tackle successfully with basic tools and clear guidance. Replacing the toilet fill valve restores quiet, efficient operation and gives you peace of mind knowing your fixture is working exactly as designed.
Fix Your Running Toilet Today – Call Now!
In this comprehensive guide, we walk you through exactly how the fill valve operates, the tell-tale signs it has failed, and a detailed, step-by-step replacement process that most homeowners complete in under 30 minutes. Whether you prefer to handle the repair yourself or want professional assurance, you’ll finish this article confident and ready to act.
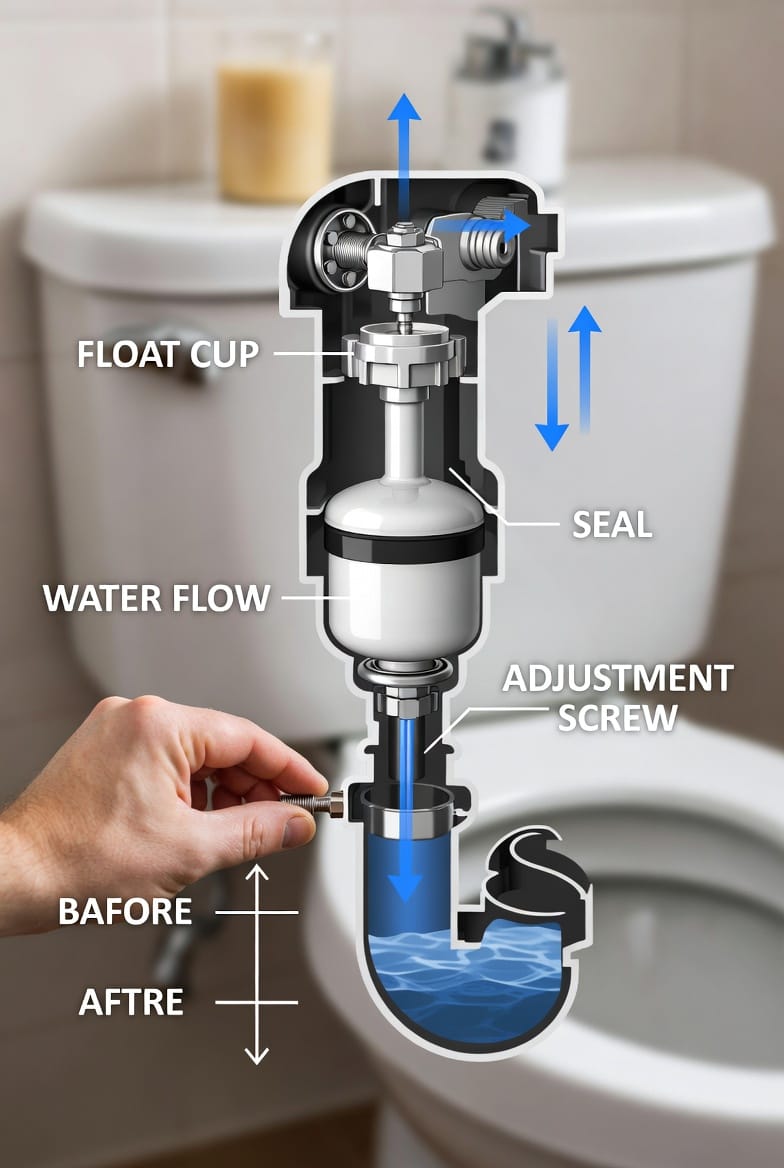
How a Toilet Fill Valve Works
The fill valve sits inside the toilet tank and acts as the automatic water regulator. When you flush, the tank empties and the float mechanism drops, opening the valve so fresh water rushes in through the supply line. As the water level rises, the float (either a traditional ball or modern cup style) lifts and gradually closes the valve, shutting off the flow once the tank reaches the proper level.
This simple yet precise system prevents overfilling and maintains consistent flush power. Over time, however, mineral buildup, worn rubber seals, or a cracked float can cause the valve to stick open or close too slowly — leading to the classic running toilet or frustratingly slow-filling toilet.
Understanding this mechanism removes the mystery and builds confidence that replacement truly solves the root cause rather than masking symptoms.
Common Signs Your Fill Valve Needs Replacement
Recognizing failure early saves water and prevents larger issues. Watch for these clear indicators:
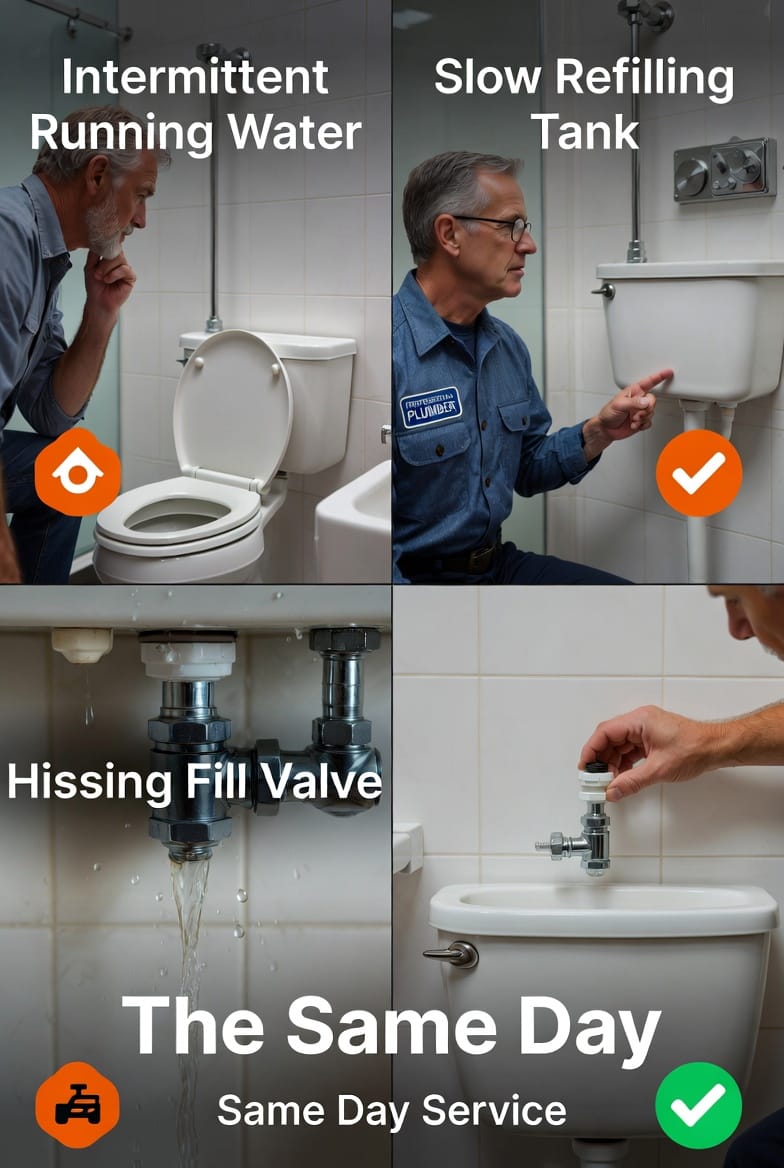
- Continuous running — the tank never fully stops filling, even minutes after a flush.
- Slow fill — the tank takes 2–3 minutes or longer to refill instead of the normal 30–60 seconds.
- Hissing or whistling noises — air or water escaping through a partially closed or worn valve.
- Intermittent running that starts and stops on its own.
- Weak flushes because the tank never reaches full capacity.
- Visible corrosion or mineral crust on the valve assembly.
If you notice any of these, the toilet fill valve is almost certainly the culprit. Replacing it is far simpler and more cost-effective than living with constant water waste.
Why Replacing the Fill Valve Is Worth Doing Now
A faulty valve can waste 20–100 gallons per day — that’s thousands of gallons annually and noticeable spikes on your water bill. Beyond cost, constant running stresses the flapper and can lead to premature wear on other tank components. Prompt toilet fill valve replacement restores efficiency, reduces noise, and extends the life of your entire toilet.
Modern universal fill valves are inexpensive, reliable, and designed for quick installation, making this an ideal weekend project that delivers immediate, measurable results.
Tools and Materials You’ll Need
Gather these items before starting to keep the job smooth and mess-free:
- New universal toilet fill valve kit (adjustable height, float-cup style recommended)
- Adjustable wrench or channel-lock pliers
- Flathead and Phillips screwdrivers
- Small bucket and old towels for spills
- Penetrating oil (if the supply nut is stubborn)
- Optional: gloves and safety glasses
Everything is available at any hardware store, and the entire kit usually costs less than a single month of wasted water.
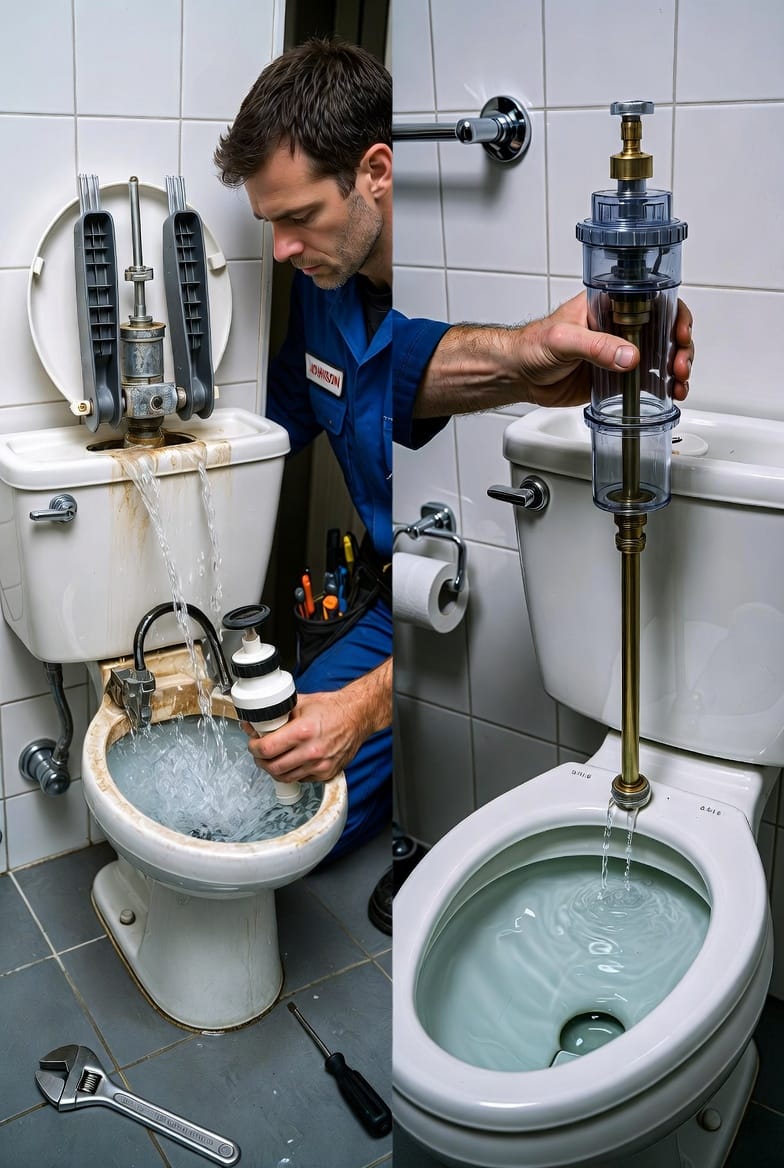
Step-by-Step Toilet Fill Valve Replacement
- Shut off the water supply. Locate the small valve behind the toilet and turn it clockwise until it stops. Flush the toilet to empty the tank completely.
- Disconnect the supply line. Place the bucket underneath and use the wrench to loosen the nut connecting the flexible hose to the fill valve. Have a towel ready — a small amount of residual water may drip.
- Remove the old fill valve. Inside the tank, disconnect the refill tube from the overflow tube. Unscrew the large nut at the base of the valve on the outside bottom of the tank. Lift the entire old assembly straight out.
- Install the new fill valve. Insert the new valve into the tank hole, ensuring the rubber gasket seats properly. Hand-tighten the nut underneath, then give it a quarter-turn with the wrench — avoid over-tightening to prevent cracking the porcelain.
- Reconnect everything. Attach the supply line, slip the refill tube onto the overflow tube, and make sure no hoses are kinked.
- Turn the water back on. Slowly open the shut-off valve and watch the tank fill. The valve should stop automatically at the correct level.
- Adjust the water level. Most new valves have an easy twist or slide adjustment on the float. Aim for the water line to sit about one inch below the top of the overflow tube for optimal performance.
The entire process is straightforward, and the new valve typically quiets the tank immediately.
Troubleshooting After Installation
If the toilet still runs slowly or continues to hiss, double-check that the float is not obstructed and that all connections are tight. Occasionally, sediment from the supply line can lodge in the new valve — a quick flush cycle usually clears it. Persistent issues are rare but easily resolved by re-checking the height setting.
When to Call a Professional Plumber
While most homeowners handle toilet fill valve replacement confidently, call for expert help if you encounter a cracked tank, persistent leaks at the base, or if you simply prefer the reassurance of a licensed technician. Professional service ensures the job is completed correctly the first time and includes a thorough inspection of related components.
Maintenance Tips to Keep Your Fill Valve Working Perfectly
- Inspect the valve and flapper once a year.
- Avoid using harsh chemical cleaners inside the tank.
- Replace the fill valve every 4–5 years as preventive maintenance.
- Keep the supply line filter clean to reduce mineral buildup.
These simple habits dramatically reduce the chance of future problems.
Frequently Asked Questions
How long does a toilet fill valve typically last?
Quality valves last 4–7 years depending on water hardness and usage. Replacing proactively prevents sudden failures.
Can I repair the old valve instead of replacing it?
Occasional seal kits exist, but modern universal valves perform better and last longer than patchwork repairs.
Will replacing the fill valve fix a slow-filling toilet?
Yes — once the new valve is installed and adjusted, refill time returns to normal.
Is this repair safe for older toilets?
Absolutely. Universal kits fit nearly every standard tank manufactured in the last 30 years.
Stop Wasting Water with a Faulty Fill Valve
Don’t let a running or slow-filling toilet continue costing you money and wasting precious water. Whether you complete the toilet fill valve replacement yourself or want professional results without the hassle, the solution is simple and effective.
Our experienced plumbers are ready to restore quiet, efficient operation to your toilet and give you one less thing to worry about.
Restore Quiet, Efficient Flushing – Call N