The Window Screen Repair: Fixing Holes and Tears
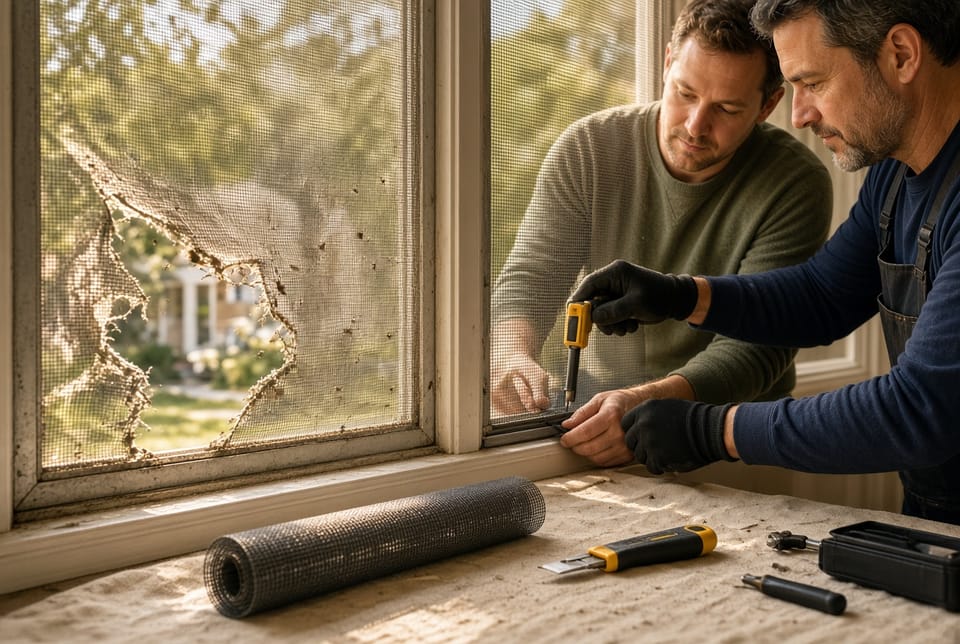
A well-maintained window screen does more than keep mosquitoes out. It lets you open windows for ventilation, reduces energy waste from running the air conditioner, and protects children and pets from insects. When holes and tears appear, that protection disappears. The good news is that most damage can be repaired at home with basic tools and a methodical approach.
Get Professional Screen Repair – Call Today
This guide walks you through DIY window screen repair from the smallest puncture to a complete re-screening. You will learn how to choose the right method, when a patch is enough, and when the entire screen (or frame) should be replaced. Follow the steps carefully and you can restore function without calling a contractor for every small tear.
Why Window Screens Tear
Screens fail for predictable reasons. Pets push or claw the mesh. Children press against it. Wind-driven debris, hail, or a poorly seated spline can create weak spots. Ultraviolet light and temperature swings make older fiberglass mesh brittle. Aluminum mesh can kink and develop sharp edges. Once a small opening exists, it almost always grows.
Understanding the cause helps you choose the correct repair and prevent the same damage from returning.
Tools and Materials You Will Need
Gather everything before you start. Working with a complete kit keeps the job clean and reduces frustration.
- Replacement screen mesh (fiberglass for most homes, aluminum for durability, or pet-resistant mesh for households with cats or dogs)
- Screen spline that matches the groove size of your frame
- Spline roller (the convex and concave wheels make installation far easier)
- Utility knife or sharp scissors
- Flat-head screwdriver or spline removal tool
- Measuring tape
- Screen repair patches or self-adhesive patch kits for small holes
- Fine-grit sandpaper (for cleaning the frame groove)
- Work gloves and safety glasses
Most of these items are inexpensive and available at hardware stores. Buy a little extra mesh; it is better to have surplus than to run short mid-project.
Assess the Damage First
Not every hole requires the same solution. Take the screen off the window if possible and inspect it in good light.
- Pinholes and small tears (under 1 inch): a patch is usually sufficient.
- Medium holes or several close tears: a section of new mesh or a larger patch may work.
- Large rips, sagging mesh, or damaged spline: full re-screening is the reliable choice.
- Bent, corroded, or cracked frame: repair the mesh only after the frame is sound, or replace the entire unit.
Press gently on the mesh. If it feels loose or the spline has pulled out of the groove in multiple places, plan on replacing the mesh rather than patching.
Repairing Small Holes with Patches
For isolated punctures, a screen patch is the fastest DIY fix.
Adhesive or Iron-On Patches
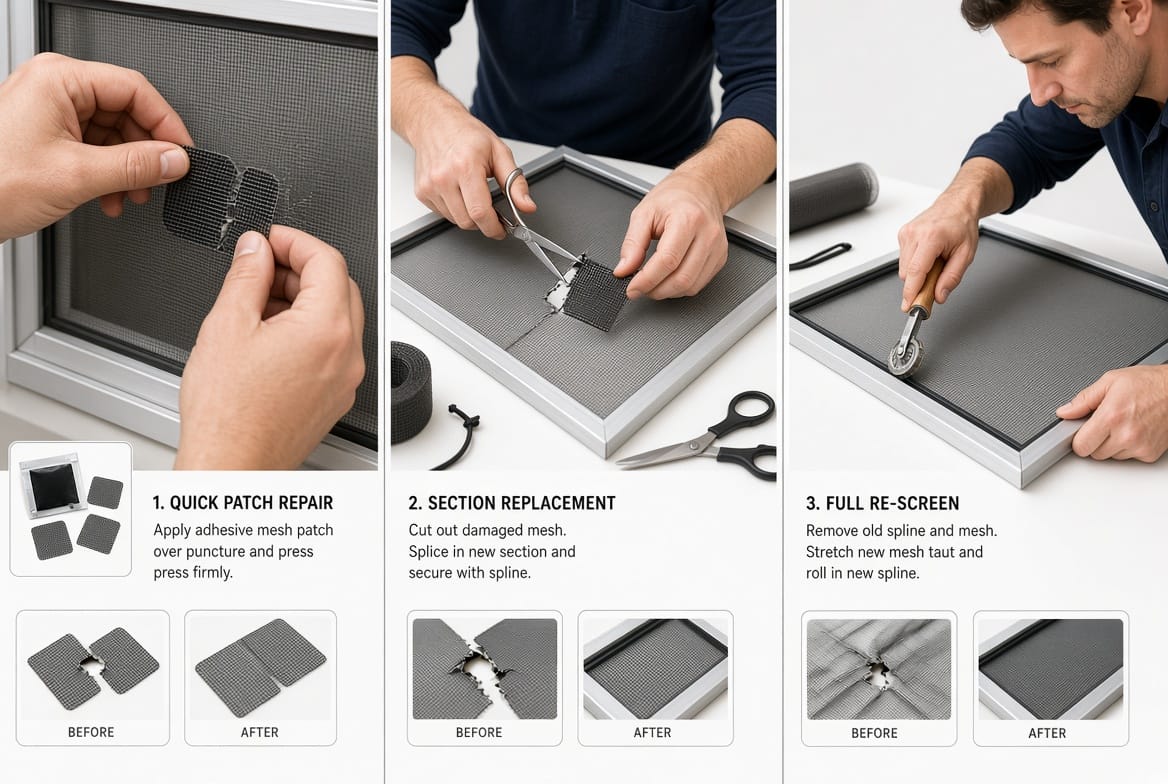
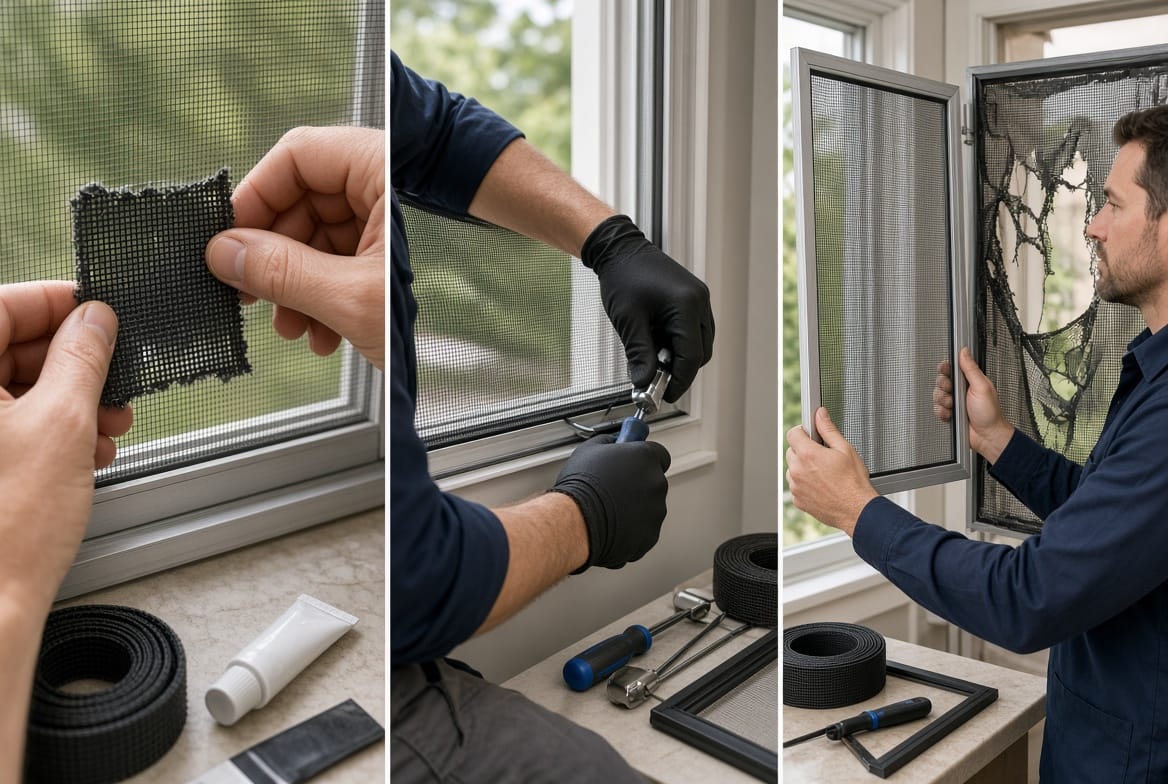
Commercial kits include pre-cut mesh squares with adhesive backing or heat-activated film. Clean the area around the hole so the patch bonds. Center the patch over the damage, press firmly, and follow the manufacturer’s instructions if heat is required. Trim any overlapping edges for a neat appearance.
Handmade Mesh Patch
Cut a square of matching mesh at least one inch larger than the hole on all sides. You can sew it in place with monofilament thread using a simple running stitch, or use a dab of clear outdoor adhesive at the corners. The goal is to cover the opening completely so insects cannot pass through.
Patches work best when the surrounding mesh is still strong. If the fabric around the hole is already frayed or sun-rotted, the patch will fail within a season. In that case, move to a larger repair.
Replacing a Section of Mesh
When a tear is too large for a simple patch but the rest of the screen is sound, you can splice in new material.
- Cut away the damaged section, leaving a clean rectangular opening.
- Cut a new piece of mesh two inches larger than the opening on every side.
- Overlap the new mesh onto the existing screen and secure the edges with adhesive designed for screens or by weaving the edges together if the weave allows.
- For a stronger joint on fiberglass mesh, some homeowners use a thin bead of clear silicone along the overlap, then press the layers together.
This method is more visible than a factory-installed screen, so it is best used on less prominent windows or as a temporary solution until you can re-screen the entire unit.
Full Re-Screening: The Most Durable DIY Repair
When the mesh is old, multiple tears exist, or the spline has failed, re-screening the entire frame produces a like-new result.
Remove the Screen and Old Mesh
Most residential screens lift out of the window track. Carry the frame to a flat work surface. Use a screwdriver or spline tool to pry the old spline out of the groove. Once the spline is free, the old mesh lifts away. Discard both. Clean the groove with a brush or sandpaper so the new spline seats evenly.
Cut and Position New Mesh
Unroll the new screen mesh and cut a piece several inches larger than the frame on all sides. The extra material gives you something to pull against while you install the spline. Center the mesh over the frame so the weave is square.
Install the Spline
Start at the middle of one long side. Press the spline into the groove with the concave wheel of the spline roller, keeping the mesh taut but not so tight that it distorts the frame. Work toward the corners, then repeat on the opposite side. Finish the two short sides last. The mesh should be drum-tight without wrinkles.
At the corners, use a utility knife to make a small relief cut in the mesh so it lies flat. Do not cut the spline.
Trim the Excess
Once the spline is fully seated, run a sharp utility knife along the outside of the groove to trim the surplus mesh. Hold the knife at a low angle and keep the cut clean. A ragged edge looks unprofessional and can catch on the window track.
Reinstall the screen in the window and check the fit. It should sit flush and stay in place without rattling.
Pet-resistant mesh is thicker and more expensive, but it withstands claws far better than standard fiberglass. If pets caused the original damage, upgrading the material is worth the extra cost.
When to Replace the Screen Instead of Repairing
Repair is not always the best choice. Replace the screen (or the entire framed unit) when you see any of the following:
- The aluminum or vinyl frame is bent, cracked, or heavily corroded.
- The spline groove is damaged so the new spline will not stay seated.
- The mesh is so brittle that it tears as soon as you tension it.
- Multiple large holes make a patchwork of repairs look worse than a new screen.
- You want a different mesh type (solar, extra-fine no-see-um, or heavier pet mesh) that cannot be patched onto the old fabric.
A new framed screen from a hardware store or a custom shop is often comparable in price to the time and materials required for a difficult repair on a damaged frame. For high windows or unusual sizes, professional service is frequently the safer and faster option.
Preventing Future Holes and Tears
A few habits extend the life of every screen:
- Keep pets from jumping against windows; consider pet-resistant mesh on ground-floor units they can reach.
- Do not lean furniture or ladders against the screen.
- Clean screens gently with a soft brush and mild soap; high-pressure washing can stretch or tear the mesh.
- Inspect spline and mesh once a year, especially after storms.
- Store spare mesh and spline so you can make a quick repair the same day a hole appears.
Small, prompt repairs stop a one-inch tear from becoming a six-inch rip.
Safety and Common Mistakes
Wear gloves when handling aluminum mesh; the cut edges are sharp. Work on a stable surface so the frame does not twist. Do not over-tension the mesh — a bowed frame is harder to install and may not seal against the window.
The most frequent error is using the wrong diameter spline. Too thin and it pops out; too thick and it will not seat or it stretches the mesh unevenly. Test a short piece before you commit to the entire frame.
Another mistake is skipping the cleaning step. Dirt or old adhesive in the groove prevents the new spline from locking the mesh in place.
When Professional Screen Service Makes Sense
DIY window screen repair is satisfying and economical for most homeowners. Call for help when:
- The windows are on a second story or higher and removing the screens is unsafe.
- You have many screens to do at once and want consistent, factory-tight results.
- The frames are custom sizes or historic and you do not want to risk damaging them.
- You prefer pet-resistant, solar, or specialty mesh installed correctly the first time.
A professional crew can measure, fabricate, and install new screens quickly, often in a single visit.
Restore Comfort and Protection
Holes and tears in window screens are common, but they do not have to be permanent. With the right materials and a careful sequence — assess, patch, splice, or fully re-screen — you can restore insect protection and airflow in an afternoon. Choose the method that matches the size of the damage and the condition of the frame. When the job is larger than you want to tackle, professional service is a phone call away.
Repair your window screens.
Call Today for Expert Window Screen Service