The Wet Drywall Replacement: Cutting, Removing, and Patching After Flooding
When flooding strikes your home or business, water-damaged drywall becomes one of the most urgent issues to address. Moisture seeps deep into gypsum panels, compromising structural integrity and creating hidden health risks such as mold growth. Proper wet drywall replacement is essential to restore safety, aesthetics, and value. This authoritative guide walks you through the complete process—identifying damage, precise cutting above the water line, safe removal, thorough drying of framing, and professional patching—so you can make informed decisions with confidence.
Fix Your Water-Damaged Walls Today – Call Now!
At its core, drywall replacement after flooding prevents long-term complications. Leaving compromised sections in place invites further deterioration, higher repair costs, and potential indoor air quality problems. By following proven techniques, homeowners and property managers achieve lasting results that look and perform like new. Whether the flood stemmed from a burst pipe, storm surge, or appliance failure, timely action combined with expert methods ensures your walls return stronger and drier than before.
Understanding the Impact of Water Damage on Drywall
Water-damaged drywall reacts quickly to moisture. Gypsum cores soften, paper facing bubbles or peels, and seams weaken. Within hours, mold risks escalate if humidity remains elevated. Visible signs include discoloration, sagging, or a musty odor, but the real damage often extends behind the surface into insulation and wood framing.
Ignoring these issues leads to structural risks and escalating expenses. Professional assessment early on identifies the full scope, saving time and money. Homeowners who act decisively report restored peace of mind and properties that pass inspections with flying colors. The process demands precision: cutting too low leaves hidden moisture; cutting too high wastes material. Experienced teams balance both for optimal outcomes.
Identifying Water-Damaged Drywall: Signs and Assessment
Begin with a thorough inspection. Press gently on walls to detect softness or sponginess. Look for water lines, staining, or efflorescence on baseboards. Use a moisture meter to confirm readings above 15% indicate active problems.
Key identification steps include:
- Visual inspection for bulging, cracking, or peeling paint.
- Odor detection—a musty smell signals hidden mold.
- Moisture mapping with meters to trace water migration beyond visible lines.
- Electrical safety check—turn off power to affected circuits before probing.
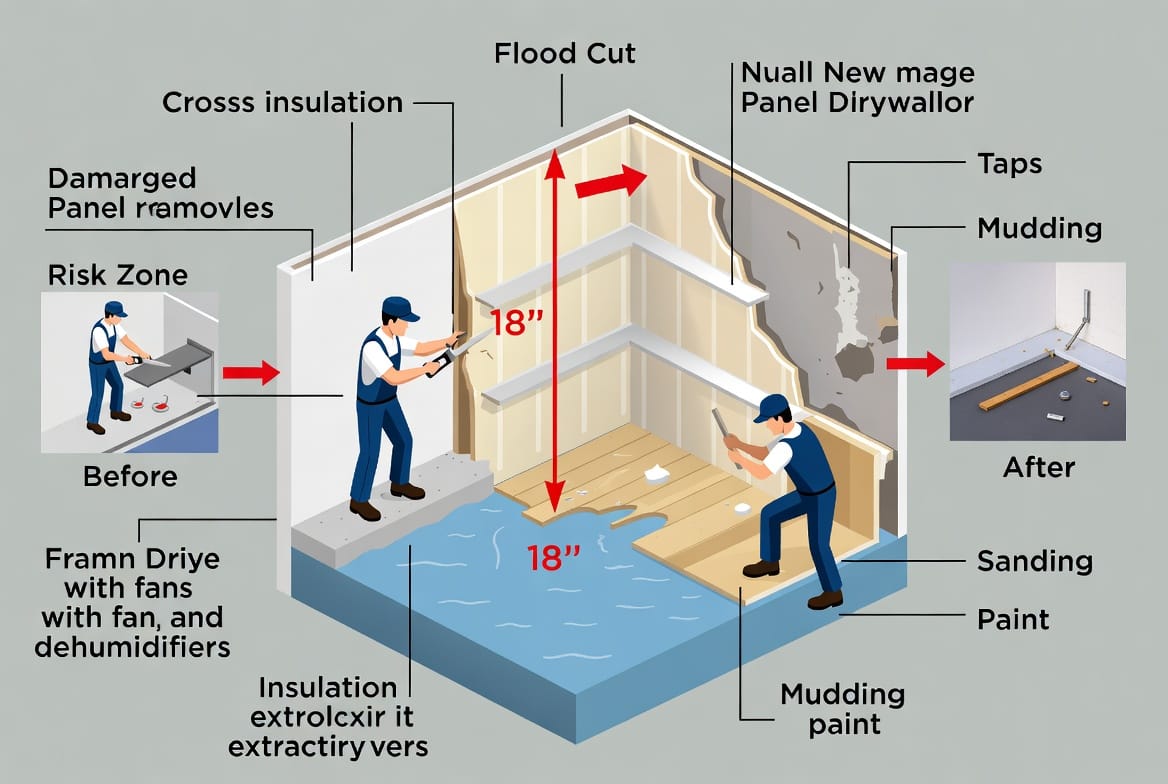
Once identified, mark the flood cut height consistently 12–18 inches above the highest visible damage or water line. This buffer captures all compromised material and prevents wicking. Cutting at this level is the industry standard for effective drywall removal and ensures framing dries completely.
Preparing for Safe Drywall Replacement
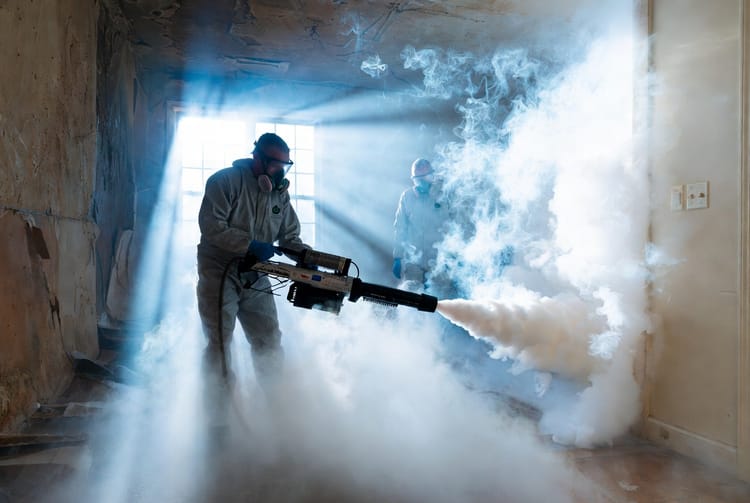
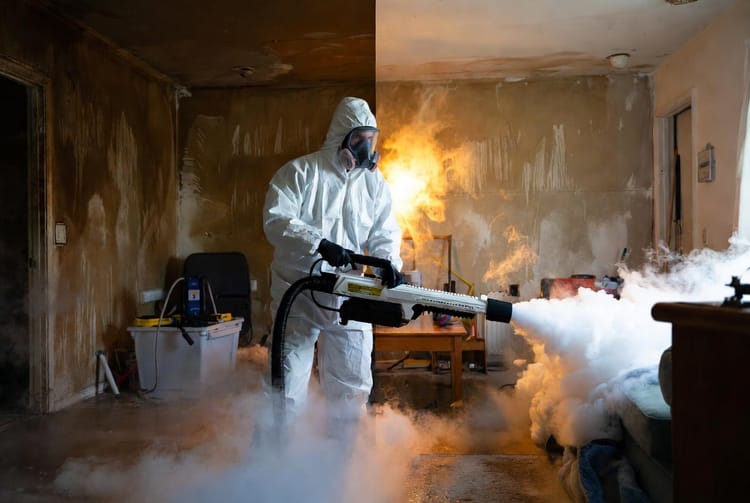
Safety remains paramount. Wear personal protective equipment and ventilate the area. Shut off electricity and water sources. Clear the space of furniture and belongings to protect them from dust.
Gather essential tools and materials upfront:
- Utility knives, drywall saws, and reciprocating saws for clean cuts.
- Shop vacuum with HEPA filter for dust control.
- Moisture meters and dehumidifiers for drying verification.
- Protective plastic sheeting and negative air machines if mold is suspected.
Preparation minimizes cross-contamination risks and streamlines the entire wet drywall replacement workflow. Professionals emphasize this phase because thorough prep reduces project time by up to 40% while protecting occupants.
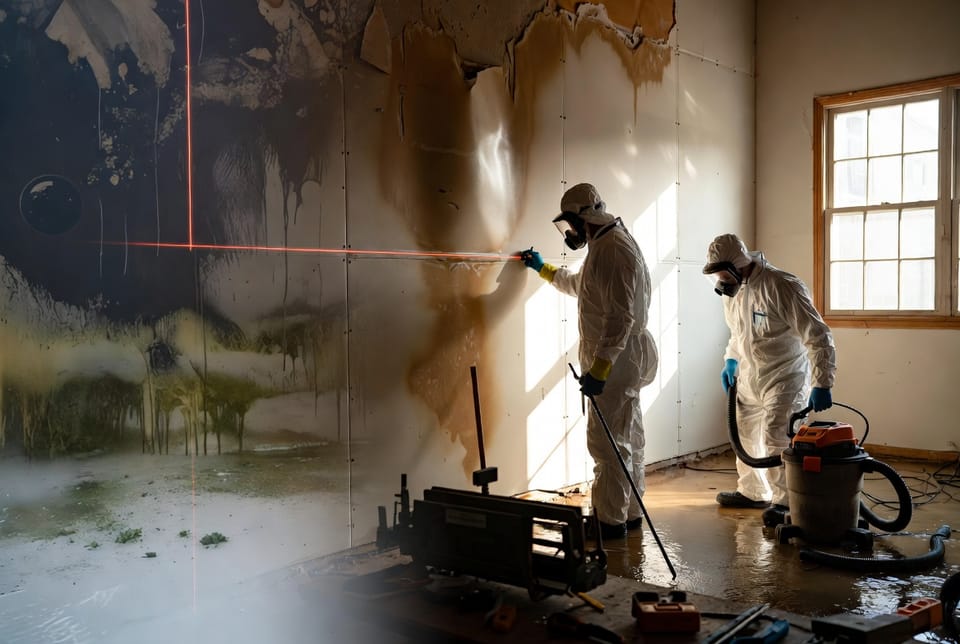
The Cutting Process: Precise Marking and Removal Techniques
Marking and cutting form the foundation of successful drywall repair after flooding. Use a level or laser to draw a straight horizontal line at the predetermined height. Score the panel deeply with a utility knife, then snap and cut through the back paper for a clean break.
Remove screws or nails along studs to free the damaged section. Work in manageable pieces to avoid straining framing. As you cut, vacuum dust continuously to maintain a safe environment.
Detailed cutting and removal steps:
- Measure and mark consistently across the entire wall.
- Cut above the water line to capture all wicking.
- Support the panel while detaching to prevent tearing into sound areas.
- Inspect exposed studs and insulation immediately for hidden saturation.
This methodical approach eliminates guesswork and guarantees complete removal of compromised drywall. Rushing this stage often leads to recurring moisture issues later.
Removing Insulation and Allowing Framing to Dry
After panel removal, extract wet insulation promptly. Fiberglass batts or blown-in material holds moisture and promotes mold when left in place. Dispose of saturated insulation according to local regulations.
Next comes the critical drying phase. Direct fans and industrial dehumidifiers toward exposed framing. Monitor moisture content daily until levels drop below 12%. This step typically requires 48–72 hours but can extend in humid climates.
Why complete drying matters:
- Prevents future mold colonization.
- Protects wood framing from rot and warping.
- Ensures new drywall adheres properly without trapping residual moisture.
Patience here delivers long-term structural integrity. Professionals use psychrometric charts and infrared cameras to verify dryness, providing data-driven assurance that the repair will last.
Materials Needed for Professional Patching
Quality materials distinguish amateur fixes from professional results. Select moisture-resistant or mold-resistant drywall for replacement panels. Match thickness—typically ½-inch or ⅝-inch—to existing walls.
Essential patching materials include:
- New drywall sheets cut to precise dimensions.
- Joint tape (paper or fiberglass mesh).
- Setting-type joint compound for strength and speed.
- Sanding screens and finishing knives.
- Primer and paint matched to surrounding walls.
- Fasteners rated for the application.
Stocking these items beforehand avoids delays and ensures seamless integration with original construction.
Step-by-Step Patching and Finishing
Install the new panel flush against studs and secure with screws every 8 inches. Apply joint tape over seams, then embed it in compound. Build up layers, allowing drying time between coats. Sand to a smooth finish before priming and painting.
Complete patching sequence:
- Fit and fasten replacement drywall securely.
- Tape and mud seams with multiple thin coats.
- Sand progressively finer for invisible joints.
- Prime to seal and paint to match existing texture.
The result? Walls that look factory-fresh. This phase transforms the work zone back into a livable, beautiful space.

Professional vs. DIY: When to Call the Experts
Small, isolated patches under four square feet may suit confident DIYers equipped with proper tools and safety knowledge. Larger areas, multiple walls, or cases involving electrical wiring, plumbing, or visible mold exceed typical homeowner capabilities.
Professional intervention is recommended when:
- Damage spans more than one room or floor.
- Hidden structural issues or extensive insulation replacement is required.
- Mold remediation exceeds basic cleaning.
- Insurance documentation and detailed reports are needed.
Experts bring specialized equipment, years of experience, and warranties that protect your investment. They navigate building codes effortlessly and deliver faster, higher-quality finishes.
Restoring Confidence After Flooding
Wet drywall replacement restores more than walls—it rebuilds security and comfort. Each step, from precise cutting to flawless finishing, contributes to a home that feels safe and looks impeccable. By understanding the process, you gain the knowledge to oversee repairs effectively or recognize when professional assistance delivers the best outcome.
Professional Water Damage Repair – Get Help Today