The Washing Machine Water Valve: Why It Won't Fill
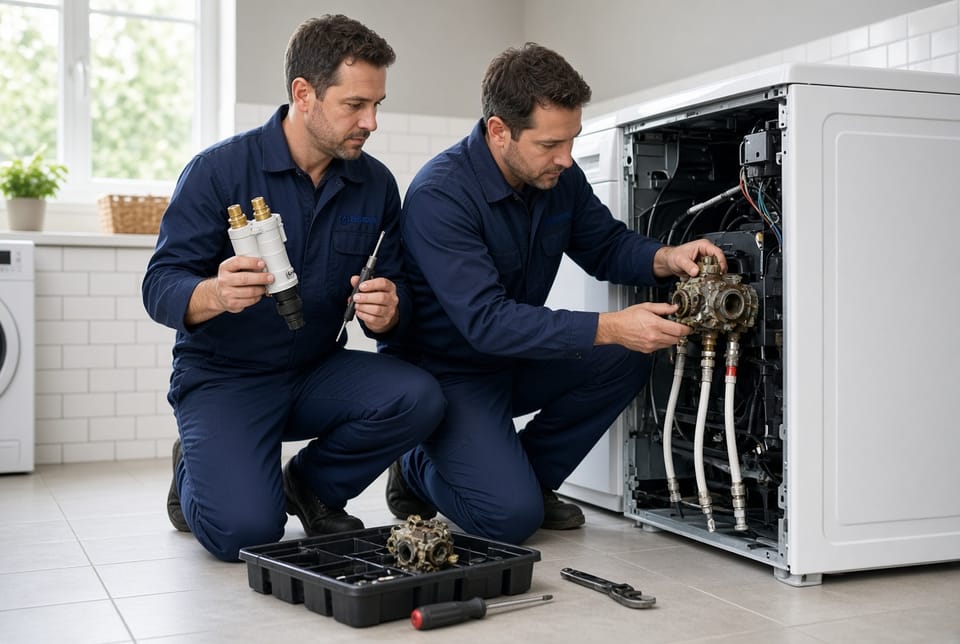
A washing machine that refuses to fill with water is one of the most frustrating household problems. Clothes sit in a dry drum, cycles stall, and daily routines grind to a halt. In the majority of these cases the culprit is not the entire machine but a single, relatively inexpensive component: the water inlet valve. This article explains exactly what the valve does, how to recognize when it has failed, and the proper way to replace it so your washer can fill normally again.
Restore Your Washer Fill Cycle – Call for Expert Repair
The water inlet valve (also called the water valve or fill valve) is the gatekeeper that controls every drop of water entering the tub. When it works, wash and rinse cycles proceed on schedule. When it fails, you get no water, an extremely slow fill, or error codes that stop the cycle. Understanding this part removes guesswork and helps you decide whether a straightforward replacement will solve the problem.
What the Water Inlet Valve Actually Does
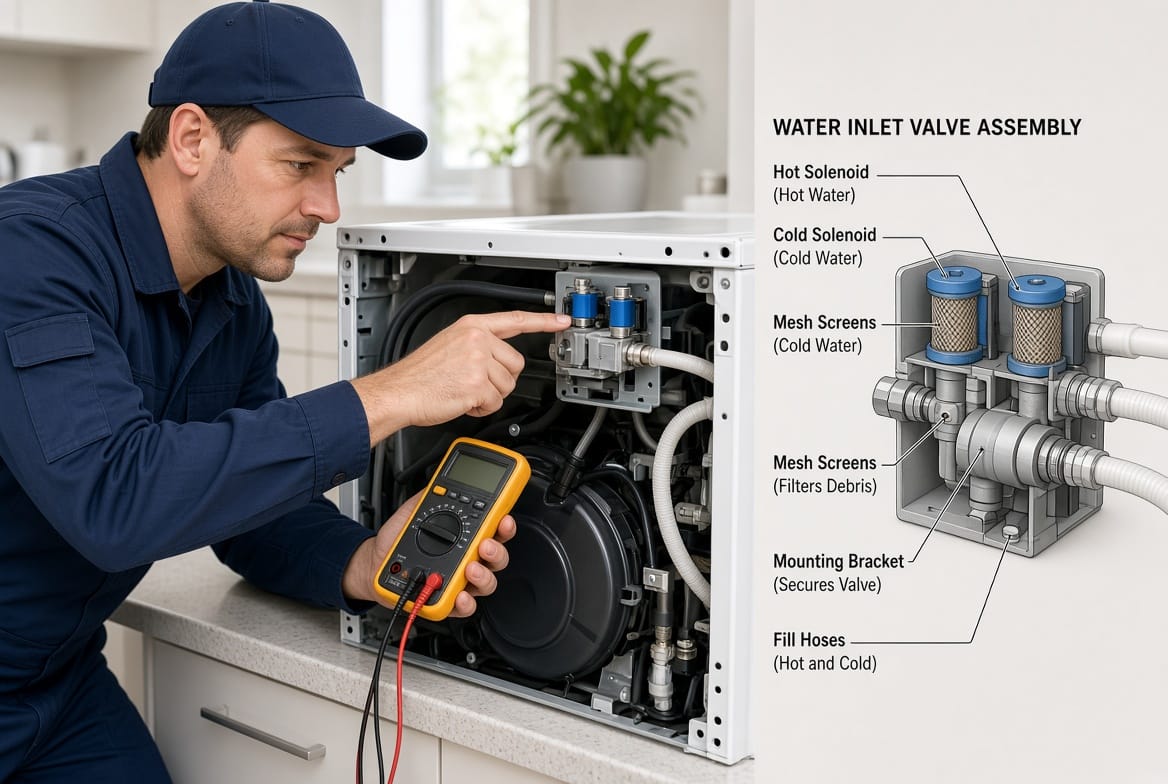
The valve is mounted at the back of the washer where the hot and cold household water hoses connect. Inside the valve body are one or more electrically operated solenoids. When the control board sends voltage to a solenoid, a plunger lifts and water flows through the corresponding port into the machine. Most modern washers have a dual-solenoid valve so the machine can mix hot and cold water to the exact temperature the cycle requires.
The valve does more than simply open and close. It:
- Regulates water entry according to the selected cycle and water-level sensor
- Prevents backflow when household pressure fluctuates
- Contains fine mesh screens that catch sediment before it reaches the tub
- Works in concert with the pressure switch or electronic water-level sensor to stop filling at the correct height
If the solenoids no longer respond, the screens become completely clogged, or the valve body cracks, water cannot enter or enters far too slowly. The result is a washer that appears “dead” at the start of a cycle even though power, the lid switch, and the drain pump may all be functioning perfectly.
How the Valve Receives Its Commands
The sequence is straightforward. You select a cycle and press start. The control board first confirms the lid or door is locked and the drain pump is not running. It then energizes the appropriate solenoid (or both) on the water inlet valve. Water flows through the valve, through the internal fill hose or dispenser, and into the tub. A pressure switch or analog sensor monitors the rising water level and signals the board to de-energize the solenoids once the target level is reached.
Any break in this chain—failed solenoid coils, a seized plunger, or a control-board signal that never arrives—stops the fill. Because the valve is the last mechanical component before water enters the machine, it is statistically one of the most common single-point failures when a washer will not fill.
Clear Signs the Water Valve Has Failed
Recognizing the symptoms early prevents unnecessary parts replacement and water damage. Watch for these specific indicators:
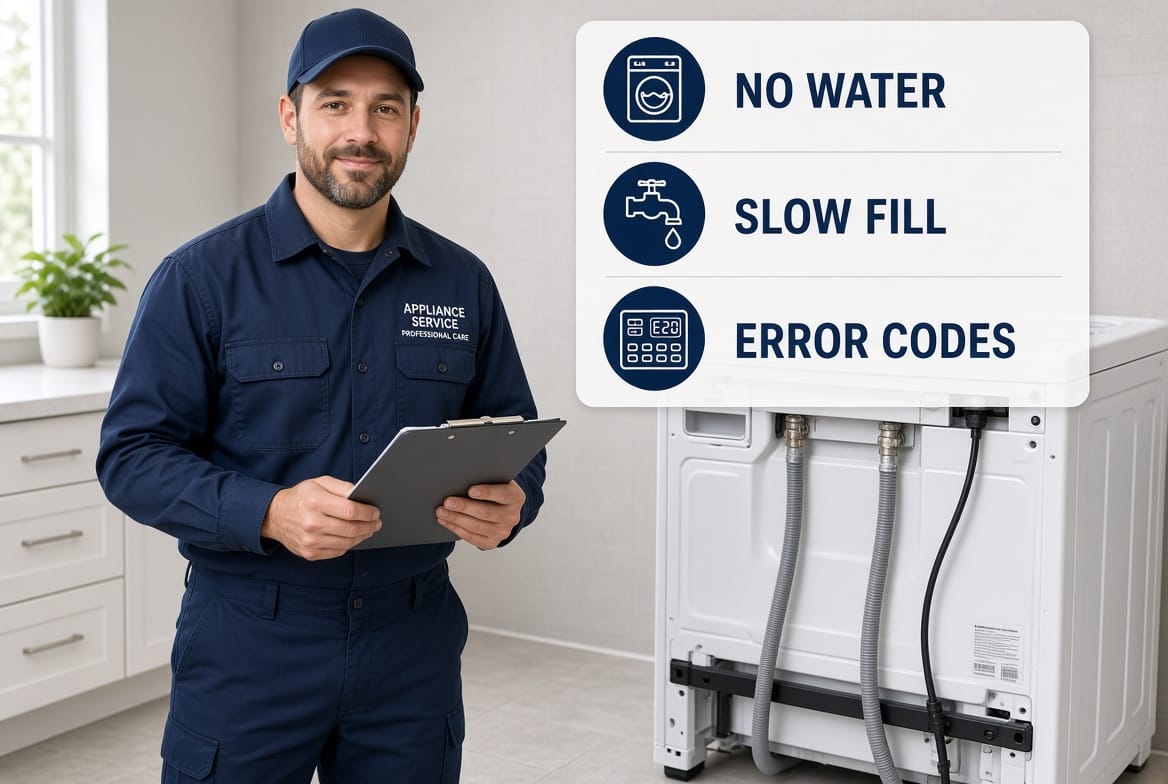
- No water at all during the fill portion of any cycle
- Slow fill that takes many minutes instead of the usual one to two minutes
- Water entering from only the hot or only the cold hose
- A faint buzzing or humming sound from the back of the machine with no water movement
- Visible leaking or dripping from the valve body or hose connections at the rear
- Error codes related to fill time, water supply, or pressure (codes vary by brand but commonly appear as fill-timeout or “no water” faults)
- The machine advancing to agitation or spin with little or no water in the tub
A completely silent machine that never attempts to fill often points to a control or lid-switch issue. A machine that clicks or hums but produces no water almost always points to the water inlet valve itself.
Confirming the Diagnosis Before Replacement
A few simple checks distinguish a bad valve from other possible causes:
- Verify household water supply. Open a nearby faucet to confirm both hot and cold water are flowing at normal pressure.
- Inspect the inlet hoses. Kinks, crushed sections, or completely closed shut-off valves will produce the same “no fill” symptom.
- Remove the hoses from the valve and examine the small mesh screens inside the valve ports. Heavy sediment can block flow even when the solenoids still click.
- Listen closely at the start of a cycle. A distinct click from the valve area followed by silence usually means the solenoid received power but the plunger did not open.
- If you are comfortable using a multimeter, unplug the machine, access the valve connector, and check solenoid coil resistance. An open circuit (infinite ohms) confirms a failed coil.
These steps take only a few minutes and prevent replacing a good valve when the real problem is a closed water tap or a clogged screen.
Safe Replacement of the Water Inlet Valve
Replacement is a standard repair that most homeowners or technicians can complete in under an hour when the correct part is on hand. Follow this sequence exactly.
Safety first. Unplug the washing machine from the wall outlet. Turn off both the hot and cold water supply valves at the wall. Have towels ready; a small amount of residual water will drain from the hoses.
Disconnect the supply hoses from the valve using adjustable pliers if the fittings are tight. Note which hose is hot and which is cold so they can be reconnected correctly. Place the hoses in a bucket to catch dripping water.
Move the washer away from the wall far enough to reach the rear panel. On many models the valve is accessible without removing the entire cabinet; on others a few screws or clips must be released. Photograph the wiring harness before unplugging it so reconnection is unmistakable.
Remove the mounting screws or clips that hold the valve to the cabinet. Gently pull the valve forward, disconnect any internal fill tubes, and lift the old valve out. Compare the new valve to the old one: port configuration, solenoid count, and mounting holes must match.
Install the new valve in reverse order. Seat the mounting tabs or screws securely, reconnect the internal tubes, plug the wiring harness back in, and reattach the hot and cold supply hoses. Hand-tighten the hose fittings first, then give each an additional quarter-turn with pliers—do not overtighten.
Restore water supply and check for leaks at every connection while the machine is still pulled out. Plug the washer back in, select a short rinse or fill cycle, and watch the tub fill at a normal rate. Once you confirm proper operation, slide the machine back into place.
Additional Considerations During Replacement
Use manufacturer-specified or high-quality aftermarket valves. Cheap generic valves often have weaker solenoids and coarser screens that fail sooner. If the original valve had a flow-meter or thermistor attached, transfer those components or purchase the exact matching assembly.
After installation, run a complete empty cycle and inspect the floor behind the machine one more time. A slow leak that appears only under pressure can cause hidden water damage if missed.
Preventing Future Valve Problems
A few habits extend valve life considerably. Inspect inlet hoses every six months for bulges or cracks and replace them every five years regardless of appearance. Periodically unscrew the hoses and rinse the mesh screens under running water. If you live in an area with hard or sediment-heavy water, consider a whole-house filter or at least a sediment filter on the washer supply lines. Avoid using the washer during known periods of very low household water pressure, as the solenoids work harder and heat up more.
These small steps keep debris from reaching the valve and reduce the electrical load on the coils.
When Professional Service Is the Better Choice
If the machine is still under warranty, if you are uncomfortable working with water and electricity, or if the valve is buried behind a complex cabinet that requires extensive disassembly, calling a trained technician is the safer and faster route. A professional arrives with the correct part, the proper tools, and the experience to spot related issues such as a failing control board or a damaged wiring harness that might otherwise be overlooked.
No water often means a bad valve. When the checks above point to the inlet valve and you prefer not to perform the replacement yourself. Experienced technicians can diagnose on-site, install a quality valve the same day, and restore normal filling so your laundry routine returns to normal without delay.
A failed water inlet valve is a common, well-understood repair. With the information in this article you can identify the problem confidently, decide whether to replace the part yourself, or schedule prompt professional service. Either path returns your washing machine to reliable operation and eliminates the inconvenience of a machine that simply will not fill.
Get Your Washing Machine Filling Again – Call Professionals