The Tree Stump Poisoning Method: Chemical Removal Step by Step
Removing a tree stump can feel like a daunting task after the tree itself has been cut down. Whether it’s an eyesore in your yard, a tripping hazard for your family, or an obstacle to new landscaping plans, stump removal is essential for maintaining a safe and beautiful property. While mechanical grinding offers quick results, the tree stump poisoning method provides a reliable, low-effort chemical alternative that homeowners and professionals alike can trust.
Get Professional Stump Removal Fast – Call Now!
This slow but highly effective approach uses specialized chemical stump removers to accelerate the natural decay process. In this comprehensive guide, we’ll walk you through every detail—from understanding how it works to executing the process safely. By the end, you’ll have the knowledge to decide if chemical removal is right for your situation.
Why consider the chemical stump poisoning method? It’s cost-effective, requires minimal heavy equipment, and minimizes disruption to your yard. With patience, you can achieve complete stump decomposition without the noise and expense of grinding machinery.
Understanding Chemical Stump Removers
Chemical stump removers are formulated to speed up the breakdown of wood fibers. The most common active ingredient is potassium nitrate, which acts as a powerful oxidizer. It draws moisture into the stump and encourages fungal and bacterial activity that naturally rots the wood from within.
Unlike harsh herbicides that might harm surrounding plants, quality stump killers are designed for targeted application. They soften the stump over weeks, making it easier to remove manually later if needed. This method is particularly suitable for stumps up to 12–18 inches in diameter, though larger ones may require more time and repeated treatments.
Key benefits include:
- No heavy machinery required – Ideal for homeowners with limited access or tight spaces.
- Lower immediate cost compared to professional grinding services.
- Environmentally considerate when used as directed, with minimal soil disturbance.
- High success rate for patient users who follow the steps precisely.
However, results aren’t instant. Expect 4–6 weeks (sometimes longer) for noticeable softening, depending on stump size, wood type, and weather conditions.
When to Choose Chemical Removal Over Other Methods
Before committing, evaluate your needs. The tree stump poisoning method shines in scenarios where:
- You want to avoid disturbing nearby roots or landscaping.
- Budget is a primary concern.
- The stump is in a hard-to-reach area.
- You prefer a hands-off approach after initial setup.
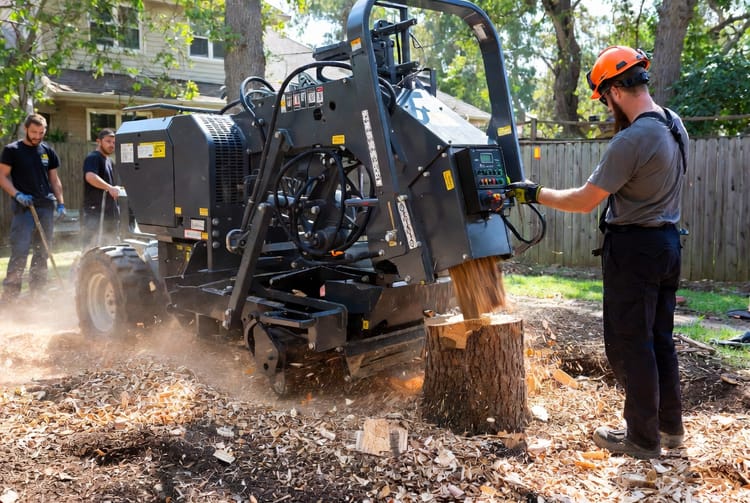
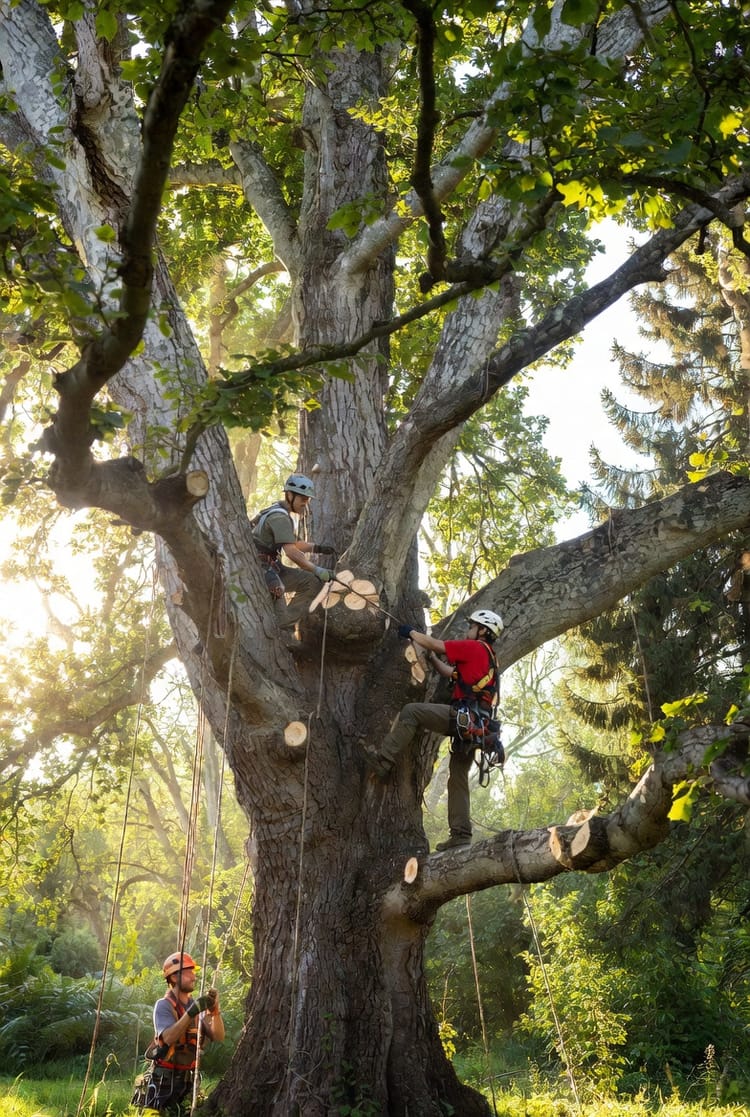
Mechanical grinding remains faster for urgent projects, but chemical methods offer a practical DIY solution that delivers professional-level results over time.
Pro Tip: Combine methods strategically—use chemicals first to weaken the stump, then finish with manual removal or professional grinding for stubborn cases.
Safety Precautions: Protect Yourself and Your Property
Safety comes first with any chemical treatment. Always prioritize protective measures to ensure successful and risk-free application.
- Wear chemical-resistant gloves, safety goggles, long sleeves, and pants.
- Work in well-ventilated areas and avoid inhaling dust from the remover.
- Keep children, pets, and livestock away from the treated area until fully decomposed.
- Check local regulations—some areas restrict certain chemicals.
- Store products securely and dispose of containers according to label instructions.
- Avoid applying during heavy rain or extreme heat, which can reduce effectiveness or cause runoff.
By following these guidelines, you minimize risks and protect your family while achieving excellent results. Professional services emphasize these precautions, giving you peace of mind.
Step-by-Step Application Process
Follow these detailed steps for optimal results with the tree stump poisoning method.
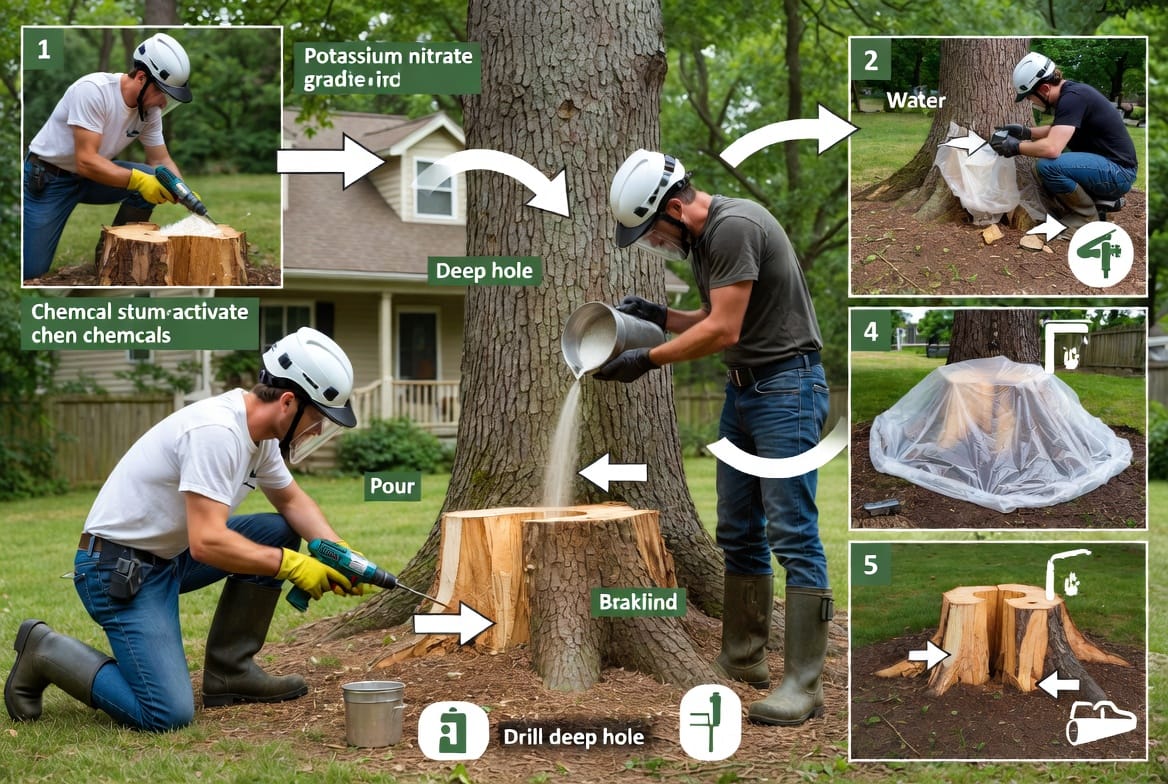
1. Prepare the Stump and Gather Materials
Clear debris around the stump and cut it as low to the ground as possible (ideally within a few inches). This maximizes contact surface for the chemicals.
Materials needed:
- High-quality potassium nitrate-based stump remover
- Power drill with spade or auger bits (1/2 to 1 inch diameter)
- Measuring cup or funnel
- Watering can or hose
- Plastic tarp or mulch for covering
- Protective gear
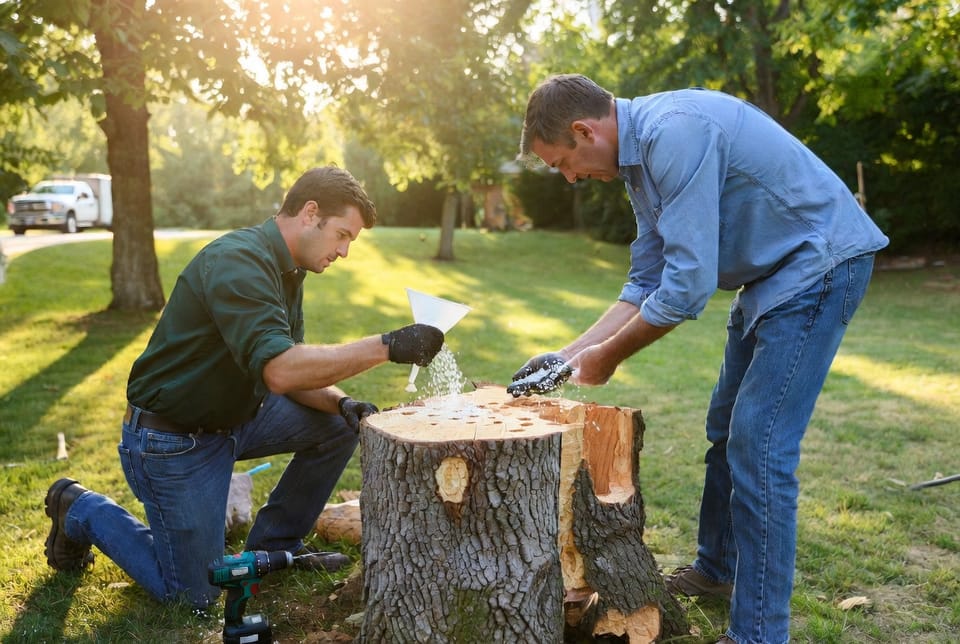
2. Drill Strategic Holes
Drill multiple holes 1–2 inches deep (deeper for larger stumps) across the top and sides of the stump. Space them 2–4 inches apart in a grid pattern. Wider and deeper holes allow better penetration of the chemical.
Bold reminder: Drill at slight downward angles to help retain the granules and water.
3. Apply the Chemical Remover
Fill each hole generously with the stump remover granules. Follow the product’s recommended dosage—typically 1–2 ounces per hole for average stumps. Use a funnel for precision and avoid spilling on surrounding grass.
4. Add Water and Activate
Pour water into each hole until the granules dissolve and the mixture becomes saturated. This activates the potassium nitrate, drawing moisture deep into the wood fibers.
5. Cover and Monitor
Cover the stump with a plastic tarp or thick layer of mulch to retain moisture and accelerate decay. Check periodically (every 1–2 weeks), adding more water and chemical as needed.
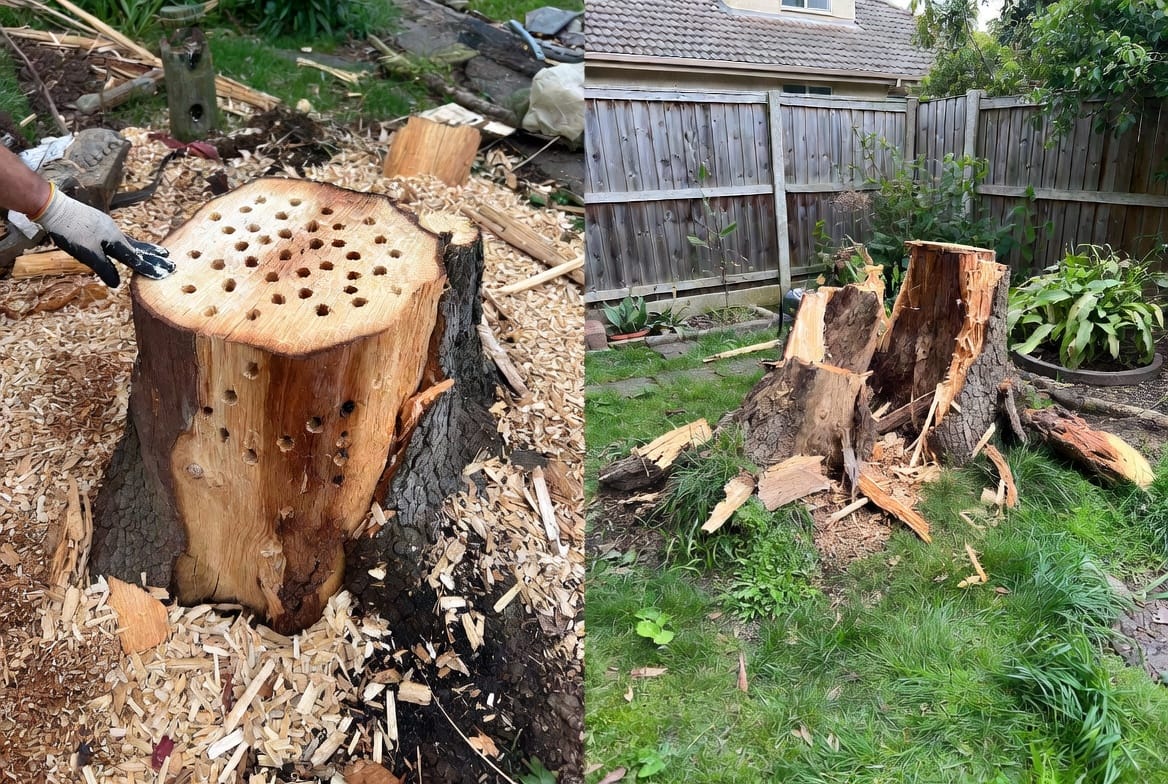
Expect the stump to soften significantly within 4–6 weeks. Once mushy, break it apart with an axe or shovel and remove the remnants. For very large stumps, repeat the process on remaining sections.
Factors Affecting Results and Troubleshooting
Several variables influence the timeline:
- Stump size and wood density: Hardwoods like oak take longer than softer pines.
- Weather conditions: Warm, moist environments speed decay.
- Application thoroughness: More holes and proper watering yield better outcomes.
If progress seems slow after 6 weeks, reapply chemicals or consider professional assistance. Common issues like dry conditions can be fixed by consistent watering.
Environmental Considerations and Best Practices
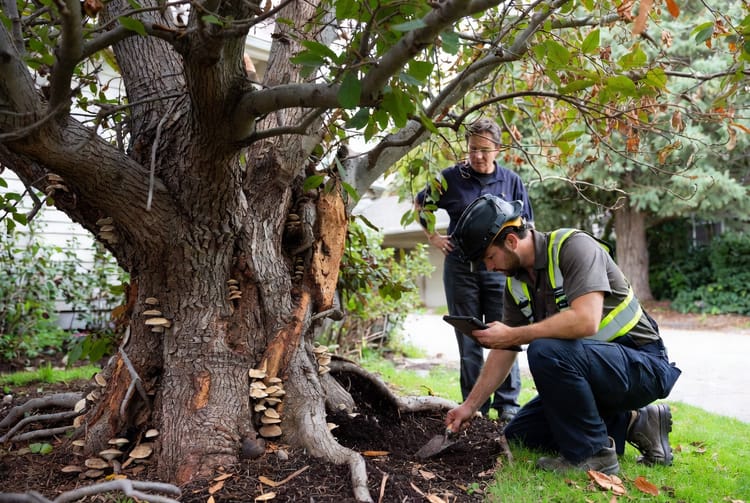
Responsible use ensures minimal impact. Choose EPA-approved products and apply only to the target stump. Monitor nearby vegetation for any signs of stress—though rare with proper technique, this helps maintain your yard’s health.
Many professionals recommend this method as part of broader tree care and property maintenance strategies, preserving soil integrity compared to aggressive mechanical options.
Frequently Asked Questions
How long does the tree stump poisoning method really take?
Most stumps show major softening in 4–6 weeks, with full decomposition possible in 1–3 months depending on conditions.
Is potassium nitrate safe for my lawn?
When applied correctly and contained, it poses low risk to surrounding grass. Always follow label directions.
Can I plant new trees or grass immediately after?
Wait until remnants are fully removed and the area is cleared. Test soil if concerned about chemical residue.
What if the stump is near my foundation or utilities?
Chemical methods are often safer than heavy equipment in sensitive areas—consult professionals for peace of mind.
Conclusion: Patience Delivers Powerful Results
The tree stump poisoning method proves that effective removal doesn’t always require speed or expensive machinery. By using chemical stump removers like those containing potassium nitrate, you can achieve thorough decay safely and affordably. This approach empowers homeowners to tackle the job confidently while maintaining a beautiful, hazard-free landscape.
Chemical removal takes patience—but the results are worth it. For faster options like professional stump grinding or complete tree service solutions. Our experienced team is ready to help restore your property quickly and expertly.
Expert Tree Stump Removal Solutions – Call Today!