The Three-Way Switch Wiring: Controlling Lights from Two Locations
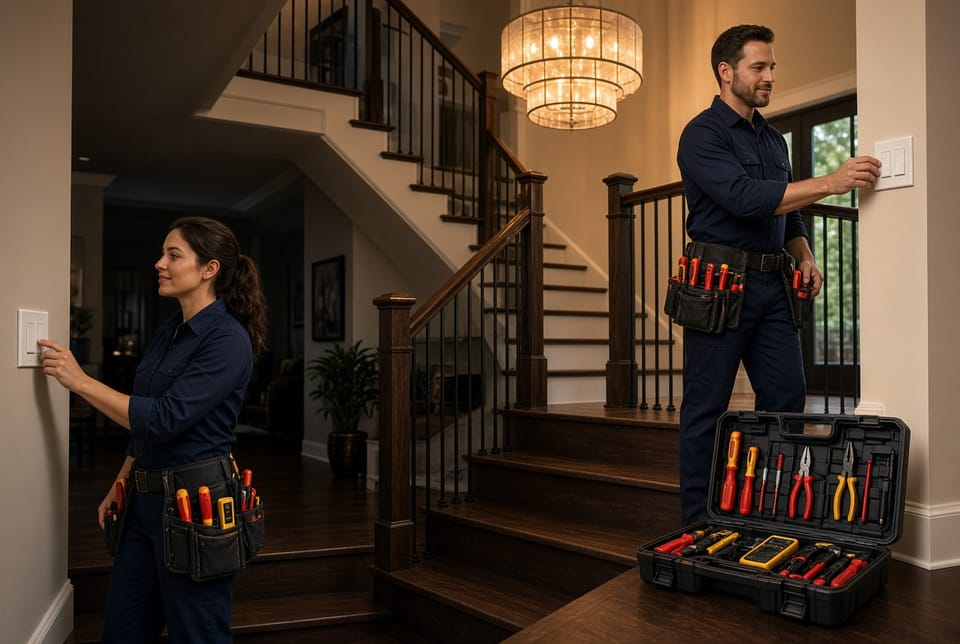
Controlling a light from two different places is one of the most useful and frequently requested electrical setups in homes and commercial spaces. Hallways, staircases, large living rooms, garages, and long corridors all benefit from the ability to turn lighting on or off without walking back to a single switch. That convenience is made possible by the three-way switch.
Call Today for Safe Two-Location Light Control
A correctly wired three-way system feels simple to the user: flip either switch and the light responds. Behind the wall, however, the circuit relies on a specific arrangement of terminals and traveler wires. When those connections are right, the installation is safe, code-compliant, and dependable for years. When they are wrong, lights behave unpredictably, connections overheat, or worse hazards appear.
This article explains what a three-way switch actually is, how the wiring works at a practical level, the role of the common terminal and travelers, and the mistakes that most often cause problems. The goal is clarity and confidence. Understanding the system helps homeowners recognize quality work and know when to bring in licensed professionals rather than risk an incorrect installation.
What a Three-Way Switch Actually Does
A standard single-pole switch has two terminals (plus ground) and simply opens or closes one hot path. A three-way switch is different. It contains three terminals besides the grounding screw: one common terminal (usually the darker or black screw) and two traveler terminals (typically brass-colored screws).
The switch does not have simple “on” and “off” positions in the same way a regular switch does. Instead, it selects which of the two traveler paths is connected to the common terminal. When two three-way switches are paired, they work together so that changing either switch’s position can complete or break the circuit to the light.
This arrangement allows control from two locations. Typical applications include:
- Top and bottom of a staircase
- Both ends of a hallway
- Opposite sides of a large room
- Garage entry from house and from vehicle door
- Outdoor lighting controlled from inside and from a patio
The result is safer movement through the space and greater convenience. No one has to cross a dark room or climb stairs in the dark just to reach a single switch.
How Two Three-Way Switches Communicate
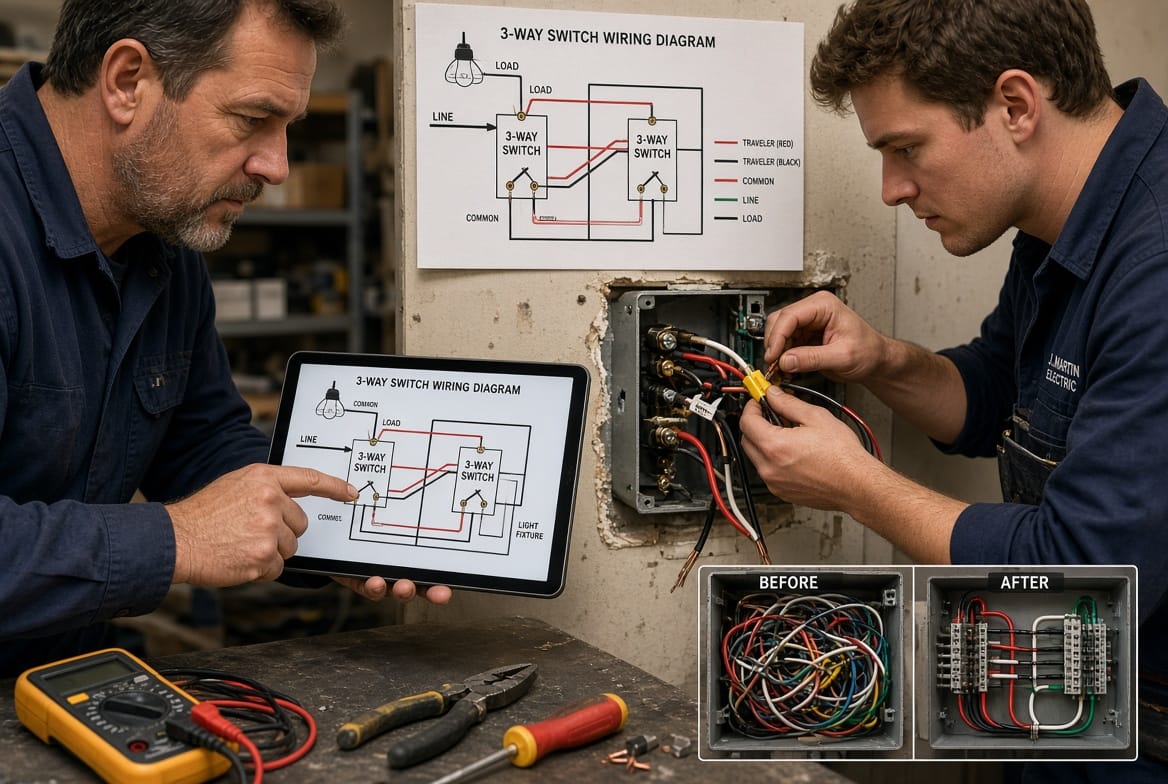
The secret is the pair of traveler wires that run between the two switches. These travelers act as alternative paths for the hot conductor. At any moment, one traveler is “live” depending on the position of the first switch; the second switch then decides whether that live traveler is connected onward to the light.
Think of it as a simple routing decision made at each location:
- The incoming power (line or “hot”) lands on the common terminal of the first three-way switch.
- The two traveler terminals of that switch connect to the two traveler terminals of the second three-way switch.
- The common terminal of the second switch feeds the switched-hot wire that goes to the light fixture.
Neutrals generally travel separately and join at the fixture or in a junction, not through the switches themselves. Grounds must be connected throughout for safety.
Because either switch can change the path, the light can be turned on or off from both places. The system is elegant once the terminals are identified correctly. It becomes unreliable the moment the common and traveler connections are swapped.
Wiring Basics: Terminals, Cables, and Power Location
Successful three-way wiring begins with the right cable and correct identification of each terminal.
Between the two three-way switches you need a 3-conductor cable plus ground (commonly 14/3 or 12/3 NM-B in residential work). That cable supplies the two travelers plus a possible hot or switched-hot conductor, depending on where power originates. A 2-conductor cable is not sufficient for the run between the switches.
Key identification points:
- Common terminal: Usually the odd-colored screw (black or dark). This is the most important connection on each switch. One common receives constant hot power; the other common sends power to the fixture.
- Traveler terminals: The two matching screws. The traveler wires may be swapped with each other without affecting function, but they must never be placed on a common terminal.
- Grounding screw: Green or bare. Always connected.
Power can arrive at different points in the circuit. The three most common layouts are:
- Power first arrives at one of the switch boxes. The hot lands on that switch’s common. Travelers run to the second switch. The second switch’s common goes to the light. Neutral continues to the fixture.
- Power arrives at the light fixture first. A 3-conductor cable then runs down to the switches. Careful identification of the switched-hot versus travelers is required.
- Power arrives at the second switch location. The same principles apply; only the labeling of conductors changes.
In every case the rule stays the same: commons are special, travelers are a pair. Marking wires with tape at both ends during installation prevents confusion later.
Always shut off the correct breaker, verify absence of voltage with a reliable tester, and follow current National Electrical Code requirements for box fill, cable support, and grounding. These steps protect both the installer and the future occupants of the building.
Recognizing and Avoiding Common Wiring Errors
Most three-way problems trace back to a handful of repeatable mistakes. Understanding them in advance saves time, money, and risk.
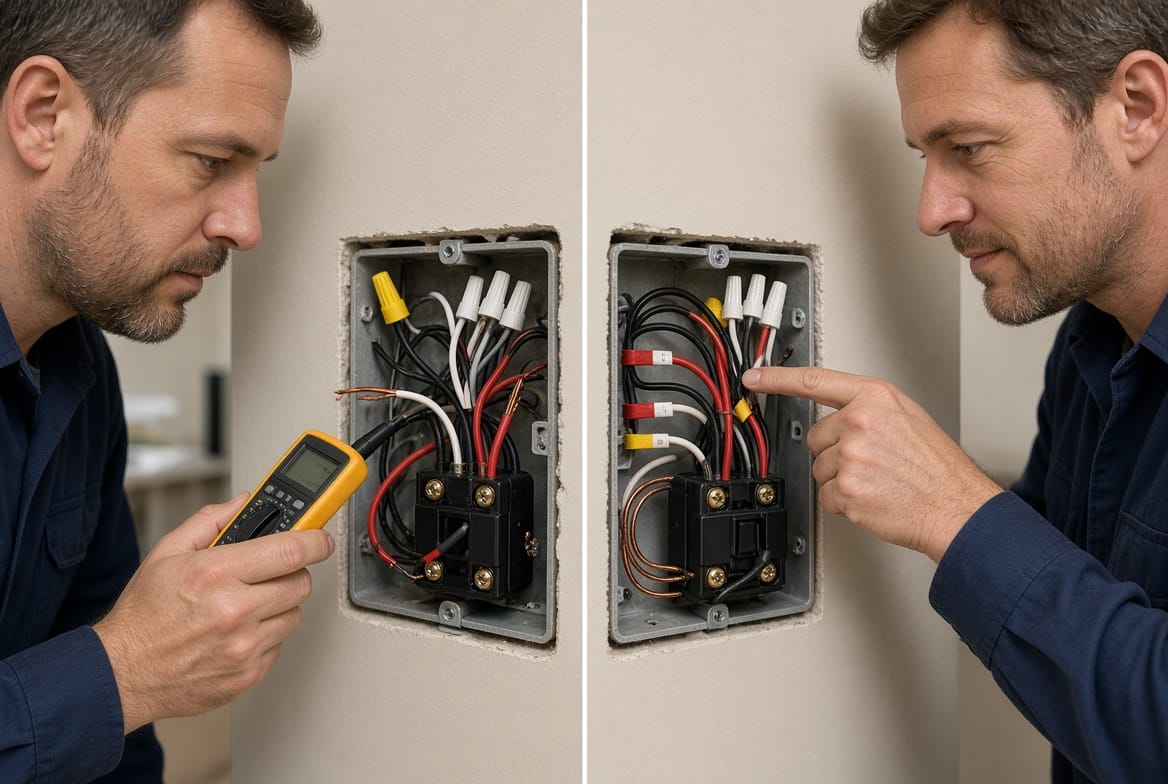
- Connecting a traveler wire to the common terminal. This is the single most frequent error. The light may work from only one switch, stay on permanently, or refuse to turn off.
- Using the wrong wire colors or failing to re-identify conductors. A white wire used as a traveler or hot must be marked with black or red tape at both ends. Unmarked whites create dangerous confusion for anyone who later opens the box.
- Running only 2-conductor cable between the two switches. Without a dedicated pair of travelers the circuit cannot function as a true three-way.
- Mixing up which cable is the incoming hot versus the load to the light. The common terminals then receive the wrong conductors.
- Loose terminal screws or inadequate wire wrapping. Poor mechanical connections produce heat, flickering, and eventual failure.
- Omitting the equipment grounding conductor or failing to bond metal boxes.
- Installing a standard single-pole switch in a three-way location. The extra traveler has nowhere to land.
- Ignoring box-fill calculations or using undersized boxes. Crowded connections increase the chance of shorts and make future service difficult.
These errors are not merely inconvenient. Incorrect hot connections can leave a fixture unexpectedly live. Overheated splices become a fire hazard. An unmarked white wire treated as neutral by a later worker can produce electrical shock.
A professional installation includes testing both switch positions, confirming the light operates from each location, verifying grounds, and labeling the conductors for the next person who opens the box.
Safety, Codes, and Why Professional Installation Matters
Electricity does not forgive guesswork. Even a circuit that “kind of works” can hide reversed connections or missing grounds that become dangerous under load or during a fault.
Licensed electricians bring several advantages:
- Accurate identification of existing wiring in older homes where colors and cable types vary.
- Knowledge of local amendments to the National Electrical Code.
- Proper use of testers, torque specifications on terminals, and listed materials.
- Ability to expand the system later (for example, adding a four-way switch for a third location) without rework.
- Insurance and permitting that protect the homeowner.
Homeowners who understand the principles outlined above can have informed conversations with their electrician and can recognize whether the finished work matches the intended design. They should not, however, treat a three-way circuit as a casual weekend project unless they already possess the training, tools, and permits required.
Signs that the existing wiring needs attention include lights that only respond from one switch, flickering when either switch is operated, warm switch plates, or breakers that trip intermittently. Any of these symptoms warrant a professional evaluation rather than further experimentation.
The Value of Getting It Right the First Time
A properly executed three-way installation delivers daily convenience and measurable safety. Occupants can light a path before they enter it and extinguish the light after they leave, reducing both accidents and wasted energy. The switches themselves last longer because connections are tight and currents follow the designed paths. Future upgrades—dimmers rated for three-way use, smart switches, or additional control points—become straightforward instead of a tracing nightmare.
The difference between a frustrating, unreliable circuit and a seamless one almost always comes down to respect for the common terminal and the traveler pair. Those two details, executed with the correct cable and careful labeling, produce a system that simply works.
Call to Action
Wire three-way switches correctly. Incorrect traveler or common connections create unreliable lighting and real safety risks. For dependable, code-compliant installation or repair of three-way switch systems. They will evaluate the existing wiring, perform the work safely, and leave you with lighting you can control confidently from two locations.
Get Reliable Lights from Two Locations – Call Today