The Smoke Detector Installation: Placement and Interconnection
Smoke detectors remain one of the most reliable, affordable, and proven layers of life safety inside any residence. When a fire starts, the difference between a close call and a tragedy is often measured in seconds. Correct smoke detector installation, thoughtful placement, and reliable interconnection give those seconds back to every person in the home. This guide explains how to position units, how the two primary sensing technologies differ, and why linking every detector so they all sound together is no longer optional—it is essential.
Protect Every Bedroom and Level – Schedule Installation Now
A properly designed system does more than make noise in one room. It creates an early-warning network that reaches sleeping occupants, alerts people on other floors, and buys the time needed to escape. The following sections walk through the principles that professional installers follow every day so families can rest with greater confidence.
Why Correct Installation Directly Protects Lives
Fire does not announce itself politely. Flames can grow from a small ignition source to a room-engulfing event in minutes. Smoke, heat, and toxic gases travel even faster through hallways and stairwells. A detector that is missing, poorly located, or isolated from the rest of the home can leave occupants unaware until escape routes are already compromised.
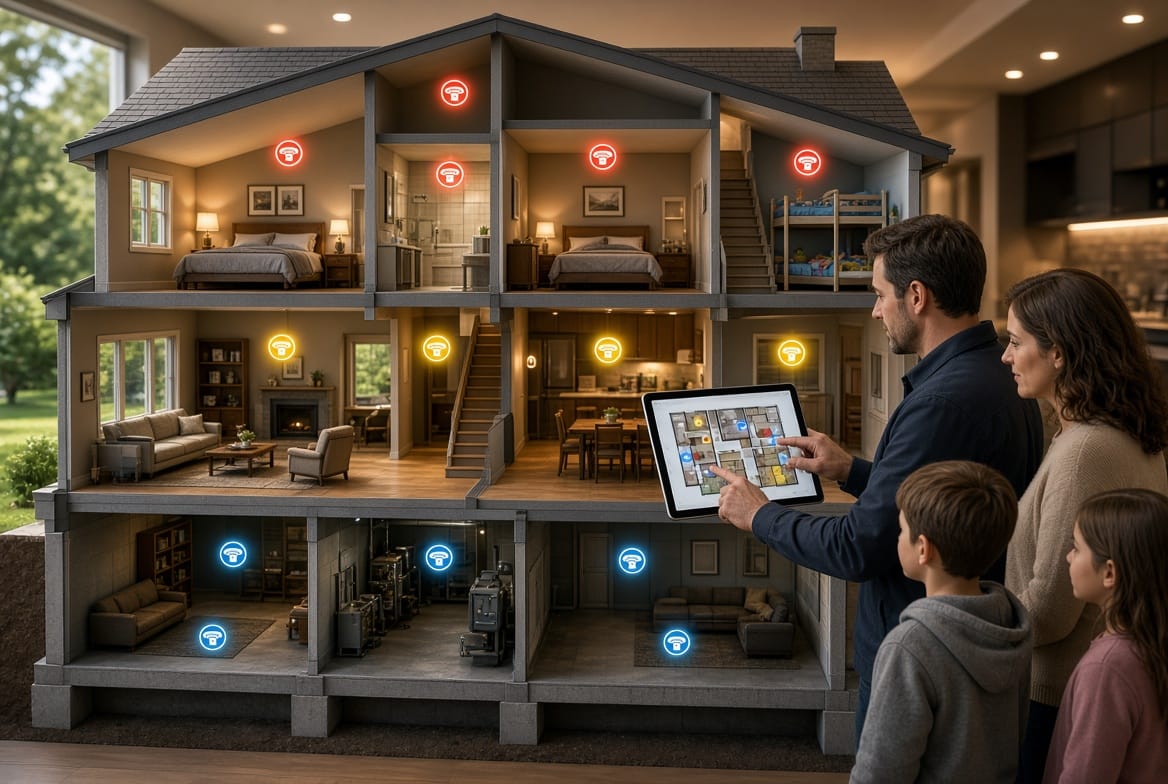
Life safety begins with coverage. Every sleeping area, every hallway that leads to those rooms, and every level of the dwelling—including finished and unfinished basements—must have working protection. When those devices are also interconnected, the first detector that senses trouble immediately activates every other unit. A fire that starts in a basement workshop therefore wakes the family on the second floor at the same moment.
This networked approach removes the dangerous assumption that someone will hear a distant alarm. Children, older adults, and deep sleepers benefit most. The goal is simple and non-negotiable: no one should have to wait for smoke to reach their own bedroom before they receive the warning.
Understanding Detector Types: Ionization Versus Photoelectric
Not every smoke detector reacts to fire the same way. Two core technologies dominate residential use, and each has strengths that matter for life safety.
Ionization smoke detectors contain a small amount of radioactive material that ionizes the air inside a sensing chamber. When smoke particles enter, they disrupt the electrical current and trigger the alarm. These units typically respond faster to fast-flaming fires—the kind that produce little visible smoke at first but generate intense heat quickly, such as a grease fire or burning paper.
Photoelectric smoke detectors use a light source and a sensor. In normal conditions the light beam misses the sensor. When smoke particles scatter the light onto the sensor, the alarm sounds. Photoelectric models excel at detecting slow, smoldering fires—the kind that can smolder for a long time inside upholstery, wiring, or bedding before bursting into open flame. These fires produce large amounts of visible smoke and are responsible for a significant share of fatal residential incidents that occur while people sleep.
Many modern units combine both technologies in a single housing, often called dual-sensor or combination detectors. Dual-sensor devices reduce the chance that one type of fire will go unnoticed. Some households also add heat detectors in kitchens or garages where cooking or vehicle exhaust would cause frequent nuisance alarms from smoke-only units.
Choosing the right mix is part of a complete smoke detector installation plan. A professional evaluates the layout, cooking habits, and sleeping patterns of the household and recommends the combination that delivers the earliest, most reliable warning without creating so many false alarms that residents disable the system.
Placement Principles That Maximize Warning Time
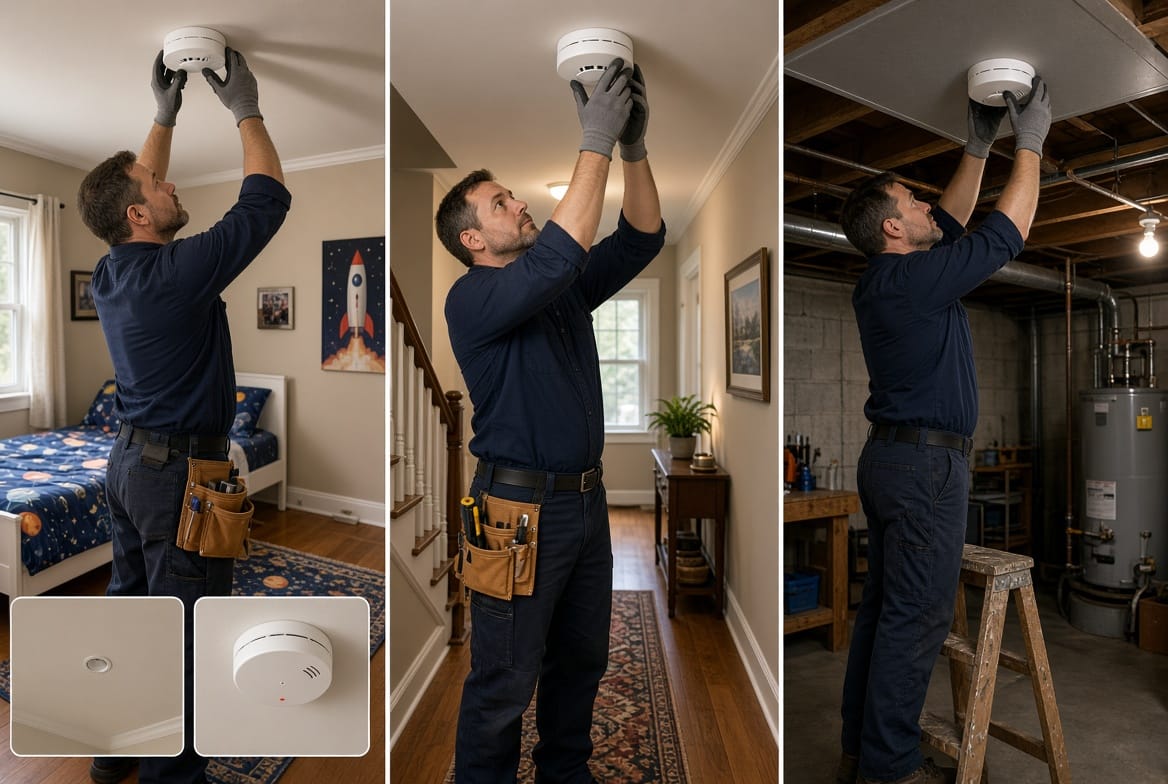
Location determines whether a detector can actually “see” the smoke in time. Industry-accepted practice places units:
- Inside every bedroom
- Outside each sleeping area (typically in the hallway)
- On every level of the home, including the basement
- At the top of stairways that serve as escape routes
Ceiling mounting is preferred because smoke rises. When a ceiling installation is impractical, wall mounting is acceptable provided the detector sits high on the wall, a few inches below the ceiling, and away from corners where stagnant air can delay detection.
Avoid placing detectors in “dead-air” spaces such as the peak of a vaulted ceiling or directly in corners. Keep them a reasonable distance from bathrooms (steam), kitchens (cooking particles), and supply-air vents that can blow smoke away from the sensor or trigger nuisance alarms. In larger rooms or open-plan areas, additional units may be required so that no point on the ceiling is farther than the recommended spacing from a detector.
These rules exist because smoke behavior is predictable. A detector in the hallway outside bedrooms will usually sense smoke traveling from a living-room fire before the smoke fills the bedrooms themselves. A unit on every level intercepts fire that starts below or above the sleeping floor. Together they form overlapping zones of protection.
Interconnection: Why Every Detector Must Talk to the Others
A single, standalone detector can only protect the room it occupies. Interconnection changes that limitation. When detectors are linked—either by hard-wired conductors or by reliable wireless protocols—the activation of any one unit instantly sounds every other unit in the dwelling.
The practical result is a whole-home alert. A smoldering fire in a first-floor laundry room does not remain a local event. The interconnected network wakes occupants two floors above. Parents hear the alarm even if their bedroom door is closed. Guests in a finished basement receive the same warning as the family upstairs.
Wired interconnection has long been the standard in new construction. Wireless interconnection has made the same level of protection practical for existing homes without opening walls. Both methods must meet current safety standards so that a single point of failure does not silence the entire system. Battery backup remains essential in either case; power outages should never disable the life-safety network.
Interconnection also supports future expansion. Additional detectors, carbon-monoxide combination units, or smart-home notification modules can join the same network. The underlying principle stays constant: the first device that senses danger must notify the entire household at once.
Professional Installation Versus Do-It-Yourself Risks
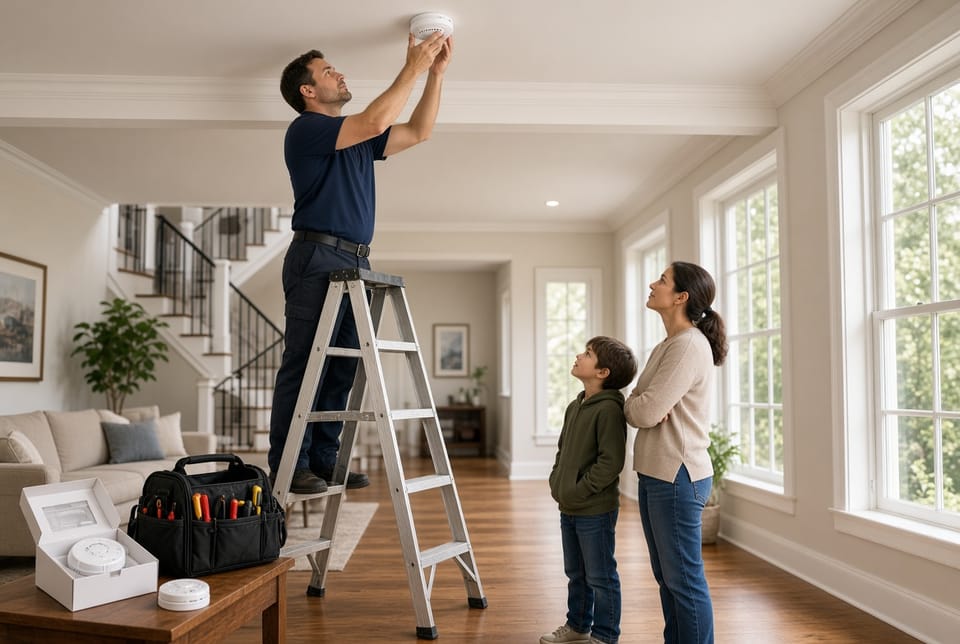
Many homeowners can mount a battery-operated detector. Fewer can correctly plan coverage, select appropriate sensor types, run interconnection wiring or pair wireless units, and verify that the system meets current life-safety expectations. Common errors include placing units too close to kitchens, omitting basement or hallway coverage, failing to interconnect, or using expired or incompatible devices.
A trained installer evaluates ceiling height, airflow patterns, existing electrical circuits, and the age of current detectors. Older ionization-only units may be replaced with dual-sensor or photoelectric models. Wiring is inspected for proper gauge and secure connections. After physical installation, the entire network is tested so that triggering one detector confirms every other unit responds.
The modest extra time and cost of professional work eliminate the hidden risks of an incomplete or poorly executed system. Families gain documented coverage rather than a collection of isolated gadgets.
Ongoing Care That Keeps the System Ready
Even a perfectly installed network requires simple, regular attention. Test every detector monthly by pressing the test button and confirming that all interconnected units sound. Replace batteries at least once a year—or immediately when a unit chirps. Most manufacturers recommend replacing the entire detector every ten years because sensors lose sensitivity over time.
Vacuum the exterior gently to remove dust that can delay response. Never paint over a detector or hang decorations that block the sensing chamber. Keep a written record of test dates and replacement dates so nothing is overlooked.
These habits turn a one-time smoke detector installation into lasting protection. The devices remain silent most of the year; their value appears only when seconds matter.
Common Placement and Interconnection Mistakes to Avoid
- Installing detectors only on one level and assuming sound will carry
- Locating units inside kitchens or directly above stoves
- Mounting too close to ceiling corners or HVAC vents
- Using only ionization or only photoelectric technology throughout the home
- Leaving detectors as standalone units instead of interconnecting them
- Ignoring the ten-year replacement interval
Each of these errors reduces warning time. Correcting them restores the safety margin the system was designed to provide.
Final Reminder and Next Step
Correct placement and reliable interconnection are not decorative upgrades. They are fundamental life-safety measures. A detector in every bedroom, outside sleeping areas, and on each level, all sounding together, gives occupants the earliest possible chance to escape.
Install smoke detectors correctly. Incomplete coverage or isolated units leave dangerous gaps. For professional planning, installation, interconnection, and testing. A qualified technician will evaluate the home, recommend the right mix of ionization, photoelectric, or dual-sensor units, and leave a fully functioning whole-home alert system that families can trust.
Don’t Risk Isolated Alarms – Call for Expert Smoke Detector Setup