The Outlet Not Working: Troubleshooting Common Causes
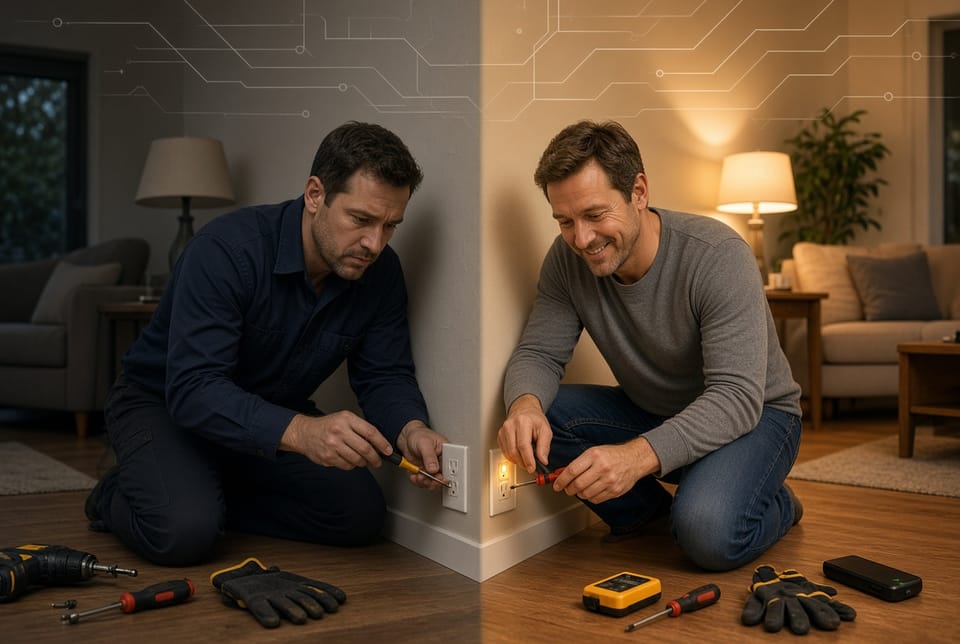
A suddenly dead outlet can halt everything from charging phones to running kitchen appliances. The good news is that the majority of these failures stem from a handful of straightforward, fixable issues rather than a complete electrical system collapse. This DIY guide focuses on the four most common culprits—tripped GFCI, tripped breaker, loose wiring, and a truly dead outlet—and walks you through safe, methodical troubleshooting so you can restore power with confidence.
Call Now for Fast Electrical Outlet Repair
Electricity rewards caution. Follow every step carefully, use the right tools, and never hesitate to stop if something feels beyond your comfort level. Professional electrical repair is only a phone call away at (855) 321-3424.
Safety First: Essential Precautions Before You Begin
Working with household wiring carries real shock, fire, and electrocution risks. Treat every outlet as live until you have confirmed otherwise with a tester.
- Wear dry, rubber-soled shoes and keep hands dry.
- Use a non-contact voltage tester or receptacle tester before touching any wires or screws.
- Turn off the corresponding breaker at the panel when you plan to remove an outlet cover.
- Never work on wet surfaces or in damp conditions.
- If you smell burning plastic, see scorch marks, or hear buzzing, stop immediately and call a licensed electrician.
These simple habits dramatically reduce danger while you diagnose the problem.
Cause 1: Tripped GFCI Outlet
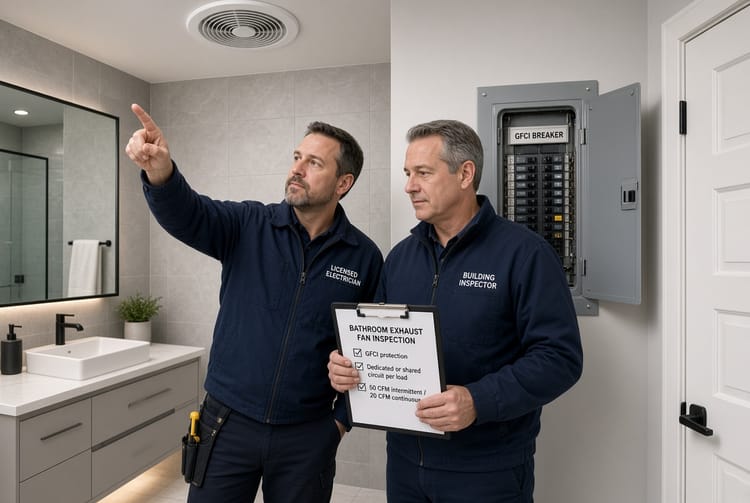
Ground-fault circuit interrupter (GFCI) outlets protect against electrical shock in kitchens, bathrooms, garages, and outdoor locations. They trip when they detect even a tiny imbalance in current—often caused by moisture, a faulty appliance, or an overloaded circuit.
A tripped GFCI looks like a normal outlet except the RESET button has popped out. Many homeowners overlook the GFCI because it may be located in a different room or even outside.
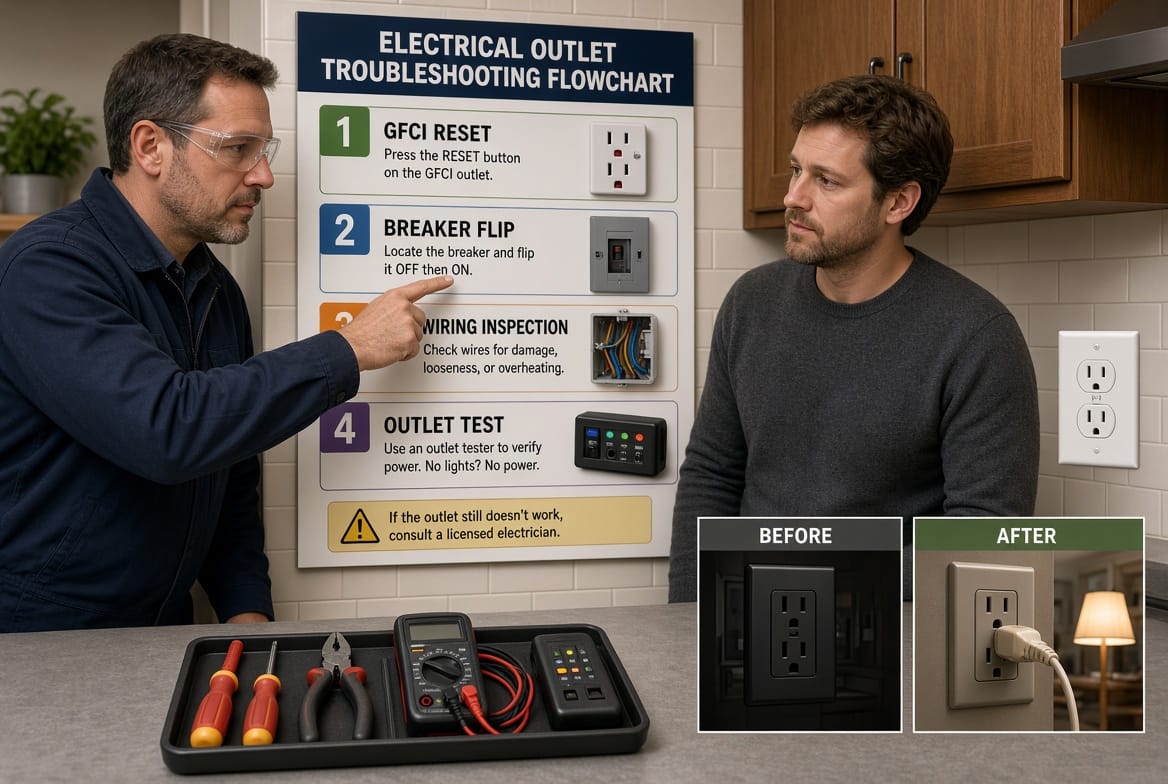
Step-by-step GFCI reset:
- Unplug every device from the suspect outlet and any outlets downstream of it.
- Locate the GFCI. Press the TEST button first; you should hear a click. Then firmly press RESET.
- Plug a known-working lamp or phone charger into the outlet. If it works, the problem is solved.
- If the GFCI immediately trips again, unplug all devices on that circuit and reset once more. A persistent trip usually indicates a ground fault in an appliance or damaged wiring.
- Test neighboring outlets. GFCIs often protect multiple receptacles; resetting one can restore several.
If the GFCI will not reset or trips repeatedly, do not force it. Repeated tripping is a warning that professional diagnosis is needed.
Cause 2: Tripped Circuit Breaker
The circuit breaker is the next most frequent reason an outlet stops working. Breakers trip to prevent overheating when a circuit is overloaded or a short occurs.
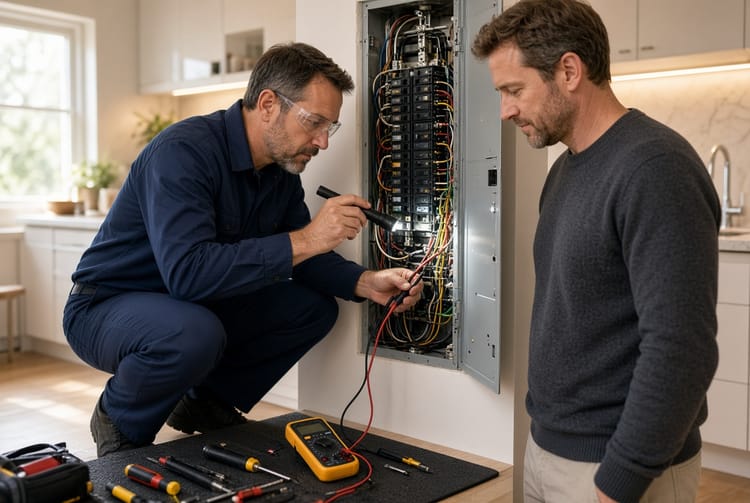
Open your electrical panel and look for a breaker handle that sits in the middle position or is clearly flipped opposite the others. A tripped breaker is easy to miss if the panel is poorly labeled.
Step-by-step breaker reset:
- Identify which breaker controls the dead outlet. Labels help, but you may need to test by process of elimination.
- Flip the breaker fully to the OFF position, pause two seconds, then flip it firmly back to ON. You should feel a solid click.
- Return to the outlet and test with a lamp or receptacle tester.
- If the breaker trips again instantly, an overload or short exists. Unplug high-draw devices (space heaters, hair dryers, power tools) and try once more.
- Persistent tripping after removing loads points to wiring damage or a failing breaker—both require a licensed electrician.
Never tape a breaker in the ON position or replace it with a higher-amp breaker. That creates a serious fire hazard.
Cause 3: Loose Wiring Connections
Over years of use, the screws that clamp wires inside an outlet can loosen from vibration, heat expansion, or poor original installation. Loose connections create intermittent power or a completely dead receptacle while neighboring outlets on the same circuit still work.
This repair requires removing the outlet cover and, in most cases, pulling the receptacle out of the box. Only proceed if you are comfortable working inside an electrical box and have already confirmed the circuit is off.
Step-by-step loose-wiring inspection:
- Turn off the correct breaker and verify the outlet is dead with a voltage tester.
- Remove the cover plate and the two screws holding the outlet to the box. Gently pull the receptacle forward.
- Inspect the side-terminal screws or back-wire holes. Look for wires that have slipped out, scorched insulation, or screws that turn freely.
- Tighten every terminal screw firmly (but do not over-tighten and strip the threads). If a wire is damaged, it must be recut and restripped or the outlet replaced.
- Push the outlet back into the box, taking care not to pinch wires, then reinstall the screws and cover plate.
- Restore power and test.
If you discover melted plastic, blackened wires, or a burning smell, stop. These signs indicate overheating that a simple tightening will not fix.
Cause 4: Dead or Failed Outlet
Sometimes the outlet itself has simply reached the end of its life. Internal contacts wear out, the plastic housing cracks, or a previous overload damages the receptacle beyond repair. A dead outlet often feels loose when you insert a plug, shows discoloration, or fails a receptacle tester even after GFCI and breaker checks.
Replacement is a moderately advanced DIY task.
Step-by-step outlet replacement:
- Confirm power is off at the breaker and test again.
- Photograph the existing wiring so you can match hot (usually black), neutral (white), and ground (bare or green) connections.
- Disconnect the old outlet and connect the new one exactly the same way. Use the side-screw terminals rather than back-stab holes for a more reliable connection.
- Ensure the ground wire is securely attached.
- Reinstall, restore power, and test both slots with a receptacle tester. The tester should show correct wiring (two amber lights on most models).
Always purchase a quality, tamper-resistant outlet that matches the amperage of the circuit (typically 15 A or 20 A).
Extra Tips for Reliable Results
- Keep a simple receptacle tester and non-contact voltage tester in your toolbox; they cost little and prevent guesswork.
- Label every breaker in your panel the next time you have the cover off. Future troubleshooting becomes far faster.
- Avoid plugging high-wattage devices into the same circuit as sensitive electronics.
- Test GFCIs monthly by pressing the TEST button; they should trip and then reset cleanly.
- If multiple outlets on different circuits fail at the same time, the issue may lie with the main panel or utility service—call a professional immediately.
When to Stop and Call a Professional
DIY troubleshooting is appropriate only when the problem is clearly one of the four causes above and you feel confident with basic electrical work. Call for licensed electrical repair at (855) 321-3424 if:
- The breaker or GFCI will not stay reset.
- You see burn marks, melted plastic, or smell ozone.
- Wiring inside the box looks damaged or aluminum (special connectors required).
- You are uncomfortable removing an outlet or working in the panel.
- The problem affects half the house or coincides with flickering lights.
A qualified electrician can diagnose hidden faults, replace damaged wiring, and ensure everything meets current code—protecting both your home and your family.
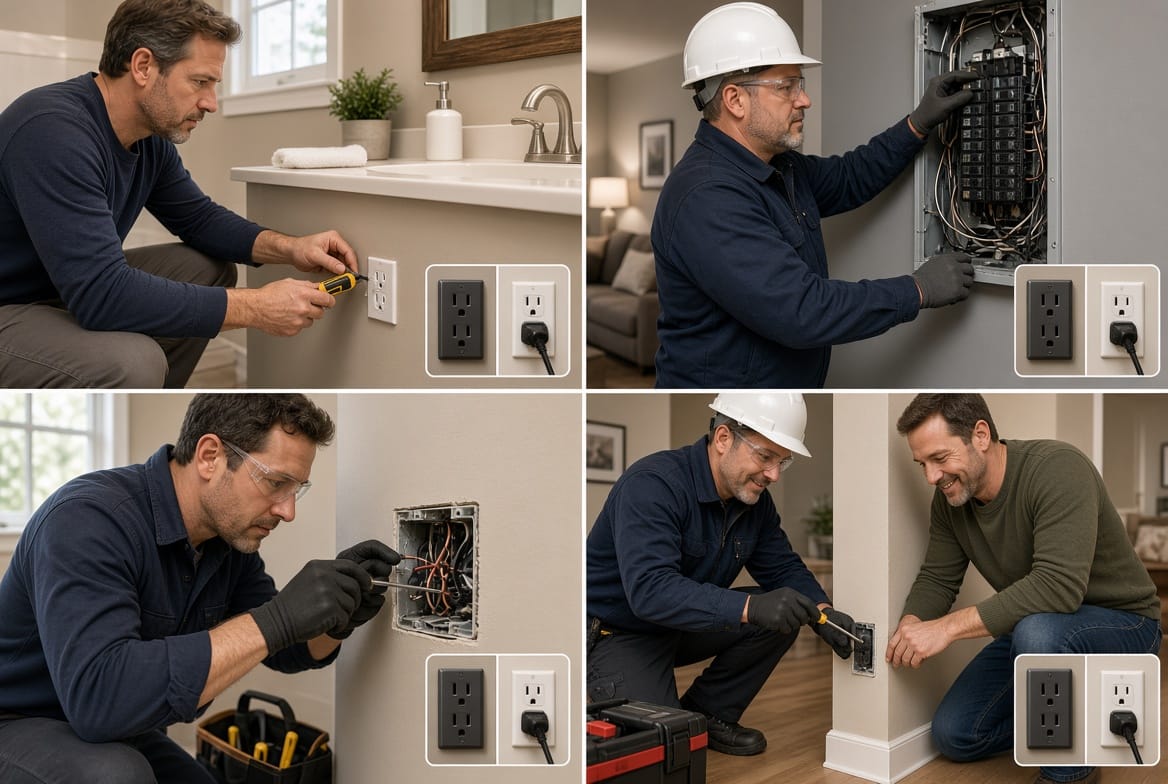
A non-working outlet is rarely a mystery once you know where to look. By methodically checking the GFCI, breaker, wiring connections, and the outlet itself, most homeowners can restore power in minutes. Stay safe, use the proper testers, and remember that professional help is readily available. For fast, reliable electrical repair , get your outlets working again.
Safe Outlet Troubleshooting Starts Here – Call Now