The Post-Flood Cleaning: Sanitizing After Water Removal
Floodwaters leave more than just wet floors and soggy furniture. Once the standing water has been extracted, the real work of protecting your home and health begins. Post-flood cleaning and thorough sanitizing after water removal are essential steps that prevent long-term damage, eliminate hidden contaminants, and restore a safe living environment. Skipping or rushing this phase invites serious risks, including mold growth, bacterial contamination, and lingering odors that can affect indoor air quality for months.
Sanitize Your Home After Flood – Call Now!
This guide walks you through the complete disinfection process in clear, practical detail. You will learn exactly how to remove debris, wash surfaces with detergent, apply an effective disinfectant such as a bleach solution, and ensure every surface reaches a completely dry state. Following these steps carefully—or better yet, partnering with trained professionals—delivers lasting protection and peace of mind.
Why Sanitizing After Water Removal Cannot Be Overlooked
Water from floods rarely arrives clean. It often carries soil, sewage, chemicals, and microscopic organisms. Even clean water that sits for more than 24–48 hours creates ideal conditions for microbial proliferation. Without proper disinfection, these contaminants remain embedded in porous materials such as drywall, carpet padding, and wood framing.
Health consequences can appear quickly. Respiratory irritation, allergic reactions, and gastrointestinal issues are common when families return to an inadequately cleaned space. Structural risks also escalate. Trapped moisture softens wood, warps flooring, and weakens electrical systems. The reassuring truth is that a systematic cleaning approach neutralizes these threats when performed promptly and thoroughly.
Professional restoration teams treat post-flood sanitizing as a non-negotiable phase of water damage recovery. Their methods combine specialized equipment with proven chemistry to reach areas homeowners often miss. Yet understanding the core process empowers you to evaluate the quality of any service and to take informed interim steps when needed.
Preparing the Space for Effective Cleaning
Before any washing or disinfecting begins, the environment must be made safe and accessible. Remove remaining standing water if extraction was incomplete. Open windows and doors when outdoor humidity is lower than indoor levels to encourage natural airflow. Position high-capacity fans and dehumidifiers strategically to begin the drying process early.
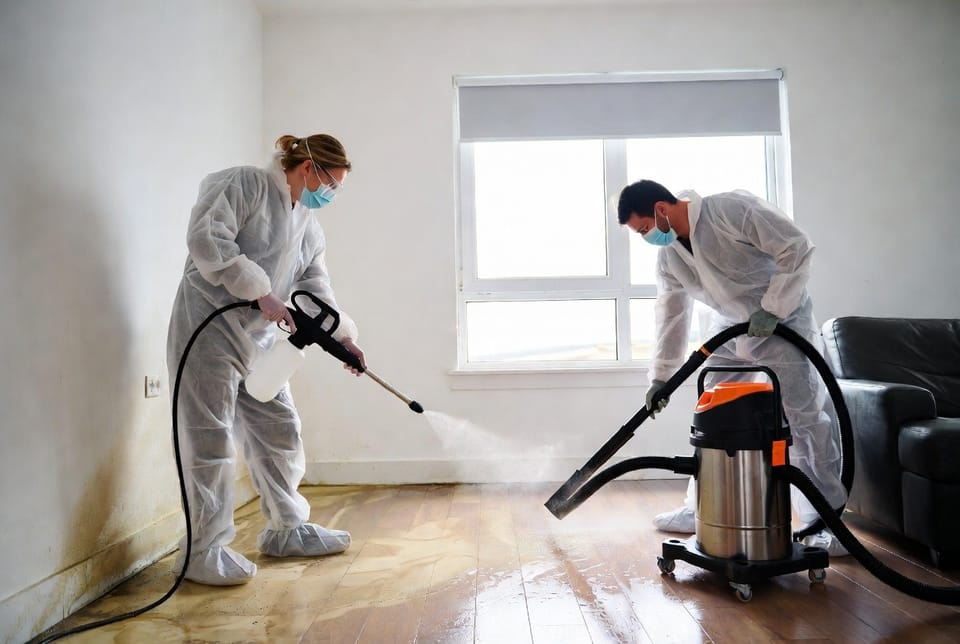
Personal protective equipment is mandatory. Wear waterproof gloves, eye protection, and an N95-rated mask or better. Contaminated flood residue can irritate skin and lungs. Clear pathways so that cleaning tools and discarded materials can move freely without spreading contaminants to clean zones.
Document the condition of the space with photographs. This record supports insurance claims and helps track progress as each cleaning stage is completed. With preparation finished, the systematic removal of debris sets the foundation for successful sanitization.
Step One: Remove All Debris and Contaminated Materials
Debris left behind after water extraction acts as a reservoir for bacteria and mold spores. Start at the highest points and work downward so that loosened particles fall onto surfaces still scheduled for cleaning.
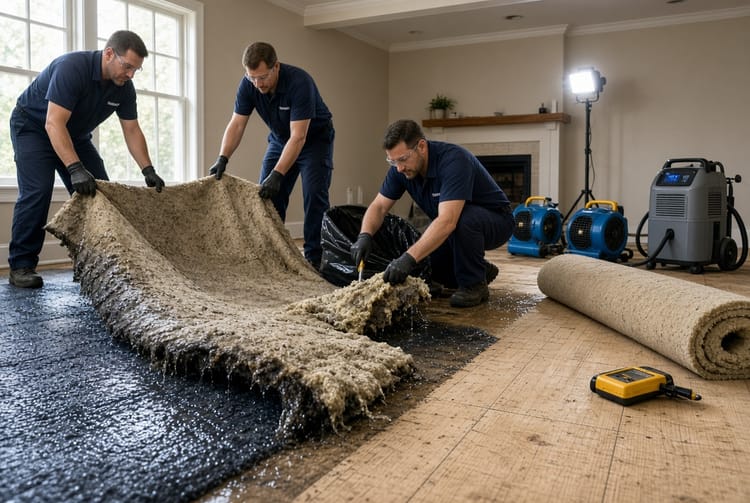
Begin with loose items: soaked papers, toys, clothing, and food packaging. Place them in heavy-duty plastic bags sealed tightly for disposal. Never attempt to salvage porous materials that remained wet for more than 48 hours; the risk of permanent contamination is too high. Non-porous items such as metal furniture or glass can be set aside for later washing.
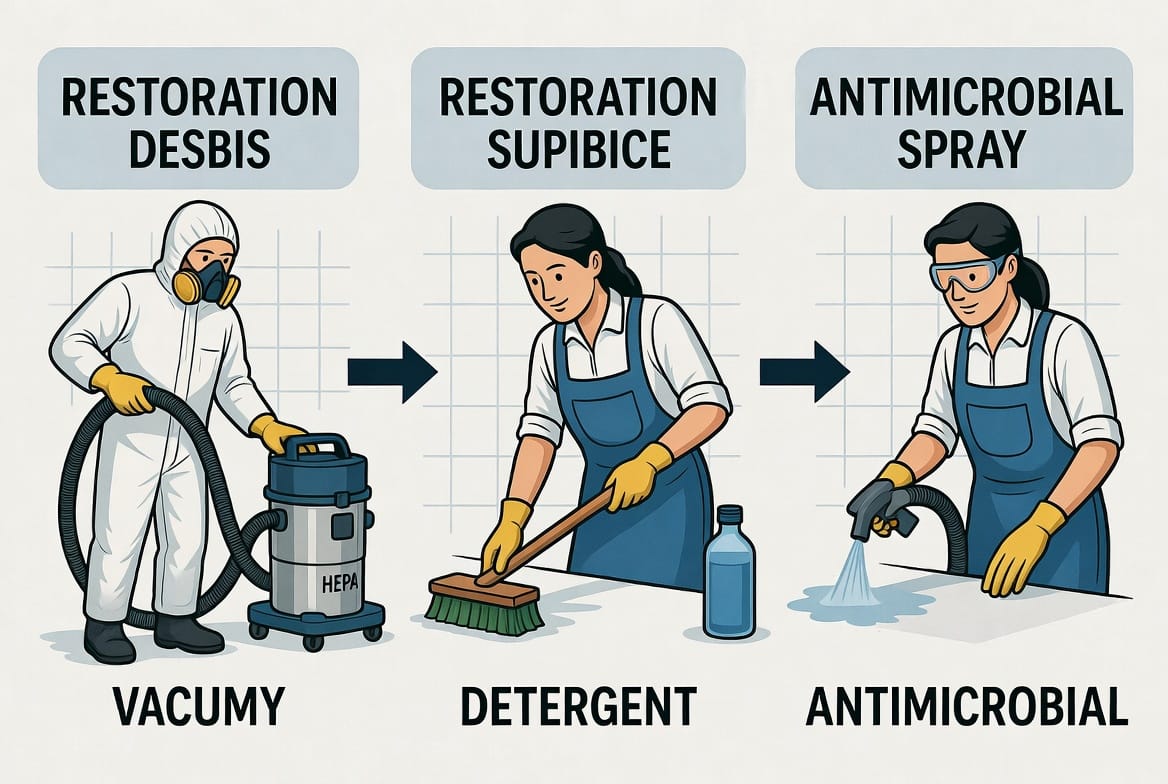
Next address fixed surfaces. Use stiff brushes or scrapers to lift mud, silt, and organic matter from floors, baseboards, and lower walls. A wet/dry vacuum equipped with a HEPA filter captures fine particles without redistributing them into the air. Pay special attention to corners, under cabinets, and behind appliances—places where sediment accumulates unnoticed.
Dispose of all collected debris according to local regulations. Some municipalities classify flood-related waste as hazardous and require special handling. Completing this stage thoroughly prevents later steps from simply redistributing contaminants.
Step Two: Wash Surfaces with Detergent Solution
Once visible debris is gone, a thorough wash removes residual soils and prepares surfaces for disinfection. Mix a mild detergent with clean water according to the manufacturer’s instructions. Avoid harsh degreasers that can leave films interfering with subsequent disinfectant contact.
Apply the detergent solution generously using soft-bristle brushes, microfiber mops, or low-pressure sprayers. Work in manageable sections so that the solution does not dry before rinsing. Agitate surfaces firmly enough to lift embedded dirt yet gently enough to avoid damaging finishes. For textured materials such as unfinished wood or concrete, a nylon scrub pad provides extra mechanical action.
Rinse each section with clean water immediately after scrubbing. Residual detergent can reduce the effectiveness of bleach-based disinfectants. Collect rinse water with extraction equipment rather than allowing it to pool and re-soak the structure. Repeat the wash-and-rinse cycle on heavily soiled areas until the water runs clear.
This detergent stage is often underestimated. Clean surfaces allow the disinfectant molecules to contact every microscopic crevice where pathogens hide. Skipping or shortening the wash leaves a barrier that weakens the entire sanitizing effort.
Step Three: Disinfect with Bleach or Antimicrobial Solution
Disinfection is the critical barrier against illness-causing organisms. The most widely recommended household solution is one cup of household bleach mixed with one gallon of clean water. This concentration delivers sufficient free chlorine to kill bacteria, viruses, and many mold spores on non-porous surfaces when allowed adequate contact time.
Prepare the solution fresh each day; chlorine strength declines with storage. Apply it evenly using a pump sprayer, sponge, or clean mop. Surfaces must remain visibly wet for at least ten minutes—longer for heavily contaminated areas. Do not wipe the solution away prematurely; contact time is essential for microbial kill.
For porous materials or surfaces sensitive to bleach, commercial antimicrobial products formulated for water damage restoration offer effective alternatives. These solutions often leave residual protection that continues working after application. Always follow label directions regarding dilution, application method, and safety precautions.
Never mix bleach with ammonia or other cleaners; dangerous gases can form. Ensure continuous ventilation during and after application. After the required dwell time, allow treated surfaces to air-dry completely rather than rinsing, unless the product instructions specify otherwise. Residual disinfectant provides ongoing protection while drying proceeds.
Step Four: Ensure Surfaces Are Completely Dry
Moisture left behind after disinfection invites rapid mold colonization. Complete drying is therefore non-negotiable. Aim for materials to reach moisture content levels matching pre-flood conditions, typically below 15 percent for wood and near zero for non-porous surfaces.
Continue running industrial dehumidifiers and air movers for several days if necessary. Monitor progress with a moisture meter rather than relying on visual appearance alone. Hidden pockets inside wall cavities or under flooring can remain damp long after surface dryness is achieved.
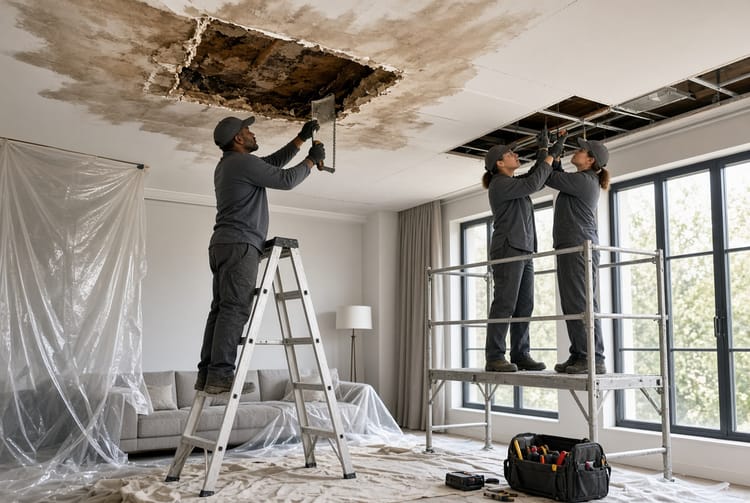
Accelerate drying by removing baseboards or drilling small inspection holes in drywall when professional assessment indicates trapped water. Replace any insulation that became saturated; wet insulation loses R-value and harbors mold. Once moisture readings confirm dryness, close openings and restore finishes.
Temperature control assists the process. Warm air holds more moisture, so maintaining indoor temperatures between 70–80 °F while dehumidifiers operate speeds evaporation. Avoid closing the structure too tightly; balanced airflow prevents secondary condensation.
Integrating the Full Cleaning Sequence for Maximum Effectiveness
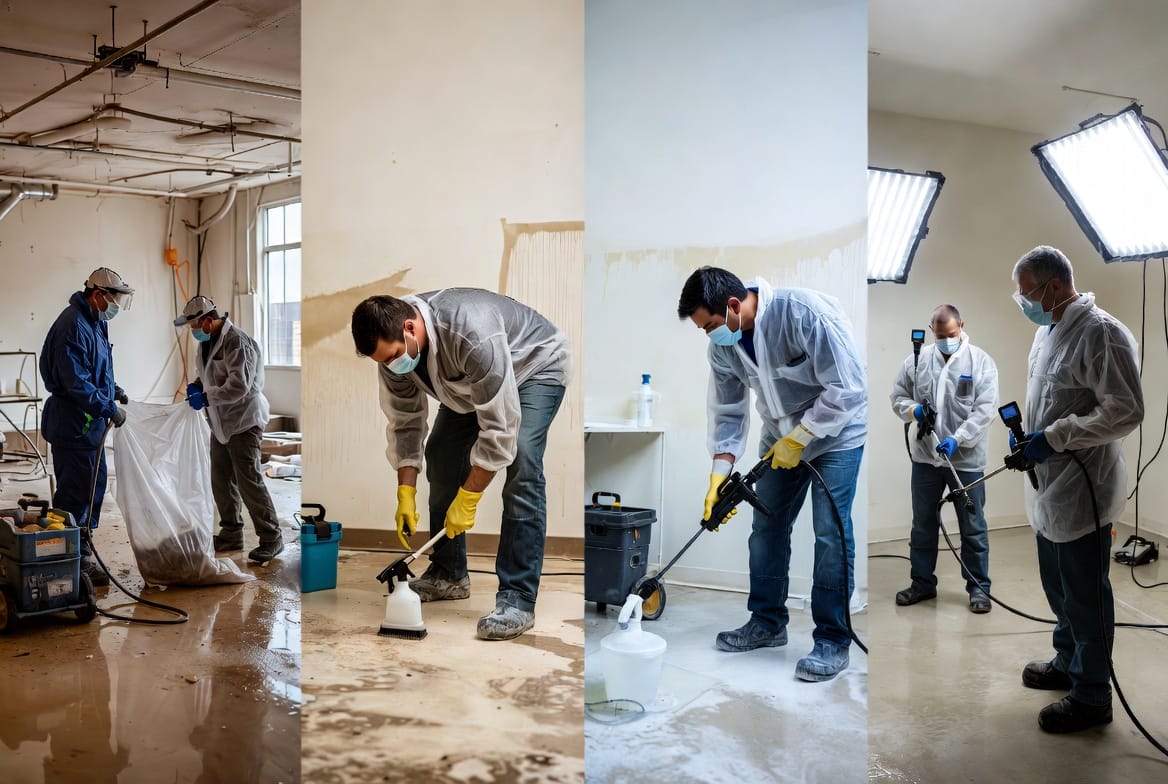
Each of the four stages builds on the previous one. Debris removal clears physical barriers. Detergent washing eliminates organic soils. Disinfection neutralizes remaining pathogens. Complete drying denies any survivors the environment they need to rebound. Performing the steps out of order or incompletely reduces overall success.
Consistency across an entire property is equally important. Treating only the most obviously affected rooms leaves cross-contamination pathways open. Extend the same rigorous process to adjacent spaces, HVAC systems, and contents that were exposed even briefly.
Common Challenges and How to Overcome Them
Time pressure often tempts shortcuts. Insurance adjusters, temporary housing costs, and family urgency can push incomplete work. Resist the temptation. A second flood of mold remediation costs far more than thorough initial sanitizing.
Material sensitivity presents another challenge. Antique woodwork, certain stone surfaces, and electronics require specialized approaches. When in doubt, consult restoration professionals who maintain inventories of non-bleach antimicrobials and low-moisture cleaning techniques.
Odor control sometimes persists even after visible cleaning. Residual organic matter deep in cavities may continue off-gassing. Thermal fogging or hydroxyl generators, applied by trained technicians, neutralize these molecules without further wetting the structure.
The Long-Term Benefits of Proper Sanitization
Homes that receive complete post-flood cleaning regain structural integrity and healthy indoor environments more quickly. Occupants experience fewer respiratory symptoms and allergic reactions. Property values remain protected because future buyers and inspectors find no lingering evidence of water damage.
Insurance claims process more smoothly when documented sanitization follows industry standards. Many policies require proof that all reasonable steps were taken to mitigate further loss. Thorough records of each cleaning stage satisfy this requirement.
Perhaps most importantly, families regain confidence in their living space. The psychological relief of knowing every surface has been cleaned, disinfected, and dried cannot be overstated after the trauma of a flood.
When Professional Assistance Becomes Essential
While motivated homeowners can manage limited, clean-water incidents, most flood events exceed safe DIY capacity. Contaminated water, multi-room involvement, or structural intrusion demand specialized equipment and expertise. Certified water damage restoration technicians bring truck-mounted extractors, commercial-grade antimicrobials, and advanced moisture detection tools that achieve results unattainable with household methods.
They also understand local building codes, environmental regulations, and the precise documentation insurers expect. Engaging professionals early shortens overall recovery time and reduces the chance of secondary damage.
Maintaining a Healthy Environment After Restoration
Once sanitizing and drying are complete, implement simple habits that keep the home resilient. Inspect roofs, gutters, and foundation drainage regularly. Install water sensors in basements and near water heaters. Maintain indoor humidity between 30–50 percent year-round. These proactive measures minimize the impact of any future water intrusion.
Replace HVAC filters more frequently during the first months after restoration. Residual dust from cleaning can circulate until the system is fully purged. Consider a professional duct cleaning if the system was exposed to floodwater.
Final Assurance: Protecting Health Through Complete Sanitization
The sequence is clear and proven: remove every trace of debris, wash thoroughly with detergent, disinfect using a reliable solution such as one cup of bleach per gallon of water or an appropriate antimicrobial, and verify complete dryness. Executed with care and patience, these steps transform a contaminated space into a clean, safe home again.
Proper sanitation prevents illness. When the scale of the project feels overwhelming or contamination levels are uncertain, do not hesitate. Experienced teams stand ready to restore both your property and your peace of mind with the same rigorous standards outlined here.
Call Now for Complete Debris Removal & Disinfection