The Oven Temperature Sensor: Why Your Oven Temperature Is Off
Your oven is the heart of countless family meals, holiday gatherings, and everyday baking successes. When temperatures start drifting—cookies burning on the edges while centers stay underdone, or casseroles taking far longer than the recipe promises—the frustration builds quickly. In the majority of these cases, the culprit is not the heating element or the control board itself, but a small yet critical component known as the oven temperature sensor.
Call Now for Expert Oven Sensor Replacement
This guide explains exactly what the oven temperature sensor does, the clearest signs that it has failed, and the professional replacement process that brings your appliance back to reliable performance. Written for homeowners who value accuracy and safety, the information below stays focused on practical understanding so you can make informed decisions without guesswork.
What the Oven Temperature Sensor Actually Does
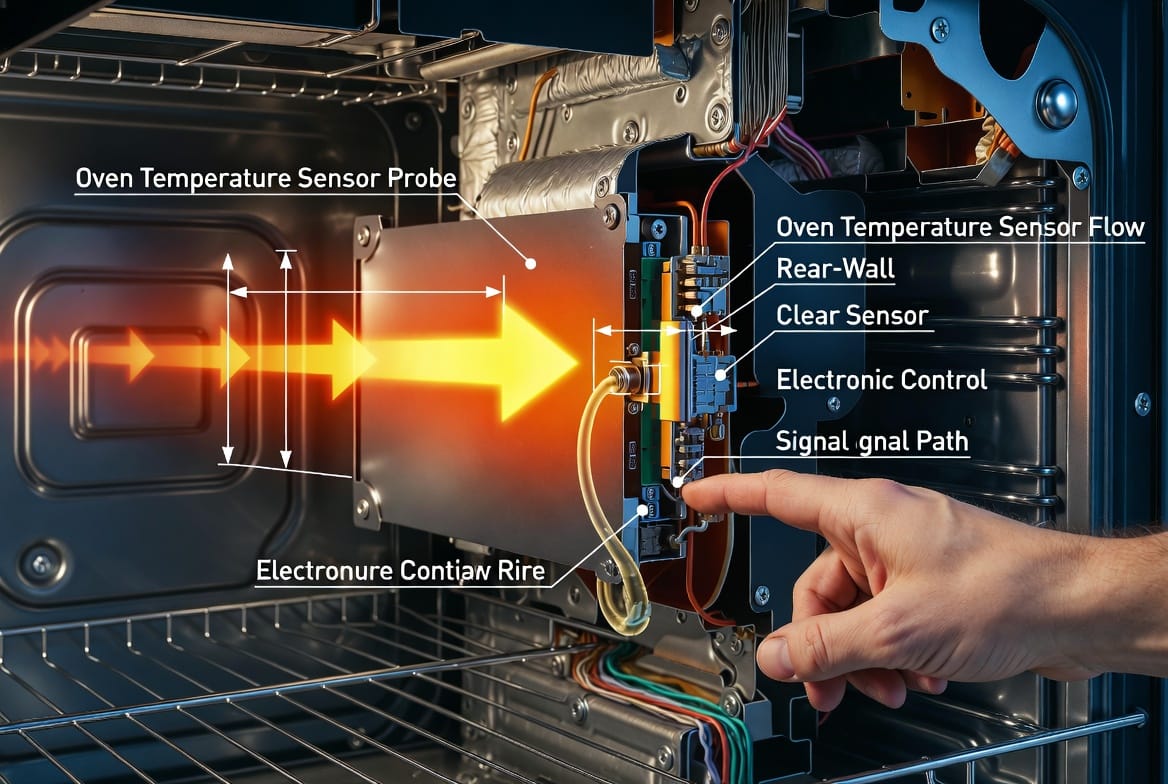
Inside every electric or gas oven sits a slender metal probe, usually mounted on the rear wall or upper corner of the cavity. This is the oven temperature sensor, also called a thermistor or resistance temperature detector. Its sole job is continuous, precise heat measurement.
As the oven warms, the sensor’s internal resistance changes in a predictable pattern. Those resistance values are converted into electrical signals that travel through a thin wire harness to the electronic control board. The board compares the incoming data against the temperature you selected on the keypad. If the cavity is cooler than requested, the board energizes the bake or broil element (or gas valve). If the cavity is hotter, power is cut. This closed-loop conversation happens dozens of times every minute, keeping the oven within a narrow band—typically ±10–15 °F of the set point under normal conditions.
Without an accurate oven temperature sensor, the control board receives false information. The result is an oven that runs too hot, too cool, or cycles erratically. Understanding this simple feedback loop immediately clarifies why a single inexpensive part can disrupt an entire cooking experience.
How the Sensor Communicates with the Control Board
Modern ovens rely on a continuous dialogue between sensor and board. At room temperature most sensors read approximately 1000–1100 ohms. As heat rises, resistance increases in a nearly linear fashion. The control board interprets these ohm values through a precise algorithm and adjusts power accordingly.
When the sensor ages, the resistance curve drifts. A failing unit may report a higher resistance than actual temperature, tricking the board into thinking the oven is already hot enough and shutting the element off too soon. Conversely, a shorted or open sensor can send extreme readings that trigger protective error codes. Because the control board trusts the sensor completely, even a modest deviation of 50–75 ohms can produce temperature errors of 50 °F or more—enough to ruin delicate pastries or undercook proteins.
This dependence on a single analog signal is why professional diagnosis always begins with a resistance check rather than simply replacing the more expensive control board.
Clear Signs Your Oven Temperature Sensor Has Failed
Homeowners usually notice problems gradually. The following symptoms are the most reliable indicators that the oven temperature sensor needs attention:
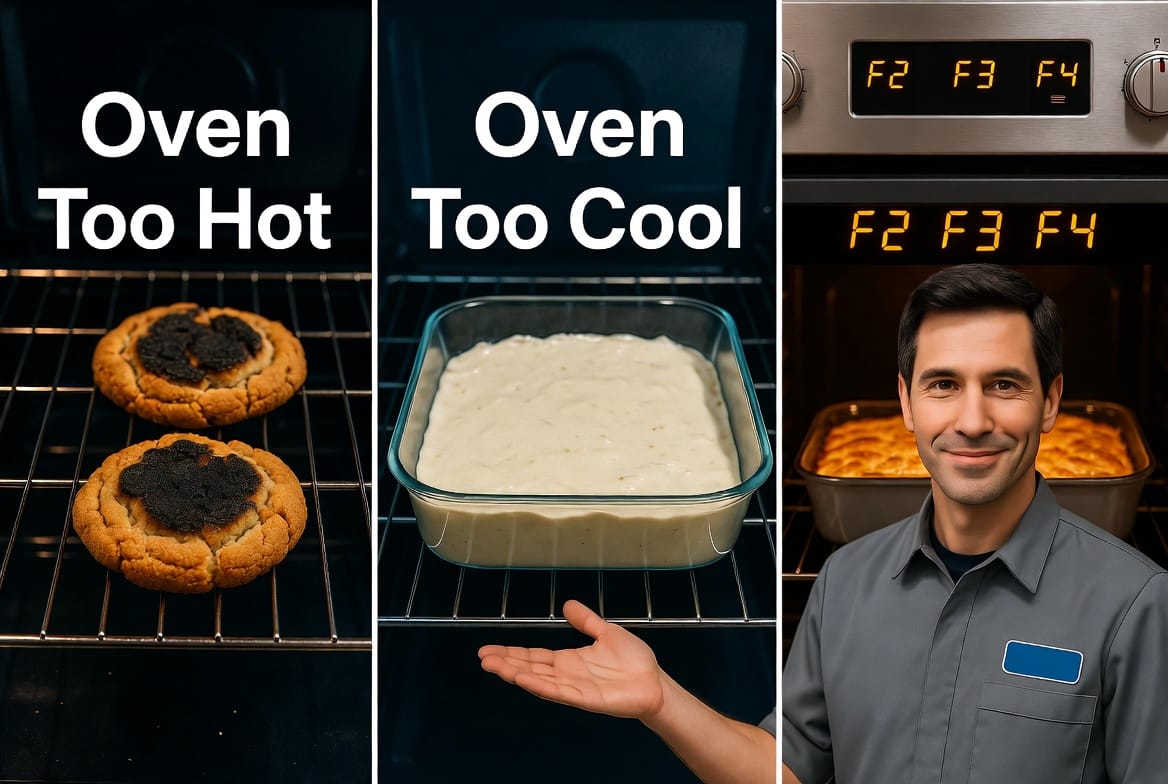
- Oven runs consistently too hot – Foods brown or burn long before the timer ends; an independent oven thermometer shows readings 25–75 °F above the set temperature.
- Oven runs consistently too cool – Baking times stretch far beyond recipe guidelines; an independent thermometer confirms the cavity never reaches the selected temperature.
- Uneven or fluctuating temperatures – The oven cycles between overheating and underheating within the same cooking session, producing inconsistent results across a single tray.
- Error codes on the display – Common codes such as F2, F3, F4, or E1 (exact wording varies by brand) often point directly to an open, shorted, or out-of-range sensor circuit.
- Long preheat times followed by rapid overshoot – The oven takes forever to reach temperature, then suddenly climbs well past the target.
- Food quality complaints that appear suddenly – Recipes that once worked perfectly now fail without any change in technique or ingredients.
If two or more of these signs appear together, the probability that the oven temperature sensor is at fault rises dramatically. Ignoring the problem rarely improves the situation; the sensor’s resistance continues to drift, and cooking results grow less predictable.
Safe Diagnostic Steps Before Replacement
Although full diagnosis belongs in trained hands, a few preliminary checks help confirm the sensor is the issue. Always begin by disconnecting power at the breaker—never rely solely on the oven’s control panel.
- Locate the sensor probe inside the oven cavity (usually a thin metal tube protruding from the back wall).
- Remove the mounting screws and gently pull the probe forward to access the wiring harness.
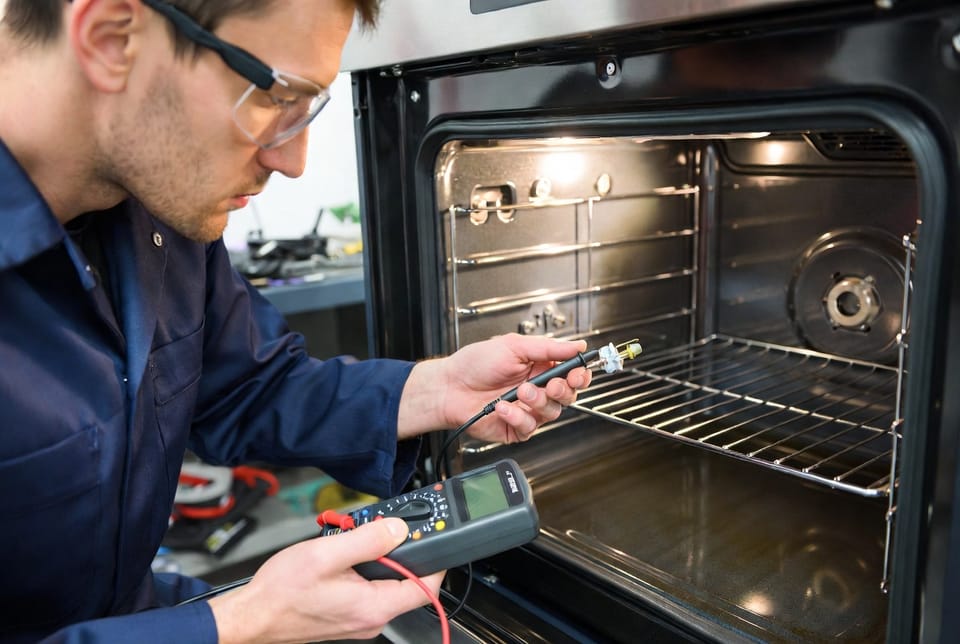
- Disconnect the harness and measure resistance across the two terminals with a quality digital multimeter set to ohms.
- Compare the reading to the manufacturer’s room-temperature specification (commonly 1000–1100 ohms). A reading that is infinitely high (open circuit), near zero (shorted), or significantly outside the expected range indicates failure.
- Inspect the wire insulation for chafing or burn marks that could cause intermittent signals.
These steps take only minutes yet prevent unnecessary part replacement. If the resistance test fails, the sensor must be replaced. Attempting to “clean” or adjust a drifted sensor is never effective; the internal thermistor element is sealed and non-serviceable.
Professional Replacement of the Oven Temperature Sensor
Replacement itself is straightforward for a trained technician yet carries important safety and calibration considerations. After confirming power is locked out, the technician removes the rear access panel or, on some models, works entirely from the cavity side. The old sensor is unplugged, the mounting clip or screws are released, and the new OEM-matched sensor is installed in the identical orientation.
Critical details include:
- Matching the exact resistance curve of the original part—aftermarket sensors with even slight differences can produce new temperature errors.
- Routing the wire harness away from sharp edges and heating elements to prevent future abrasion.
- Verifying the new sensor’s room-temperature resistance before final assembly.
- Performing a controlled temperature rise test with an independent calibrated thermometer once power is restored.
A properly installed sensor restores the closed-loop accuracy the control board expects. Most homeowners notice immediate improvement: preheat times normalize, baking results become consistent again, and error codes disappear.
Because the control board and sensor must work in perfect harmony, professional installation also includes a brief software or calibration check on models that support it. This extra step ensures the entire temperature regulation system operates within factory tolerances.
Why Inaccurate Temperatures Demand Prompt Attention
Leaving a failing oven temperature sensor unaddressed creates more than culinary inconvenience. Prolonged overheating stresses heating elements and can shorten their service life. Undercooking poses food-safety risks, especially with poultry or casseroles. Energy consumption rises because the oven cycles inefficiently. In gas models, incorrect temperature signals can affect flame modulation and, in rare cases, trigger safety lockouts.
Timely replacement protects both the appliance investment and the quality of every meal prepared in the kitchen. Modern sensors are highly reliable when new; most failures occur after eight to twelve years of continuous thermal cycling. Recognizing the symptoms early keeps repair costs modest and downtime minimal.
The Value of Professional Service Versus DIY Attempts
While the physical swap of a sensor appears simple on instructional videos, several factors favor professional service. Correct part identification requires model-number lookup and cross-referencing of resistance curves. Improper torque on mounting hardware can create air leaks that themselves affect temperature. Residual charge in electronic control boards can damage new components if power is not fully isolated. Finally, post-replacement verification with calibrated instruments confirms the repair succeeded—something few homeowners possess.
Technicians arrive with the correct OEM sensor, specialized tools, and the experience to diagnose related issues (such as a failing control board that may have been stressed by the bad sensor). The result is a one-visit solution rather than repeated attempts and additional parts.
Maintaining Accurate Oven Performance Long-Term
Once the new oven temperature sensor is in place, a few simple habits extend its life and keep temperatures precise:
- Avoid slamming the oven door, which can jar the sensor probe.
- Keep the cavity clean so spilled sugars or grease do not bake onto the sensor tip and insulate it.
- Use an inexpensive independent oven thermometer periodically to verify continued accuracy.
- Schedule a professional check every few years if the oven sees heavy daily use.
These practices cost almost nothing yet preserve the tight temperature control that modern recipes demand.
Final Advice and Next Steps
Inaccurate oven temperatures almost always trace back to a failing oven temperature sensor. The component is inexpensive, the repair is straightforward in skilled hands, and the improvement in cooking results is immediate and lasting. Delaying action only compounds frustration and risks additional wear on other parts of the appliance.
When your oven begins delivering unpredictable results—whether too hot, too cool, or throwing error codes—the smartest next step is a professional diagnosis and sensor replacement.
A qualified technician will test the sensor, install the correct replacement if needed, and verify that your oven once again maintains the precise temperatures your recipes require. Reliable baking and roasting are only a phone call away.
Schedule Fast Oven Sensor Replacement – Call Now!