The Outdoor Camera Placement: Optimal Locations for Maximum Coverage and Privacy.
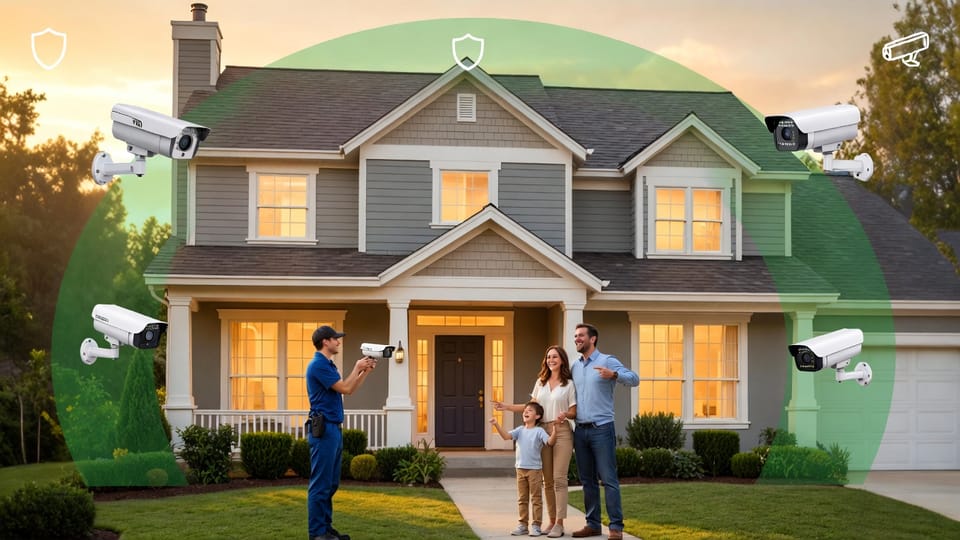
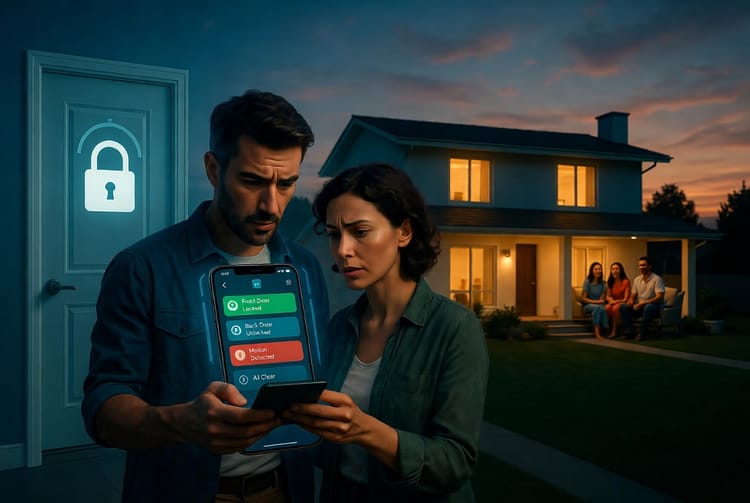
Protecting your home starts with more than just choosing the right home security cameras—it demands smart outdoor camera placement that delivers maximum coverage while honoring neighbor privacy and eliminating dead zones. When cameras are positioned with purpose, they become your silent guardians, capturing clear footage of every critical area without unnecessary intrusion or gaps in visibility.
Get Maximum Coverage & Privacy – Call Now for Custom Placement!
Homeowners across the country are discovering that strategic installation turns potential vulnerabilities into strengths. Whether you are upgrading an existing system or starting fresh, understanding optimal locations ensures your investment works efficiently day and night. This guide provides clear, actionable steps to help you achieve overlapping coverage, avoid blind spots, and maintain peace of mind. With the right approach, you can rest easy knowing your property is secure and your family feels protected.
At the heart of effective outdoor camera placement lies balance: comprehensive monitoring paired with respect for boundaries. Let’s explore how to design a system tailored to your home’s unique layout.
Assessing Your Property for Effective Outdoor Camera Placement
Before mounting a single camera, take time to evaluate your property thoroughly. Walk the perimeter during daylight and again at dusk to identify natural traffic patterns, high-risk zones, and potential blind spots. Note entry points, pathways, driveways, and areas where shadows or foliage might create hidden vulnerabilities.
A thorough assessment reveals how dead zones form—those frustrating areas where movement goes undetected. Consider your home’s architecture: two-story sections may require elevated angles, while large backyards demand wider fields of view. Factor in neighboring properties early to ensure cameras respect shared boundaries from day one.
This step builds confidence. By mapping your space first, you avoid costly repositioning later and create a foundation for true maximum coverage. Families report feeling immediately more secure once they see their custom plan come together.
Strategic Locations That Deliver Maximum Coverage
Choosing the right spots transforms your home security cameras from simple recording devices into a proactive protection network. Focus on these proven areas for reliable results.
- Front Door and Entry Points: Mount cameras above or beside the main entrance at an angle that captures faces clearly. This location deters porch pirates and records every visitor, providing essential evidence if needed.
- Garage and Driveway: Position units at corners where they overlook vehicle access and storage doors. These high-traffic zones often see the first signs of activity, and proper placement here prevents blind spots around vehicles.
- Backyard and Patio Areas: Install along rear walls or eaves to monitor outdoor living spaces and rear access. Wide-angle lenses here ensure children playing or pets roaming stay within view without pointing directly at neighboring yards.
- Side Yards and Perimeter Fencing: Corner placements create natural overlapping coverage between front and rear views. These often-overlooked areas become secure corridors when monitored consistently.
- Second-Story Overlooks: Use upper-level windows or soffits for elevated perspectives that capture larger portions of the property, reducing the total number of cameras required.
Each location contributes to a layered defense. When combined thoughtfully, these placements eliminate gaps and provide seamless video continuity across your entire property.
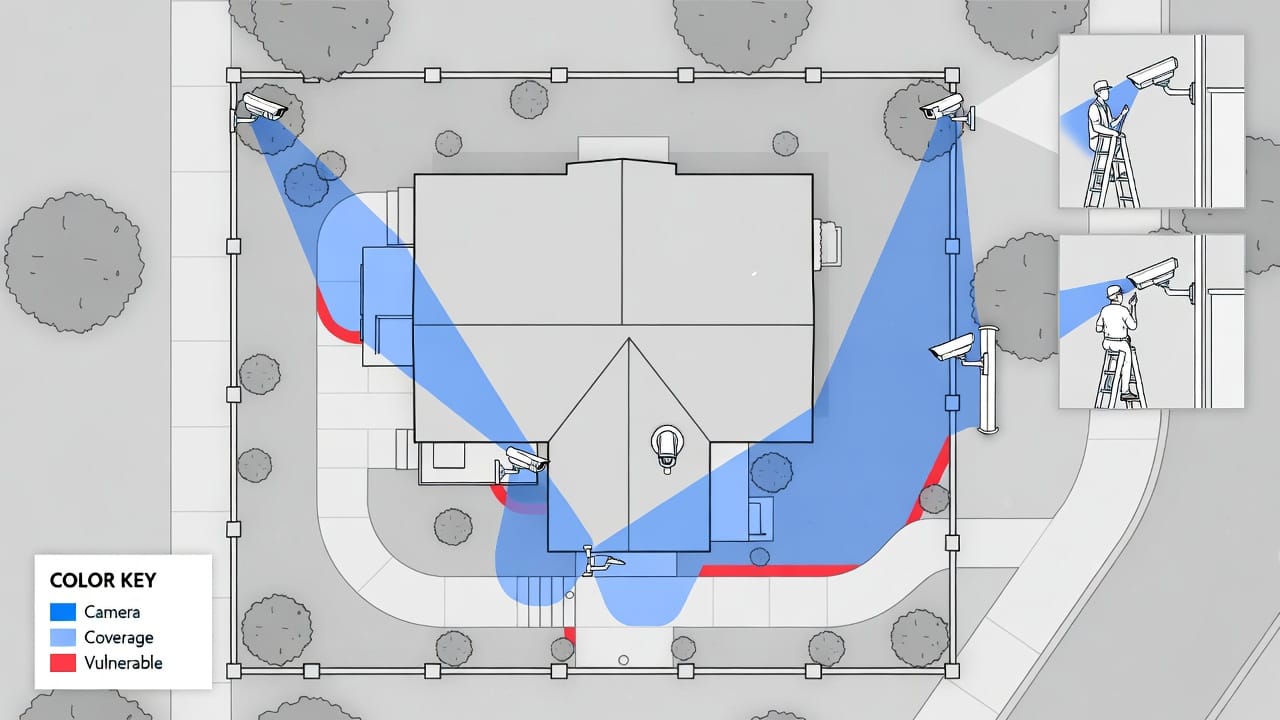
Eliminating Blind Spots and Building Overlapping Coverage
Blind spots represent the greatest risk in any camera system. They occur where fields of view fail to connect, leaving pathways or corners invisible. The solution lies in deliberate overlapping coverage—ensuring each camera’s range slightly intersects with the next.
Visualize your property as a grid. Place devices so their detection zones overlap by at least 20 percent. This technique captures continuous movement and provides multiple angles of the same event for clearer identification. Test by walking the perimeter while monitoring live feeds; adjust angles until no area escapes notice.
Avoid the common temptation to spread cameras too far apart in hopes of saving money. Instead, invest in fewer, strategically positioned units with broader lenses. The result is a robust network that feels reassuringly complete, giving you confidence that every corner is watched.
Respecting Neighbor Privacy and Legal Best Practices
Responsible outdoor camera placement always includes consideration for those around you. Pointing devices directly at neighboring windows or private spaces can create tension and may violate local regulations. Instead, angle cameras inward toward your own property lines and use privacy masks in software to block unwanted views.
Most communities support home security systems when installed ethically. Familiarize yourself with local guidelines regarding audio recording or public street monitoring. By prioritizing neighbor privacy, you build goodwill while maintaining strong protection for your household.
This approach not only keeps you compliant but also fosters a sense of community safety. Neighbors often appreciate knowing your system focuses solely on your property, reinforcing mutual respect.
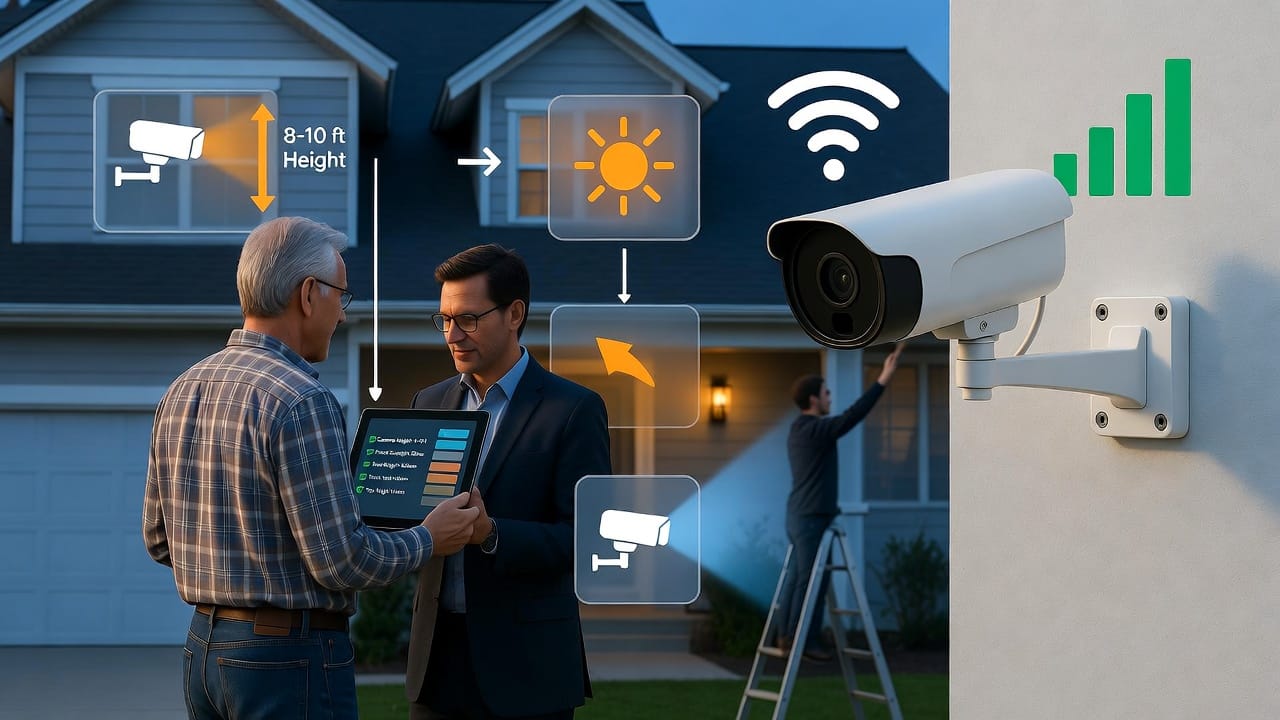
Technical Guidelines for Reliable Installation
Success depends on more than location—it requires attention to height, lighting, connectivity, and performance details that ensure year-round operation.
- Mounting Height: Install cameras between 8 and 10 feet high. This elevation captures clear facial details while staying out of easy reach for tampering.
- Sunlight and Glare Avoidance: Position units away from direct morning or afternoon sun to prevent washed-out footage. Test angles during peak daylight hours.
- Night Vision Optimization: Ensure clear sightlines for infrared sensors by avoiding obstructions within 30 feet. Proper placement here delivers crisp black-and-white or color night footage.
- Wi-Fi Signal Strength: Verify strong connectivity before final mounting. Use signal boosters if necessary to prevent dropped feeds during critical moments.
These technical considerations turn good placements into exceptional ones. When followed, your system operates flawlessly through all seasons and weather conditions.
Common Mistakes to Avoid in Outdoor Camera Placement
Even experienced homeowners occasionally overlook key details. Steering clear of these pitfalls saves time and maximizes effectiveness:
- Placing cameras too low, making them vulnerable to vandalism.
- Ignoring overlapping coverage, which creates hidden dead zones.
- Pointing directly at bright lights or reflective surfaces that cause glare.
- Failing to test Wi-Fi strength, leading to unreliable recordings.
Recognizing these risks early empowers you to make informed decisions. With a little foresight, your installation will deliver consistent, high-quality results you can trust.
Step-by-Step Installation Guide for Homeowners
- Plan and Map: Sketch your property and mark proposed locations.
- Gather Tools and Equipment: Ensure ladders, drills, and weatherproof mounts are ready.
- Test Each Spot: Temporarily hold cameras in place and check live views for coverage and connectivity.
- Secure Mounting: Attach brackets firmly at recommended heights and angles.
- Connect and Configure: Pair devices with your network and set recording preferences.
- Final Walk-Through: Test motion detection and review footage quality from multiple angles.
This methodical process ensures professional-level results without guesswork. Many families complete their own installations successfully following these steps and report feeling empowered by the experience.
Ongoing Maintenance and System Optimization
Once installed, simple routine checks keep performance optimal. Clean lenses monthly, update firmware regularly, and review storage capacity. Seasonal adjustments may be needed as foliage changes or lighting shifts throughout the year.
Proactive care extends the life of your home security cameras and maintains crystal-clear footage when it matters most. Your system will continue delivering reliable protection long into the future.
Capture What Matters, When It Matters
Thoughtful outdoor camera placement creates a secure environment that protects your home, family, and peace of mind. By focusing on entry points, eliminating blind spots, ensuring overlapping coverage, and respecting neighbor privacy, you build a system that works exactly as intended.
Design your camera system today and experience the confidence that comes with complete coverage.
Capture What Matters Most – Call Today for Tailored Camera Placement