The Mold Remediation After Flood: Steps to Safe Cleanup
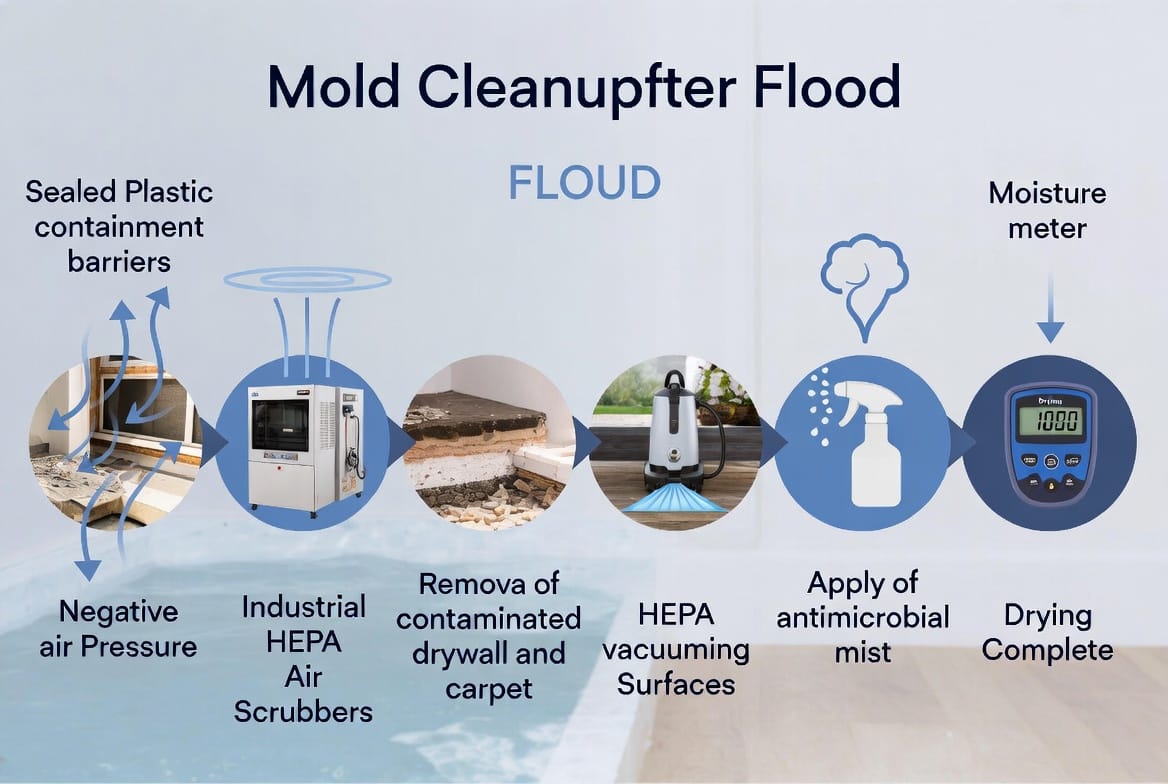
Floodwaters leave far more than visible water behind. Within 24 to 48 hours, moisture-saturated materials become ideal breeding grounds for mold colonies that release spores into the air and threaten indoor air quality. Homeowners and property managers often feel overwhelmed by the sudden appearance of musty odors, discoloration, and potential health concerns. The good news is that a structured, professional mold remediation after flood process restores safety when followed with precision. This guide walks through every critical stage—containment with plastic barriers, HEPA filtration, removal of contaminated materials such as drywall and carpet, HEPA vacuuming, antimicrobial treatment, and drying verification—so you understand exactly what protects your property and the people who live or work there.
Start Your Safe Mold Removal Process – Call Now
A flood event does not automatically mean irreversible damage. When trained technicians apply industry-standard protocols, the risk of cross-contamination drops dramatically and the structure returns to a healthy baseline. The following sections explain each phase in clear, actionable detail while emphasizing why shortcuts endanger both the building and its occupants.
Why Professional Mold Remediation Matters After a Flood
Standing water and high humidity create perfect conditions for mold growth on porous surfaces. Drywall, carpet padding, insulation, and even structural wood can harbor colonies that remain invisible until they spread. Health risks include respiratory irritation, allergic reactions, and aggravated asthma, especially for children, seniors, and anyone with compromised immune systems. Structural risks involve progressive material decay that weakens walls and floors over time.
Attempting cleanup without proper controls often disperses spores farther into clean areas of the building. Professional teams isolate the problem, remove the source, and verify dryness before any reconstruction begins. This systematic approach protects indoor air quality, preserves property value, and provides documented peace of mind. Every step described below forms part of an integrated sequence rather than isolated tasks.
Step 1: Establishing Containment with Plastic Barriers
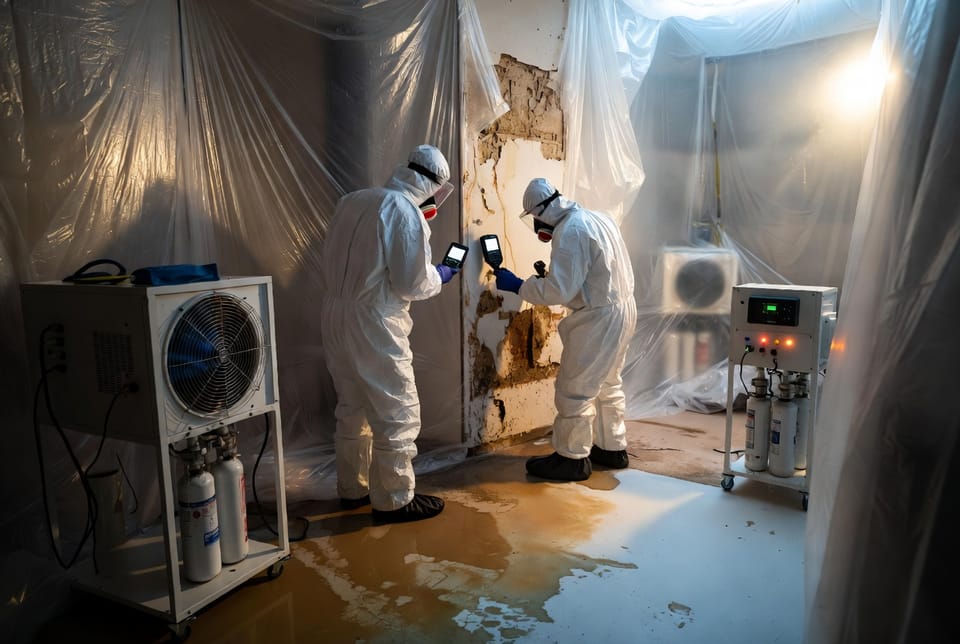
The first and most critical action is containment. Technicians construct physical barriers using heavy-gauge polyethylene sheeting sealed tightly to floors, ceilings, and walls with specialized tape. These barriers create a sealed work zone that prevents mold spores from migrating into unaffected rooms or HVAC systems.
Negative air pressure is established inside the contained area by positioning exhaust fans that pull air outward through HEPA-filtered ducts. This pressure differential ensures that any airborne particles move only toward the filtration equipment rather than escaping into the rest of the structure. Doorways receive zipper-access flaps so workers can enter and exit without breaking the seal. All seams receive double-checking, and smoke tests confirm the integrity of the enclosure.
Proper containment also protects clean zones during material removal. Without it, walking through a contaminated space or simply disturbing drywall can aerosolize millions of spores. The barrier system therefore serves as the foundation for every subsequent step and remains in place until final clearance testing confirms the area is safe.
Step 2: Continuous HEPA Filtration for Air Quality Control
Once barriers stand secure, industrial HEPA filtration units begin continuous operation. High-efficiency particulate air filters capture 99.97 percent of particles as small as 0.3 microns—well below the size of most mold spores. Air scrubbers circulate the entire volume of the contained space multiple times per hour, steadily reducing airborne spore counts.
Technicians monitor filter loading and replace media as needed to maintain peak performance. In larger spaces, multiple units work in tandem to achieve uniform air cleaning. The combination of negative pressure and HEPA filtration creates a controlled environment that protects both workers and the remainder of the building. This ongoing air management continues through demolition, cleaning, and drying phases so that spore levels never rebound.
Step 3: Careful Removal of Contaminated Materials
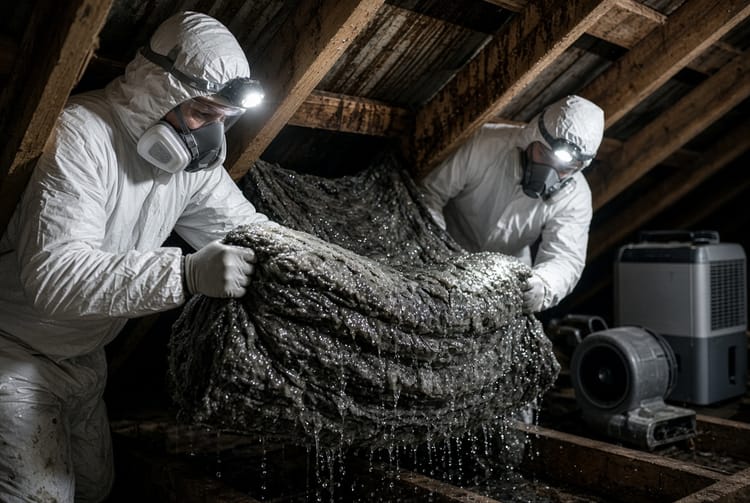
With air quality under control, attention turns to source removal. Porous materials that absorbed floodwater—most commonly drywall, carpet, padding, insulation, and certain ceiling tiles—cannot be reliably cleaned and must be discarded. Technicians score and cut drywall several inches beyond visible mold growth to capture hidden colonies that travel behind the surface. Carpet is rolled carefully and bagged in heavy polyethylene to prevent spore release during transport.
All debris leaves the contained zone through designated pathways and is sealed in labeled bags for proper disposal according to local regulations. Non-porous surfaces such as framing lumber, concrete, or metal receive thorough inspection; if mold has only colonized the surface, these items may remain after aggressive cleaning. The goal is complete elimination of the nutrient source that mold needs to regrow. Incomplete removal is one of the most common reasons for recurring problems, which is why professionals document every area treated and photograph progress for transparency.
Step 4: Detailed HEPA Vacuuming of All Surfaces
After bulk materials leave the site, HEPA vacuuming begins. Standard household vacuums push fine particles back into the air; only true HEPA-filtered equipment traps them. Technicians methodically vacuum every remaining surface—floor joists, wall studs, concrete slabs, window sills, and even the containment barriers themselves—using specialized attachments that reach crevices and irregular shapes.
This step removes settled spores and microscopic debris that demolition inevitably loosens. Multiple passes in overlapping patterns ensure thorough coverage. The vacuum units themselves remain inside the contained zone or are carefully cleaned before exiting so that no secondary contamination occurs. HEPA vacuuming transforms a rough demolition area into a surface ready for the next protective treatment.
Step 5: Application of Antimicrobial Treatment
Once surfaces are free of bulk debris, an antimicrobial treatment is applied. Specialized solutions formulated for mold control are sprayed or fogged across all exposed framing, masonry, and residual materials. These agents inhibit remaining spores and create a residual barrier that discourages future colonization while the structure dries.
Technicians select products registered for indoor use and compatible with building materials. Application follows manufacturer guidelines for dwell time and coverage rates. In some cases a second treatment follows after initial drying to address any residual activity. The antimicrobial treatment does not replace physical removal; it serves as a protective layer that supports the overall remediation goal of a mold-free environment.
Step 6: Thorough Drying and Moisture Verification
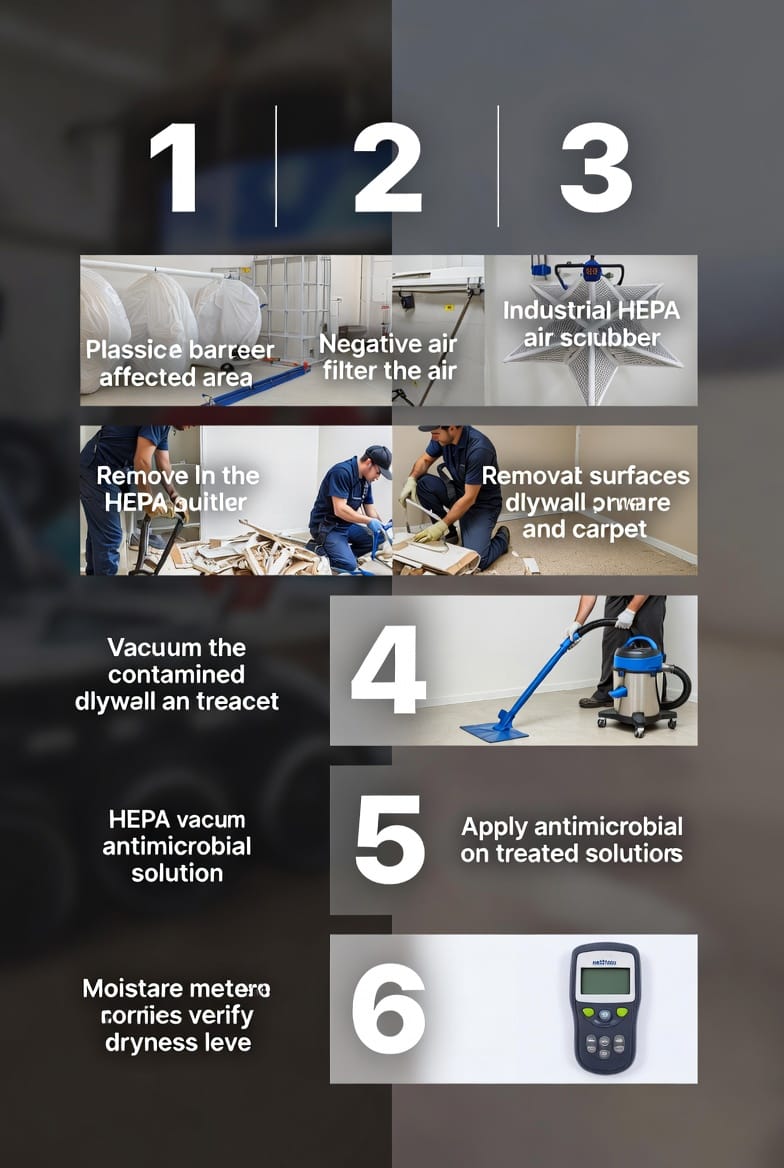
The final technical phase is drying verification. Even after materials are removed and surfaces treated, residual moisture in wood framing, concrete, or adjacent cavities can restart mold growth. Industrial dehumidifiers and air movers operate continuously inside the contained zone, extracting moisture until readings fall within accepted industry standards.
Technicians use calibrated moisture meters and thermal imaging cameras to measure content at multiple depths and locations. Readings are recorded daily and compared against baseline values for the specific materials involved. Only when every monitored point remains consistently dry for the required period does the team consider the space ready for clearance sampling. Independent third-party air and surface testing often follows to confirm that spore levels match outdoor or pre-loss baselines. Successful drying verification closes the remediation loop and allows reconstruction to begin with confidence.
Supporting Best Practices Throughout the Process
Beyond the six core steps, several supporting practices strengthen results. Workers wear full personal protective equipment including respirators, gloves, and disposable coveralls to avoid tracking contaminants. HVAC systems serving the affected area are isolated or cleaned separately to prevent spore distribution through ductwork. Documentation—including photographs, moisture logs, and material inventories—creates a clear record for insurance claims and future reference.
Communication with occupants remains essential. Technicians explain each phase, outline expected timelines, and provide guidance on temporary relocation if needed. This transparency reduces anxiety and builds trust that the work proceeds according to proven standards.
Common Mistakes That Compromise Safety
Many well-intentioned efforts fail because of incomplete containment, reliance on non-HEPA equipment, or premature reconstruction before drying verification. Painting over mold, using household bleach as a sole solution, or discarding materials without proper bagging simply relocates the problem. Professional protocols exist precisely to avoid these pitfalls and deliver lasting results.
Long-Term Protection After Remediation
Once the structure is clean and dry, attention shifts to prevention. Prompt repairs of roof leaks, plumbing failures, or foundation seepage eliminate future water intrusion. Maintaining indoor humidity between 30 and 50 percent, improving ventilation in bathrooms and basements, and scheduling periodic inspections further reduce risk. In flood-prone regions, elevating critical systems and installing backflow preventers add extra layers of defense.
Restoring Confidence in Your Space
A flood can feel devastating, yet the structured process of mold remediation after flood—beginning with plastic-barrier containment, continuous HEPA filtration, thorough removal of contaminated drywall and carpet, detailed HEPA vacuuming, targeted antimicrobial treatment, and rigorous drying verification—returns buildings to safe, healthy condition. Each step builds on the previous one, creating a comprehensive shield against both immediate health concerns and long-term structural damage.
When moisture levels stabilize and clearance testing confirms success, reconstruction can proceed without fear of hidden colonies. Occupants regain the comfort of knowing their environment meets professional standards for cleanliness and air quality. The investment in proper remediation protects both physical health and property value far more effectively than rushed or incomplete efforts.
Safe mold removal requires professional steps.
Protect Your Home from Post-Flood Mold – Call Today