The Low-Voltage Landscape Wire: Sizing for Distance and Wattage
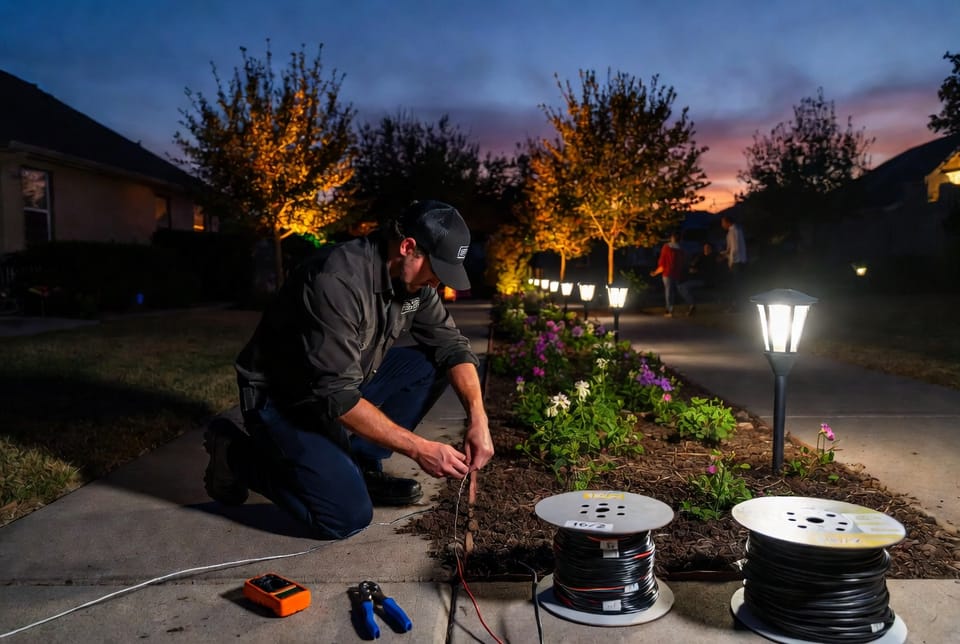
Low-voltage landscape lighting transforms ordinary outdoor spaces into stunning, functional retreats. Proper wire sizing stands as one of the most critical yet often overlooked elements of a successful installation. Choosing the right low-voltage landscape wire prevents frustrating voltage drop that leaves distant lights dim and unreliable.
Avoid Dim Lights with Proper Wire Sizing – Call Now!
In this comprehensive guide, we explore everything homeowners and professionals need to know about selecting the ideal wire gauge for your 12V outdoor lighting system. Whether planning a new project or troubleshooting existing lights, understanding wire sizing for distance and wattage ensures beautiful, energy-efficient illumination that lasts for years.
Why Low-Voltage Landscape Lighting Excels for Outdoor Spaces
Low-voltage systems operating at 12 volts offer numerous advantages over traditional line-voltage options. They deliver safety, flexibility, and efficiency that make them the preferred choice for residential landscapes across Texas and beyond.
- Enhanced Safety: Lower voltage reduces shock risk, making them ideal for areas with children, pets, or frequent foot traffic.
- Easy Installation: No need for expensive conduit or licensed electricians in many cases, empowering DIY enthusiasts while allowing professionals to complete jobs faster.
- Energy Efficiency: These systems consume less power while providing ample illumination for pathways, gardens, and architectural features.
- Design Versatility: Fixtures can be easily repositioned or expanded without major rewiring.
However, the benefits only materialize when the system uses correctly sized low-voltage landscape wire. Undersized wire leads to voltage drop, causing lights farthest from the transformer to appear noticeably dimmer or flicker.
Professional insight: A well-designed system maintains consistent brightness throughout, creating that iconic evening glow homeowners love.
Understanding Voltage Drop in 12V Systems
Voltage drop occurs naturally as electricity travels through wire. In low-voltage systems, this effect becomes more pronounced due to the lower starting voltage. Even small drops significantly impact light output because LED and halogen fixtures perform best near their rated voltage.
The basic principle is straightforward: longer wire runs and higher total wattage increase resistance, leading to greater voltage loss. For every 1-volt drop below 12V, light output can diminish noticeably, with colors washing out and brightness falling.
Key Factors Influencing Voltage Drop
Several variables determine how much drop your system experiences:
- Total Wattage Load: Higher combined wattage of all fixtures increases current (amps) flowing through the wire.
- Cable Length: Distance from transformer to the farthest fixture — remember to calculate the round-trip distance (there and back).
- Wire Gauge: Thicker wire (lower AWG number) has less resistance and handles longer runs better.
- Temperature and Connections: Heat and poor connections can exacerbate losses.
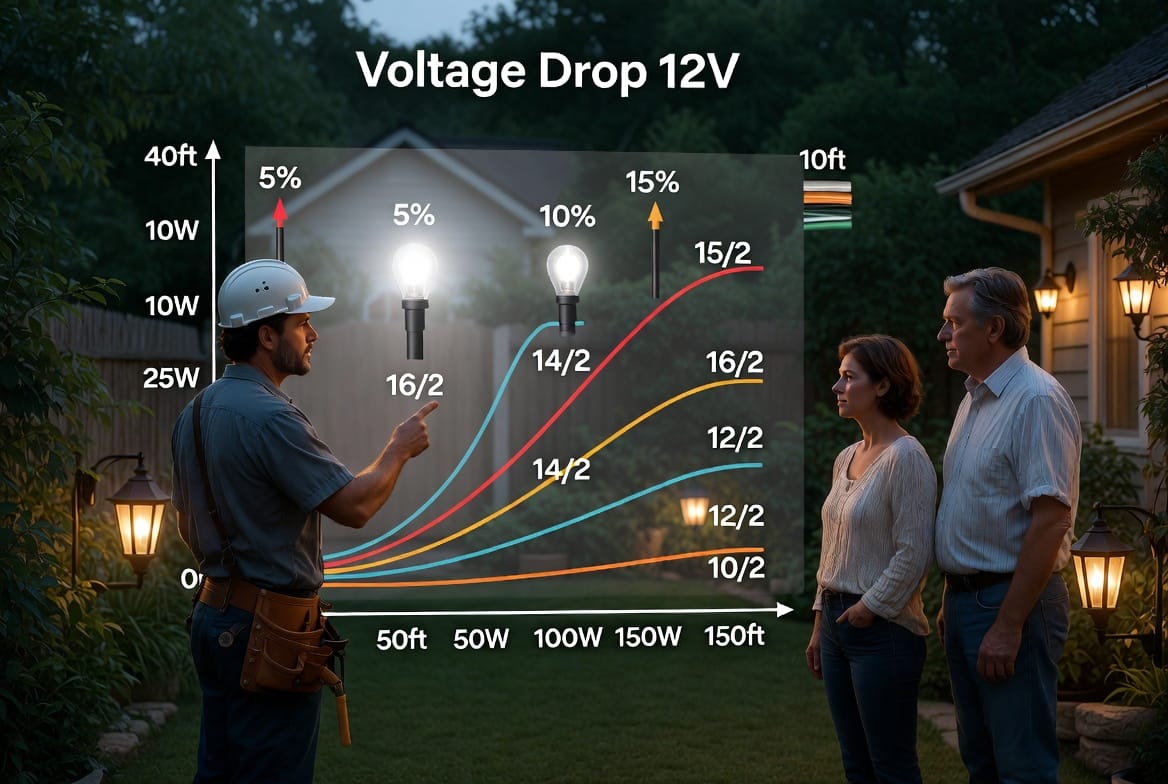
Authoritative recommendation: Always aim to keep voltage drop under 10% (ideally 5% or less) for optimal performance. This ensures every light shines brightly as intended.
How to Calculate Voltage Drop for Landscape Lighting
Calculating voltage drop empowers you to select the right low-voltage landscape wire confidently. While professionals use specialized tools, homeowners can apply simple guidelines or basic formulas.
The general formula for voltage drop in a 12V DC system is:
Voltage Drop = (Current × Resistance per foot × Round-trip distance)
Where:
- Current (Amps) = Total Wattage ÷ 12
- Resistance varies by gauge (consult manufacturer charts for exact values)
For practical purposes, use these proven benchmarks tailored for typical landscape installations:
- 16/2 Wire: Best for short runs under 50 feet with light loads (up to 100-150 watts total).
- 14/2 Wire: Suitable for runs up to 80 feet.
- 12/2 Wire: Excellent for runs up to 100-120 feet with moderate loads.
- 10/2 Wire: Ideal for longer runs of 150 feet or more, or higher wattage setups.
Pro tip: Divide your layout into multiple zones if distances exceed recommendations. This keeps voltage stable and allows independent control of different areas.
Recommended Wire Gauges for Different Scenarios
Selecting the appropriate gauge requires balancing your specific layout, load, and future expansion plans.
Short Runs: 16/2 Wire
For compact gardens or small patios with runs under 50 feet, 16-gauge wire provides adequate performance. This lighter option costs less and handles easy manipulation around tight curves in flower beds.
Best for:
- Pathway lighting with 4-6 fixtures
- Accent lighting on small features
- Budget-conscious projects
Medium Runs: 12/2 or 14/2 Wire
Most residential installations benefit from 12-gauge wire, which supports runs up to approximately 100-120 feet while maintaining excellent brightness. The extra copper reduces resistance effectively without excessive bulk.
Use 14/2 as a middle ground when distances fall between 50-80 feet.
Long Runs: 10/2 Wire
For expansive properties common in Texas suburbs, 10-gauge low-voltage landscape wire becomes essential. It handles 150+ feet effectively, supporting higher wattage loads without compromising light quality.
Advantages of thicker wire:
- Minimal voltage drop even under load
- Supports future additions
- Better durability in outdoor conditions
Common Mistakes and How to Avoid Them
Even experienced installers encounter issues when wire sizing receives insufficient attention. Here are pitfalls to watch for:
- Ignoring Round-Trip Distance: Always double the one-way measurement.
- Overloading a Single Run: Split high-wattage zones to distribute load.
- Using Undersized Wire to Save Money: Short-term savings lead to long-term dissatisfaction and higher replacement costs.
- Poor Connections: Use waterproof connectors and proper burial techniques.
Reassuring note: With careful planning, these issues are entirely preventable. Professional assessment ensures your system performs flawlessly from day one.
Installation Best Practices for Optimal Results
Proper installation maximizes the benefits of correctly sized wire:
- Plan Your Layout: Map transformer location and fixture positions carefully.
- Bury Cable Appropriately: Use 6-12 inches depth or protective conduit in high-traffic areas.
- Test as You Go: Measure voltage at various points during setup.
- Choose Quality Components: Pair good wire with reliable transformers and fixtures.
- Allow for Expansion: Select slightly heavier gauge than immediately necessary.
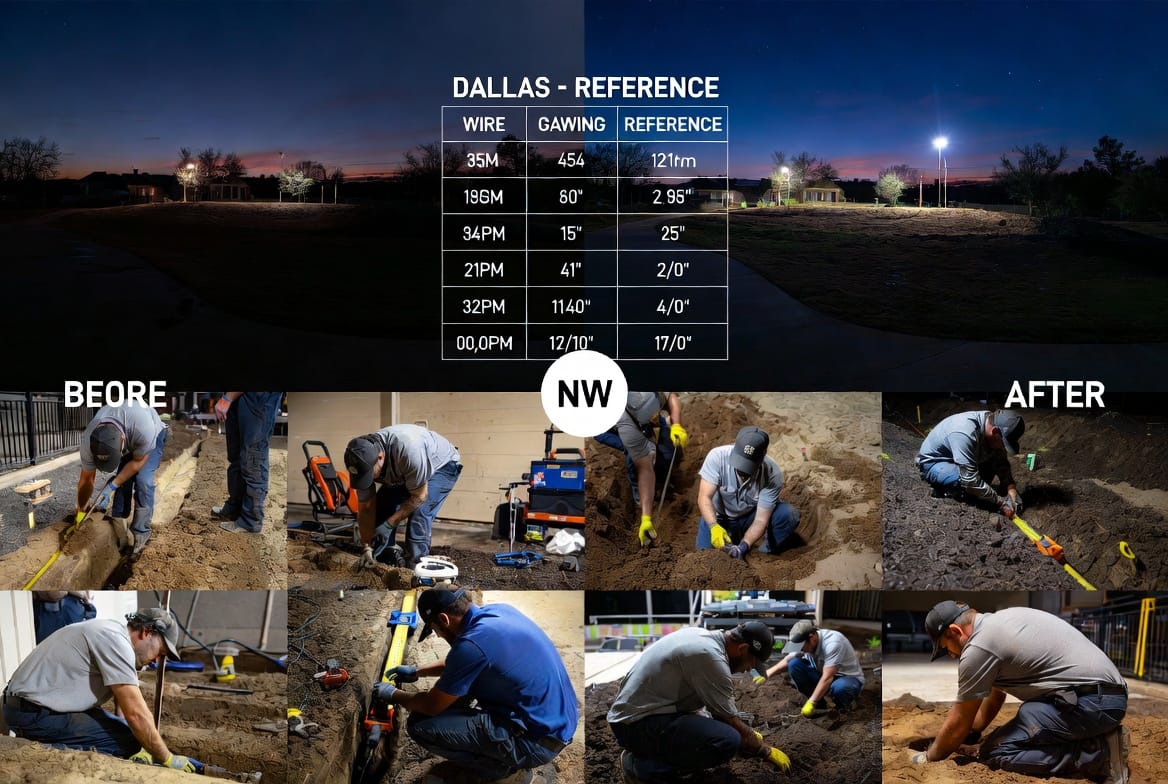
In Dallas-area clay soils and variable weather, using direct-burial rated wire with UV protection ensures longevity.
The Impact of Proper Wire Sizing on Your Landscape
Investing time in correct low-voltage landscape wire selection pays dividends through:
- Consistent Beauty: Even illumination that highlights your property's best features.
- Energy Savings: Efficient operation reduces electricity costs.
- Lower Maintenance: Fewer bulb replacements and fewer service calls.
- Increased Property Value: Well-lit exteriors enhance curb appeal and security.
Homeowners report greater enjoyment of their outdoor spaces, extending usable hours well into the evening for entertaining or relaxation.
Advanced Considerations for Larger Properties
For estates or commercial landscapes, consider these additional factors:
- Multiple Transformers: Distribute power sources to minimize long runs.
- Voltage Drop Calculators: Online tools and apps provide precise recommendations.
- Amperage Limits: Respect manufacturer maximums for each gauge.
- Seasonal Adjustments: Account for temperature effects on resistance.
Professionals often combine different gauges within one system — thicker wire for main runs and lighter for branches.
Maintaining Your Low-Voltage System
Once installed correctly, maintenance remains straightforward:
- Inspect connections annually for corrosion.
- Check for voltage consistency after storms.
- Clean fixtures to maintain light output.
- Monitor for animal damage to exposed wire.
Proactive care keeps your investment shining brightly for decades.
Bringing It All Together: Designing Your Perfect System
Creating an effective outdoor lighting design involves more than just picking pretty fixtures. Mastering low-voltage landscape wire sizing forms the foundation of success. By matching gauge to distance and wattage, you avoid dim spots and ensure every element contributes to the overall ambiance.
Whether illuminating a modest backyard or a sprawling Texas property, the principles remain the same: calculate carefully, choose wisely, and install professionally.
Warning: Undersized wire causes distant lights to dim significantly, ruining the intended effect and wasting energy. Don't compromise on this crucial component.
Ready to elevate your outdoor space with reliable, beautiful low-voltage landscape lighting? Our experienced team specializes in proper wire sizing and complete system design tailored to your property's unique needs.
Professional Wire Sizing & Lighting Design – Call Now