The Landscape Lighting Design: Paths, Accents, and Safety
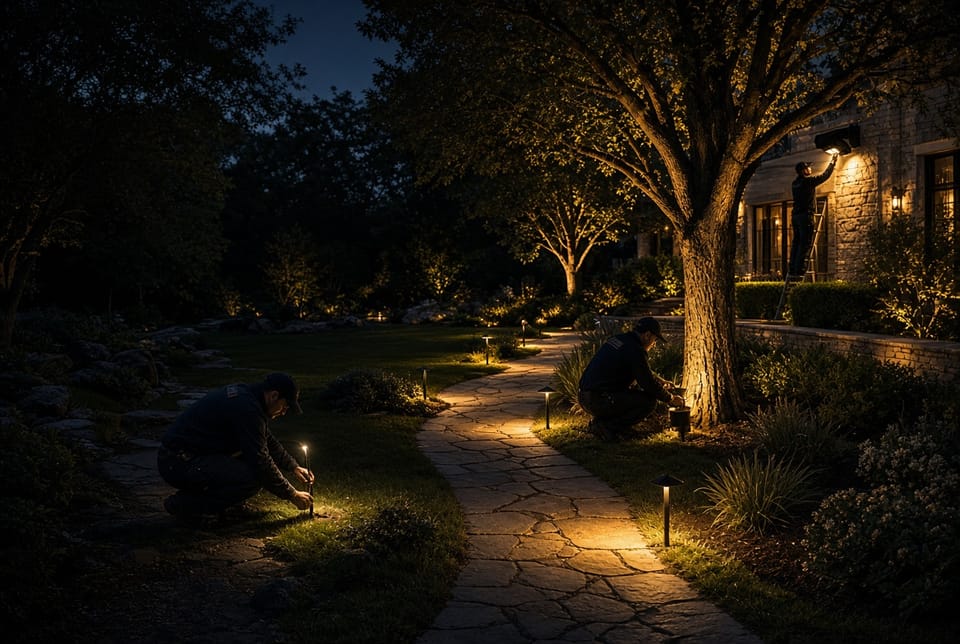
Creating a successful landscape lighting design requires far more than simply placing fixtures outdoors. True design excellence balances three essential goals: safety along walkways, aesthetic enhancement of trees and architectural features, and security across the property. When these elements work together, outdoor spaces become inviting after dark, reduce the risk of accidents, and discourage unwanted activity—all while elevating the overall beauty of the home.
Call Now for Safe & Stunning Landscape Lighting Design
A well-executed landscape lighting plan follows clear design principles that guide fixture selection, placement, and spacing. This article explores those principles in depth, focusing on path lighting for safe navigation, accent lighting for visual interest, and flood lighting for protective coverage. By understanding proper techniques, homeowners and designers can achieve professional-grade results that look refined rather than over-lit or sparse.
Core Design Principles of Landscape Lighting
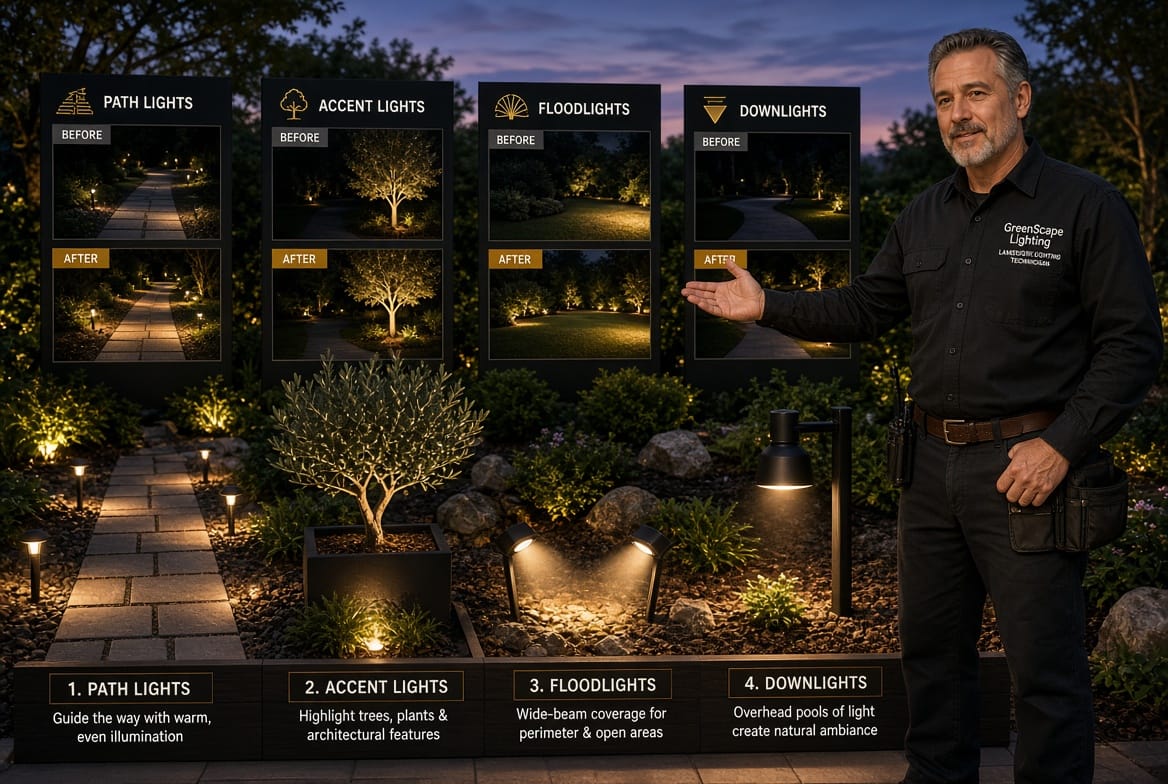
Effective outdoor lighting rests on a foundation of intentional layering. The three primary layers—path, accent, and flood—each serve a distinct purpose, yet they must complement one another. Over-illumination washes out the scene and creates harsh glare; under-illumination leaves dangerous dark zones. The goal is balanced light that guides the eye, reveals form, and maintains comfortable visibility.
Key principles include:
- Hierarchy of light: Primary pathways receive the most consistent illumination, secondary features receive focused accents, and perimeter areas receive broader security coverage.
- Contrast and shadow: Strategic use of light and dark areas adds depth and drama rather than flattening the landscape.
- Scale and proportion: Fixture size and light output must match the scale of the plants, hardscape, and architecture they illuminate.
- Energy efficiency and longevity: Modern LED technology delivers the required brightness while minimizing heat and power consumption.
- Maintenance accessibility: Fixtures should be positioned so they remain serviceable without damaging surrounding plantings.
When these principles guide every decision, the finished design feels intentional and polished. Homeowners enjoy outdoor spaces that remain usable and attractive long after sunset.
Path Lighting for Safety: Placement and Spacing Guidelines
Path lighting forms the backbone of any responsible landscape lighting design. Its primary purpose is safety—preventing trips, slips, and falls along walkways, steps, and transitions between different surfaces. Proper path lighting also creates a welcoming sense of direction that encourages evening use of gardens, patios, and entry routes.
Recommended Placement
Path lights should be positioned to cast light across the walking surface rather than directly into the eyes of someone approaching. Ideal locations include:
- Both sides of primary walkways when space allows
- The outer edges of narrower paths to avoid visual clutter
- Immediately adjacent to changes in elevation, such as steps or ramps
- Near curves or intersections where direction changes
- At the beginning and end of each distinct pathway segment
Fixtures typically stand 12 to 24 inches tall for residential applications. Taller fixtures can create unnecessary glare, while shorter ones may be blocked by growing groundcovers.
Spacing Guidelines
Consistent spacing prevents dark gaps that undermine safety. Follow these practical rules:
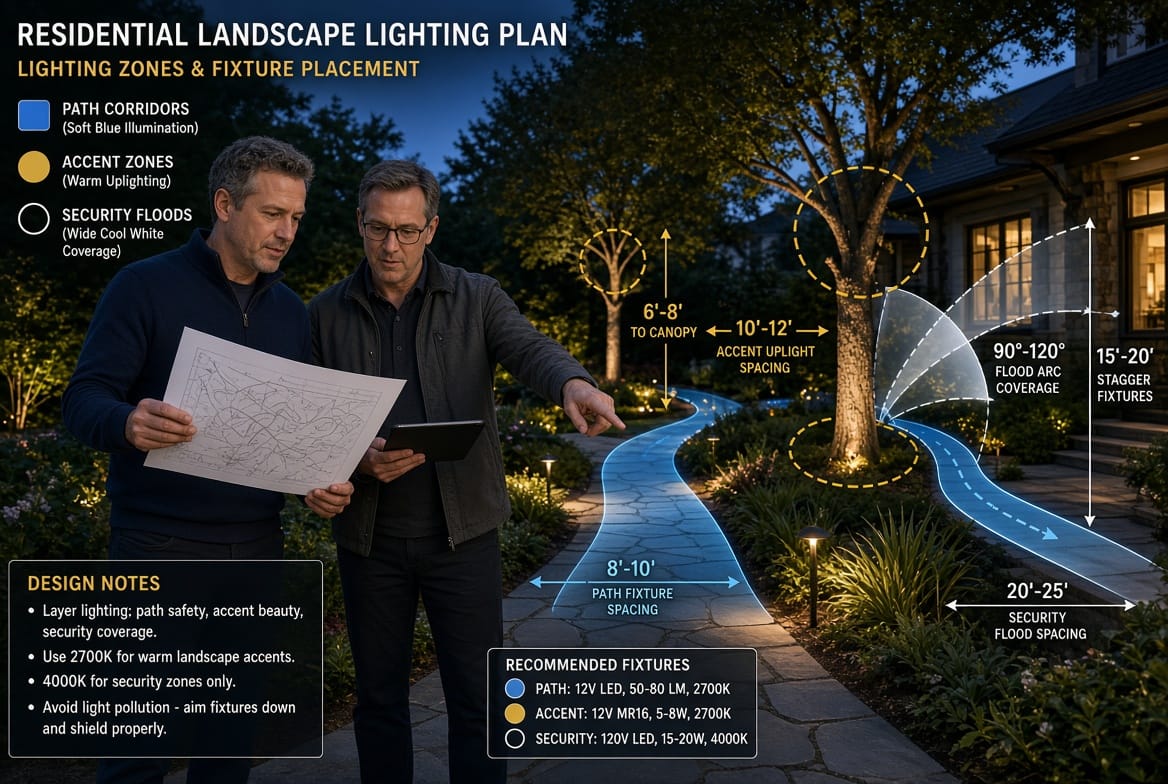
- For standard residential paths 3 to 4 feet wide, space fixtures 6 to 8 feet apart along each side.
- On wider driveways or garden promenades, increase spacing to 8 to 10 feet.
- Reduce spacing to 4 to 6 feet near steps, tight curves, or areas with uneven paving.
- Stagger fixtures on opposite sides of a path rather than placing them directly across from each other; this produces more even coverage and a softer visual rhythm.
- Always test spacing at night before final installation. Walk the route and note any remaining shadows that could hide obstacles.
Additional safety considerations include using fixtures with shielded or frosted lenses to reduce glare, selecting warm color temperatures (2700K–3000K) that feel natural, and ensuring light levels remain high enough to reveal surface textures and potential hazards. When path lighting is designed correctly, residents and guests move confidently through the landscape without hesitation.
Accent Lighting for Trees and Features
While path lighting prioritizes function, accent lighting delivers beauty and personality. This technique draws attention to specimen trees, sculptural plantings, water features, stone walls, and architectural details. The result is a nighttime composition that highlights the best elements of the landscape and creates visual interest from multiple viewing angles.
Techniques for Trees
Uplighting remains the most popular method for trees. Place fixtures at the base of the trunk, angled upward to illuminate the canopy or branch structure. For multi-trunk or interesting bark specimens, two or three fixtures arranged in a triangular pattern produce richer dimensionality. Larger mature trees may require higher-output fixtures or multiple layers of light to reach the upper canopy effectively.
Downlighting from branches or nearby structures offers a complementary approach, casting natural-looking shadows that mimic moonlight. This method works especially well for trees with dense foliage or for creating pools of light on the ground beneath.
Techniques for Architectural and Garden Features
- Stone walls and columns benefit from grazing light—fixtures placed close to the surface and aimed parallel to it so texture becomes pronounced.
- Water features gain drama from submerged or carefully angled lights that catch reflections and movement.
- Garden art or focal plantings receive single, precisely aimed spotlights that isolate the object against a darker background.
- Building façades can be softly washed or selectively accented to connect the house with the surrounding landscape.
Placement and Spacing Considerations
Accent fixtures generally sit closer to the object than path lights. Typical setbacks range from 1 to 3 feet for small shrubs and 3 to 8 feet for larger trees, depending on the desired beam spread. Avoid placing lights so close that they create hot spots or so far that the light falls short of the feature.
Spacing between multiple accent lights on the same plant or structure should follow the natural form of the subject. For a large oak, three fixtures spaced roughly 120 degrees apart often produce balanced coverage. Always prioritize concealment: hide fixtures behind low plantings or within groundcover so the light appears to emanate naturally from the landscape itself.
When accent lighting is thoughtfully applied, the outdoor environment gains depth, drama, and a sense of artistry that transforms ordinary nights into memorable experiences.
Flood Lighting for Security
Flood lighting addresses the critical need for security. Broad, even illumination of driveways, entry points, side yards, and rear property lines reduces hiding places and increases the likelihood that activity will be noticed. Unlike decorative lighting, flood fixtures prioritize coverage and intensity while still integrating into the overall design aesthetic.
Strategic Placement
Position floodlights to cover:
- Primary and secondary entrances
- Garage and driveway approaches
- Side and rear yards that are otherwise dark
- Transitions between public and private spaces
- Areas adjacent to valuable outdoor equipment or storage
Mounting heights between 8 and 12 feet typically provide the best balance of coverage and reduced glare. Higher placements expand the beam footprint; lower placements risk creating harsh shadows.
Spacing and Coverage Guidelines
Floodlights should overlap slightly so no dark corridors remain between beams. A practical rule is to space fixtures so that the edge of one beam meets or gently overlaps the edge of the next. For average residential lots:
- Driveway coverage often requires fixtures every 20 to 30 feet depending on beam angle and mounting height.
- Side-yard runs may need lights every 15 to 25 feet.
- Open rear areas can sometimes be served by fewer, wider-beam fixtures placed at strategic corners.
Motion sensors or smart controls can enhance security without keeping lights on continuously, preserving both energy and the softer atmosphere created by path and accent layers. Choose fixtures with adjustable heads and shields so light can be directed precisely where needed and kept out of neighboring windows.
When flood lighting is integrated rather than added as an afterthought, it strengthens safety without compromising the beauty of the overall landscape lighting design.
Combining Layers into a Cohesive Design
The most successful projects treat path, accent, and flood lighting as interdependent systems rather than isolated categories. Begin by establishing the primary circulation routes with path lights. Next, identify the key visual assets that deserve accent treatment. Finally, evaluate remaining dark zones that require security coverage and fill them with appropriately scaled flood fixtures.
A simple planning sequence helps maintain balance:
- Walk the property at night with temporary lights to identify existing dark spots and potential focal points.
- Sketch zones on a simple site plan—paths, feature circles, and security arcs.
- Select fixture styles that share a consistent finish and design language so the installation feels unified.
- Calculate total wattage and circuit requirements early to avoid overloading transformers or creating voltage drop.
- Adjust aiming and intensity after installation during a night-time walkthrough.
This methodical approach prevents the common problem of competing light sources and ensures every fixture contributes to the larger composition.
Practical Installation Considerations and Best Practices
Beyond placement and spacing, several technical factors influence long-term performance. Low-voltage LED systems (12V or 24V) remain the preferred choice for residential landscape lighting because they are safer, more energy-efficient, and easier to expand later. Proper wire sizing, waterproof connections, and adequately sized transformers protect the investment.
Aim fixtures carefully to avoid light trespass onto neighboring properties or into the night sky. Use glare shields, louvers, and careful angling to keep light on the intended surfaces. Seasonal plant growth will eventually alter light patterns, so schedule periodic re-aiming and cleaning of lenses.
Color temperature consistency across all fixtures creates visual harmony. Warm white light (2700K–3000K) generally flatters plant material and architectural finishes better than cooler temperatures. Dimming capability, whether manual or automated, allows the system to adapt to different occasions—bright for gatherings, softer for quiet evenings.
Avoiding Common Design Pitfalls
Even experienced homeowners can fall into predictable traps. Over-lighting is the most frequent mistake; more fixtures do not automatically equal better results. Excessive brightness flattens form, creates glare, and wastes energy. Another common error is inconsistent spacing that produces alternating bright and dark patches along pathways. Ignoring vertical surfaces—walls, tree trunks, and building façades—leaves the design feeling incomplete. Finally, neglecting future plant growth leads to fixtures that become buried or blocked within a season or two.
By deliberately applying the principles outlined earlier—hierarchy, contrast, scale, and careful testing—these pitfalls are easily avoided. The resulting system remains effective and attractive for years.
Long-Term Value of Thoughtful Landscape Lighting
A carefully designed outdoor lighting system delivers measurable benefits. Safety improves because walkways and steps remain visible. Security strengthens through reduced dark zones. Aesthetic appeal increases, often enhancing curb appeal and property value. Evening outdoor living becomes more inviting, extending the usable hours of patios, decks, and gardens. Energy-efficient LEDs keep operating costs low while requiring minimal maintenance.
When path lighting, accent lighting, and flood lighting are planned together according to proven guidelines, the outdoor environment transforms from a collection of individual fixtures into a cohesive, functional, and beautiful nighttime landscape.
Design beautiful outdoor lighting that prioritizes safety, enhances natural features, and strengthens security. Professional design and installation ensure correct placement, spacing, and layering for lasting results.
Expert Landscape Lighting Design – Call for Installation!