The Kitchen Sink Sprayer: Low Water Pressure Causes and Fixes
Are you tired of your kitchen sink sprayer delivering a weak trickle instead of a powerful spray? Low water pressure in the sprayer is one of the most common plumbing complaints in modern homes. This frustrating issue turns simple tasks like rinsing dishes or cleaning vegetables into time-consuming chores.
Get Strong Water Pressure Back – Call Our Plumbers Now!
The good news is that most kitchen sink sprayer pressure problems can be diagnosed and fixed quickly without major expense. Understanding the root causes and following proper troubleshooting steps can restore your sprayer to full performance safely and effectively.
In this comprehensive guide, we’ll walk you through the primary reasons your sprayer loses pressure and provide clear, step-by-step solutions. Whether you’re a DIY enthusiast or prefer professional help, this article equips you with the knowledge to resolve the issue confidently.
Why Your Kitchen Sink Sprayer Loses Pressure
Kitchen sink sprayers rely on consistent water flow from the main faucet through a flexible hose and out the spray head. When pressure drops, the problem usually stems from restrictions in this pathway.
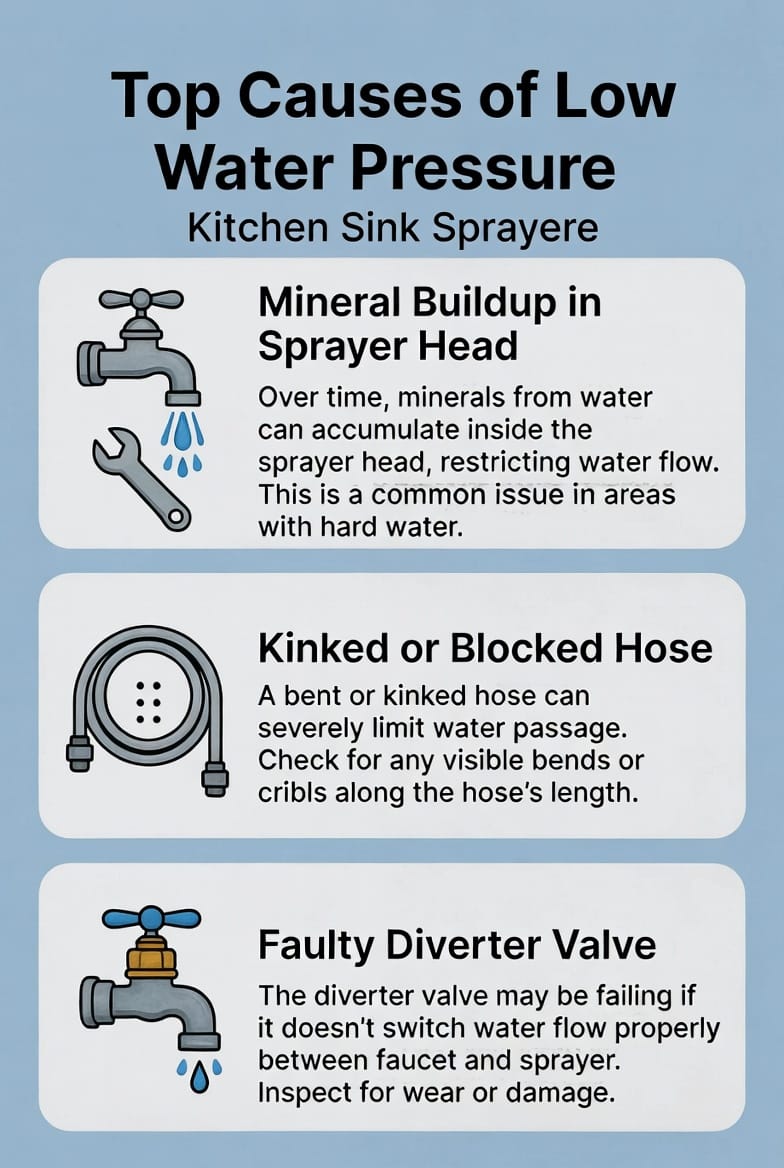
Common causes include:
- Mineral buildup from hard water accumulating inside the sprayer head
- Clogged aerator or spray nozzles restricting water output
- Kinked or damaged hose limiting water volume
- Faulty diverter valve failing to redirect water properly to the sprayer
These issues develop gradually over time, especially in areas with hard water or older plumbing systems. Identifying the exact cause early prevents further frustration and potential water waste.
Common Causes of Low Sprayer Pressure Explained
1. Clogged Sprayer Head from Mineral Buildup
Hard water minerals like calcium and lime gradually deposit inside the small nozzles of the sprayer head. Over months or years, these deposits narrow the openings, dramatically reducing water pressure and creating an uneven spray pattern.
Signs of mineral buildup:
- Weak, misty spray instead of a strong, focused stream
- Some nozzles completely blocked while others work partially
- White or yellowish crust visible around the spray head
This is one of the most frequent causes in households with hard water and is usually the easiest to fix.
2. Kinked or Crushed Sprayer Hose
The flexible hose connecting the sprayer to the faucet can develop kinks from repeated pulling, twisting, or improper storage under the sink. Even a slight kink restricts water flow significantly.
Warning signs:
- Sudden drop in pressure after moving the sprayer
- Visible bends or flattening in the hose
- Sprayer works better when the hose is straightened manually
A damaged hose not only reduces pressure but can eventually leak if left unaddressed.
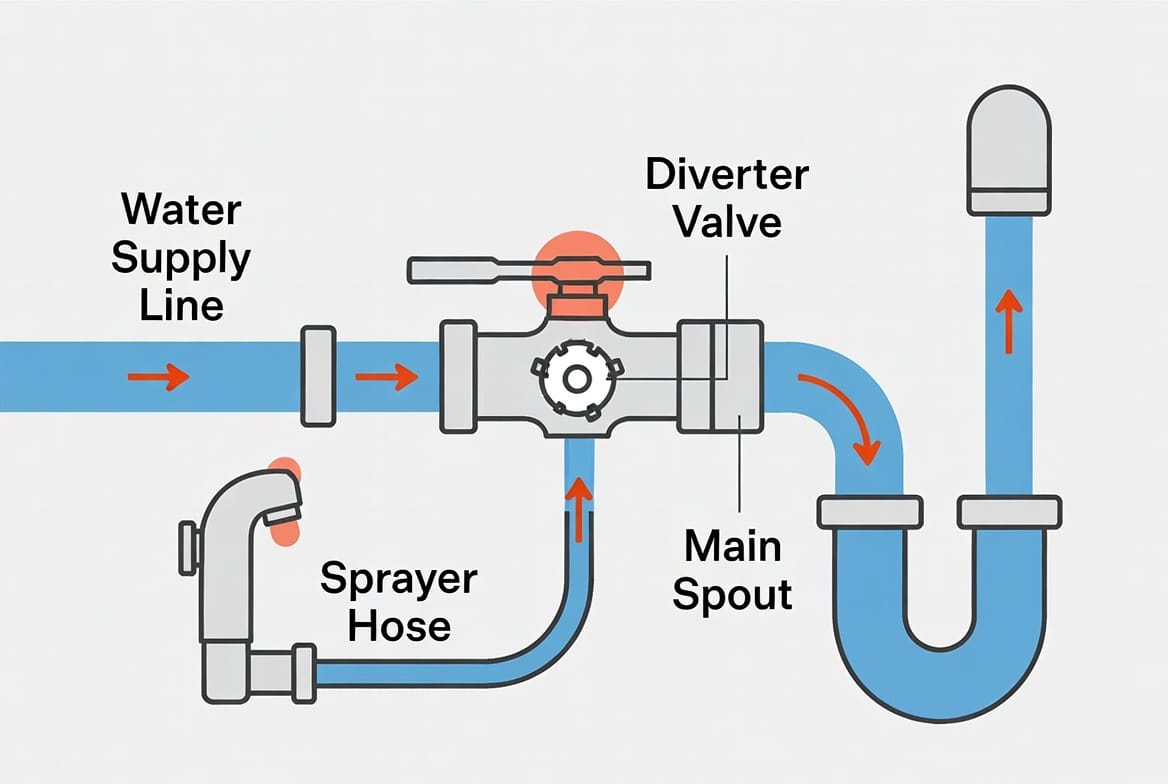
3. Diverter Valve Problems
The diverter valve is the small mechanism inside the faucet that switches water flow between the main spout and the sprayer. When it becomes worn, clogged, or stuck, it fails to send full pressure to the sprayer.
Common diverter issues:
- Partial water flow to both spout and sprayer simultaneously
- Sprayer pressure improves temporarily when the handle is wiggled
- No water reaching the sprayer at all
Diverter problems often require more technical knowledge but remain repairable in most cases.
4. Clogged Aerator or Additional Filters
Some sprayers include built-in aerators or screens that can collect debris, sediment, or mineral deposits. A blocked aerator reduces overall water volume reaching the spray head.
Step-by-Step Troubleshooting for Low Sprayer Pressure
Follow these systematic steps to diagnose and fix your kitchen sink sprayer safely. Always turn off the water supply under the sink before disassembling any parts.
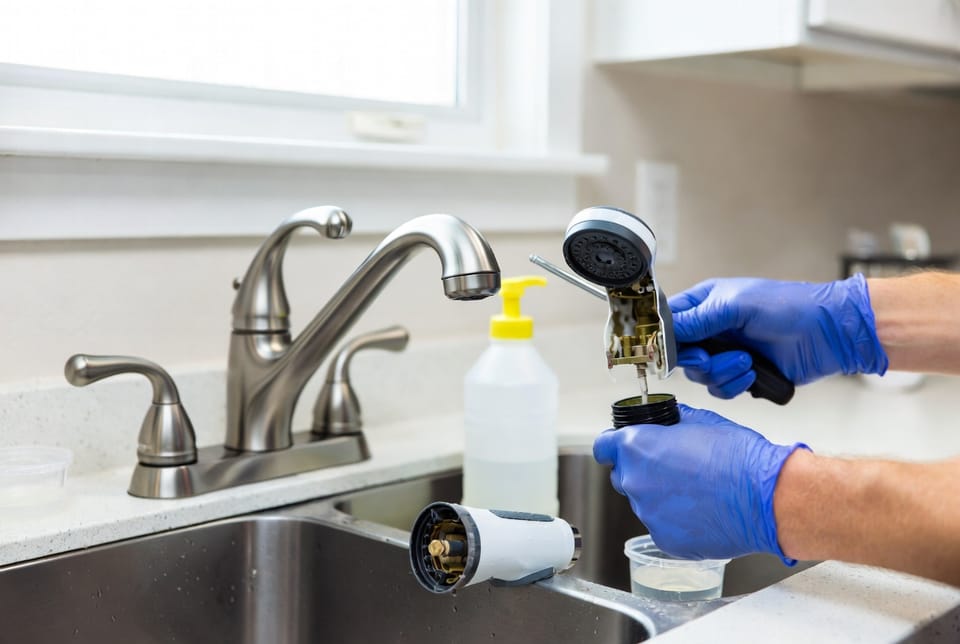
Step 1: Clean the Sprayer Head
- Unscrew the sprayer head from the hose (most models twist off by hand or with a gentle wrench).
- Soak the head in a mixture of equal parts white vinegar and warm water for 30–60 minutes to dissolve mineral deposits.
- Use a soft brush or toothpick to gently clear each nozzle opening. Avoid metal tools that could scratch or damage the finish.
- Rinse thoroughly and reattach the head securely.
This simple process often restores 80–90% of lost pressure when mineral buildup is the primary culprit.
Step 2: Inspect and Straighten the Hose
- Pull the hose completely out and check its full length for kinks, twists, or crushing.
- Gently straighten any bent sections and ensure the hose moves freely without obstruction under the sink.
- If the hose shows cracks, leaks, or permanent deformation, replace it with a compatible model (available at most hardware stores).
Proper hose management prevents recurring pressure loss and extends the life of your sprayer system.
Step 3: Test and Clean the Diverter Valve
- Remove the faucet handle and spout according to your model’s instructions (consult the manufacturer’s manual if needed).
- Locate the diverter valve (usually a small cylindrical or cartridge-style component).
- Clean any visible debris or mineral deposits using vinegar solution and a soft brush.
- Check the valve’s O-rings for wear and replace if damaged.
- Reassemble and test the sprayer function.
If cleaning doesn’t restore proper switching, the diverter valve may need professional replacement.
Step 4: Check the Aerator and Supply Lines
- Unscrew the aerator from the main faucet spout and clean it thoroughly.
- Inspect the flexible supply lines under the sink for kinks or blockages.
- Ensure shut-off valves are fully open and not partially closed.
When to Call a Professional Plumber
While many kitchen sink sprayer pressure issues are DIY-friendly, certain situations warrant expert assistance:
- Persistent low pressure after cleaning all accessible parts
- Visible leaks around the diverter valve or base of the faucet
- Older faucets (10+ years) showing multiple failing components
- Uncertainty about safely disassembling your specific faucet model
Attempting complex repairs without proper tools or experience can lead to water damage or void manufacturer warranties. A licensed plumber can quickly diagnose hidden issues and perform lasting repairs using quality parts.
Don’t let low sprayer pressure continue disrupting your kitchen routine. Professional service ensures the job is done correctly the first time, saving you time, frustration, and potential future repairs.
Preventive Maintenance Tips for Long-Term Sprayer Performance
Keep your kitchen sink sprayer working at peak efficiency with these simple habits:
- Monthly cleaning: Soak the sprayer head in vinegar solution every 4–6 weeks, especially in hard water areas.
- Proper hose handling: Avoid sharp bends or overextending the hose during use.
- Water softener consideration: Installing a whole-house water softener significantly reduces mineral buildup throughout your plumbing system.
- Annual professional inspection: Have your kitchen plumbing checked yearly to catch small issues before they become major problems.
Consistent maintenance dramatically reduces the likelihood of recurring low pressure and extends the lifespan of your faucet and sprayer assembly.
Restore Your Kitchen Sink Sprayer Pressure Today
Don’t settle for weak water flow in your kitchen. Whether the issue is simple mineral buildup or a more complex diverter valve problem, the right approach can quickly bring back strong, reliable performance.
Our experienced team specializes in kitchen sink sprayer repairs and all types of residential plumbing issues. We use professional-grade tools and techniques to diagnose and fix low pressure problems efficiently.
Ready to restore full sprayer pressure?
Professional Sprayer Repair & Pressure Restoration – Call Now