The Insurance Claim Process: Working with Adjusters After Flooding
Flooding can leave homeowners feeling overwhelmed, yet understanding the insurance claim process transforms uncertainty into a clear path forward. When water invades your property, acting with knowledge and preparation allows you to work effectively with adjusters and secure the coverage you need for a full recovery. This guide walks you through every stage—from the first phone call to final settlement—so you can navigate the claims process with confidence and authority.
Navigate Your Flood Claim Successfully – Call Now!
Why Immediate Action Matters After Flooding
Water damage escalates quickly. Standing water encourages mold growth within 24 to 48 hours, structural materials weaken, and secondary issues multiply. Contacting your insurer right away protects both your property and your claim. Most policies require prompt notice, and delays can complicate coverage decisions.
By calling immediately you establish an official record, trigger emergency mitigation benefits if available, and demonstrate that you are taking responsible steps. Insurers recognize proactive policyholders, and early communication often leads to smoother interactions with the assigned adjuster.
How to File Your Claim: The Critical First Step
The moment you discover flooding, locate your insurance policy and the claims phone number. Dial your insurer’s dedicated claims line or use their mobile app if one is available. Provide your policy number, the exact address of the damaged property, a brief description of the water source (burst pipe, appliance failure, storm-related intrusion, or other), and the approximate time the damage was discovered.
Speak clearly and stick to facts. Avoid speculation about long-term costs or assigning blame. Request a claim number immediately and write it down. Ask whether temporary living expenses or emergency mitigation services are covered while the claim is being processed. Many carriers will authorize or even dispatch preferred restoration partners at this stage, helping limit further loss.
Keep a dedicated notebook or digital folder for every conversation. Note the date, time, name of the representative, and key points discussed. This simple habit creates a reliable paper trail that proves invaluable later.
What to Expect Once the Claim Is Opened
After filing, the insurer assigns an adjuster—either staff or independent—to evaluate the loss. Expect an initial contact within 24 to 72 hours, depending on claim volume and the severity of regional weather events. The adjuster will schedule an on-site inspection, typically within a few days.
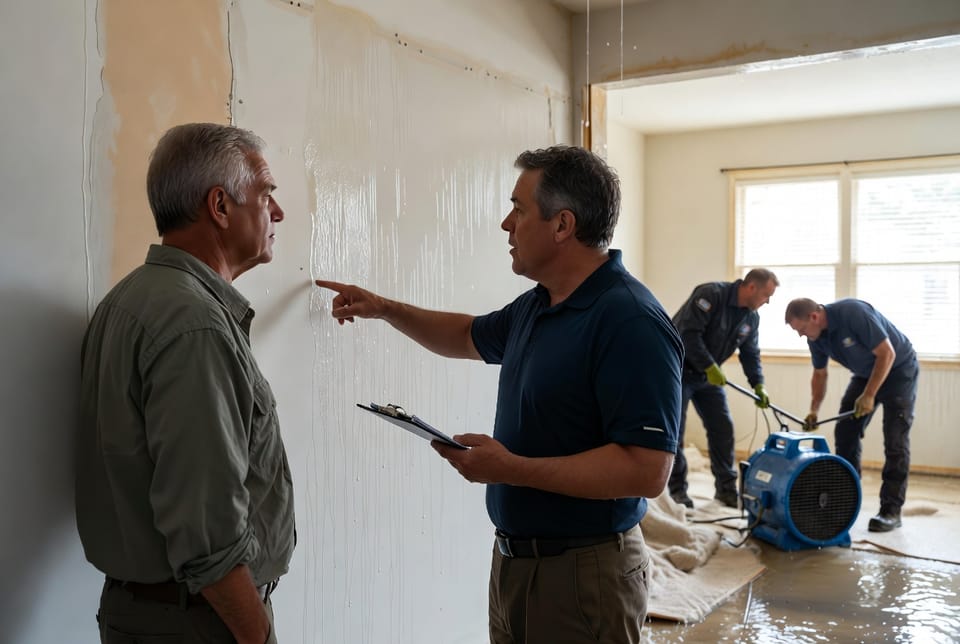
During the visit the adjuster examines every affected area, photographs damage, measures moisture levels, and discusses the sequence of events with you. Bring any preliminary notes or photos you have already taken. The adjuster then prepares a detailed estimate that itemizes repair or replacement costs according to your policy’s coverage limits, deductibles, and depreciation rules.
You will receive a copy of this estimate. Review it carefully. If the scope appears incomplete or the pricing seems low, you have the right to ask questions and submit additional documentation. Many homeowners choose to obtain an independent restoration estimate for comparison; this parallel assessment often strengthens negotiations and ensures nothing is overlooked.
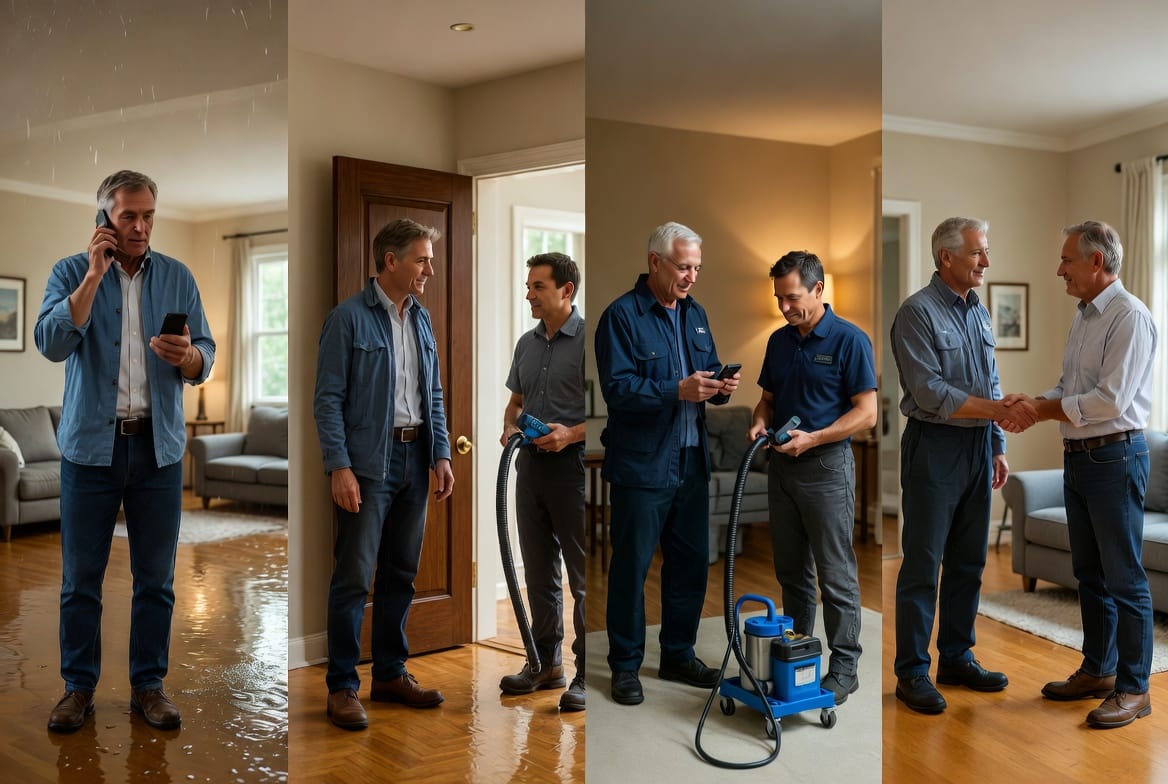
Documenting Damage Thoroughly and Accurately
Strong documentation is the backbone of a successful claim. Begin photographing and video-recording every affected room before any cleanup or moving of items. Capture wide shots that show the overall condition, medium shots of specific damaged areas, and close-ups of water lines, warped flooring, stained ceilings, and ruined belongings. Include a newspaper or smartphone displaying the current date in at least one frame for timestamp verification.
Create a room-by-room inventory. List each damaged item, its approximate age, original cost if known, and current condition. For high-value possessions—electronics, furniture, appliances—attach receipts, manuals, or serial numbers when available. Even if an item appears completely destroyed, leave it in place until the adjuster has seen it; photographs alone may not always suffice.
Keep all receipts for emergency purchases such as fans, dehumidifiers, temporary lodging, or professional mitigation services. These expenses often qualify for reimbursement under additional living expense or mitigation coverage. Store digital copies in cloud storage and physical copies in a waterproof container outside the affected area.

Working Effectively with the Insurance Adjuster
Approach every interaction as a collaborative partnership rather than an adversarial contest. Be present during the inspection, answer questions honestly, and point out hidden or less obvious damage such as moisture behind baseboards or in wall cavities. Ask the adjuster to explain any technical terms or coverage limitations in plain language.
If the initial estimate feels incomplete, calmly request a supplemental review. Provide your own restoration contractor’s detailed scope of work and any additional photos or moisture readings. Many claims are adjusted upward once new information is properly presented. Maintain a professional tone throughout; emotional language rarely improves outcomes, while organized facts consistently do.
Should disagreements persist, most policies allow for an independent appraisal process or mediation. Your restoration partner can often guide you through these options and supply the technical evidence needed to support your position.
Common Mistakes to Avoid During the Claims Process
Several avoidable errors can delay payment or reduce the settlement amount.
- Discarding damaged items before the adjuster inspects them is one of the most frequent and costly mistakes. Even items that appear beyond salvage should remain until documented.
- Failing to mitigate further damage—such as leaving standing water or operating wet electrical systems—can be interpreted as neglect and may affect coverage.
- Incomplete inventories or missing receipts weaken your position when valuing personal property.
- Accepting the first offer without careful review sometimes leaves legitimate costs uncovered.
- Delaying the initial call or providing inconsistent statements creates unnecessary complications.
By staying organized, documenting everything, and communicating promptly, you eliminate these risks and keep the process moving forward.
Understanding Timelines and Payment Stages
While every claim is unique, a typical sequence unfolds as follows:
- Day 1: Claim filed and claim number issued.
- Days 1–3: Adjuster contact and inspection scheduled.
- Days 3–10: On-site inspection and preliminary estimate prepared.
- Days 7–21: Review of estimate, possible supplements, and issuance of initial payment for emergency repairs or personal property.
- Ongoing: Final repairs completed, additional supplements submitted if needed, and remaining balances paid upon verification of completed work.
Throughout this period, keep your restoration team and the adjuster in regular communication. Progress reports, updated moisture logs, and completion photos accelerate final settlements.
Preparing for Possible Complications
Not every claim proceeds without questions. Policy exclusions for certain types of water (for example, groundwater or sewer backup without a specific rider) may apply. Depreciation schedules reduce payments on older items unless you carry replacement-cost coverage. High claim volume after major storms can stretch response times.
In these situations, patience combined with persistent, factual follow-up produces the best results. Maintain copies of every document, and do not hesitate to request status updates in writing. A qualified restoration company experienced in insurance work can serve as a valuable advocate, translating technical findings into language the adjuster recognizes and ensuring the scope of repair matches the true extent of damage.
The Role of Professional Restoration in Strengthening Your Claim
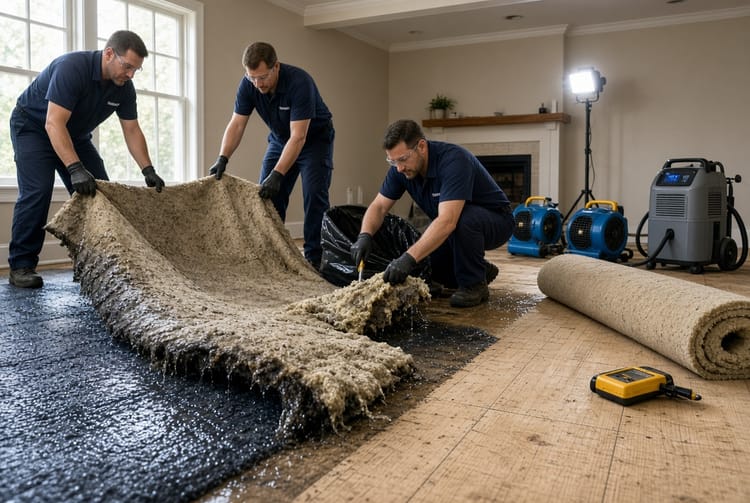
Engaging a reputable water-damage restoration firm early provides dual benefits. First, rapid extraction, drying, and antimicrobial treatment limit the spread of damage and protect your family’s health. Second, professional documentation—moisture mapping, thermal imaging, and detailed daily logs—supplies the adjuster with objective data that supports accurate valuation.
Many restoration companies work directly with insurers, understand preferred pricing guidelines, and can often bill the carrier for covered services, reducing your out-of-pocket burden. Their presence during the adjuster’s visit also ensures technical questions receive immediate, expert answers.
Final Steps Toward Settlement and Recovery
Once repairs are complete and the adjuster has verified the work, the remaining claim balance is typically released. Review the final settlement letter carefully to confirm that all covered categories—structural repairs, personal property, additional living expenses, and mitigation—have been addressed. If anything appears missing, submit a polite written request for reconsideration supported by the documentation you have maintained throughout.
After the financial side closes, take a moment to update your home inventory and consider whether policy adjustments—higher coverage limits, sewer-backup riders, or replacement-cost endorsements—would better protect you in the future.
Moving Forward with Confidence
Flooding is disruptive, yet a well-managed insurance claim restores both your property and your peace of mind. By calling your insurer immediately, documenting every detail, working cooperatively with the adjuster, and avoiding common pitfalls, you place yourself in the strongest possible position. Professional restoration support further streamlines the journey, turning a stressful event into a structured recovery.
Call Now for Fast Water Damage Claim Support