The HVAC Refrigerant Leak Repair: Finding and Fixing the Problem
A refrigerant leak is one of the most critical repairs an HVAC system can require. When refrigerant escapes, cooling capacity drops, energy use rises, and the system works harder than it should. Left unaddressed, a small leak can become a larger failure that shortens equipment life and increases operating costs. The good news is that trained technicians can find and fix most leaks when they act promptly. This guide explains how professionals detect leaks, the warning signs homeowners should watch for, and the proven repair methods that restore performance.
Call Now for Expert HVAC Leak Detection
Refrigerant is the working fluid that absorbs heat from inside your home and releases it outdoors. In a closed-loop system, the charge must stay within a narrow range. Even a modest loss of refrigerant reduces efficiency and can cause the compressor to overheat. Modern systems use refrigerants that are tightly regulated because they can affect the environment if released. That is why leak detection and repair are treated as essential service work rather than optional maintenance.
Why Refrigerant Leaks Demand Immediate Attention
A leak is rarely isolated. Vibration, corrosion, poor brazing at joints, worn seals, and physical damage from debris or rodents can all create escape paths. Once refrigerant leaves the system, the remaining charge cannot absorb heat effectively. The evaporator coil may ice over, the compressor may run longer cycles, and indoor temperatures become uneven.
Energy waste is immediate. The system consumes more electricity to deliver less cooling. Environmental impact follows because escaped refrigerant contributes to greenhouse effects depending on the type used. Equipment damage is the third risk: low refrigerant can starve the compressor of lubrication and cooling, leading to costly replacement.
Homeowners who notice declining performance should not wait. Early detection protects both comfort and the investment in the HVAC system.
Common Signs of a Refrigerant Leak
Recognizing the problem early makes repair simpler and less expensive. Watch for these indicators:
- Reduced cooling or longer run times even when the thermostat is set correctly
- Hissing or bubbling sounds near the indoor or outdoor unit
- Ice forming on the evaporator coil or refrigerant lines
- Higher-than-normal energy bills without a change in usage
- Oily residue or dark spots on copper lines, fittings, or the coil
- Warm air from vents when the system should be cooling
Not every symptom proves a leak. Dirty filters, failing capacitors, or low airflow can mimic some of these issues. A qualified technician distinguishes between airflow problems and an actual refrigerant loss.
How Technicians Detect Refrigerant Leaks
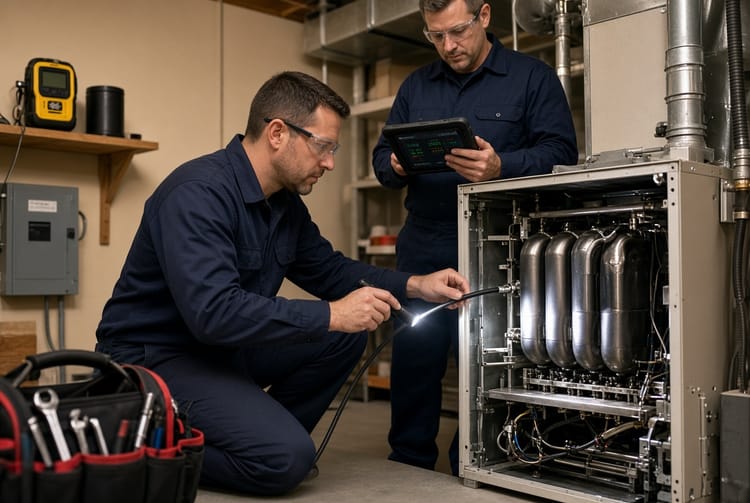
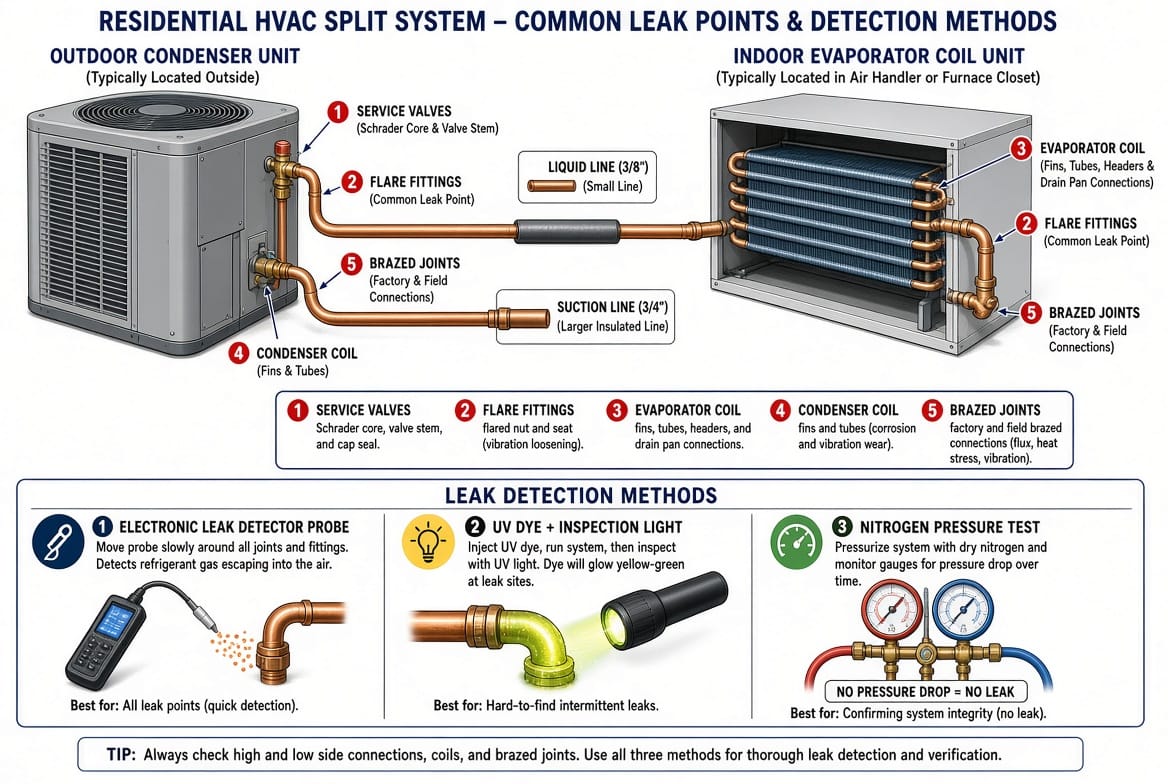
Accurate diagnosis is the foundation of a lasting repair. Technicians combine several methods because no single tool catches every leak in every situation.
Electronic Leak Detectors
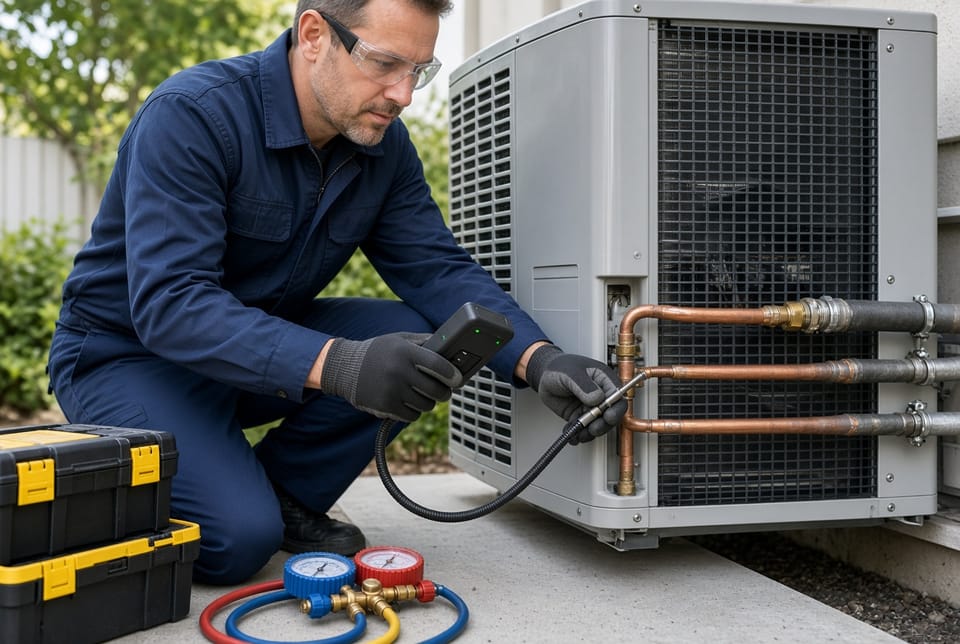
Handheld electronic leak detectors sense refrigerant molecules in the air. The technician slowly moves a sensitive probe along joints, valves, coils, and line sets. When the instrument registers a concentration above a set threshold, it alerts with an audible or visual signal. These detectors work well on both small and moderate leaks and can be used while the system is operating or after a standing-pressure test.
Proper technique matters. The probe must move slowly so the sensor has time to react. Wind, high humidity, and residual refrigerant in the work area can affect readings, so experienced technicians control the environment and confirm findings with a second method when needed.
UV Dye Detection
UV dye is injected into the system and circulated with the refrigerant. After the dye reaches the leak site, a technician inspects fittings and coils under ultraviolet light. The dye fluoresces brightly at the escape point, making even pinhole leaks visible. This method is especially useful on indoor coils and in tight spaces where an electronic probe is harder to maneuver.
Dye remains in the system after repair, which can help with future inspections. It must be compatible with the refrigerant and oil type used in the equipment.
Nitrogen Pressure Test
When a leak is suspected but hard to locate, technicians isolate sections of the system and introduce dry nitrogen at a controlled pressure. They then monitor the gauges for a drop. A stable pressure over time suggests the isolated section is tight; a decline confirms a leak exists in that portion. Soap solution or an electronic detector can then be used on the pressurized section to find the exact spot.
Nitrogen is inert and safe for this purpose when used correctly. The test also helps verify that a repair has sealed the system before refrigerant is recharged.
Technicians often combine these approaches. An electronic detector may identify the general area, UV dye can confirm the precise joint, and a nitrogen test can prove the rest of the circuit is sound.
Repair Methods That Restore System Integrity
Once the leak is located, the repair must match the cause and the component.
Brazing and Joint Repair
Many leaks occur at brazed connections. After recovering remaining refrigerant and isolating the circuit, the technician cleans the joint, removes oxidation, and rebrazes with the proper alloy. The new joint is then leak-tested under pressure. Clean preparation and correct temperature control prevent future failures at the same location.
Component Replacement
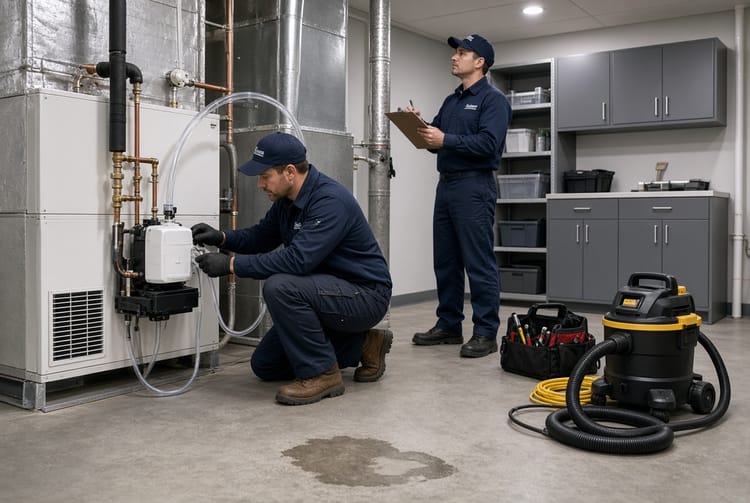
When a coil, service valve, or line section is badly corroded or damaged, replacement is more reliable than patching. The failed part is removed, the new component is installed with proper fittings or brazing, and the system is evacuated to remove moisture and non-condensables. Only after a successful vacuum and leak test is refrigerant added to the manufacturer’s specified charge.
Seals, Valves, and Accessories
Schrader valves, flare nuts, and gaskets can leak as they age. Replacing the core or the entire valve assembly is often straightforward and cost-effective. Technicians also inspect for vibration damage and add support where needed so the repair lasts.
After any repair, the system is charged accurately by weight or by superheat/subcooling measurements appropriate to the equipment. Performance is verified under load so the homeowner receives the cooling capacity they expect.
What Homeowners Can Do While Waiting for Service
Keep the area around indoor and outdoor units clear. Change filters on schedule so airflow remains adequate. Note when symptoms began and whether they worsen on hot days. This information helps the technician work efficiently. Do not attempt to add refrigerant yourself; overcharging or using the wrong type can damage the compressor and is not a legal or lasting solution.
Prevention and Long-Term System Health
Regular maintenance reduces the chance of unexpected leaks. Annual inspections include visual checks of lines and coils, electrical testing, and verification of operating pressures. Addressing minor vibration or corrosion early prevents small issues from becoming critical repairs.
When a system is older and has experienced repeated leaks, a technician may recommend evaluating overall condition. Sometimes replacing a failing coil or upgrading the equipment is the more economical path than repeated repairs.
The Value of Professional Leak Detection and Repair
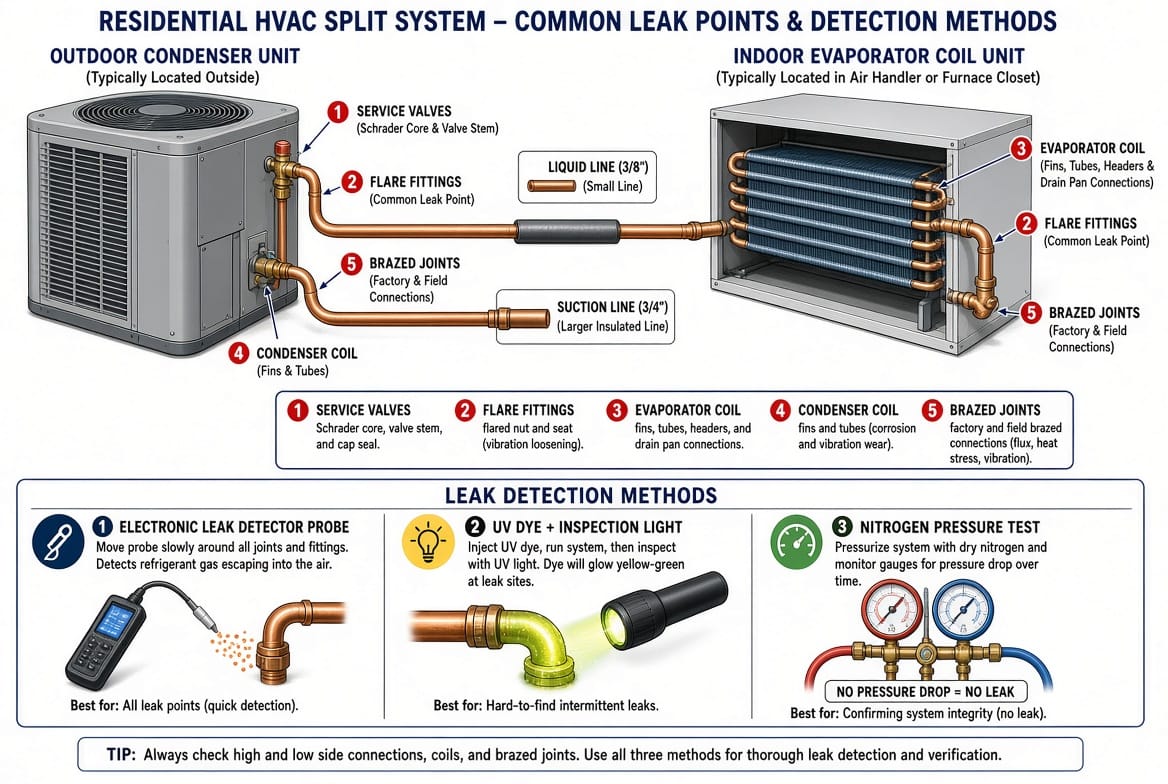
A properly sealed and charged HVAC system runs quieter, cools more evenly, and uses less energy. The repair process protects the compressor, the most expensive component in most systems. It also keeps refrigerant contained, which is both a regulatory and environmental responsibility.
Homeowners benefit from working with technicians who follow recovery procedures, use calibrated instruments, and document the charge after service. That documentation becomes useful for future maintenance and warranty considerations.
Leaks waste energy and harm the environment.
Protect Your HVAC System – Call Now