The HVAC Outdoor Unit Placement: Clearance Requirements for Proper Airflow
Proper HVAC outdoor unit placement is one of the most critical yet frequently overlooked aspects of a reliable cooling and heating system. Your condenser unit works hard every day to exchange heat with the outside air, and it needs space to breathe. When installed correctly, the unit operates at peak efficiency, delivers consistent comfort, and avoids costly repairs.
Fix Your HVAC Placement Today – Call Now!
In this comprehensive guide, we explore clearance requirements for proper airflow, industry best practices for installation, the serious risks of improper placement, and practical steps to correct issues. Whether you are planning a new install or evaluating your existing setup, these insights will help protect your investment and keep your home comfortable year-round.
Why Proper Outdoor Unit Placement Matters for System Performance
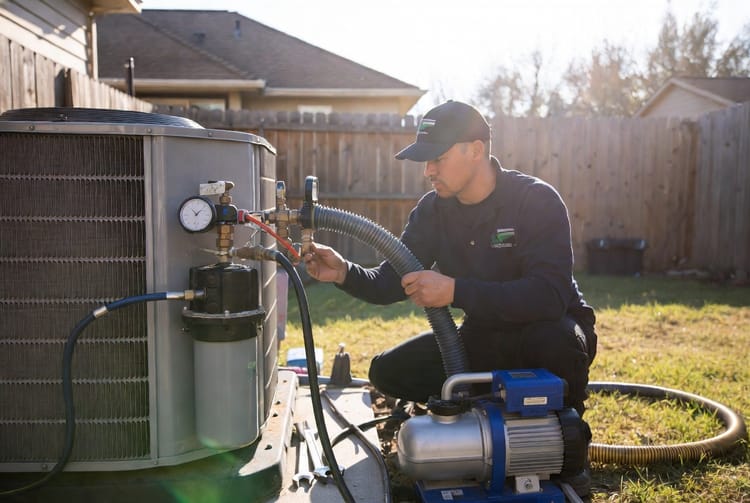
The outdoor unit—often called the condenser—rejects heat absorbed from inside your home. Restricted airflow forces the compressor to work harder, raising operating temperatures and pressure levels. Over time, this strain leads to higher energy bills, uneven cooling, and premature component failure.
Experts agree that even small obstructions can reduce efficiency by 10-20 percent or more. Homeowners who prioritize clearance requirements enjoy lower utility costs, quieter operation, and extended equipment life. Rest assured, following proven guidelines is a straightforward way to safeguard your HVAC investment.
Understanding Minimum Clearance Requirements
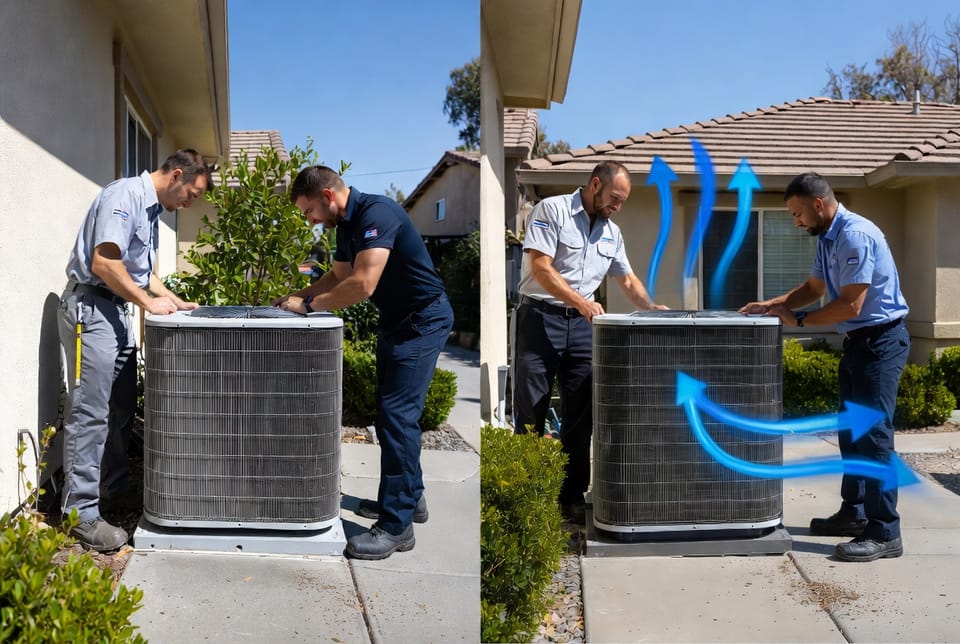
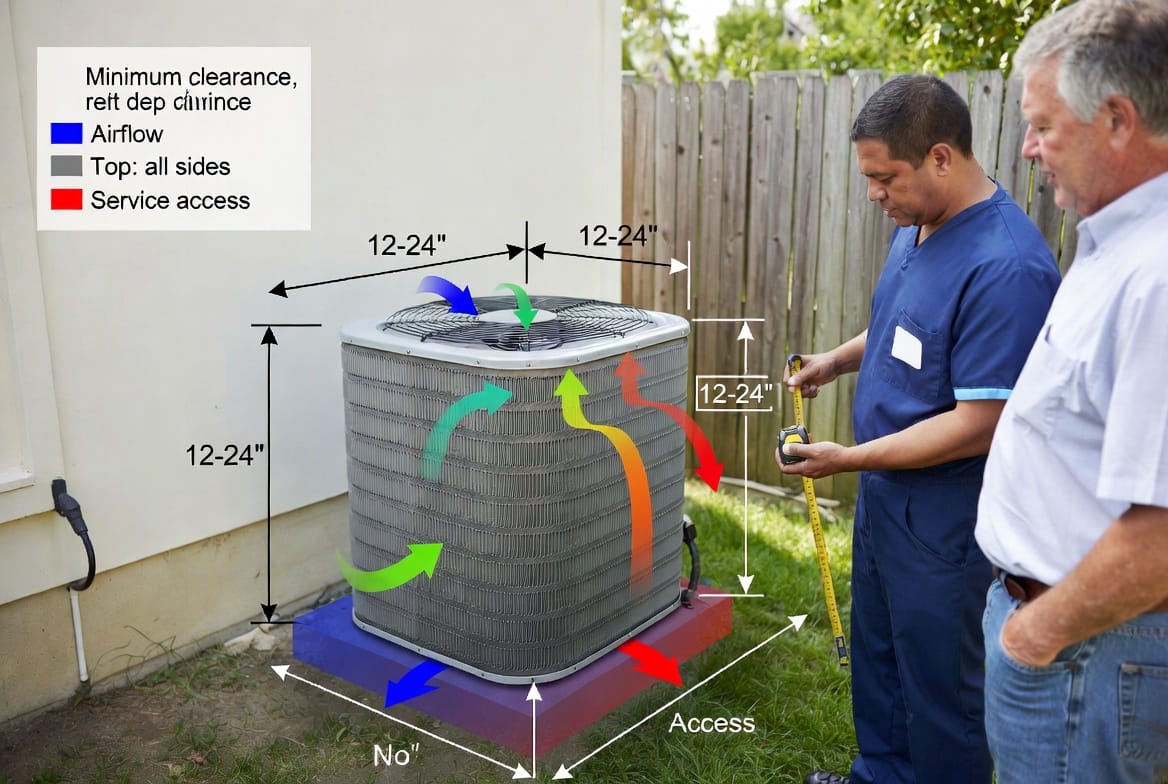
Manufacturers and industry standards specify minimum clearances around the outdoor unit to ensure unrestricted airflow and easy service access. While exact numbers can vary slightly by model, the universal rule of thumb is 12-24 inches of clear space on all sides.
Here are the key clearance guidelines every homeowner should know:
- From walls and siding: Maintain at least 12 inches minimum and 24 inches recommended to prevent heat buildup against the structure.
- From plants, shrubs, and landscaping: Keep 12-24 inches clear at all times. Overgrown foliage blocks intake and discharge vents.
- From fences, decks, or other structures: Allow 24 inches for proper air circulation and technician access.
- Above the unit: Provide at least 60 inches of vertical clearance so hot air can rise freely without re-circulating.
- From dryer vents, exhaust fans, or combustion sources: Position the unit well away to avoid hot or contaminated air entering the coil.
These clearance requirements are not suggestions—they are engineering necessities that directly affect system performance and longevity.
Common Placement Mistakes Homeowners Make
Even well-intentioned installations can go wrong. The following issues appear repeatedly during service calls:
- Plants and shrubs planted too close, eventually growing into the unit and blocking airflow.
- Dryer vents or kitchen exhausts aimed directly at the condenser, introducing hot, moist air.
- Decorative enclosures or privacy fences built too tightly around the unit, trapping heat.
- Units placed on uneven ground or against the house without adequate side clearance.
- Debris, mulch, or grass clippings allowed to accumulate at the base.
Each of these mistakes creates restricted airflow, forcing the system to overwork and raising the risk of compressor failure.
The Real Consequences of Poor Placement
When HVAC outdoor unit placement violates clearance rules, the results are both immediate and long-term.
Reduced efficiency is the first symptom. The unit cycles longer to reach the desired temperature, driving up monthly energy costs. Homeowners often report 15-30 percent higher bills after poor installations.
Next comes mechanical stress. The compressor must push refrigerant against higher head pressure, leading to overheating and eventual compressor failure—a repair that can cost thousands of dollars.
Additional risks include:
- Premature coil corrosion from trapped moisture and debris.
- Increased noise and vibration as the fan struggles.
- Voided manufacturer warranty due to improper installation.
- Shortened overall system lifespan by several years.
The good news? These problems are preventable and, in most cases, correctable with professional help.
Best Practices for Installing Your Outdoor Unit
Professional installers follow a proven checklist to guarantee proper airflow from day one.
First, select a level concrete pad or composite base that elevates the unit several inches off the ground. This prevents water intrusion and grass buildup.
Next, measure and mark all clearance zones before setting the unit. Use a laser level for precision.
Always verify that intake and discharge sides remain unobstructed. Trim landscaping well in advance and plan for future growth.
Route dryer vents and exhausts away from the unit—ideally in the opposite direction.
Finally, test the system under full load after installation. Monitor pressures, temperatures, and airflow to confirm everything meets design specifications.
Following these installation best practices gives your system the best possible start and minimizes future service needs.
How to Inspect Your Current Outdoor Unit Placement
You do not need to be an expert to spot obvious problems. Walk around your condenser and ask these questions:
- Is there at least 12-24 inches of clear space on every side?
- Are any plants touching or within a foot of the unit?
- Does hot air from a dryer vent blow toward the coils?
- Is the unit sitting inside a restrictive enclosure or against a fence?
- Can a technician easily reach all service panels?
If you answer “no” to any of these, schedule a professional evaluation promptly. Early correction prevents expensive breakdowns later.
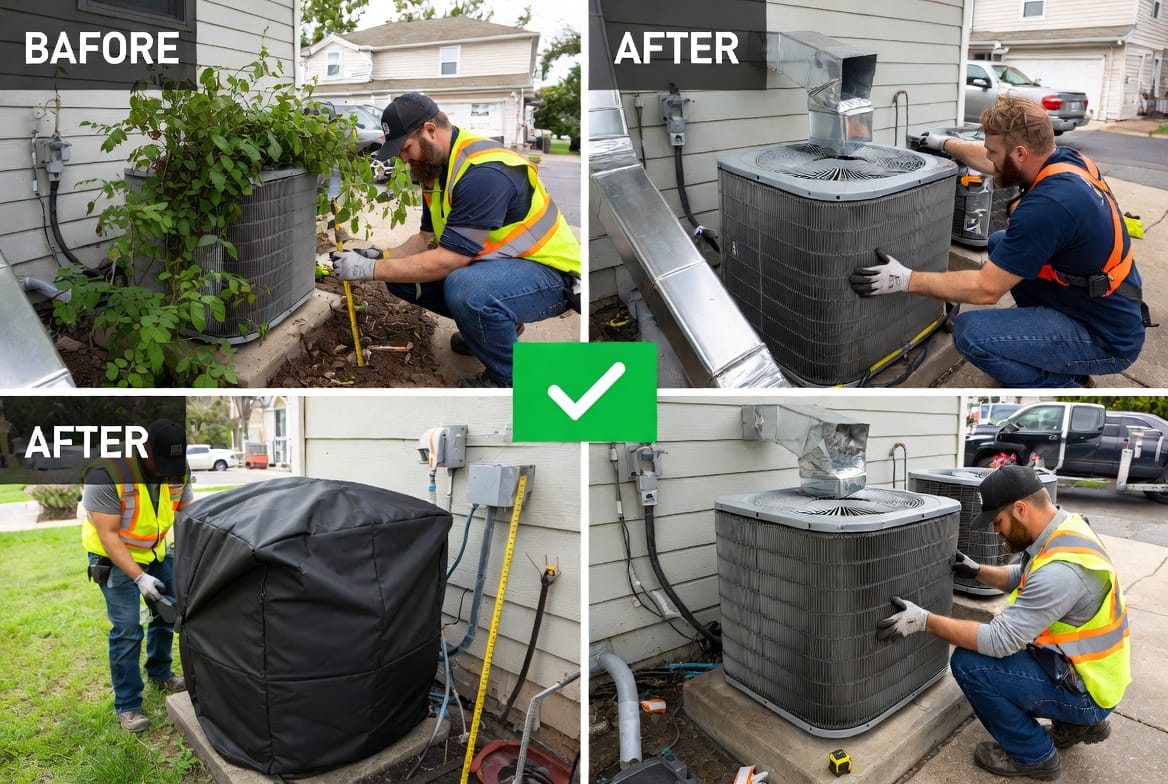
Correction Options When Placement Falls Short
If your unit is already installed incorrectly, do not worry—professional relocation and remediation services can restore performance quickly.
Options include:
- Full unit relocation to a more suitable spot with proper clearances.
- Landscaping adjustments such as trimming or transplanting shrubs.
- Vent redirection to eliminate hot-air conflicts.
- Enclosure removal or redesign for adequate airflow.
- Pad leveling and elevation if the base has settled.
A qualified technician will assess your specific layout, calculate required clearances, and present a clear plan with cost estimates. Most corrections are completed in a single visit and deliver immediate efficiency gains.
Long-Term Maintenance for Sustained Airflow
Once proper placement is achieved, simple ongoing habits keep the system performing optimally:
- Inspect clearances seasonally and trim vegetation as needed.
- Clear debris from around the base after storms or mowing.
- Schedule annual professional tune-ups to verify airflow and refrigerant levels.
- Never cover the unit with tarps or enclosures during operation.
Consistent attention to these details ensures your HVAC system continues delivering reliable comfort for years to come.
Give Your Outdoor Unit Room to Breathe
Proper HVAC outdoor unit placement and adherence to clearance requirements are essential for efficient, quiet, and long-lasting performance. By understanding the science, avoiding common mistakes, and following expert installation best practices, you protect your comfort and your wallet.
If you suspect your current setup may be limiting airflow or causing efficiency issues, do not hesitate to act. Professional assessment and correction can restore peak performance quickly and affordably.
Improve HVAC Efficiency with Expert Placement – Call Today