The HVAC Evaporator Coil Cleaning: Restoring Cooling Efficiency
Maintaining peak performance in your home’s climate control system begins with one often-overlooked yet essential component: the evaporator coil. This critical part of your air conditioning or heat pump system absorbs heat from indoor air, enabling the refreshing cool air you rely on during warmer months. When dirt, dust, and debris accumulate on its surface, efficiency plummets. Professional HVAC evaporator coil cleaning restores that lost performance, lowers energy consumption, and extends equipment life. In the following guide, we explore why coil cleanliness matters, how to recognize problems, and the proven methods technicians use to return your system to optimal condition.
Restore Cooling Efficiency Today – Call Now!
Understanding the Role of the Evaporator Coil
The evaporator coil sits inside the indoor air handler or furnace. Refrigerant circulating through its copper tubes and aluminum fins absorbs heat from the warm air blown across it by the blower fan. The cooled air then returns to your living spaces. For this heat-exchange process to work efficiently, the coil surface must remain free of insulating layers.
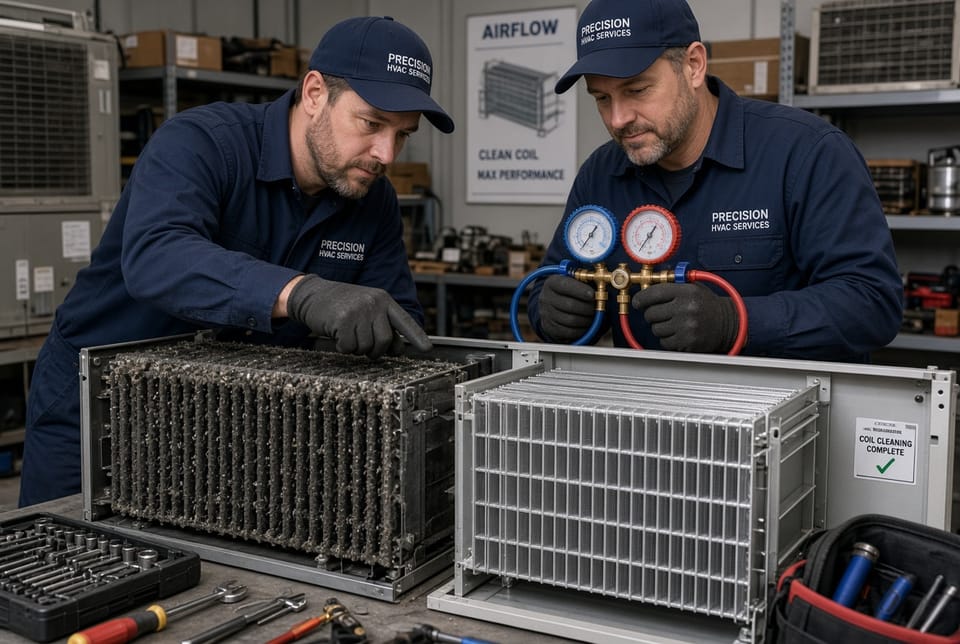
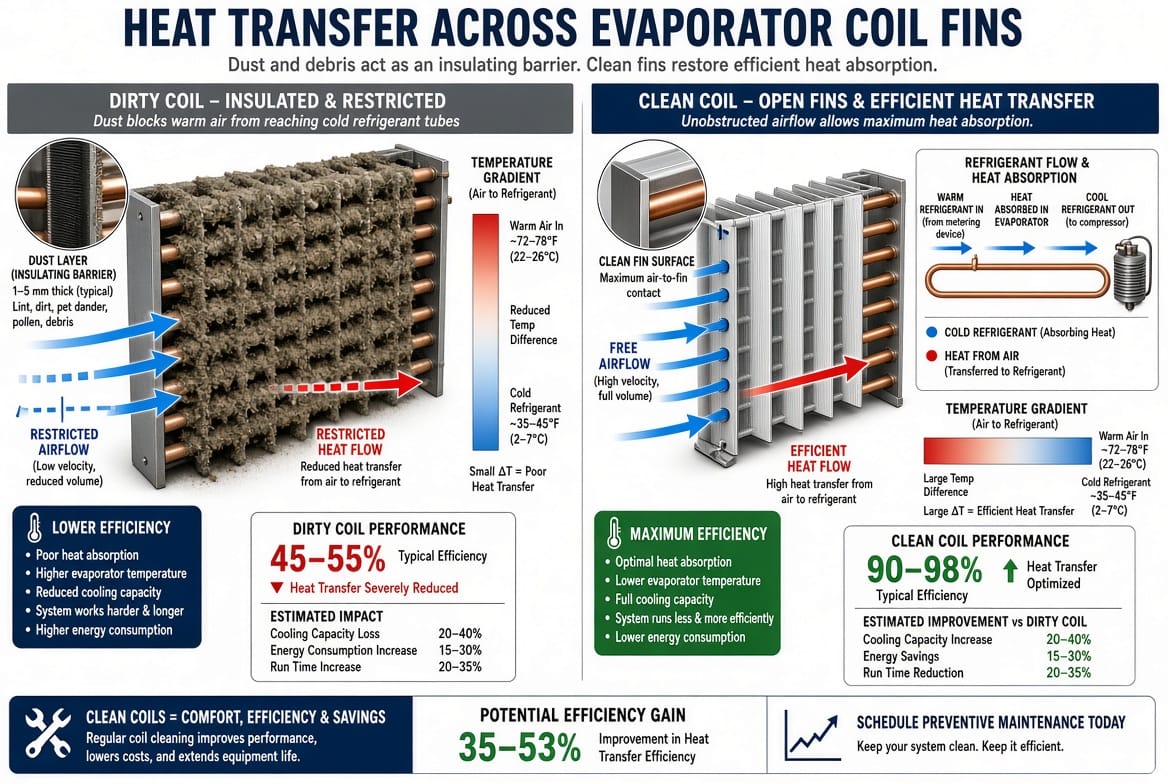
Over time, household dust, pet dander, pollen, cooking grease, and even mold spores settle on the fins. A thin film quickly becomes a thick blanket. This buildup acts exactly like insulation on a hot water pipe—it blocks the transfer of heat. As a result, the refrigerant cannot absorb heat effectively, forcing the compressor to run longer and harder. Energy bills rise, comfort declines, and mechanical stress increases.
Dirty coils reduce efficiency by creating a thermal barrier that can drop system capacity by 20 to 40 percent in severe cases. Homeowners often notice the difference first as uneven temperatures or rooms that never quite reach the thermostat setting. Addressing the issue promptly through targeted cleaning prevents these losses and keeps operating costs under control.
How Dirt Insulates Heat Transfer and Harms Performance
Imagine wrapping a cold drink in a thick towel on a hot day. The towel slows the drink’s ability to stay cold. The same principle applies to an evaporator coil coated in grime. Each layer of debris increases the thermal resistance between the warm room air and the cold refrigerant. Heat transfer slows dramatically.
The system responds by extending run times. Longer cycles mean higher electricity use and accelerated wear on the compressor, blower motor, and other components. In extreme situations, restricted airflow across the coil can cause the refrigerant temperature to drop too low, leading to ice formation. A frozen coil further blocks air movement and can eventually damage the compressor if liquid refrigerant returns to it.
Regular HVAC evaporator coil cleaning removes this insulating barrier. Once the fins are free of obstruction, heat transfer resumes at designed rates. Airflow improves, run times shorten, and the entire system operates with less strain. The result is consistent comfort and measurable savings on monthly utility statements.
Recognizing the Signs of a Dirty Evaporator Coil
Early detection protects both comfort and wallet. Several clear indicators signal that your evaporator coil needs attention:
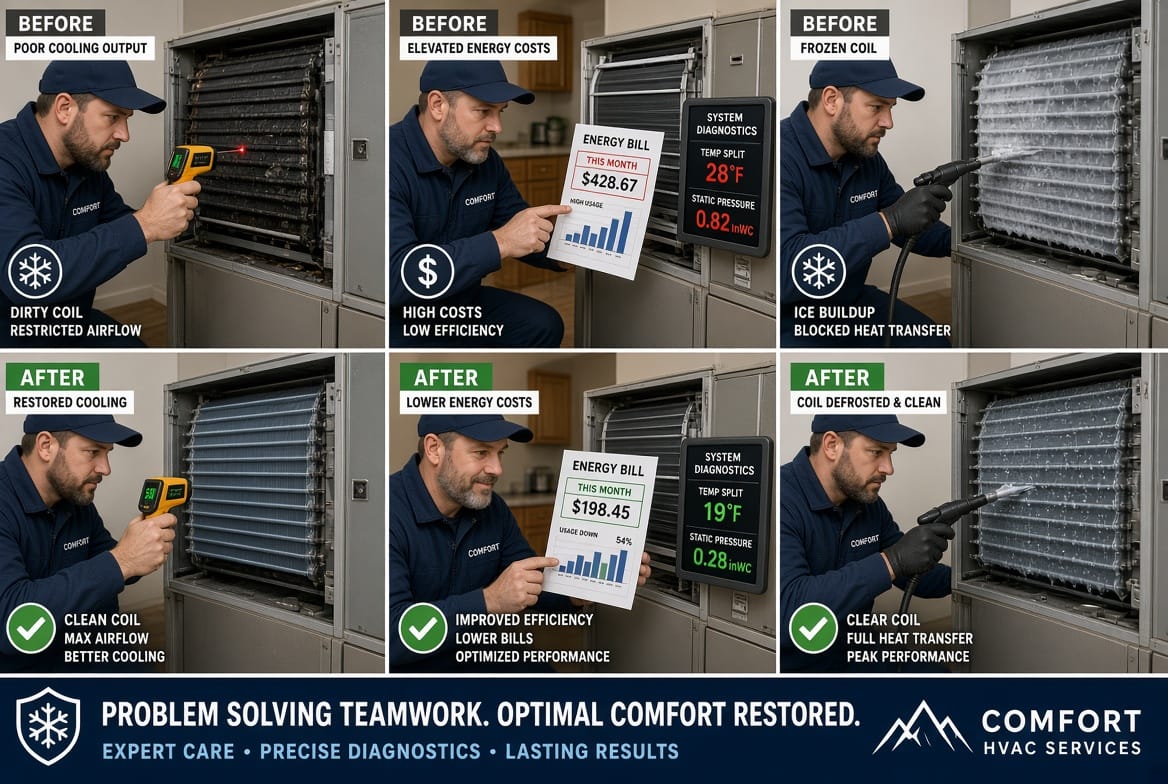
- Poor cooling performance – Rooms remain warmer than the thermostat setting despite continuous system operation.
- Unusually high energy bills – Monthly costs climb without a corresponding increase in outdoor temperatures or usage patterns.
- Frozen coils or ice buildup – Visible frost or ice on the indoor unit, often accompanied by reduced airflow from vents.
- Weak airflow from supply registers even after filter changes.
- Musty or unpleasant odors when the system starts, suggesting microbial growth on the damp coil surface.
- Frequent short-cycling or the system struggling to satisfy the thermostat.
These symptoms rarely appear in isolation. A combination of reduced cooling capacity and elevated energy consumption almost always points to restricted heat transfer at the coil. Ignoring them allows secondary problems—such as compressor failure or extensive mold colonization—to develop, turning a straightforward maintenance task into a costly repair.
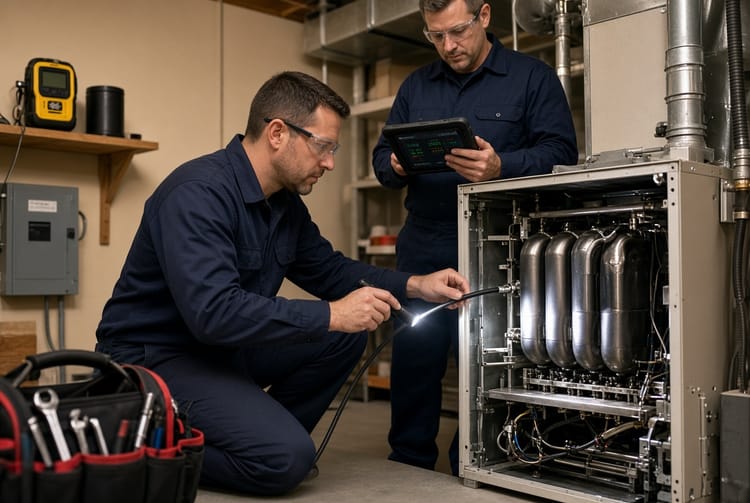
Homeowners who schedule professional inspections at the start of each cooling season catch these issues before they escalate. Technicians use specialized tools to measure temperature differentials across the coil and inspect fin condition with borescopes, confirming whether cleaning is required.
Professional Cleaning Methods That Deliver Results
Effective evaporator coil cleaning goes far beyond a simple wipe-down. Because the coil is located deep within the air handler and is delicate, specialized techniques and equipment are essential. Two primary professional approaches stand out for thoroughness and safety: chemical cleaning and steam cleaning.
Chemical Cleaning Process
Technicians begin by isolating the coil and protecting surrounding components with plastic sheeting. A specially formulated, non-acidic coil cleaner is applied evenly across the fins. These cleaners contain surfactants and mild solvents designed to dissolve grease, break down biological growth, and loosen embedded dirt without corroding aluminum or copper.
After a dwell time of several minutes, the technician rinses the coil thoroughly with low-pressure water or a dedicated flush system. Careful rinsing ensures no residual cleaner remains that could attract new dirt. In some cases, a foaming cleaner expands into the tight spaces between fins, lifting debris that surface sprays cannot reach. Once rinsed and dried, the coil surface returns to its original heat-transfer efficiency.
Chemical methods excel at removing organic films and light-to-moderate particulate buildup. They are particularly effective in humid climates where mold and mildew thrive on continuously moist coils.
Steam Cleaning Advantages
For heavier accumulations or when chemical residues must be avoided, high-temperature steam cleaning provides a powerful alternative. A commercial steam generator produces dry or wet steam that penetrates deep into the fin pack. The combination of heat and moisture loosens stubborn deposits, kills bacteria and mold spores, and evaporates quickly, leaving the coil nearly dry.
Steam cleaning requires skilled application to avoid bending delicate fins or forcing moisture into electrical components. Experienced technicians control pressure and temperature precisely, often combining steam with gentle mechanical brushing using soft nylon tools. The process leaves no chemical residue, making it ideal for households with sensitivity concerns or strict indoor air quality requirements.
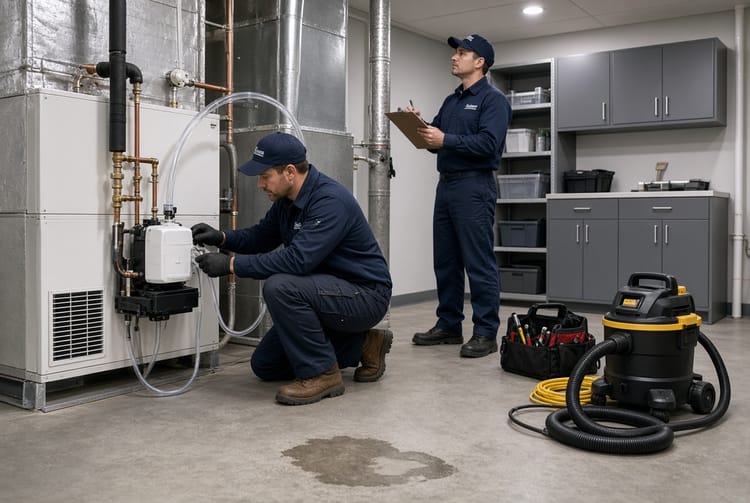
Both methods conclude with a final inspection, airflow testing, and system performance verification. Technicians also check and clean the condensate drain pan and line, preventing water overflow that can damage ceilings or promote further microbial growth. When necessary, they apply a protective antimicrobial coating that inhibits future biological accumulation for months.
Benefits Beyond Immediate Cooling Restoration
Clean evaporator coils deliver advantages that extend well past restored comfort. Energy efficiency improvements of 10 to 30 percent are common after professional service, translating directly into lower utility expenses. Reduced run times decrease wear on the compressor—the most expensive component in the system—potentially adding years to equipment lifespan.
Improved indoor air quality follows naturally. A clean coil no longer harbors dust, allergens, or mold that can circulate through ductwork. Families notice fresher air and fewer respiratory irritations, especially those with allergies or asthma. In addition, systems that maintain proper temperature differentials operate more quietly and with greater reliability, reducing unexpected breakdowns during peak demand periods.
From a financial perspective, the modest investment in annual or biennial coil cleaning compares favorably to the cost of premature system replacement or emergency repairs. Manufacturers often require documented maintenance, including coil cleaning, to keep warranties valid. Neglecting this task can void coverage and leave homeowners responsible for expensive failures.
Best Practices for Long-Term Coil Protection
While professional cleaning restores performance, several homeowner habits help keep coils cleaner between service visits:
- Replace or clean air filters every 30 to 90 days according to manufacturer guidelines and household conditions.
- Keep the area around the indoor unit free of clutter and dust-generating activities.
- Schedule comprehensive HVAC tune-ups at least once per year, ideally before the cooling season begins.
- Address humidity issues that encourage microbial growth on cold surfaces.
- Avoid using the system as a whole-house vacuum by ensuring return vents remain unobstructed.
These simple steps slow the rate of dirt accumulation and maximize the interval between deep cleanings. Still, no filter captures every particle, and coils eventually require professional attention. Partnering with a reputable service provider ensures the work is performed correctly the first time.
Choosing the Right Professionals for the Job
Not every technician possesses the specialized tools, training, and experience needed for thorough evaporator coil cleaning. Look for companies that invest in continuing education, carry proper licensing and insurance, and stand behind their work with clear guarantees. Transparent pricing, detailed explanations of findings, and before-and-after performance data demonstrate commitment to quality.
When evaluating options, ask about the specific cleaning agents or steam equipment used, the expected duration of the service, and any recommended follow-up actions. Reputable providers will also inspect related components—such as the blower wheel, condensate system, and refrigerant charge—because a clean coil performs best when the entire system operates in balance.
Restoring Efficiency Starts with Clean Coils
The evaporator coil remains the heart of your cooling system’s heat-transfer capability. Allowing dirt to accumulate creates an insulating barrier that forces the entire unit to work harder, consume more energy, and deliver less comfort. Recognizing the warning signs—poor cooling, rising energy bills, and frozen coils—enables timely intervention. Professional chemical or steam cleaning methods remove the buildup safely and completely, returning heat-exchange efficiency to factory levels.
Homeowners who prioritize this essential maintenance enjoy lower operating costs, improved air quality, quieter operation, and longer equipment life. The process is straightforward when handled by trained technicians equipped with the right tools and products. Regular attention to the evaporator coil transforms a potential source of frustration into a reliable foundation for year-round indoor comfort.
Fix Dirty Coils & Lower Energy Bills – Call Today!