The HVAC Blower Motor Capacitor: Why It Fails and How to Test
A properly functioning blower motor capacitor is one of the smallest yet most critical electrical components inside your HVAC system. When it weakens or fails, the blower motor that moves conditioned air through your home can hesitate, hum, or refuse to start. Understanding what this part does, why it fails, and how trained technicians test and replace it helps homeowners recognize problems early and avoid unnecessary discomfort or equipment strain.
Stop the Humming Motor – Call for Capacitor Service
This article explains the role of the capacitor in plain, professional terms, outlines the most common failure signs, and walks through the safe diagnostic and replacement process used by service technicians. The goal is to give you clear, reliable information so you can make informed decisions about your heating and cooling system.
What a Blower Motor Capacitor Actually Does
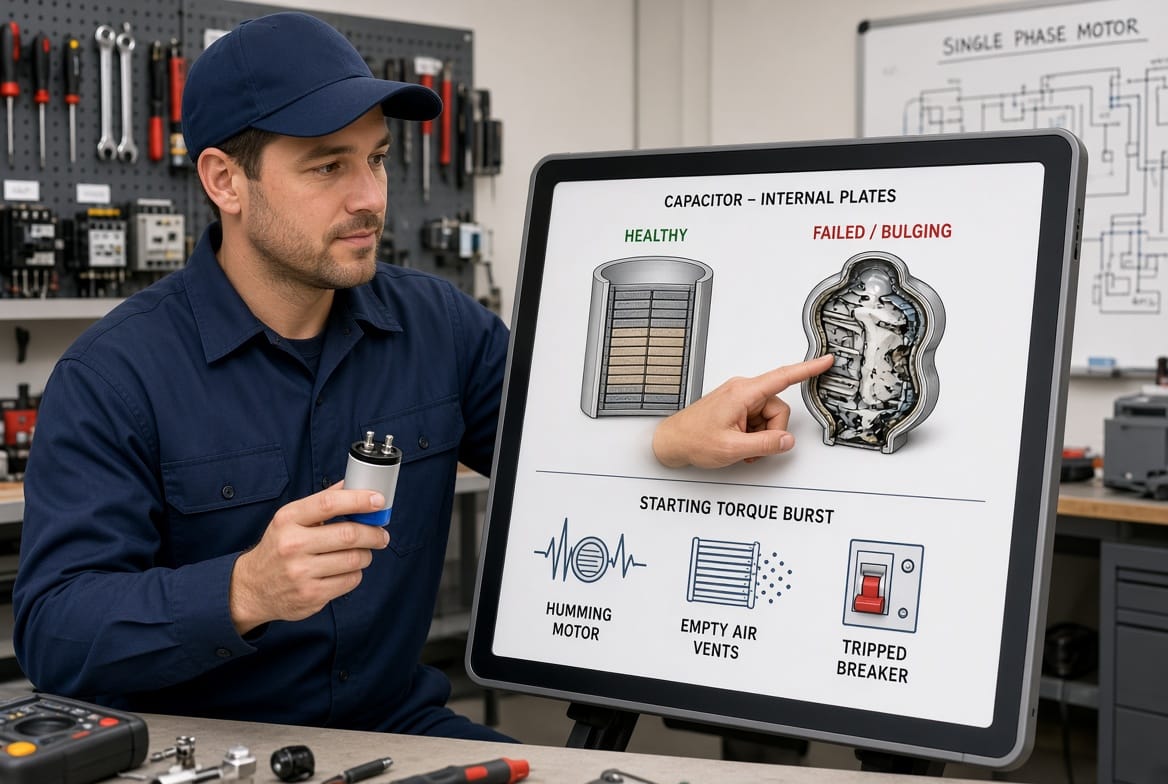
The blower motor capacitor is a small cylindrical or oval electrical device usually mounted near the indoor blower motor or inside the air-handler cabinet. Its primary job is to provide a short, powerful burst of electrical energy that creates the extra starting torque the motor needs to overcome inertia and begin spinning.
Once the motor reaches operating speed, many capacitors continue to supply a phase-shifted current that improves running efficiency. Without this assist, a typical single-phase blower motor simply cannot generate enough initial force to start. The result is a motor that sits silent, hums loudly, or trips a breaker.
Technicians often describe the capacitor as the “starter battery” for the blower. It stores energy and releases it at precisely the right moment. Because HVAC systems cycle on and off many times each day, the capacitor works harder than most homeowners realize.
Why HVAC Blower Motor Capacitors Fail
Capacitors are consumable electrical parts. They do not last forever. Several factors accelerate wear:
- Heat and age — High temperatures inside the air-handler cabinet degrade the internal dielectric material over time.
- Voltage spikes — Power fluctuations or lightning-related surges can over-stress the capacitor.
- Continuous cycling — Frequent on/off operation in extreme weather shortens life.
- Moisture and contamination — Condensation or dust can cause internal shorting.
- Manufacturing variance — Even quality parts eventually lose capacitance.
Most residential capacitors are rated for a specific microfarad (µF) value and voltage. When the actual capacitance drops more than 10 percent below the rated value, starting torque becomes insufficient. The motor then draws excessive current, generating more heat and further damaging both the capacitor and the motor windings.
Recognizing early warning signs allows a technician to replace the part before a complete failure leaves you without airflow.
Common Signs a Blower Motor Capacitor Is Failing
Homeowners and service professionals look for a consistent group of symptoms:
- The blower motor hums but the fan wheel does not turn.
- There is no airflow from supply registers even though the thermostat is calling for heating or cooling.
- The indoor unit’s circuit breaker trips shortly after the system attempts to start.
- The motor starts slowly or only after several attempts.
- Unusual burning or electrical odor near the air handler.
- Higher-than-normal energy bills caused by the motor struggling.
These signs often appear together. A humming motor with no air movement is one of the most reliable indicators that the capacitor can no longer deliver adequate starting torque.
How Technicians Safely Test a Blower Motor Capacitor
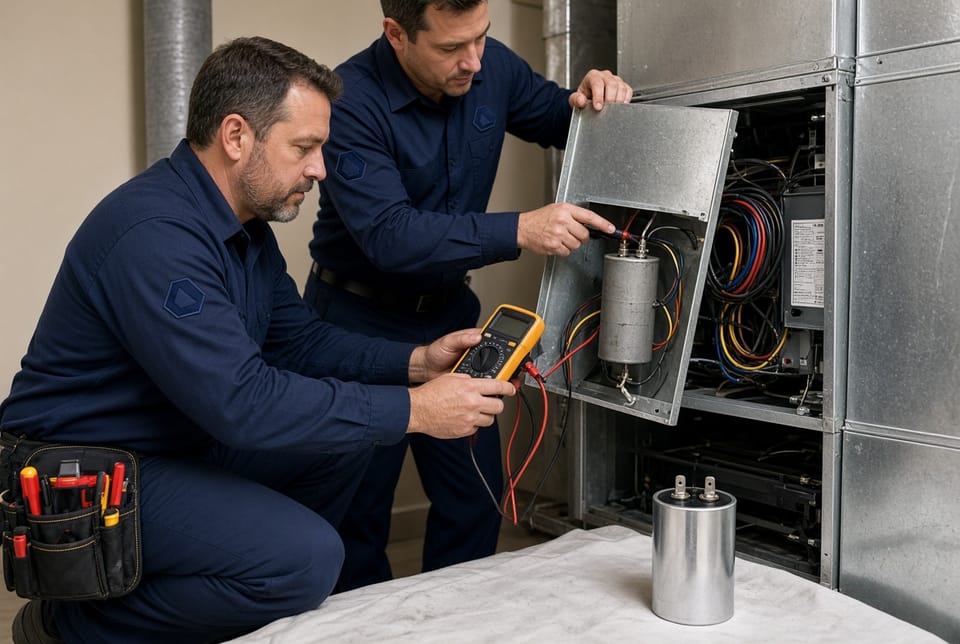
Testing must be performed by a trained professional because capacitors can store a dangerous electrical charge even after power is disconnected. The standard procedure includes these steps:
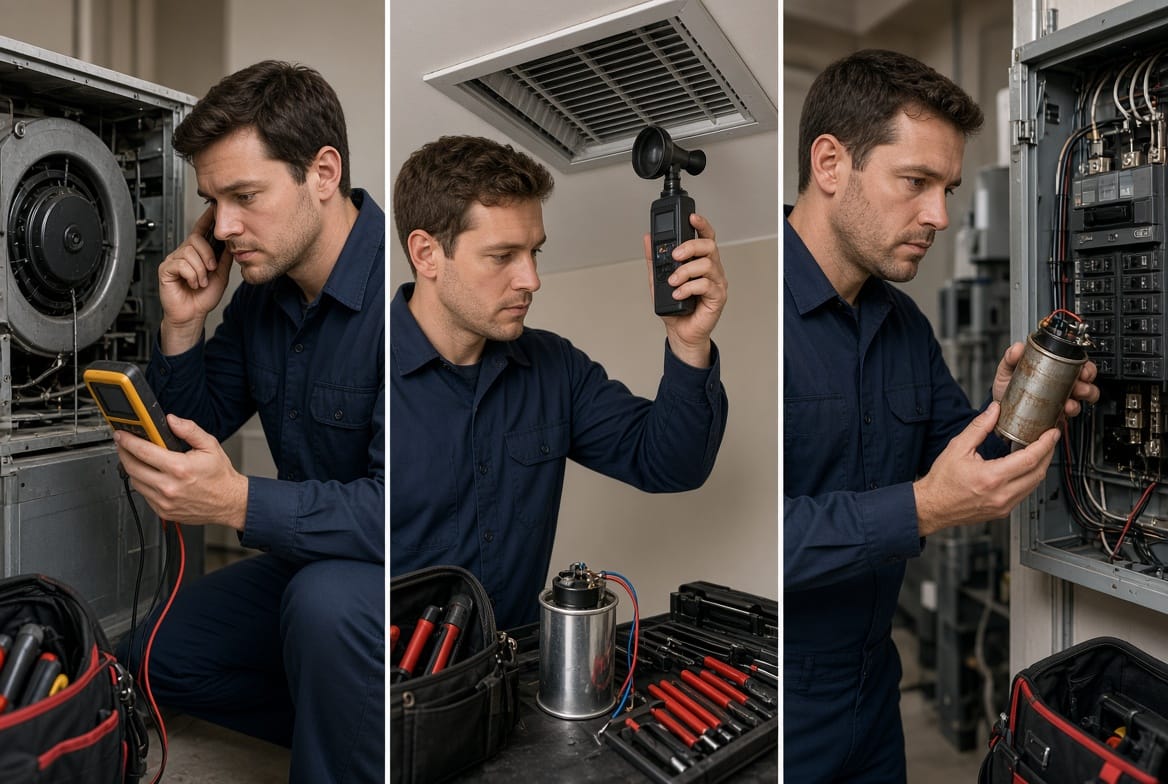
- Power isolation — The technician turns off the disconnect and verifies zero voltage with a meter.
- Discharge — A properly rated resistor or insulated screwdriver is used to safely discharge residual voltage.
- Visual inspection — Bulging, leaking oil, or burn marks immediately indicate replacement is needed.
- Capacitance test — A digital multimeter set to the microfarad scale (or a dedicated capacitor tester) is connected to the terminals. The reading is compared with the value printed on the capacitor label.
- Resistance check — Some technicians also perform an ohm test to confirm the capacitor is not shorted or open.
If the measured capacitance is more than 6–10 percent below the rated µF value, or if the part fails the resistance test, replacement is recommended. Technicians also check wiring connections and motor windings at the same time to ensure the capacitor was the only failed component.
Never attempt this test yourself unless you have the proper tools, training, and personal protective equipment. Incorrect handling can cause injury or further damage the system.
Replacing the Blower Motor Capacitor
Replacement is straightforward for a qualified technician and typically completed in under an hour:
- The exact microfarad rating and voltage rating must match the original part (or the manufacturer’s approved substitute).
- Dual-run capacitors that serve both the compressor and blower are common; the technician identifies the correct terminals (usually labeled “Herm,” “Fan,” and “Common”).
- New capacitors are mounted securely, wires are reconnected with proper torque, and the system is tested through a complete heating or cooling cycle.
- The technician verifies that the blower starts promptly, current draw is normal, and airflow is restored.
After replacement, many companies document the old and new capacitor ratings so future service visits have a clear history.
Prevention and Long-Term Reliability
While capacitors cannot last indefinitely, several practices extend their service life:
- Keep the air-handler area clean and well-ventilated so heat does not build up.
- Schedule annual professional maintenance that includes capacitor testing.
- Address dirty filters promptly; restricted airflow forces the blower to work harder and generate extra heat.
- Protect the home from major voltage spikes with whole-house surge protection when recommended.
Regular maintenance visits allow a technician to measure capacitance before the part fails completely, turning an emergency repair into a planned, lower-stress service call.
When Professional Service Is the Right Choice
A failing blower motor capacitor is not a do-it-yourself project for most homeowners. The combination of stored electrical energy, high-voltage wiring, and the need for precise matching of electrical ratings makes professional diagnosis the safest and most reliable path.
If your system exhibits humming, delayed starting, or no airflow, the fastest way to restore comfort is to contact a licensed HVAC technician. They arrive with the correct test equipment, replacement parts, and the experience to confirm that the capacitor—not the motor itself—is the root cause.
A bad capacitor stops your blower.
Stop the Humming Motor – Call for Capacitor Service