The Home EV Charger Installation: 240V Circuit Requirements
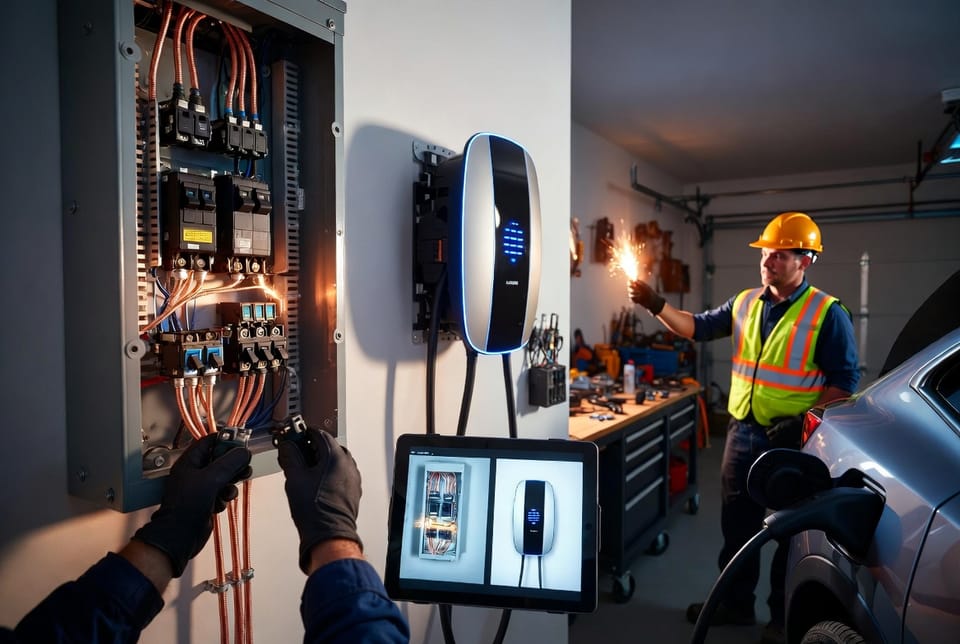
Owning an electric vehicle transforms daily driving, yet the true convenience arrives only when you can recharge at home overnight. Level 2 charging delivers that convenience far faster than a standard household outlet. Achieving reliable Level 2 performance, however, depends on a correctly installed 240V circuit. This comprehensive guide walks you through every essential requirement—240V power, a 50-amp dedicated breaker, 6 AWG wiring, and either a NEMA 14-50 receptacle or a hardwired connection—so you understand exactly what a professional installation involves and why each element matters for safety and performance.
Call Today for Expert 240V EV Charger Installation
Understanding Level 2 EV Charging
Level 1 charging uses a ordinary 120-volt household outlet and typically adds only three to five miles of range per hour. Level 2 charging, by contrast, operates on 240 volts and can restore twenty to sixty miles of range in the same time, depending on your vehicle and charger capacity. Most modern home chargers are rated between 30 and 48 amps continuous, making a properly engineered 240V circuit the foundation of any efficient home charging station.
The transition from Level 1 to Level 2 is not merely about speed. It is about convenience, reduced public-charging dependence, and protecting your vehicle’s battery through controlled, manufacturer-recommended charging rates. When the circuit is designed correctly, your charger communicates safely with the car, monitors temperature, and delivers power without stressing household electrical systems.
The Importance of a Dedicated 240V Circuit
A 240V circuit supplies the higher voltage required by Level 2 equipment. Unlike a shared 120-volt branch circuit that powers lights and outlets, this circuit must be dedicated solely to the EV charger. Sharing the circuit with other loads risks overloads, nuisance tripping, and potential fire hazards.
Most residential installations target a 50-amp circuit. This rating supports continuous loads up to 40 amps under the National Electrical Code’s 80-percent rule, which is ideal for the majority of Level 2 chargers. Some high-capacity units may require a 60-amp circuit, yet the 50-amp standard remains the most common and cost-effective choice for typical home use.
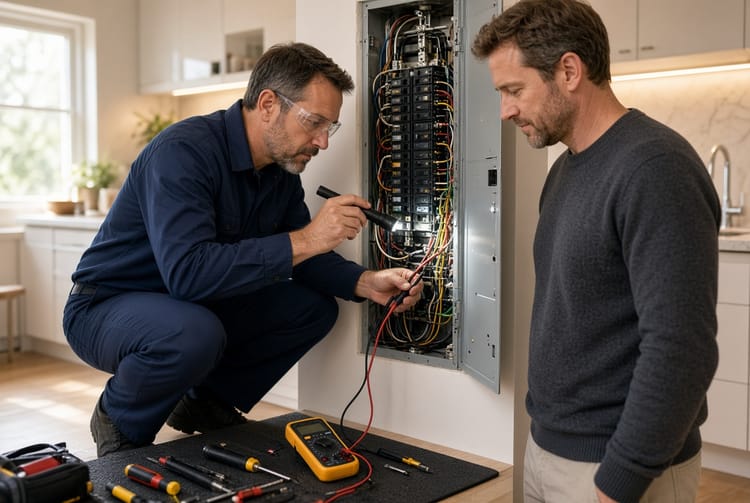
The circuit begins at your main electrical panel. An electrician evaluates available capacity, confirms the panel can accept a new double-pole breaker, and routes appropriately sized conductors to the charger location—usually the garage or carport. Proper voltage, amperage, and isolation together guarantee consistent charging performance for years.
Amperage Requirements: The 50-Amp Standard
Selecting the correct amperage is critical. A 50-amp double-pole breaker is the industry benchmark for most Level 2 home chargers. This breaker protects the circuit by interrupting power if current exceeds safe limits. Continuous charging loads should not exceed 80 percent of the breaker rating, so a 50-amp breaker safely supports a 40-amp continuous draw—perfect for chargers delivering approximately 9.6 kilowatts.
Undersizing the breaker forces the charger to operate at reduced power or risks frequent trips. Oversizing without matching wire gauge creates a dangerous mismatch. Professional installers always match breaker size, wire capacity, and charger rating so every component works in harmony. The result is fast, uninterrupted overnight charging that keeps your vehicle ready each morning.
Dedicated Circuit Breaker Essentials
A dedicated breaker means the circuit serves only the EV charger—no lights, no outlets, no other appliances. This isolation prevents voltage drops and protects other household circuits from the sustained high load of charging.
The breaker itself is a double-pole unit that occupies two adjacent slots in the panel and connects to both hot legs of the 240-volt service. Modern panels often require a specific brand or style of breaker; an experienced electrician verifies compatibility and available space before beginning work. If the existing panel lacks capacity, a service upgrade or sub-panel may be recommended—another reason professional assessment is essential.
Once installed, the dedicated breaker provides clear labeling and easy isolation for future maintenance or emergencies. Homeowners gain peace of mind knowing the charging circuit can be switched off independently without affecting the rest of the home.
Selecting the Right Wiring: 6 AWG Copper
Wire size determines how much current can flow safely without overheating. For a 50-amp 240V circuit, 6 AWG copper conductors are the standard recommendation. This gauge handles the continuous load with adequate headroom and remains within temperature ratings when properly installed in conduit or cable assemblies.
Copper is preferred for its superior conductivity and corrosion resistance. Aluminum wiring of equivalent capacity would require a larger gauge and special connectors; most residential EV installations therefore use copper. The run length also matters: longer distances may necessitate upsizing to 4 AWG to limit voltage drop, ensuring the charger receives full voltage even at the end of a lengthy garage run.
Installers route the cable or individual conductors through walls, ceilings, or surface conduit according to local codes. Secure fastening, proper bending radii, and weather-resistant fittings at outdoor terminations complete a durable installation that will perform reliably for decades.
Charger Connection Options: NEMA 14-50 versus Hardwired
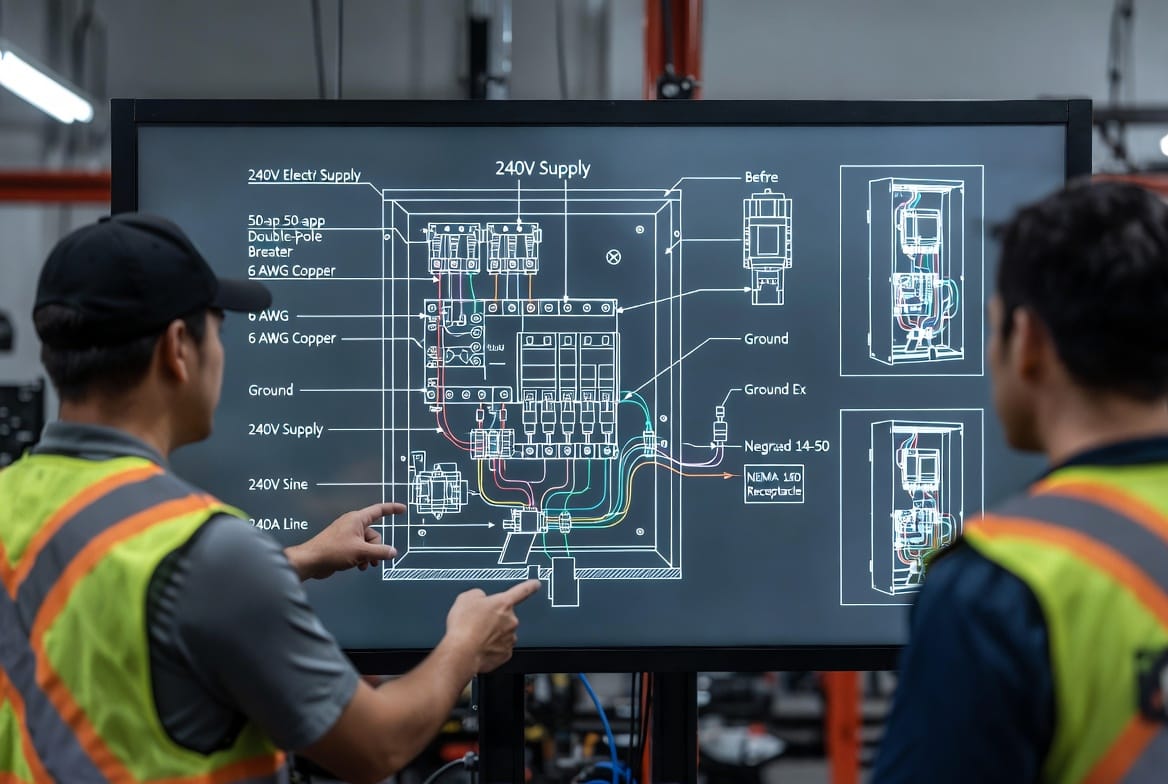
Two primary connection methods exist. The first is a NEMA 14-50 receptacle—a heavy-duty four-prong outlet commonly found at RV parks. Many portable or semi-portable Level 2 chargers simply plug into this receptacle, offering flexibility if you later relocate the unit or take it on trips.
The second option is a hardwired connection. The charger is permanently wired directly to the circuit conductors inside a junction box or the unit itself. Hardwiring often allows slightly higher continuous ratings, eliminates the receptacle as a potential failure point, and presents a cleaner finished appearance.
Both approaches require the same upstream 240V, 50-amp, and 6 AWG infrastructure. The choice depends on your charger model, local code preferences, and whether you value portability. A qualified installer helps you select the method that best matches your vehicle, usage patterns, and aesthetic goals while ensuring every termination meets torque specifications and manufacturer guidelines.
Step-by-Step Overview of a Professional Installation
A complete installation follows a logical sequence:
- Site evaluation and load calculation to confirm panel capacity
- Permit application and coordination with the local building department
- Installation of the double-pole 50-amp breaker
- Routing of 6 AWG conductors to the charger location
- Mounting of the charger or NEMA 14-50 receptacle
- Final terminations, grounding verification, and torque checks
- Functional testing with the vehicle and documentation for the homeowner
Throughout the process, attention to detail prevents future issues. Proper grounding, correct polarity, and secure connections protect both the electrical system and the expensive battery pack inside your electric vehicle.
Safety Considerations and Potential Risks
Electricity at 240 volts demands respect. Improper wire sizing can cause overheating. Shared circuits may trip breakers or create fire risks. Missing grounding can leave metal surfaces energized. Incorrect breaker selection may fail to protect the circuit under fault conditions.
These risks are fully manageable when the work is performed by licensed professionals who follow the National Electrical Code and local amendments. Homeowners should never attempt to install or modify a 240V circuit themselves. Even small mistakes can lead to costly repairs, voided warranties, or serious safety incidents. Choosing experienced installers eliminates these concerns and delivers a system you can trust every time you plug in.
Permits, Codes, and Professional Installation
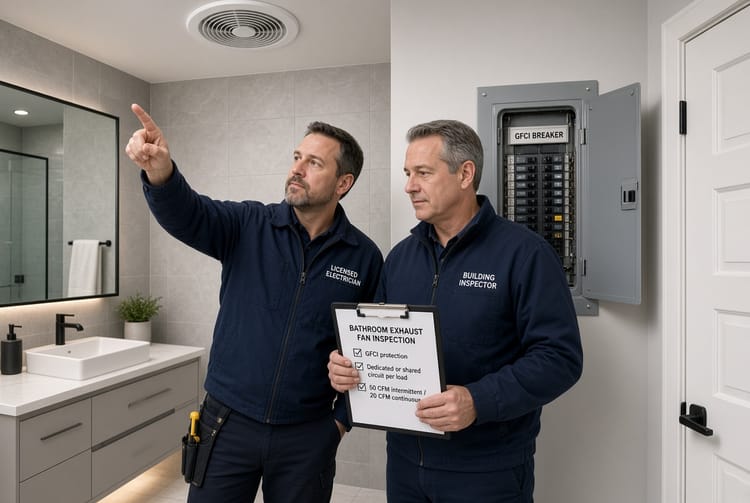
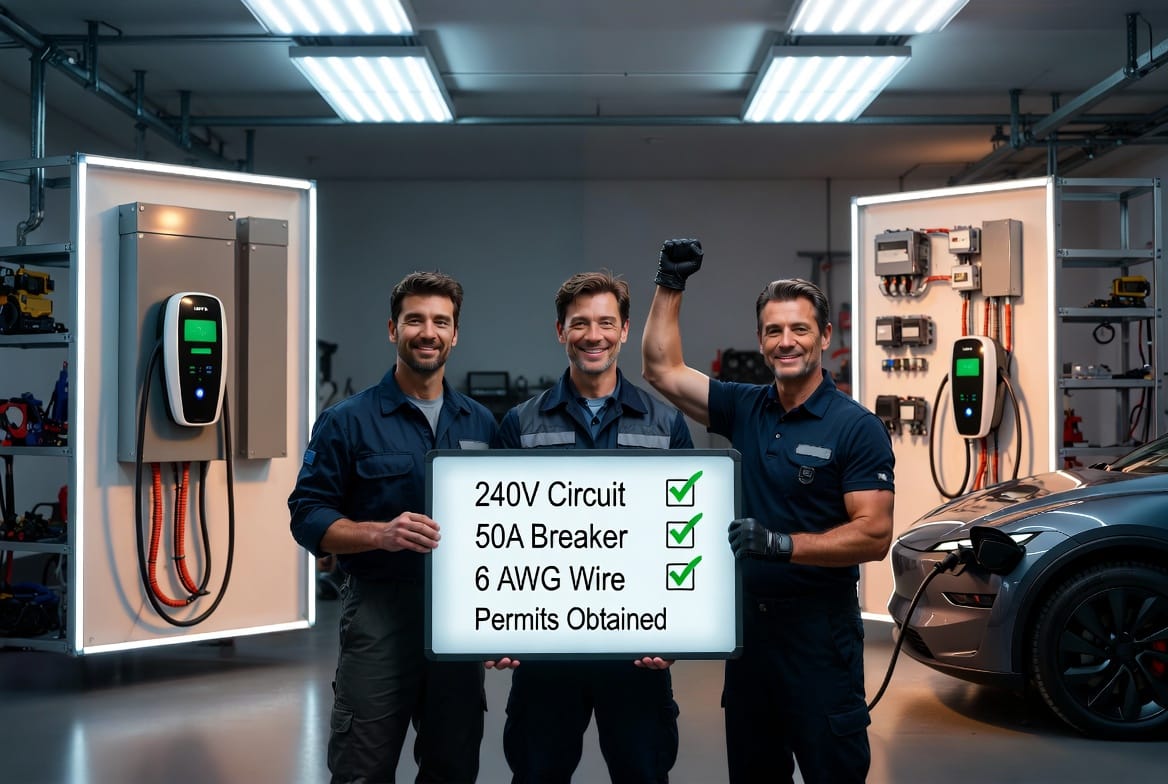
Virtually every jurisdiction requires a permit for a new 240V EV charger circuit. The permit process ensures the work is inspected and meets current safety standards. Inspectors verify wire gauge, breaker size, grounding, and overall workmanship. Passing inspection protects your home insurance coverage and provides official documentation of a code-compliant installation.
Professional electricians handle the entire process—from initial assessment through final approval—saving you time and guaranteeing compliance. They also understand utility interconnection requirements and any available rebates or incentives that can offset installation costs.
Benefits of a Properly Installed Home Charging System
A correctly engineered 240V circuit delivers multiple long-term advantages:
- Faster daily charging that restores full range overnight
- Lower operating costs compared with frequent public fast-charging
- Increased home value and appeal to future electric-vehicle buyers
- Reduced range anxiety and greater independence from public infrastructure
- Optimized battery health through manufacturer-recommended Level 2 rates
These benefits compound over the life of the vehicle. The modest upfront investment in proper infrastructure pays dividends in convenience, savings, and peace of mind.
Common Challenges and How Professionals Overcome Them
Older homes sometimes lack sufficient panel capacity. Installers solve this with service upgrades or carefully calculated load management systems. Long cable runs are addressed by upsizing conductors or choosing optimal routing paths. Aesthetic concerns are handled with neat conduit runs or recessed mounting. Weather exposure is mitigated with outdoor-rated enclosures and proper sealing.
Every challenge has a proven solution when experienced technicians assess the site and apply industry best practices. The result is a clean, reliable installation that looks intentional rather than improvised.
Maintaining Your EV Charging Circuit
Once installed, a 240V EV charging circuit requires minimal maintenance. Periodic visual inspections of the receptacle or hardwired connections, confirmation that the breaker remains firmly seated, and occasional professional torque checks keep the system in top condition. Most modern chargers also perform self-diagnostics and alert you to any irregularities.
Simple habits—keeping the charging area free of debris, avoiding extension cords, and scheduling an inspection if you notice unusual heat or odors—extend the life of both the circuit and the charger.
Conclusion: Install EV Charging Safely
A home Level 2 EV charger built on a properly designed 240V circuit—featuring a 50-amp dedicated breaker, 6 AWG wiring, and either a NEMA 14-50 receptacle or hardwired connection—transforms electric-vehicle ownership into a seamless daily experience. Every component works together to deliver speed, safety, and reliability.
Never compromise on electrical work that involves 240 volts. The risks of improper installation are real, yet they are entirely avoidable when you entrust the project to qualified professionals.
Install EV charging safely. Call for expert installation today and enjoy the confidence of a code-compliant, high-performance home charging station built to serve you for years to come.
Get Expert Help with Your Home EV Charger – Call Today!