The Hardwood Floor Refinishing: Sanding and Sealing for a New Look
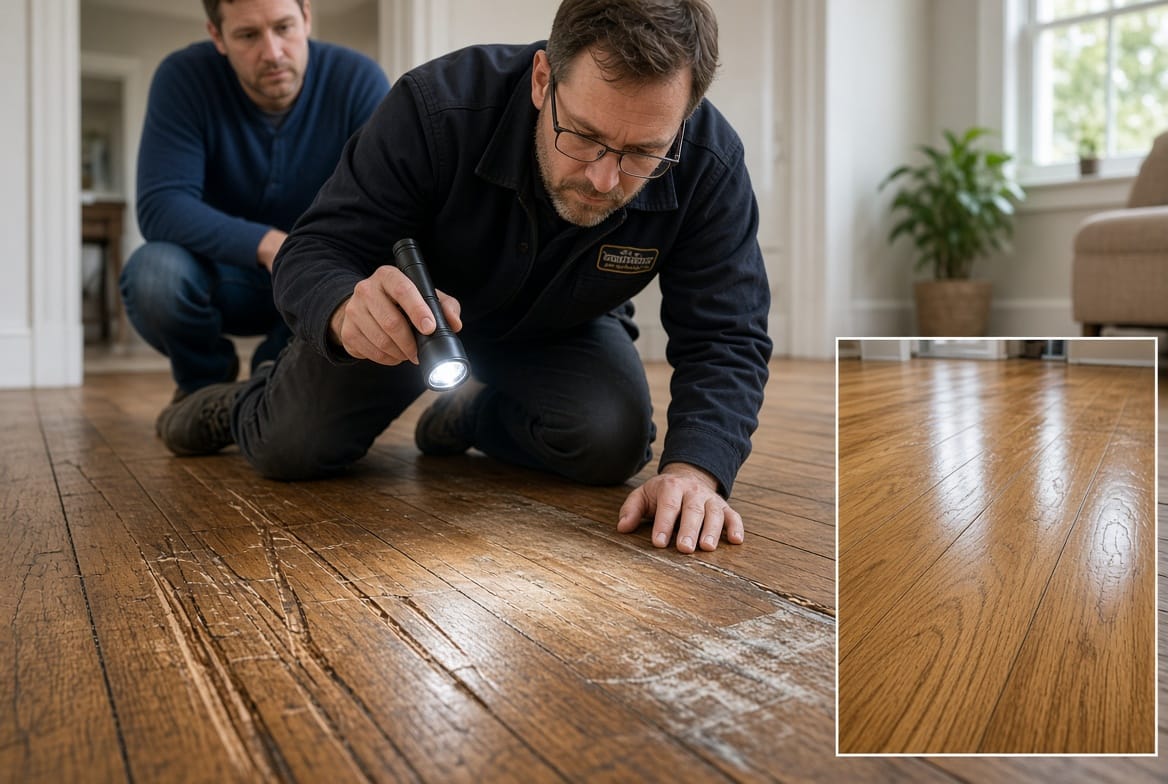
Hardwood floors bring lasting warmth, character, and value to a home. Over time, however, daily traffic, sunlight, and accidental spills leave visible wear. The good news is that most solid hardwood floors do not need to be torn out. Hardwood floor refinishing restores their original beauty through controlled sanding, optional staining, and protective sealing. This restoration approach is usually faster, more affordable, and far less disruptive than full replacement.
Call Now for Professional Floor Sanding & Sealing
A professionally refinished floor can look virtually new while preserving the original wood that already belongs in your home. When the process is performed correctly, the result is a durable, easy-to-maintain surface that can last another 10–15 years or more before the next refinishing cycle.
Why Choose Restoration Over Replacement
Replacement means removing every board, disposing of the old material, purchasing new wood, and installing an entirely new floor. That route is sometimes necessary, but it is often unnecessary. Restoration through refinishing keeps the existing subfloor and original planks in place. It also avoids the landfill waste and higher material costs associated with new hardwood.
Key advantages of refinishing include:
- Lower overall project cost in most cases
- Shorter project timeline
- Retention of original wood character and thickness
- Reduced environmental impact
- Ability to change color through staining if desired
When floors still have adequate thickness and structural integrity, refinishing is the smarter long-term choice.
When to Refinish Versus Replace
Not every floor is a candidate for refinishing. The decision depends on the remaining wood thickness, the type of damage, and the overall condition of the boards.
Refinish when:
- The finish is dull, scratched, or worn through in high-traffic paths
- Surface scratches and minor gouges are present but do not go deep into the wood
- Color has faded from sunlight but the wood itself is sound
- You want a fresh look or a different stain color
- The floor has never been sanded more than two or three times previously (most ¾-inch solid hardwood can be refinished several times)
Replace when:
- Boards are cupped, crowned, or severely warped from moisture
- Deep gouges, pet damage, or rot have compromised structural strength
- The remaining wear layer is too thin (common with some engineered floors)
- Extensive water damage or insect infestation exists
- Multiple previous sandings have already removed most of the usable wood
A qualified technician can measure remaining thickness and inspect for hidden issues before any work begins. This assessment prevents the risk of sanding through the wear layer.
The Hardwood Floor Refinishing Process
Professional refinishing follows a methodical sequence. Each stage builds on the previous one to produce an even, long-lasting result.
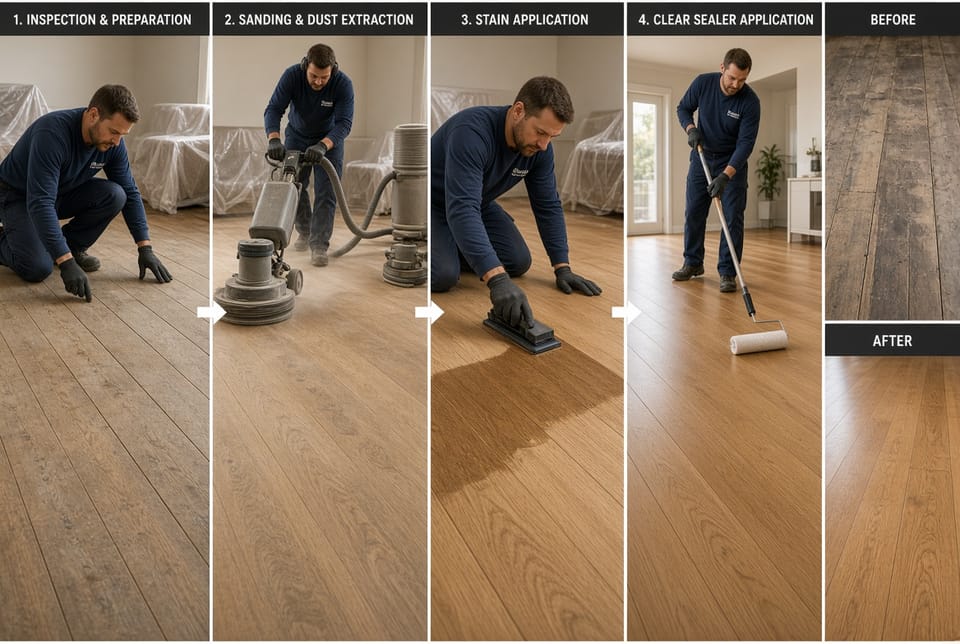
Preparation and Protection
Before any sanding starts, the room is emptied or furniture is carefully covered and moved. Baseboards and vents are masked. Dust-containment systems and plastic barriers isolate the work area from the rest of the house. This step minimizes disruption and protects belongings.
Sanding — Removing the Old Finish
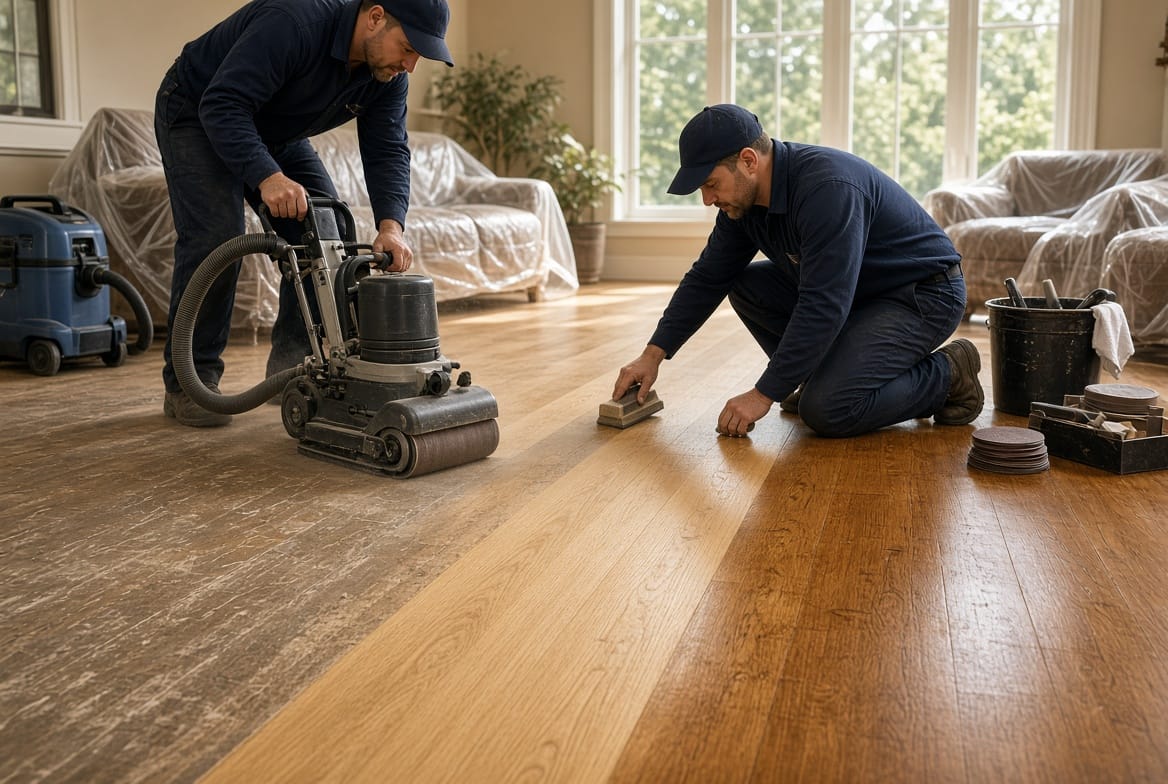
Sanding is the foundation of successful refinishing. Technicians use a series of progressively finer grits, typically beginning with a coarse paper to strip the existing finish and level minor imperfections, then moving to medium and fine grits for a smooth surface.
Drum sanders handle the main field, while edge sanders and detail tools reach corners and along walls. Between passes, the floor is vacuumed thoroughly so no grit remains that could scratch the next stage. Proper sanding eliminates swirl marks and leaves a uniformly clean wood surface ready for color or sealer.
The greatest risks at this stage are uneven sanding, leaving low spots, or generating excessive dust. Experienced crews using modern dustless equipment greatly reduce these concerns.
Staining — Optional Color Change
After sanding, the raw wood can be left natural or stained. Stain penetrates the wood fibers and allows homeowners to refresh or completely change the tone—from light natural oak to rich espresso or warm walnut.
The floor is cleaned again, then stain is applied evenly with pads or brushes and wiped according to the product instructions. Drying time varies by stain type and humidity. A test area is always recommended so the final color can be approved before the entire floor is treated.
Skipping stain simply means the natural wood tone will show through the new sealer.
Sealing — Protection and Sheen
The final and most important protective step is sealing. Modern water-based or oil-modified polyurethane (or other high-performance coatings) is applied in multiple thin coats. Each coat is lightly screened or buffed before the next is added.
The sealer:
- Shields the wood from moisture, scratches, and UV fading
- Determines the final sheen (matte, satin, semi-gloss, or gloss)
- Creates a cleanable, durable surface
Drying and curing times must be respected. Light foot traffic is usually possible within 24 hours, but full hardness develops over several days to a week. Proper ventilation during application is essential because some products release fumes.
When all three stages—sanding, optional staining, and sealing—are executed by trained professionals, the floor looks new and is ready for years of use.
Costs of Hardwood Floor Refinishing
Pricing varies by region, floor condition, square footage, and chosen products. Typical ranges for professional hardwood floor refinishing in 2026 fall between $3 and $8 per square foot for standard sanding and sealing of solid hardwood in good condition.
Factors that influence cost:
- Total square footage (larger areas often have a lower per-foot rate)
- Number of rooms and complexity of layout (stairs, multiple levels, many corners)
- Whether staining is included
- Type of sealer selected (water-based vs. oil-modified, extra coats)
- Extent of repairs needed (board replacement, filling large gaps)
- Dustless sanding equipment and site-protection measures
- Geographic labor rates
A straightforward 800-square-foot main-level refinishing project might range from $2,400 to $6,400. Adding stain or extra coats increases the total. Always request a written estimate that itemizes sanding, stain, sealer, and any repairs.
Compared with full replacement—which can easily run $8–$15+ per square foot installed—refinishing usually delivers substantial savings while achieving a comparable visual result.
Preparing Your Home for the Project
A little preparation on the homeowner’s side helps the job go smoothly:
- Remove all furniture, rugs, and décor from the rooms
- Take down window treatments if they hang low
- Arrange for pets and family members to stay elsewhere or in unaffected areas during the noisiest and dustiest phases
- Discuss ventilation and odor concerns with the crew in advance
- Confirm the expected timeline and when the floor can accept furniture again
Most refinishing projects on a typical main floor take 3–5 days from start to light-use readiness.
Aftercare for Long-Lasting Results
Once the new finish has cured:
- Use felt pads under all furniture legs
- Place walk-off mats at exterior doors
- Clean with products recommended for the specific sealer
- Avoid excess water and steam mops
- Recoat (a lighter maintenance step) every 3–7 years depending on traffic instead of waiting for a full sanding
These simple habits extend the life of the refinished surface and delay the next major restoration.
Hardwood floors are an investment worth protecting. When they begin to look tired, hardwood floor refinishing through expert sanding and sealing offers a proven, cost-effective path back to beauty. The original wood stays in place, the home stays intact, and the finished result can look as good as—or better than—the day the floors were first installed. Restore your hardwood floors.
Call Today for Expert Hardwood Floor Refinishing