The Gutter Ice Dam Heating Cable: Installation on Shingles vs. Metal Roofs
Ice dams can wreak havoc on your home during harsh winters, causing water backups that lead to costly leaks, interior damage, and structural issues. Gutter ice dam heating cables offer a reliable solution by gently melting ice and snow along roof edges and gutters, ensuring proper drainage. But successful installation depends heavily on your roof type — shingle roofs and metal roofs require distinct approaches to avoid damage while maximizing effectiveness.
Protect Your Roof from Ice Dams – Call Today
In this comprehensive guide, we explore the key differences in installing heating cables on these common roof materials. Whether you're a homeowner in a cold climate or planning preventive maintenance, understanding these nuances helps protect your investment and maintain peace of mind.
Understanding Ice Dams and the Role of Heating Cables
Ice dams form when heat from your home melts snow on the upper roof, and the water refreezes at colder eaves and gutters. This creates a barrier that forces water under shingles or seams, leading to leaks. Heating cables (also known as heat tape or de-icing cables) provide targeted warmth to keep pathways clear.
Why proper installation matters: Incorrect placement can damage roofing materials, void warranties, or fail to prevent ice buildup. Professional installation ensures safety, efficiency, and longevity.
- Benefits include reduced risk of water intrusion, lower repair costs, and extended roof life.
- Risks of DIY mistakes: Overheating shingles, loose cables in wind, or inefficient energy use.
Key Differences: Shingle Roofs vs. Metal Roofs
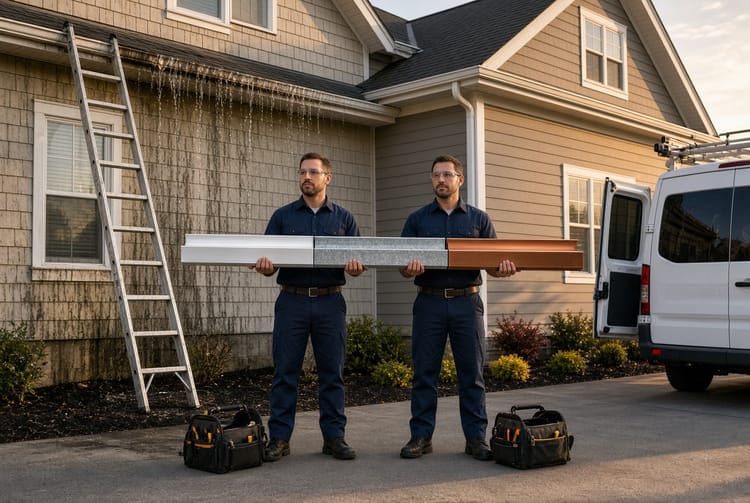
Shingle roofs (typically asphalt) and metal roofs handle snow and installation differently due to their materials and designs.
Shingle roofs have overlapping layers that require careful handling to avoid lifting or puncturing. Metal roofs, with their smooth, ribbed, or standing-seam surfaces, allow for more straightforward clipping but demand secure attachments against wind and thermal expansion.
The installation method directly impacts cable stability and roof integrity. Clips prevent movement, while proper spacing ensures even heating without excessive energy consumption.
Installing Heating Cables on Shingle Roofs
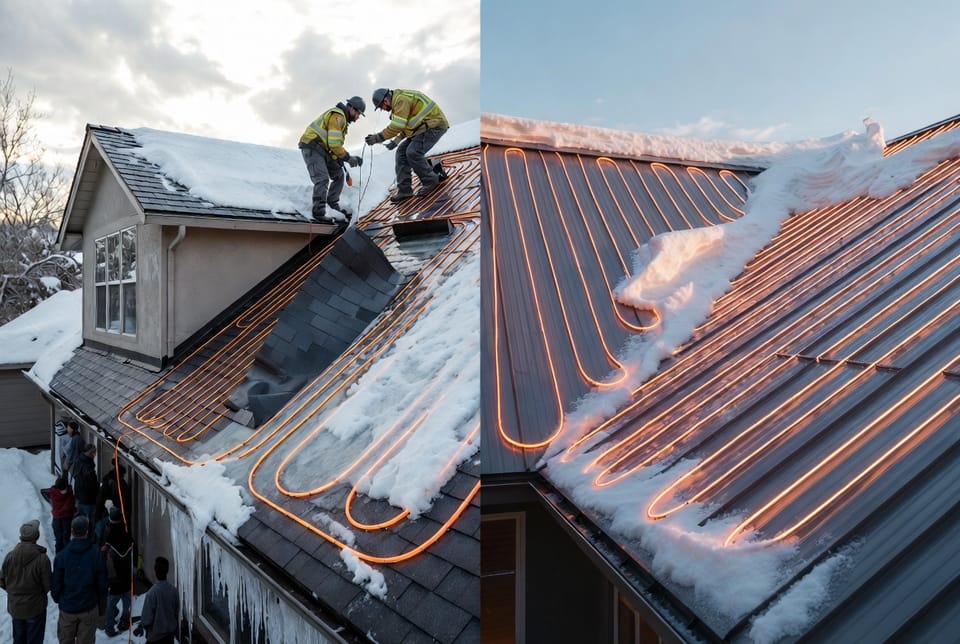
On shingle roofs, heating cables are typically installed in a zigzag pattern along the eaves, extending into gutters and downspouts.
Step-by-step process:
- Prepare the area: Clear snow and ice if present. Ensure roof is dry and temperatures are safe for work.
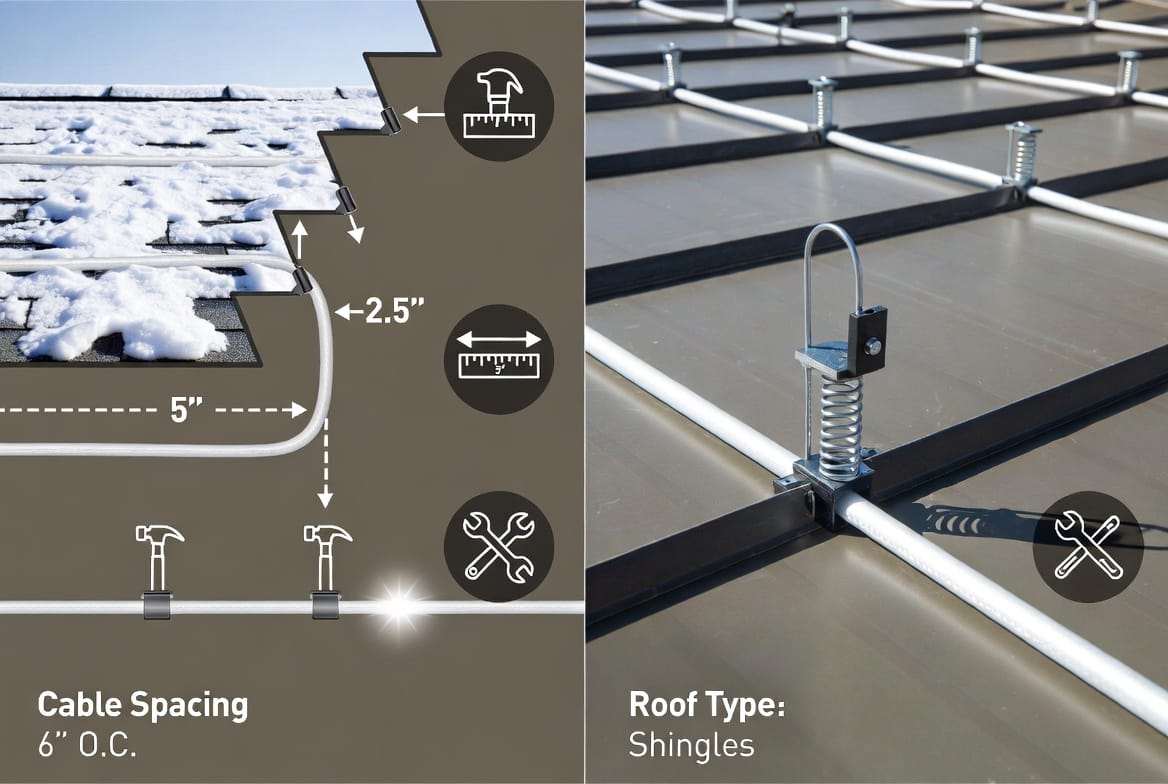
- Use specialized clips: Install roof clips under shingles. Gently lift shingle tabs and slide clips beneath, securing them without nails penetrating the shingle surface excessively. This method hides clips and protects the waterproofing layers.
- Cable layout: Run cables 2-3 feet up the roof from the edge, in loops spaced 4-6 inches apart in problem areas. Extend into gutters for continuous flow.
- Power connection: Connect to a GFCI-protected outlet or control system with sensors for automatic operation.
Why clips under shingles? This approach minimizes visible hardware, reduces trip hazards, and prevents cable displacement from wind or snow load. It also avoids direct penetration that could lead to leaks.
Potential challenges: Asphalt shingles can become brittle in cold; improper lifting risks cracking. Always consult professionals to preserve your roof warranty.
Installing Heating Cables on Metal Roofs
Metal roofs excel at shedding snow but still require heating cables in valleys, eaves, and gutters to combat ice dams.
Distinct installation techniques:
- Clip placement on ribs: Use clips designed for metal surfaces that attach directly to standing seams or corrugated ribs with clamps or screws (often with adhesive backing for extra hold). Avoid drilling unnecessarily to maintain the roof's integrity.
- Cable routing: Follow the natural contours of the ribs for better contact and heat distribution. Space cables according to manufacturer guidelines, typically running parallel or in targeted patterns near edges.
- Gutter integration: Secure cables in gutters with hanger clips and ensure downspouts are fully protected to prevent refreezing.
- Thermal considerations: Metal conducts heat differently, so cables may need adjustment for optimal performance without overheating panels.
Advantages on metal: Easier access and often fewer clips needed due to structural rigidity. However, expansion and contraction from temperature swings require flexible, secure attachments.
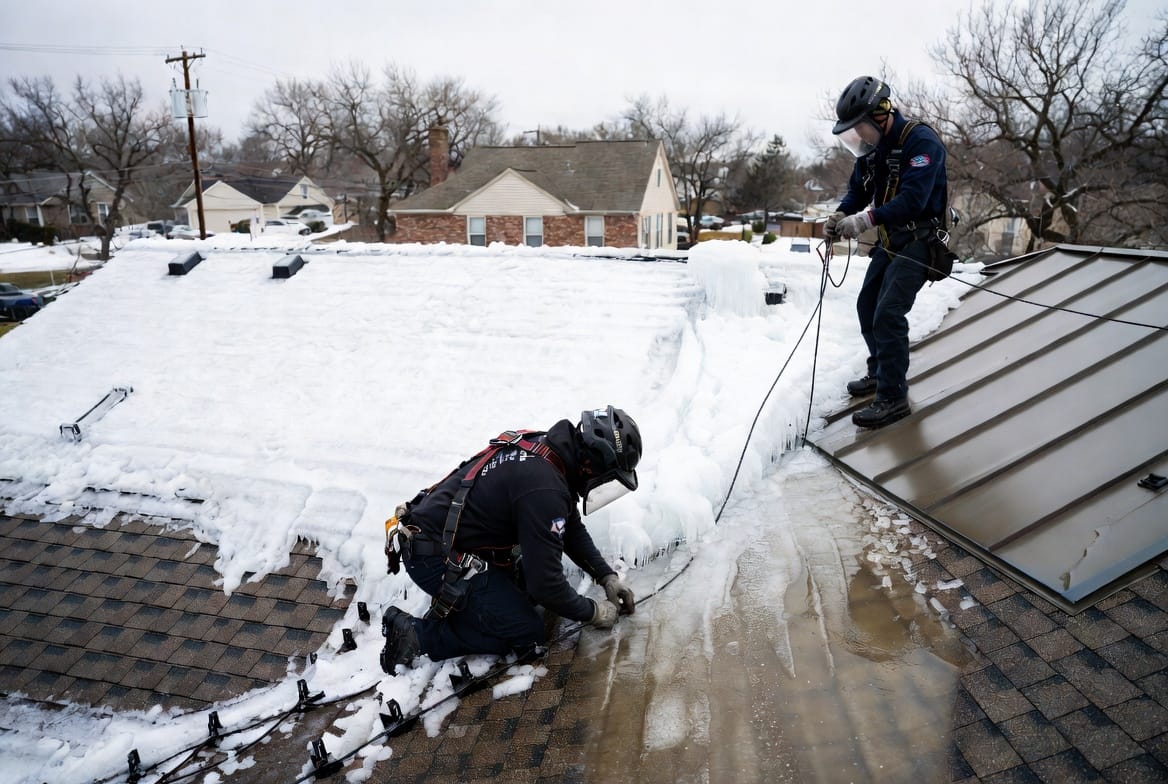
Professional installers ensure cables stay in place year-round, creating reliable melt paths that direct water safely away from your home.
Why the Installation Method Matters
Choosing the right method based on roof type prevents several risks:
- Roof damage: Improper clips on shingles can cause lifting or punctures; on metal, loose attachments may lead to rattling or scratches.
- Cable effectiveness: Secure placement ensures consistent contact and heat output, creating clear drainage channels.
- Energy efficiency and safety: Correct spacing and controls minimize electricity use while operating reliably in extreme conditions.
- Warranty protection: Manufacturer-approved methods help maintain coverage on both roof and cable systems.
Installation considerations checklist:
- Roof type assessment: Shingles need underlay clips; metal requires seam-compatible hardware.
- Cable spacing: Typically 4-6 inches in high-risk zones for thorough coverage.
- Clips required: Quantity depends on linear footage — professionals calculate precisely to avoid shortages or excess.
- Local climate: Dallas-area winters may have milder but unpredictable freezes, making targeted installations ideal.
- Control systems: Timers, sensors, and thermostats for automated, cost-effective operation.
Investing in professional gutter ice dam heating cable installation delivers long-term protection tailored to your specific roof.
Additional Benefits and Maintenance Tips
Beyond installation differences, heating cables integrate well with other preventive measures like improved attic insulation and ventilation.
Long-term advantages:
- Reduced insurance claims: Fewer leaks mean lower premiums and faster recovery.
- Home value protection: Well-maintained roofs with de-icing systems appeal to buyers in snowy regions.
- Peace of mind: Automatic systems activate only when needed, saving energy.
Maintenance best practices:
- Inspect cables annually before winter.
- Clear debris from gutters.
- Test controls and replace damaged sections promptly.
- Combine with gutter guards for enhanced performance.
Homeowners report significant reductions in ice-related issues after proper setup, with systems lasting many seasons when installed correctly.
Choosing the Right System for Your Home
Factors to consider include roof size, pitch, local weather patterns, and budget. Shingle installations often focus on discreet integration, while metal setups emphasize durability and conductivity.
Consult experienced technicians familiar with both materials. They can assess your Dallas home, recommend cable types (self-regulating vs. constant wattage), and handle permitting if required.
Common Myths About Roof Heating Cables
Myth 1: Heating cables damage roofs. Reality: When installed with proper clips and methods, they protect rather than harm.
Myth 2: They're only for extreme cold. Reality: Effective even in moderate winters with freeze-thaw cycles.
Myth 3: DIY is straightforward. Reality: Expertise ensures optimal placement and safety.
Real-World Impact: Protecting Your Property
Imagine avoiding thousands in water damage repairs. Gutter ice dam heating cables, installed correctly, create reliable pathways for meltwater, safeguarding your shingles, metal panels, insulation, and interior finishes.
For families and property owners, this means fewer disruptions and more enjoyment of the season.
Stop Ice Dams on Any Roof
Don’t wait for the next winter storm to cause damage. Protect your home with expert gutter ice dam heating cable installation tailored to your roof type. Our team ensures safe, effective solutions for shingles, metal roofs, and beyond — keeping your home secure and dry all season long.
Expert Heating Cable Installation – Call Now