The Gutter Downspout Angle: Proper Pitch for Water Flow
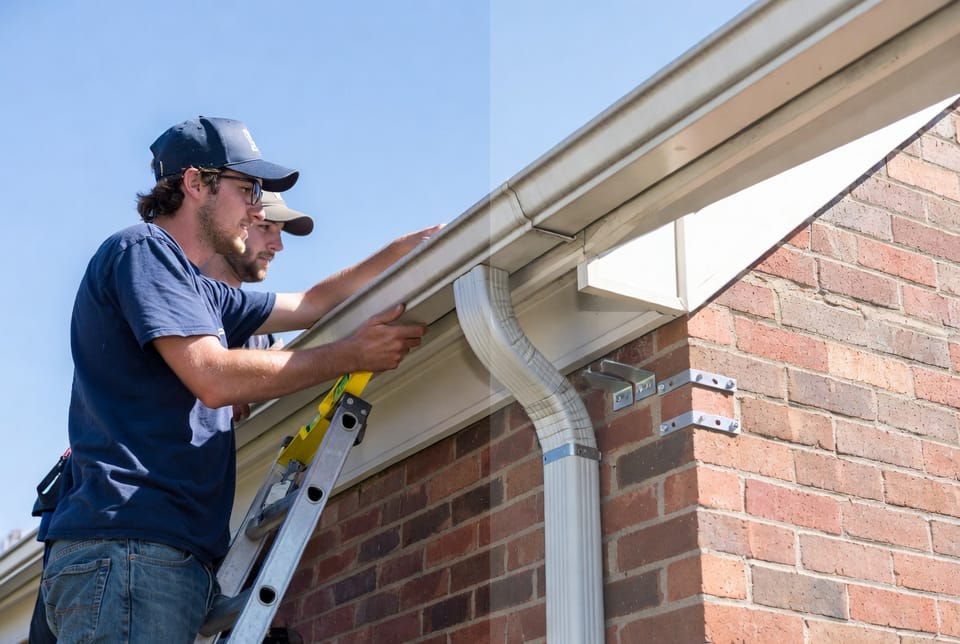
Proper downspout installation is one of the most overlooked yet critical details in any gutter system. Homeowners often focus on the horizontal run of the gutters themselves, but the vertical path that carries water from the roof edge to the ground determines whether the entire system functions reliably or becomes a source of ongoing frustration. The angle of the downspout—specifically whether it hangs truly plumb or carries a slight intentional pitch—directly controls water velocity, debris movement, and the risk of standing water. Getting this angle right during installation prevents the most common failures: clogs, overflow, and foundation damage caused by water that never fully drains.
Get Proper Downspout Pitch – Call Now!
This guide examines the installation details that matter most. It explains why downspouts must never run horizontal, why a true plumb line or a carefully controlled slight angle is essential, and how a simple level confirms correctness before the job is finished. When these principles are followed, water moves continuously and predictably, protecting both the gutter system and the structure it serves.
Understanding Why Downspout Angle Controls Water Flow
Water travels through a downspout under the force of gravity alone. Any interruption in that downward path slows the flow, allowing leaves, shingle grit, and organic debris to settle. A horizontal section creates a flat shelf where material accumulates until the pipe is partially or fully blocked. Even a slight reverse pitch—where the pipe tilts upward toward the outlet—traps water permanently. The result is standing water that freezes in winter, corrodes the metal or PVC, and eventually forces overflow at the gutter outlet or at joints higher up the run.
A properly installed downspout avoids these problems by maintaining continuous downward movement. The ideal configuration is either perfectly plumb (straight vertical) or angled only a few degrees outward or inward as needed for the specific architecture of the house. In both cases the interior surface remains free of flat spots. Water accelerates as it drops, carrying debris with it rather than allowing it to rest. This self-cleaning action is the single most effective defense against clogs.
Installation teams that treat the downspout as an afterthought often leave sections that look acceptable from the ground but fail under heavy rain. The difference between a system that performs for decades and one that requires frequent service is measured in fractions of an inch of pitch. That is why careful measurement and verification with a level are non-negotiable steps.
Why Horizontal Sections Are Never Acceptable
Horizontal downspout runs are sometimes attempted when the distance from the gutter outlet to the desired discharge point is long or when landscaping obstacles intervene. The impulse is understandable, yet the physics are unforgiving. In a horizontal pipe, water velocity drops to near zero once the initial surge from the roof has passed. Any leaf or twig that enters settles immediately. Over successive storms the accumulation grows until the pipe is restricted. At that point water backs up into the gutter, overflows the sides, and cascades down the exterior wall or soffit.
Standing water inside a horizontal section also creates a constant moisture reservoir. In colder climates this water freezes, expands, and can split seams or crack PVC. In warmer climates the stagnant water becomes a breeding ground for mosquitoes and accelerates corrosion of metal components. Neither outcome is acceptable for a system whose only purpose is rapid, complete drainage.
Professional installers therefore reject any design that includes a true horizontal segment. If the discharge point must be moved away from the foundation, the preferred solutions are an underground drain line with proper slope, an extension that continues the downward path, or a carefully engineered offset that still maintains continuous fall. The downspout itself remains vertical or near-vertical for its entire length above grade.
The Correct Geometry: Plumb or Slightly Angled
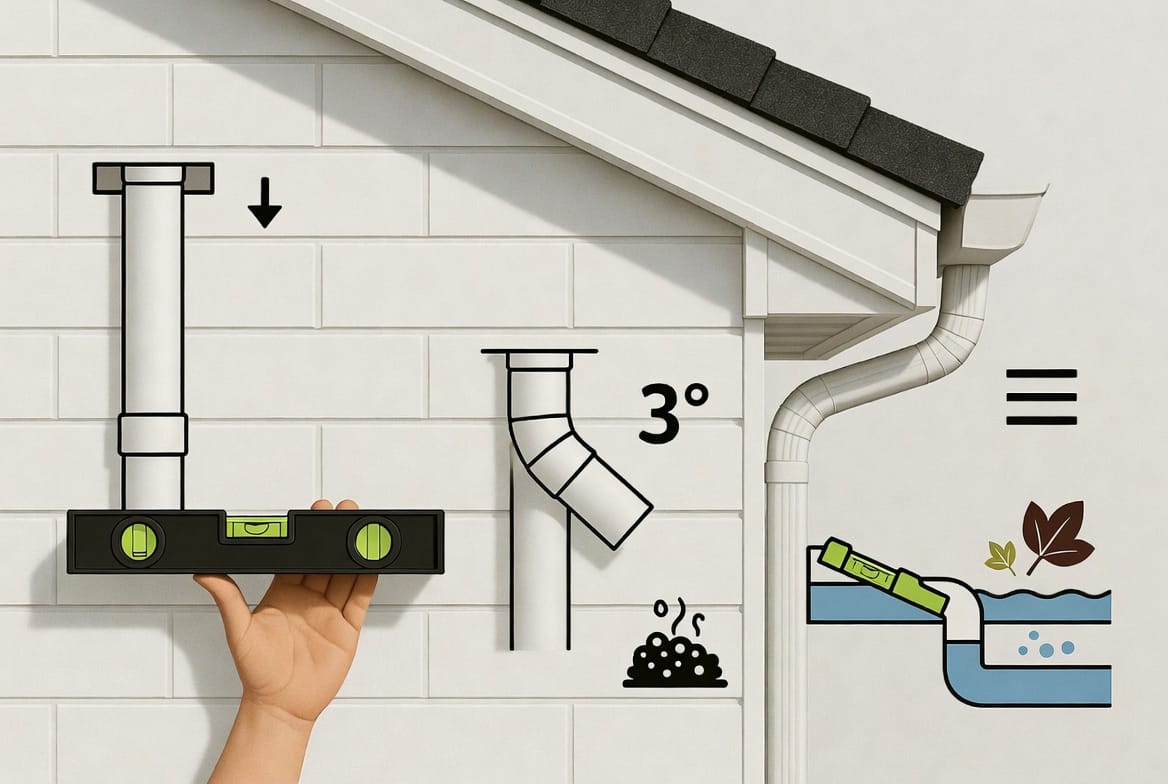
A downspout is considered correctly pitched when a spirit level held against its face shows either a perfect vertical reading or a controlled deviation of no more than a few degrees. Perfect plumb is the default choice for most residential installations. It maximizes gravitational acceleration and minimizes the surface area available for debris to cling. Slight outward angling is sometimes used when the downspout must clear a window, architectural projection, or foundation step. Slight inward angling can help hide the pipe against the wall or direct water toward a preferred drainage path.
The key principle is consistency. Once the angle is chosen, it must be maintained for the full height of the run. Abrupt changes in direction—sharp elbows without adequate fall—reintroduce the same problems as horizontal sections. Smooth, gradual transitions that preserve downward movement are acceptable; flat or rising transitions are not.
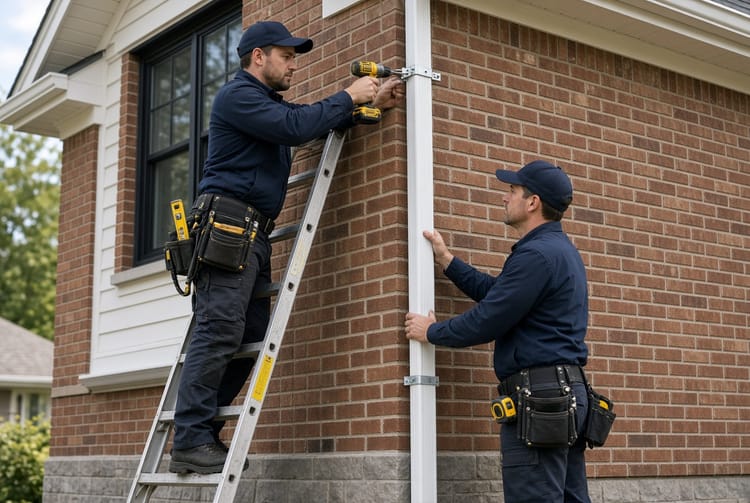
During installation the top of the downspout is secured to the gutter outlet with a tight-fitting elbow or adapter. From that point the pipe is held against the wall while the level is checked at multiple heights. Brackets are then fastened so that the chosen angle is locked in place. Final verification occurs after all fasteners are tight, confirming that the pipe has not shifted under its own weight or under the pressure of the brackets.
How to Verify Alignment with a Level
The spirit level remains the most reliable and inexpensive tool for confirming downspout pitch. A standard two-foot or four-foot level is sufficient for most residential work. The procedure is straightforward and should be performed at three stages: rough positioning, after bracket installation, and as a final quality check.
First, hold the level vertically against the face of the downspout at eye level. The bubble must sit centered between the lines for a plumb reading. If a slight intentional angle is required, the bubble will sit just outside center by a consistent amount at every checkpoint. Second, repeat the measurement near the top elbow and near the bottom outlet. Consistency across the full height confirms that the pipe is not bowed or twisted. Third, check both the front face and one side face. A pipe that is plumb front-to-back but twisted left-to-right can still create internal ledges that catch debris.
When the level reveals a problem, the installer loosens the nearest brackets, adjusts the pipe by small increments, and rechecks. Only when every reading is correct are the fasteners fully tightened. This method eliminates guesswork and ensures that the finished installation meets the standard required for reliable water flow.
Step-by-Step Installation for Reliable Pitch
Successful downspout installation follows a clear sequence that prioritizes pitch from the first measurement to the last fastener.
Begin by confirming the location of the gutter outlet. The outlet must be positioned so that the downspout can travel straight down or with only the necessary minimal offset. Measure the vertical distance from the outlet to the intended discharge point and cut the primary downspout section to length, allowing for the top elbow and any bottom extension.
Attach the top elbow or adapter to the gutter outlet with manufacturer-approved fasteners and sealant if required. Temporarily hold the downspout against the wall and mark the locations of the support brackets. Space brackets according to local code or manufacturer recommendations—typically every six to eight feet and within eighteen inches of each joint.
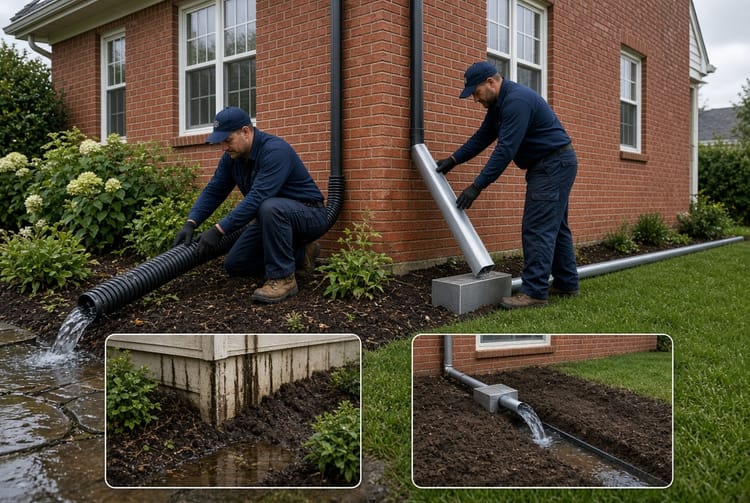
Position the downspout and insert the level. Adjust until the desired plumb or slight-angle reading is achieved. Install the brackets without fully tightening them. Recheck the level. Once the angle is confirmed, tighten all fasteners and apply any required sealant at joints. Install the bottom outlet or extension, ensuring it continues the downward path and directs water at least four to six feet from the foundation.
A final walk-around with the level at multiple heights completes the process. Any deviation discovered at this stage is corrected before tools are packed. This disciplined approach guarantees that water will move continuously through the system for years of service.
Common Installation Errors That Compromise Pitch
Several recurring mistakes undermine even well-intentioned installations. One is relying solely on visual alignment from the ground. What appears straight from a distance can still contain a subtle reverse pitch invisible without a level. Another is over-tightening brackets before the final level check; the force of the fasteners can pull the pipe out of alignment. A third is using too few brackets, allowing the weight of a full water column during a storm to bow the pipe and create a low spot.
Elbows that change direction without maintaining fall are equally problematic. A ninety-degree elbow that creates a short horizontal shelf inside the fitting will catch debris just as effectively as a longer horizontal run. Installers avoid this by selecting offset elbows that preserve continuous slope or by using two forty-five-degree fittings that keep water moving downward.
Finally, attaching the downspout to uneven or damaged siding without correcting the substrate can introduce twist. The pipe may look acceptable from one angle yet contain an internal ledge on the opposite side. Checking both faces of the level eliminates this hidden defect.
Benefits of Correct Pitch Beyond Clog Prevention
When the downspout angle is correct, the advantages extend far beyond the absence of clogs. Continuous flow reduces the volume of water that can overflow the gutter during intense storms, protecting fascia boards, soffits, and exterior walls from saturation. Water that reaches the ground is directed away from the foundation rather than pooling against it, lowering the risk of basement seepage and soil erosion.
Metal and vinyl components last longer because they are not subjected to prolonged standing water or freeze-thaw cycles. The self-cleaning action of fast-moving water keeps the interior surfaces relatively free of organic buildup, reducing the frequency of professional cleanings. Homeowners notice quieter operation as well; water that rushes through a properly pitched pipe produces less gurgling and overflow noise than water that hesitates and backs up.
These benefits compound over the life of the system. A downspout installed with careful attention to pitch requires fewer service calls, fewer emergency repairs after storms, and less concern about water damage. The modest extra time spent verifying alignment during installation returns years of reliable performance.
Recognizing Signs That Pitch Needs Correction
Even a well-installed system can shift over time if brackets loosen, the house settles, or ice loads stress the connections. Several visible indicators signal that the downspout angle has been compromised and requires professional attention.
Standing water remaining inside the pipe hours after rain has stopped is the clearest warning. Water that drips or streams from seams rather than exiting cleanly at the bottom points to an internal restriction caused by flat spots. Overflow at the gutter outlet during moderate rain often means the downspout can no longer accept the full volume because debris has accumulated on a horizontal ledge. Visible bowing or leaning of the pipe itself, or brackets that have pulled away from the wall, indicate mechanical failure that has altered the original pitch.
Addressing these signs promptly restores proper flow and prevents secondary damage. Attempting temporary fixes such as forcing debris downward with a hose may provide short-term relief but does not correct the underlying geometric problem. Only realignment or replacement of the affected section returns the system to reliable operation.

Professional Standards and Long-Term Maintenance
Experienced installation teams treat downspout pitch as a non-negotiable quality checkpoint. They carry calibrated levels, follow manufacturer spacing guidelines for brackets, and document the final alignment before leaving the job site. This discipline separates systems that perform decade after decade from those that generate repeated service tickets.
Homeowners can support that performance with simple seasonal habits. After major leaf fall, a visual check of the downspout exterior and a brief inspection of the outlet for free flow confirm that nothing has shifted. Clearing the area around the discharge point of debris keeps water moving away from the foundation. If any of the warning signs described earlier appear, scheduling a professional evaluation protects the larger investment in the roof and exterior envelope.
When repair or realignment is required, the same principles that govern new installation apply. The affected section is freed, the level is used to re-establish correct pitch, new brackets are installed as needed, and every joint is sealed. The result is a restored path for water that once again moves continuously and cleanly from roof to ground.
Conclusion: Pitch Determines Performance
The angle of a downspout is not a minor detail. It is the mechanism that converts gravity into reliable drainage. A pipe that is truly plumb or carries only a controlled slight angle keeps water moving, carries debris with it, and prevents the standing water that leads to clogs, corrosion, and overflow. Horizontal sections, reverse pitches, and unverified alignments undermine the entire gutter system no matter how carefully the horizontal gutters themselves were installed.
By insisting on level-verified pitch during installation and by responding promptly to any later signs of misalignment, homeowners secure the full protective value of their gutters. Water leaves the roof, travels the intended path, and exits at a safe distance from the foundation—exactly as designed.
Proper downspout pitch prevents clogs. For professional evaluation, realignment, or complete gutter repair that restores correct water flow.
Prevent Standing Water – Schedule Pitch Repair