The Garage Door Remote Programming: Syncing New Remotes to Your Opener
Garage door remote programming is one of the most practical DIY skills every homeowner should master. When your new remote arrives or you need to replace an old one, knowing exactly how to sync it to your opener saves time, money, and frustration. At Domain House, we believe in empowering you with clear, reliable guidance so you can restore convenient access to your garage in minutes – without waiting for a service call.
Program Your Garage Door Remote Today – Call Now!
Proper remote syncing keeps your home secure, ensures seamless daily operation, and prevents unexpected lockouts. Whether you’ve just purchased a replacement remote or want to add extras for family members, the learn button procedure is straightforward when followed correctly. This comprehensive guide walks you through every step, explains how to erase lost remotes for maximum security, and equips you with proven troubleshooting solutions.
You’ll finish this article confident that you can handle garage door remote programming like a pro. Let’s get your openers and remotes working in perfect harmony.
Why Accurate Garage Door Remote Programming Matters for Your Home
A properly programmed remote delivers instant convenience and peace of mind. Imagine pulling into the driveway after a long day and opening the garage with a single button press – no more fumbling with keys or waiting in the rain.
Remote syncing also plays a critical role in home security. Outdated or un-erased remotes can create vulnerabilities if lost or stolen. By mastering the learn button procedure, you maintain full control over who has access.
Regular programming knowledge extends the life of your garage door system. When components communicate correctly, motors experience less strain, sensors stay calibrated, and the entire mechanism operates smoothly for years. Homeowners who handle their own garage door remote programming report fewer service calls and lower long-term maintenance costs.
Safety first: Always work with the garage door in the closed position when programming to avoid accidental movement. With the right approach, the process is quick, safe, and highly rewarding.
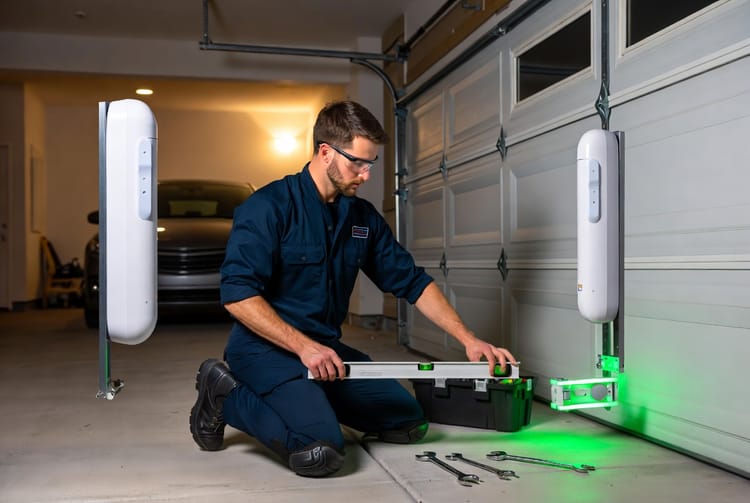
Tools and Preparation Before You Begin
Successful remote programming requires minimal tools – most are already in your home:
- New compatible remote (check frequency match: 315 MHz, 390 MHz, or 433 MHz typical)
- Step ladder for safe access to the opener unit
- Fresh batteries for the remote
- Flashlight for better visibility in the garage ceiling area
- Your opener’s model number (usually on a sticker on the motor unit)
Pro tip: Replace the remote battery before programming. A weak battery is the most common reason syncing fails on the first try.
Position your ladder securely under the opener. Ensure the garage door is fully closed and no vehicles or obstacles are in the way. Clear the area so you can move freely during the 30-second programming window.
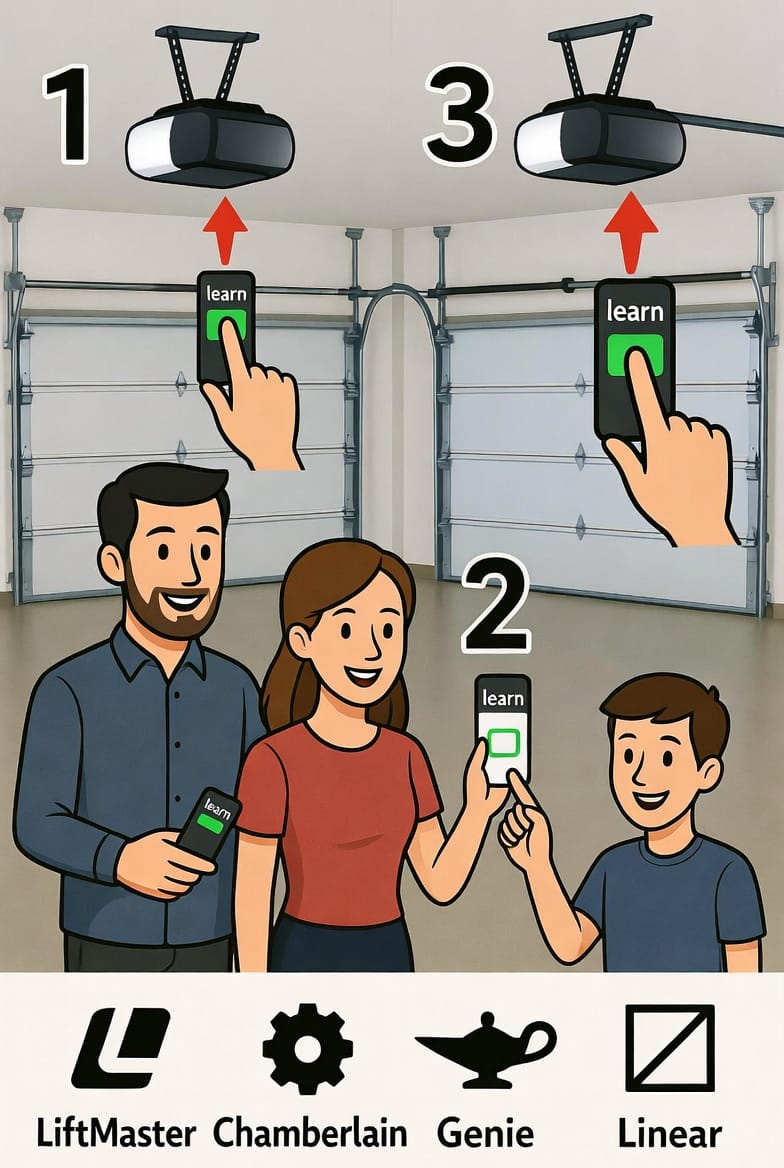
Step-by-Step Guide to Programming New Remotes Using the Learn Button
The learn button procedure is the industry-standard method used by most residential openers. Follow these numbered steps precisely for reliable results.
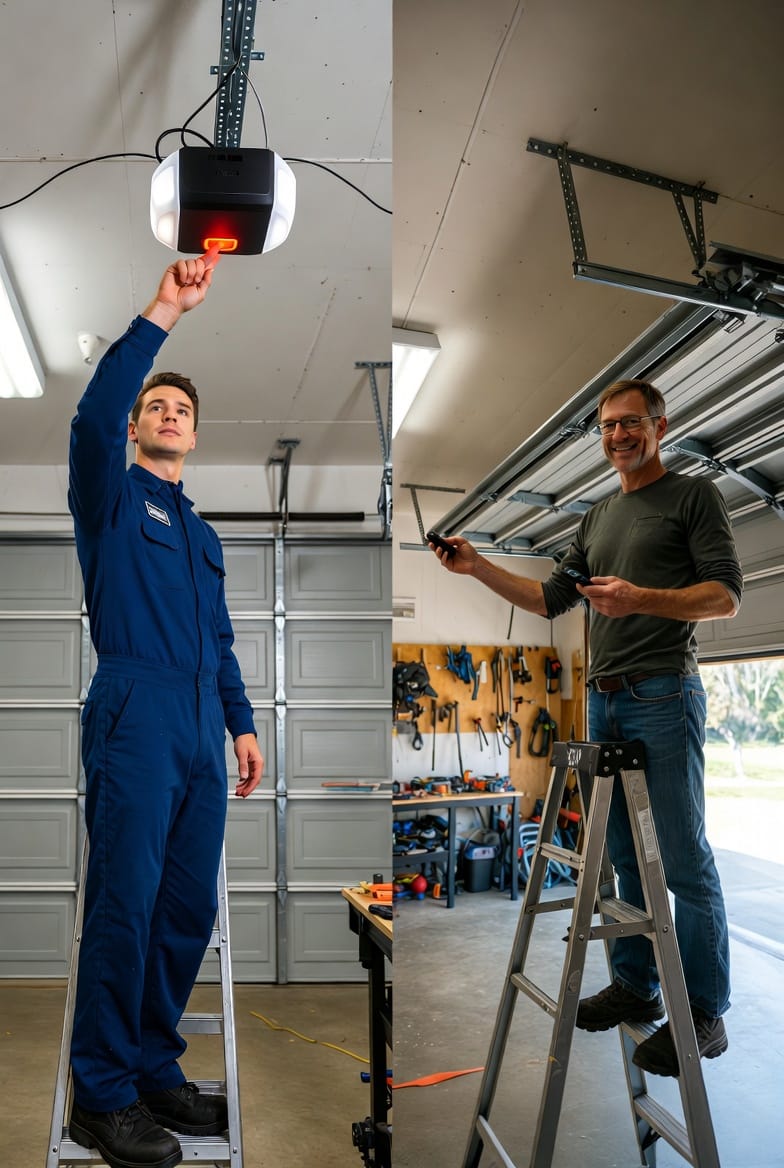
- Locate the learn button on the back or side of the garage door opener motor unit. It is typically red, orange, purple, or green and labeled “Learn,” “Smart,” or “Program.”
- Press and hold the learn button until the small LED indicator lights up or begins flashing. This activates programming mode – usually within 2-3 seconds. Release the button once the light is active.
- Within 30 seconds, go to your new remote and press and hold the button you want to program (usually the large main button). Hold it for at least 3 seconds.
- Watch for confirmation: The opener’s LED will flash rapidly or the unit will click, indicating successful remote syncing. Some models also cause the garage door to move slightly as final verification.
- Test immediately: Press the remote button from inside the garage. The door should open or close smoothly.
- Repeat for additional buttons if your remote has multiple channels (e.g., for different doors or lights).
Important: If the LED stops flashing before you press the remote, simply repeat step 2. Timing is everything in garage door remote programming.
Most openers allow up to 8–10 remotes to be synced. Once the first remote works perfectly, additional ones follow the exact same process – no need to clear memory between each new remote.
Programming Multiple Remotes and Brand Variations
After the first remote is successfully paired, adding extras is even faster. Simply repeat the learn button procedure for each new device. The opener remains in an open learning state for multiple pairings until the 30-second window closes or you press the learn button again to exit.
While the core process is universal, slight variations exist across common brands:
- Chamberlain / LiftMaster / Sears models use a red or purple learn button and flash the LED twice for confirmation.
- Genie openers often require holding the remote button until the opener lights blink.
- Wayne Dalton and older models may need a two-step press sequence.
Regardless of brand, the principle remains the same: activate programming mode via the learn button, then transmit the signal from the remote. When in doubt, the visual LED feedback will guide you.
Securely Erasing Lost or Stolen Remotes
Security is non-negotiable. If a remote has been lost or could be in the wrong hands, immediately clear all stored codes from the opener’s memory.
Complete memory erase procedure:
- Press and hold the learn button on the opener.
- Continue holding until the LED turns off completely (usually 10–20 seconds).
- Release the button. All previously programmed remotes are now erased.
- Re-program your current, trusted remotes using the standard learn button procedure above.
This reset protects your home from unauthorized access and is a recommended practice whenever you move into a new property or suspect a remote is missing. After erasure, treat the system as brand new and only add verified devices.
Advanced Tips for Reliable Long-Term Performance
- Program remotes during daylight hours when visibility is best.
- Keep the remote at least 3–5 feet from the opener during syncing to avoid signal overload.
- Store one spare programmed remote inside the garage (in a secure, labeled box) for emergencies.
- Label each remote clearly with owner names to prevent accidental reprogramming.
- Test every remote monthly to catch battery or signal issues early.
These small habits ensure your garage door remote programming remains effective for years.
Troubleshooting Common Issues with Confidence
Even with careful steps, occasional hiccups occur. Here is a clear, authoritative troubleshooting checklist that resolves 95% of garage door remote programming problems.
Quick diagnostic checklist:
- Check the remote battery: Replace with a fresh alkaline battery. Low power is the #1 cause of failure.
- Verify frequency compatibility: Ensure the new remote matches your opener’s MHz rating.
- Confirm learn button operation: The LED must light up or flash when pressed. If not, the opener may need power cycling (unplug for 30 seconds).
- Clear memory completely: Perform the full erase procedure before attempting a fresh sync.
- Test signal strength: Stand closer to the opener during programming; walls or interference can weaken the signal.
- Reset power to the opener: Unplug the unit for 60 seconds, then plug back in and try programming again.
- Check for nearby interference: Fluorescent lights, Wi-Fi routers, or other remotes can disrupt the process – move them temporarily.
If the opener LED flashes but the door does not respond, the remote may not be compatible. In rare cases, the receiver board inside the opener may need professional attention.
Reassuring note: Most issues are simple and resolved in under five minutes once you follow the checklist. You’ve already taken the most important step by learning the correct learn button procedure.

Maintenance Practices to Prevent Future Programming Issues
Consistent care keeps your system responsive. Replace remote batteries every 12–18 months. Keep the opener’s antenna wire straight and unobstructed. Wipe the learn button area occasionally to prevent dust buildup. Annual professional inspection ensures all components remain calibrated and secure.
When to Call the Professionals
While DIY garage door remote programming is reliable for most situations, certain scenarios benefit from expert assistance: older openers (15+ years), repeated programming failures, or safety concerns such as sensors not aligning properly. Our team is ready to help restore full functionality quickly and safely.
Program your remotes easily. We’re here to keep your garage door system operating at peak performance.
By following this detailed guide, you now possess complete knowledge of garage door remote programming, remote syncing, and secure memory management. Your home is safer, your daily routine is smoother, and you have the confidence to handle future needs independently.
Expert Garage Door Remote Syncing – Call for Fast Help!