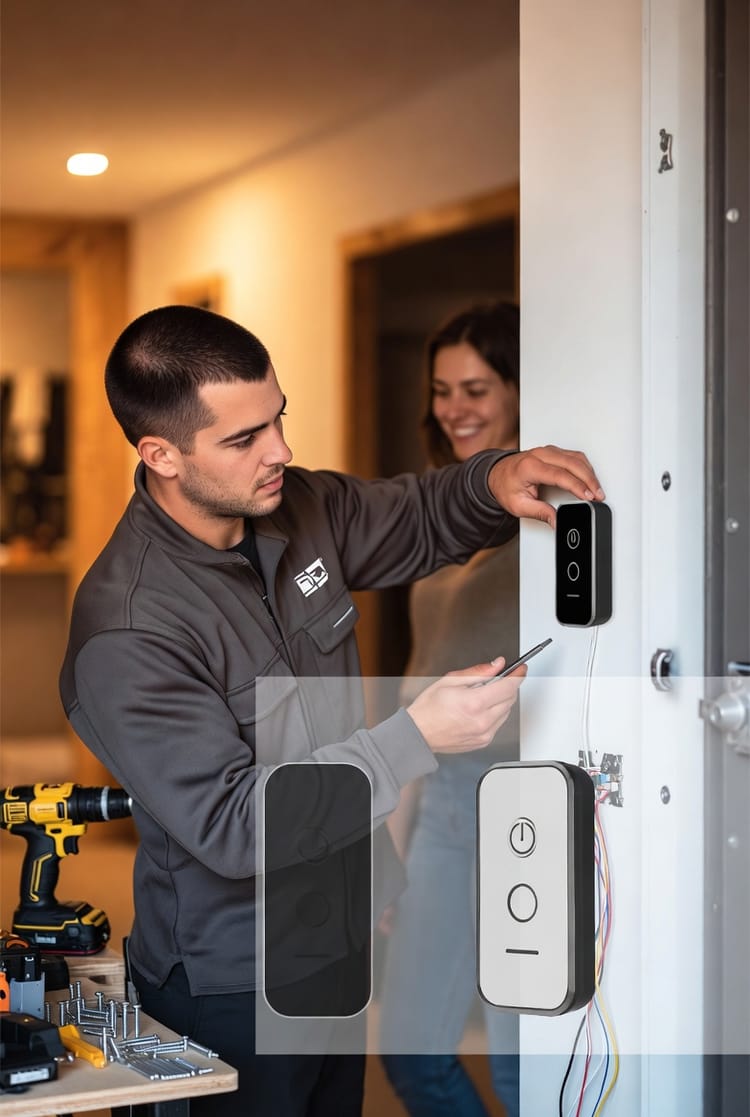
The Garage Door Opener Wall Button Installation: Wiring Tips for Adding a Second Control
Adding a second garage door wall button is one of the smartest, most practical DIY upgrades you can make for your home. Whether you're installing an additional control inside the house for quick access from the mudroom or placing one in a secondary garage entry point, this enhancement brings daily convenience and improved functionality to your garage door system.
Get Expert Garage Door Wall Button Installation – Call Now
In this comprehensive guide, we'll walk you through the entire process with clear, step-by-step instructions. You'll learn about parallel wiring using simple 2-wire low-voltage connections, essential safety protocols, and professional tips to ensure reliable operation. This upgrade not only simplifies your routine but also boosts the overall efficiency of your garage door opener.
Why invest time in proper garage door opener wall button installation? Multiple access points eliminate unnecessary trips and provide peace of mind. Families love the flexibility, and it's a low-cost project that delivers high returns in usability.
Understanding the Benefits of a Second Wall Button
Modern homes benefit tremendously from redundant controls. A primary wall button near the main garage door is standard, but adding a second control transforms accessibility.
- Enhanced Daily Convenience: Access the garage door from inside your home without walking through the garage.
- Improved Family Flow: Kids, elderly family members, or guests can operate the door safely from multiple locations.
- Emergency Preparedness: Redundant controls ensure functionality even if one button becomes inaccessible.
- Property Value Boost: Thoughtful upgrades like this signal a well-maintained, user-friendly home.
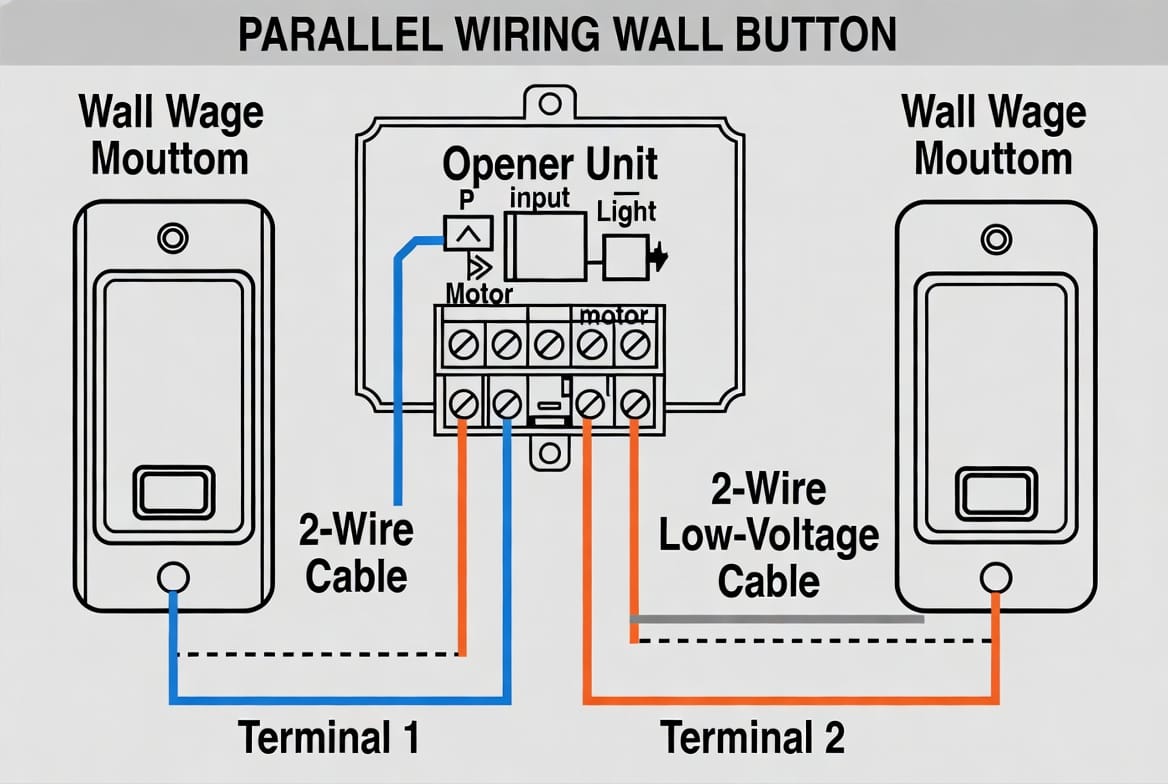
Parallel wiring allows both buttons to work independently while sharing the same circuit. This low-voltage setup (typically 24V or less) is safe for homeowners when proper precautions are followed.
Essential Tools and Materials for Your Project
Before starting your garage door opener wall button installation, gather these items:
- 2-wire low-voltage cable (18-22 gauge thermostat wire works excellently)
- New wall button unit (compatible with your opener model)
- Wire strippers, screwdriver set, and voltage tester
- Drill with appropriate bits for cable routing
- Electrical tape, wire nuts, and cable staples
- Safety glasses and work gloves
- Fish tape or wire pulling tool for running cable through walls
Pro Tip: Always purchase a button specifically rated for your garage door opener brand to ensure seamless compatibility and long-term reliability.
Safety First: Critical Precautions Before Any Work
Never work on live wiring. This is the golden rule for all electrical projects involving your garage door system.
Turn off the power to the garage door opener at the circuit breaker. Verify with a voltage tester that no power is present. Even low-voltage systems can present risks if mishandled.
Wear appropriate protective gear and work in well-lit conditions. If you're unsure about any step, consult a professional technician to avoid potential damage to your opener or home electrical system.
Your safety and the integrity of your garage door opener are paramount. Taking these precautions ensures a smooth, worry-free installation process.
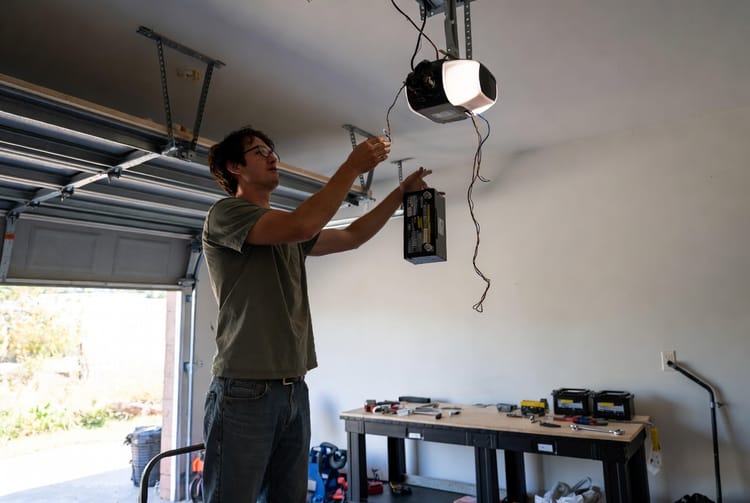
Step-by-Step Guide to Installing Your Second Wall Button
Planning Your Installation Location
Choose the perfect spot for your new second garage door wall button. Common locations include:
- Interior mudroom or laundry area for direct house-to-garage access
- Near a secondary garage entry door
- Workshop area within the garage for added convenience
Measure cable runs carefully. Keep wiring paths as short and direct as possible while avoiding high-traffic areas where cables could be damaged.
Running the 2-Wire Low-Voltage Cable
This is the most involved part of the garage door opener wall button installation.
- Power off the garage door opener completely.
- Plan your cable route from the existing opener control terminals to the new button location.
- Drill small pilot holes through walls or use existing conduits when possible.
- Use fish tape to pull the 2-wire cable through wall cavities.
- Secure the cable every 12-18 inches with appropriate staples, avoiding any pinching.
Maintain neat, professional cable management throughout the run. This prevents future issues and maintains a clean appearance.
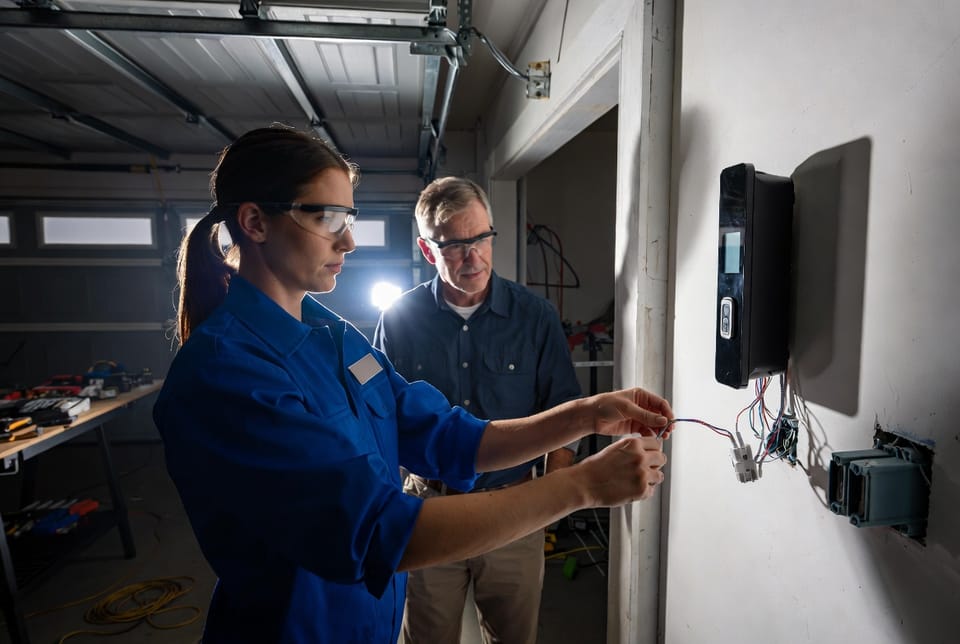
Making the Parallel Wiring Connections
Parallel connection means both buttons connect to the same terminals on the opener unit.
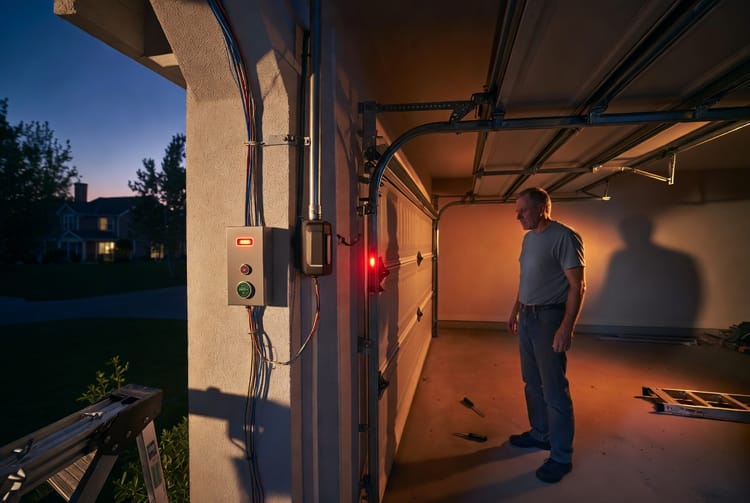
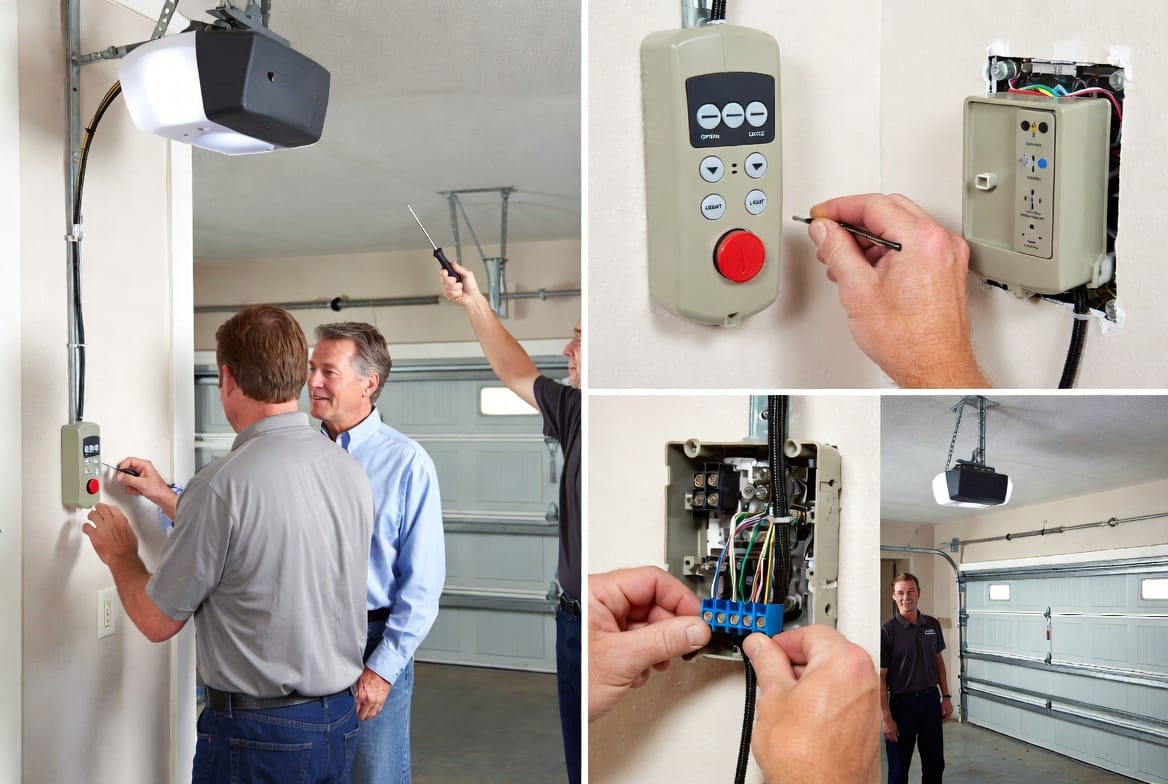
- Locate the existing wall button terminals on your garage door opener motor unit (usually labeled "WALL" or similar).
- Strip the ends of your new 2-wire cable carefully.
- Connect the wires in parallel: Attach one wire from the new cable to the same terminal as the existing button wire, and do the same for the second wire.
- Use wire nuts or terminal screws for secure, code-compliant connections.
- Repeat the process at the new button location, matching polarity correctly.
Proper parallel wiring ensures both controls operate independently without interference.
Mounting and Testing the New Button
Secure the new wall button to the chosen surface using provided screws. Ensure it's mounted at a comfortable height — typically 48-52 inches from the floor.
Restore power to the opener and test thoroughly:
- Press both the original and new wall buttons to verify smooth operation.
- Listen for proper motor response and check that the door moves correctly.
- Test multiple cycles to confirm reliability.
Congratulations! Your second control is now operational, adding significant convenience to your daily routine.
Advanced Wiring Tips for Reliable Performance
For optimal results in your garage door opener wall button installation, consider these expert recommendations:
- Use quality 2-wire low-voltage cable designed for control circuits to minimize signal interference.
- Maintain consistent polarity throughout all connections.
- Avoid running control wires parallel to high-voltage lines for long distances.
- Label both ends of your new cable for future maintenance.
- Consider conduit protection in exposed or high-risk areas.
These practices ensure your dual-button system performs flawlessly for years to come.
Common Challenges and Professional Troubleshooting Solutions
Even careful DIYers may encounter minor issues. Here's how to address typical problems:
- Button doesn't respond: Double-check all connections and verify power restoration.
- Intermittent operation: Inspect for loose wires or damaged cable sections.
- Opener behaves erratically: Confirm proper parallel wiring without crossed connections.
- Short cable runs needed: Use wire extensions with proper splicing techniques if required.
When issues persist, professional diagnosis ensures safety and prevents costly damage to the entire garage door system.
When to Call the Professionals
While many homeowners successfully complete this upgrade, complex routing through finished walls or older homes with unique wiring may benefit from expert assistance. Professional installers bring specialized tools, extensive experience, and warranties that provide additional peace of mind.
Adding convenience with a second wall button is a worthwhile investment. For flawless results without the hassle, our experienced team stands ready to help.
Maintaining Your Enhanced Garage Door Control System
Regular maintenance keeps your dual-button setup performing at its best:
- Periodically test both controls for consistent response.
- Inspect visible wiring for wear or damage.
- Clean button surfaces to prevent dust buildup.
- Schedule annual professional garage door system inspections.
These simple habits extend the life of your installation and maintain peak safety and performance.
This upgrade represents a meaningful improvement to your home's functionality. The parallel wiring approach using 2-wire low-voltage connections delivers dependable control from multiple locations while maintaining system integrity.
Ready to enhance your garage door access? Add convenience with a second wall button today. Our team delivers expert service with reliable results you can trust.
Upgrade to Dual Garage Controls – Schedule Your Install