The Garage Door Opener Wall Button Installation: Wiring Tips for Adding a Second Control
Adding a second garage door opener wall button is a smart, practical DIY upgrade that brings extra convenience and safety to your home. Whether you want controls near the house entry, in a mudroom, or at another practical spot, this project uses simple parallel wiring with low-voltage 2-wire cable. It's a reliable way to enhance daily access without major renovations.
Add a Second Garage Door Button – Call Now!
In this comprehensive guide, we'll walk you through every aspect of garage door opener wall button installation, emphasizing safety, clear steps, and troubleshooting. By the end, you'll feel confident tackling this upgrade or knowing when to call in pros.
Why invest time in proper wiring? A well-installed second button eliminates frustrating walks back to the main control, improves family flow, and can even boost property value with thoughtful home automation touches.
Why Add a Second Garage Door Wall Button?
Modern homes often need flexible access points. A single wall button near the garage door works for basic use, but adding another creates seamless convenience.
- Daily efficiency: Enter from the house directly without stepping into the garage first.
- Family and guest friendly: Kids, elderly family members, or visitors gain easier operation.
- Safety enhancement: Quick access during emergencies or when hands are full with groceries or tools.
- Smart home synergy: Pairs beautifully with existing openers for layered control options.
Many homeowners report noticeable lifestyle improvements after installing a second button. It's a low-cost project with high daily returns.
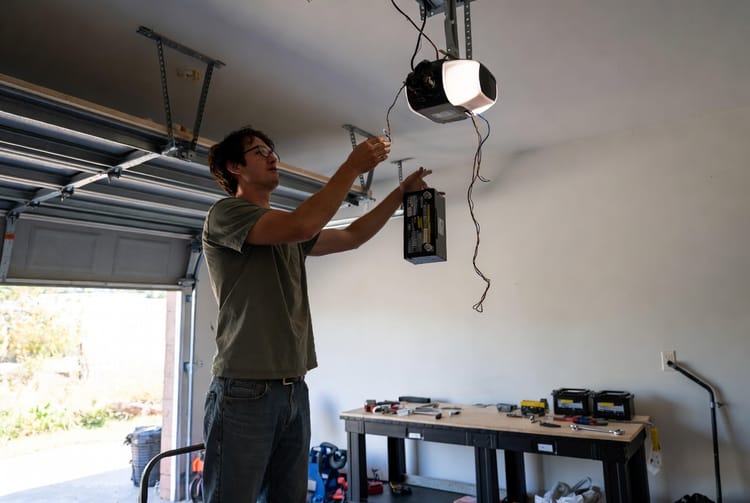
Understanding Your Garage Door Opener System
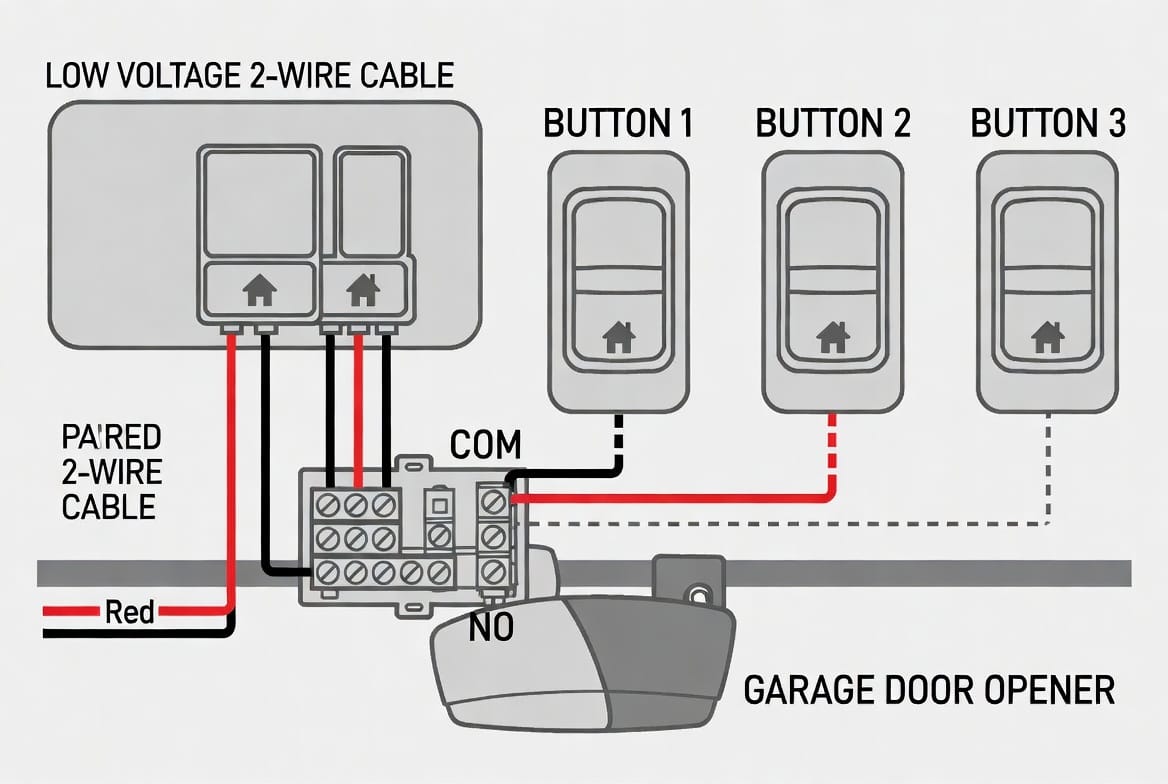
Most residential garage door openers use low-voltage wiring (typically 12-24V) for wall buttons. This makes the project safer than high-voltage electrical work. The buttons operate in parallel, meaning the new button connects to the same terminals as the existing one without conflicting signals.
Key components involved:
- Existing wall button
- Opener motor unit (with terminal screws labeled for push buttons)
- 2-conductor low-voltage wire (often 18-22 gauge)
- New wall button unit
Important note: Always verify your opener model’s manual for specific terminal labels (commonly “PB” for push button, or similar).
Tools and Materials Needed
Gather these items before starting for a smooth process:
- New wall button (compatible with your opener brand)
- 2-conductor low-voltage wire (enough length for the run)
- Wire strippers, screwdriver set, voltage tester
- Drill with bits for wall fishing
- Fish tape or wire pulling tools
- Electrical tape, wire nuts (if needed), drywall patching materials
- Ladder, safety glasses, gloves
Pro tip: Choose a button with LED indicators for better visibility in low light.
Safety First: Essential Precautions
Never work on live wiring. This is the golden rule for any garage door opener wall button installation.
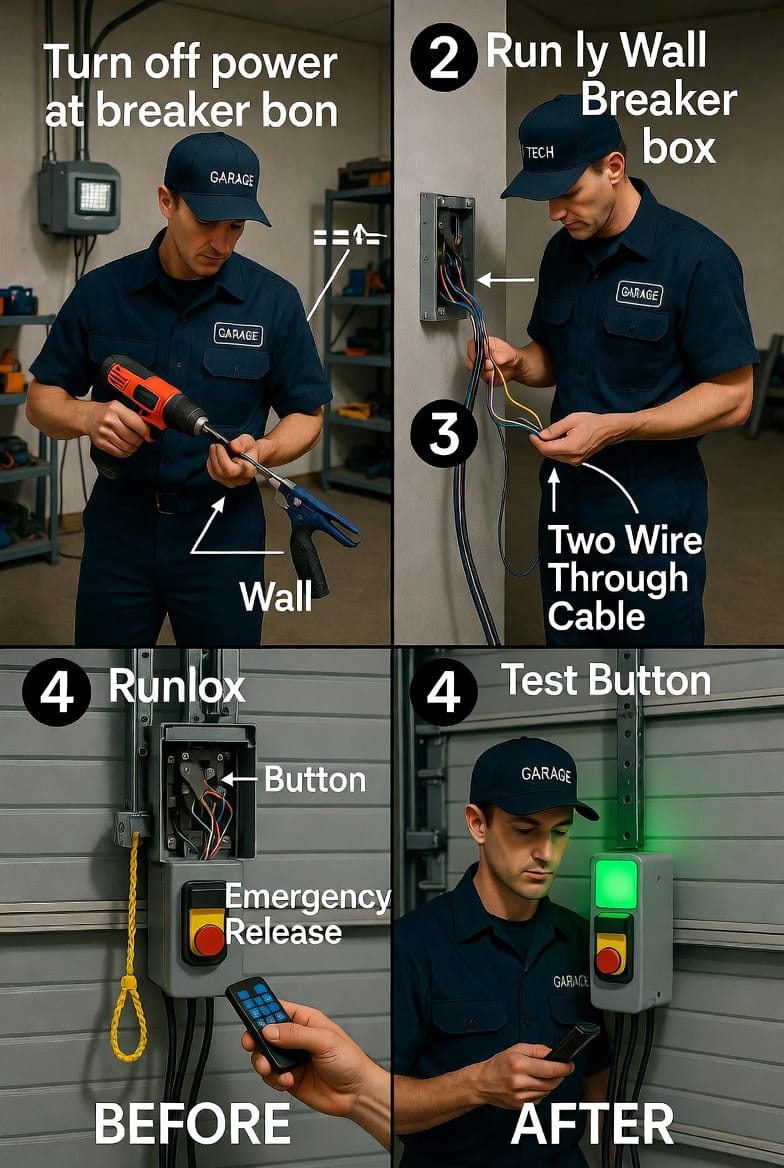
- Disconnect power to the garage door opener at the unit or breaker.
- Test wires with a voltage tester to confirm no current.
- Wear protective gear and work with a partner if running wires through walls.
- Avoid overloading circuits or improper connections that could cause shorts.
Following these steps keeps the project safe and reassuring. Professional installers prioritize these measures to prevent accidents.
Step-by-Step Guide to Installation
1. Planning the New Button Location
Choose a spot that's easily reachable but out of children's reach if needed—typically 48-60 inches from the floor. Consider traffic flow from house to garage.
Measure twice: Account for wire routing through walls or along baseboards for a clean finish.
2. Power Down and Prepare
Turn off power. Remove the existing button carefully to access terminals. Label wires for easy reconnection.
3. Running the 2-Wire Cable
Use fish tape to pull the new wire from the opener to the new location. Keep runs neat and secured.
Parallel connection basics: The new wires will join the existing ones at the opener terminals.
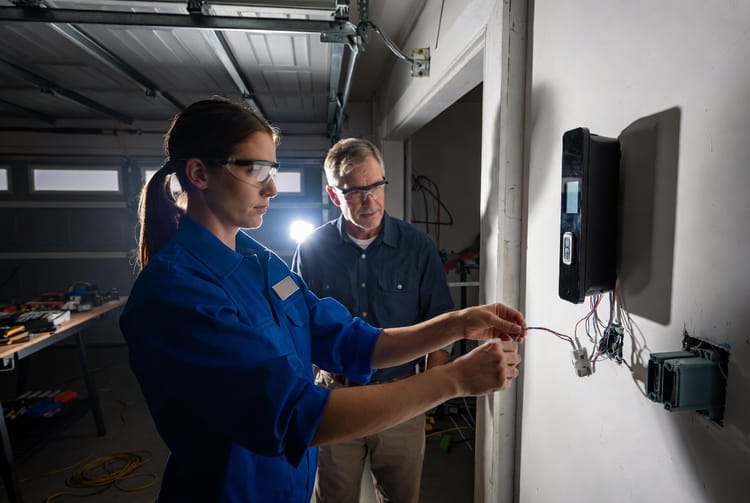
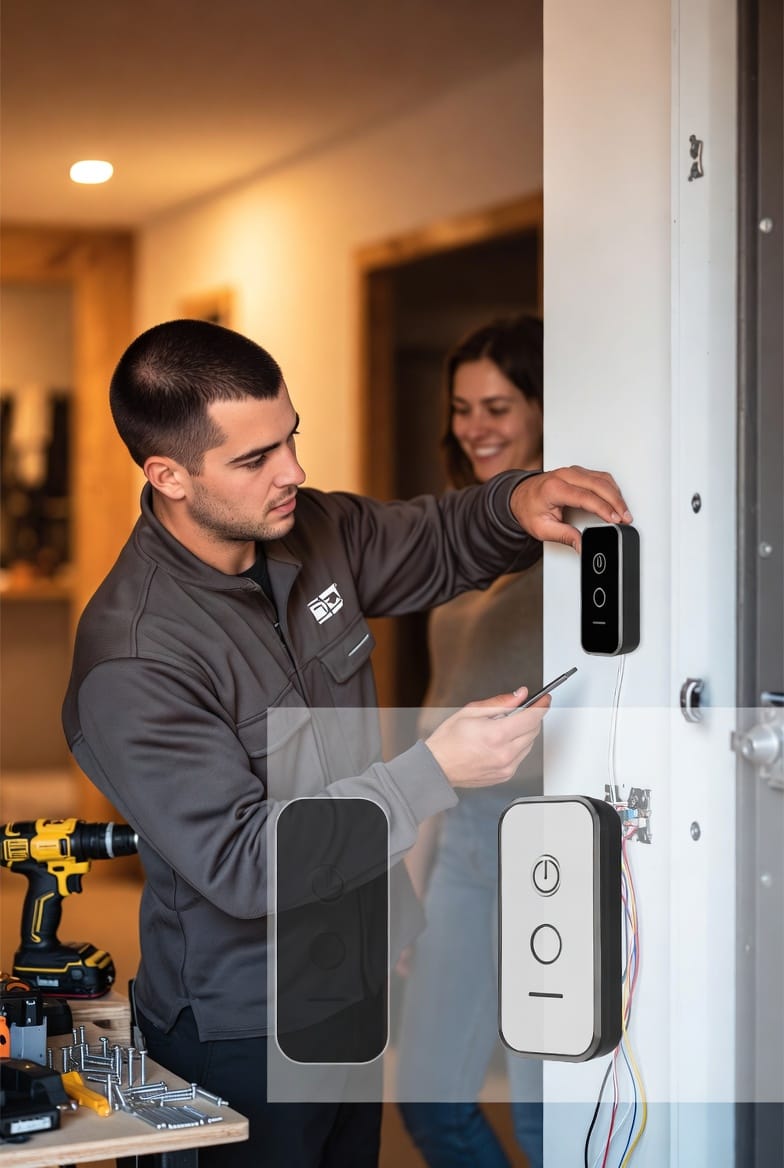
4. Connecting the New Wall Button
Strip wires, connect to the new button’s terminals, then run to the opener and attach to the same points as the original (parallel setup). Secure all connections.
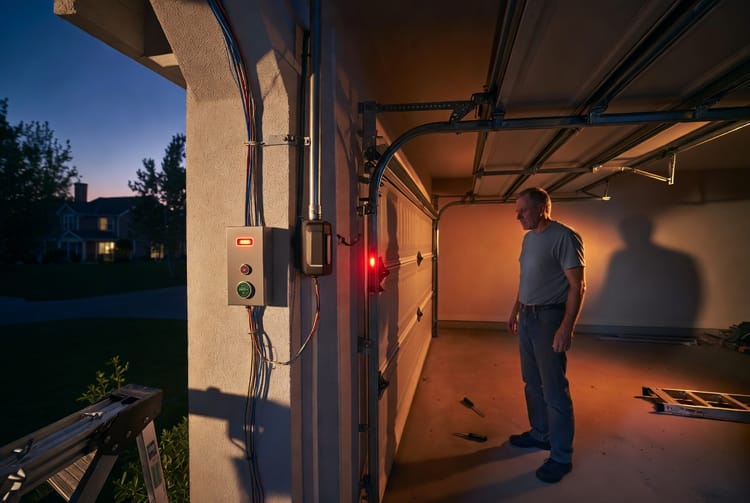
5. Testing and Finalizing
Restore power. Test both buttons thoroughly—open, close, and check safety features like auto-reverse. Patch any wall holes neatly.
Detailed Wiring Tips for Reliable Performance
Parallel wiring ensures both buttons function independently. Each button simply completes the circuit when pressed.
- Use consistent polarity (though low-voltage is usually non-polarized).
- Avoid splicing in high-traffic areas; use proper junction boxes if necessary.
- For longer runs, consider slightly heavier gauge wire to minimize voltage drop.
Common challenges and solutions:
- Intermittent operation: Check for loose connections or damaged wire insulation.
- No response: Verify power to the opener and correct terminal attachments.
- Short circuits: Inspect for exposed wires touching metal.
With careful execution, your new setup will provide years of dependable service.
Troubleshooting Common Issues
Even the best DIY garage door projects can encounter hiccups. Here’s how to address them authoritatively:
- Button does not respond: Double-check wiring continuity with a multimeter.
- Opener behaves erratically: Ensure no crossed wires and that all original connections remain intact.
- LED not lighting: Confirm proper voltage at the button location.
Reassuring fact: Most issues stem from simple connection problems that are quick to fix with patience and the right tools.
Advanced Considerations and Upgrades
For tech-savvy homeowners, integrate the new button into smart garage systems. Some models support Wi-Fi or app controls alongside physical buttons.
Consider weatherproofing if installing near exterior doors. Regular maintenance—cleaning contacts and checking wires—ensures longevity.
Expanding further: You could add more buttons in a daisy-chain parallel configuration, but keep total wire length reasonable.
Benefits Beyond Convenience
This upgrade contributes to a more functional and secure home. Quick access reduces time spent in the garage, potentially lowering accident risks. It also demonstrates thoughtful home maintenance that impresses future buyers.
Homeowners who complete this project often move on to related improvements like better lighting or security cameras around the garage.
When to Call Professional Help
While this is an accessible DIY wiring project, certain situations call for experts:
- Complex wall fishing in finished homes
- Uncertainty about electrical codes or compatibility
- Older openers with unique wiring
- Desire for integrated smart features
Reliable professionals ensure code compliance and warranty-friendly installation.
Maintaining Your Enhanced Garage Door System
After installation, periodically test all buttons and lubricate the door mechanisms. Address any unusual noises promptly. These habits extend the life of your opener and controls.
Bold reminder: Always prioritize safety sensors and keep the area clear for optimal performance.
Conclusion: Enjoy Added Convenience Today
Installing a second garage door opener wall button is a rewarding project that delivers immediate and lasting benefits. With proper planning, parallel low-voltage wiring, and strict safety adherence, you can achieve professional results yourself.
This upgrade streamlines your daily routine and adds a layer of thoughtful functionality to your home.
Add convenience with a second wall button. Our experienced team handles everything from wiring to testing, giving you peace of mind and flawless operation.
Upgrade to Dual Garage Door Controls – Call Now