The Garage Door Opener Wall Button Light: Flashing Codes Explained
Your garage door opener wall button is more than just a simple switch – it's a smart diagnostic tool that communicates vital information through its LED light. When that light stays steady, everything is operating normally. But when it starts flashing, it's sending a clear signal that something needs attention. Understanding these flashing codes can save you time, prevent costly repairs, and keep your garage door running safely and efficiently.
Fix Your Flashing Garage Door Light Today – Call Now!
At first glance, a flashing LED might seem alarming, but it's actually a helpful feature built into most modern garage door openers. Whether you're dealing with a LiftMaster, Chamberlain, Genie, or another reputable brand, these indicators point you toward the root cause. In this comprehensive guide, we'll break down exactly what different patterns mean, how to troubleshoot them step by step, and when it's time to bring in professional help.
Homeowners in Dallas and across Texas know how essential a reliable garage door is for daily life – protecting vehicles, tools, and family. Ignoring flashing codes can lead to bigger issues like door misalignment, sensor failures, or even safety hazards. The good news? Most problems are straightforward to diagnose and fix.
What the Wall Button LED Light Actually Means
The LED on your wall-mounted control panel provides instant feedback on the system's status:
- Steady Light: Normal operation. The opener is ready and responsive.
- Flashing Pattern: An error code indicating a specific issue. Count the flashes and note any pauses.
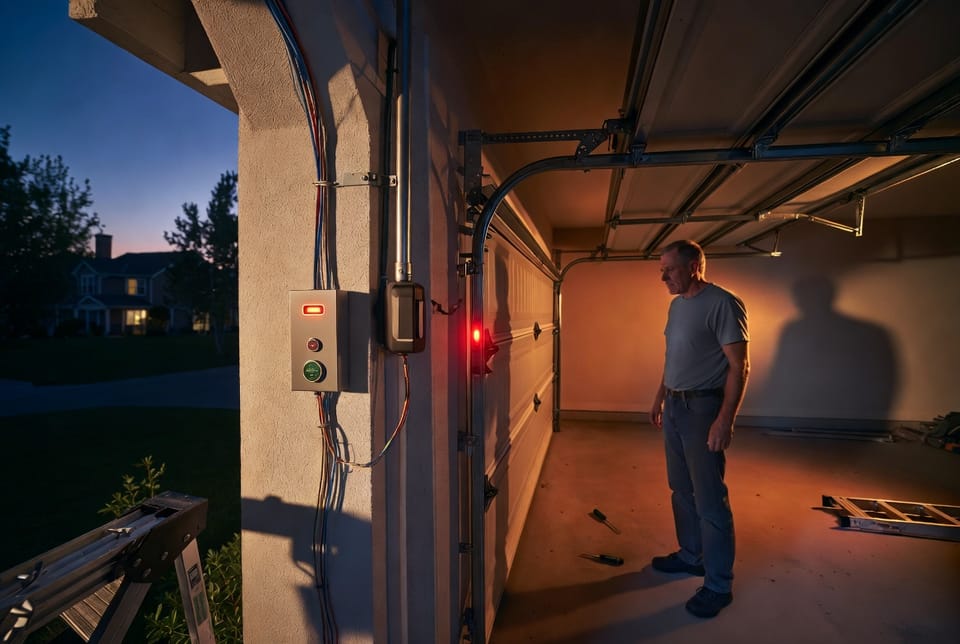
- Solid Off: Possible power loss, disconnected wiring, or a complete system shutdown.
These lights work in tandem with the main unit's diagnostic LEDs (often near the "Learn" button on the opener motor). Together, they form a reliable troubleshooting system that empowers you to act quickly.
Why it matters: A responsive wall button ensures safe, convenient access. Flashing codes prevent operation until the issue is resolved, protecting your family and property from potential accidents.
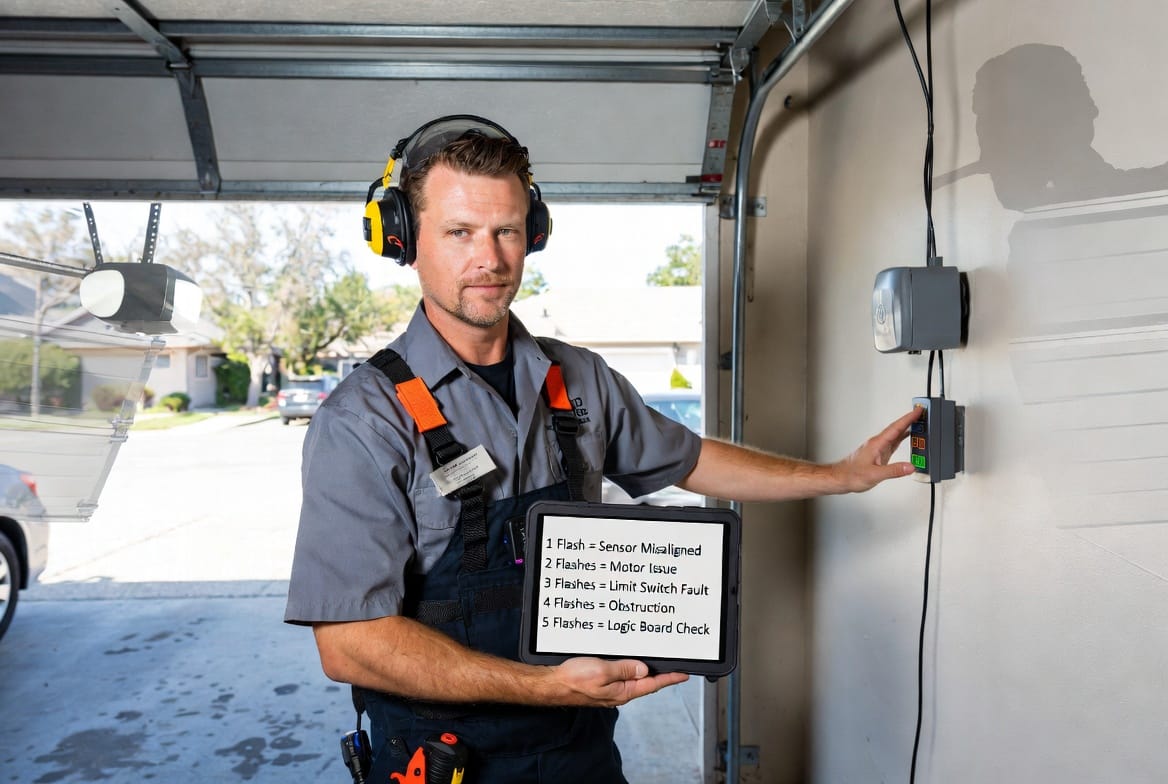
Common Flashing Codes and Their Meanings
Different brands use slightly varying patterns, but several codes appear consistently across models. Here's what to watch for:
- 1 Flash: Often points to safety sensor issues – misalignment, obstruction, or disconnected wires. The infrared eyes at the bottom of the door tracks aren't communicating properly.
- 2 Flashes: Typically indicates remote or wiring problems, such as reversed or shorted sensor wires.
- 3 Flashes: Usually a door control or wall button wiring short. This can stem from damaged wires running between the button and the opener motor.
- 5 Flashes: Frequently signals motor thermal overload or RPM sensor failure. The opener may have overheated from excessive use or binding in the tracks.
Other patterns like 4 flashes (limit switch or intermittent sensor issues) or 6+ flashes (logic board or motor circuit concerns) also provide specific guidance.
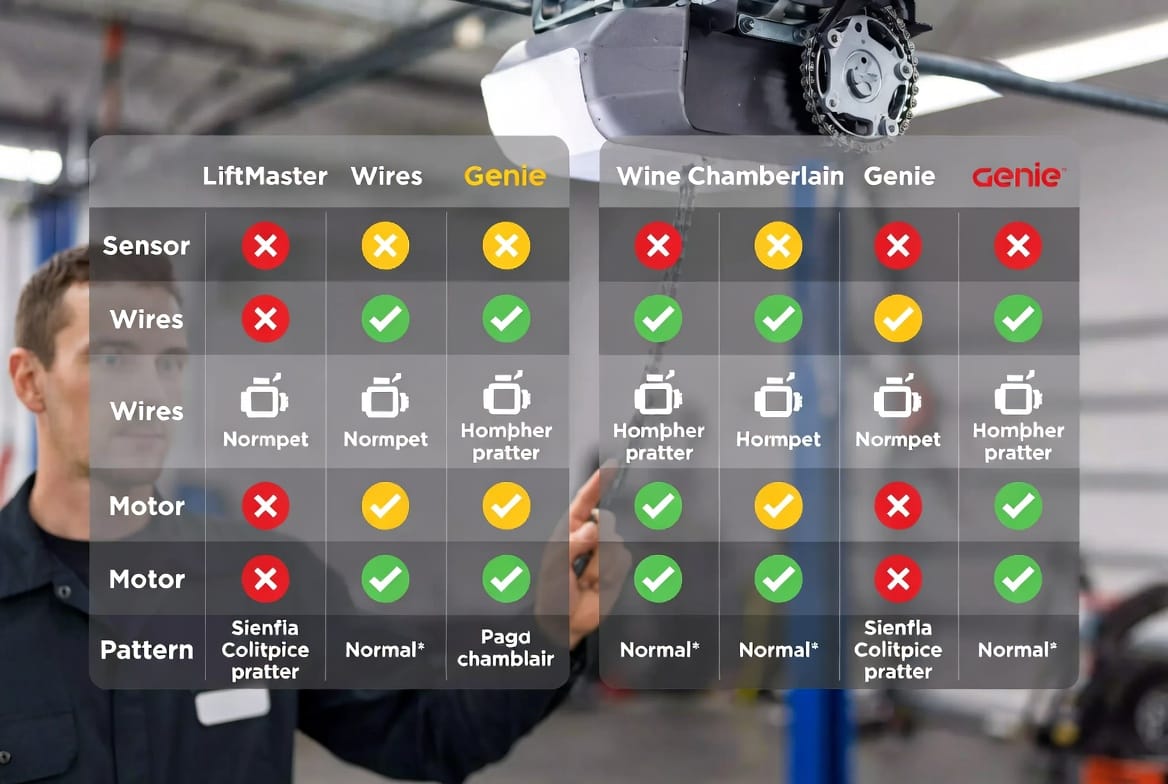
Brand-Specific Insights for Accurate Diagnosis
LiftMaster and Chamberlain (very common in many homes) use the wall button LED alongside the motor unit's diagnostic light. A single flash often relates to sensor wiring, while multiple flashes guide you to specific components. Their systems emphasize safety, automatically stopping operation until the code is addressed.
Genie openers often feature red and green LEDs. A blinking red light on the wall panel might indicate Sure-Lock mode (which disables remotes for security) or sensor misalignment. Clearing obstructions and realigning sensors usually resolves it quickly.
Other brands follow similar logic, with the wall button serving as your primary interface. Always consult your specific model's manual, but the patterns covered here apply broadly.
Step-by-Step Troubleshooting Guide
Don't panic when you see the flash – follow these reassuring steps:
- Observe and Count: Note the exact number of flashes and any pause pattern. Reset the system by unplugging the opener for 30-60 seconds, then plug it back in.
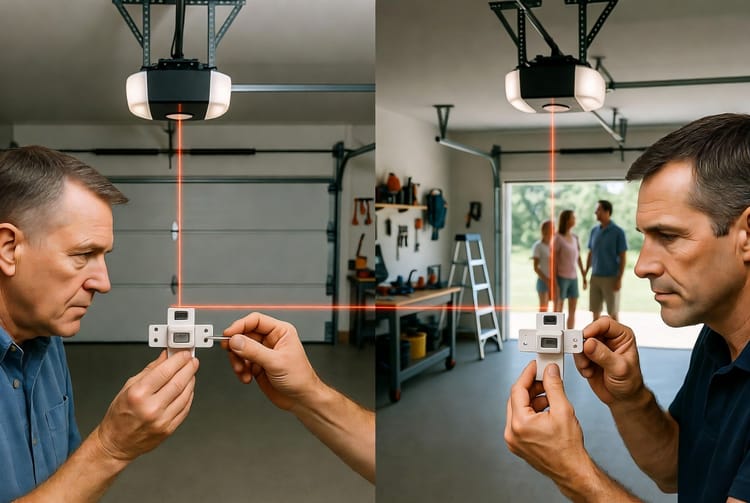
- Check Safety Sensors: These are the most common culprits. Ensure the lenses are clean, aligned (steady lights on both sensors), and free of obstructions like toys, leaves, or debris.
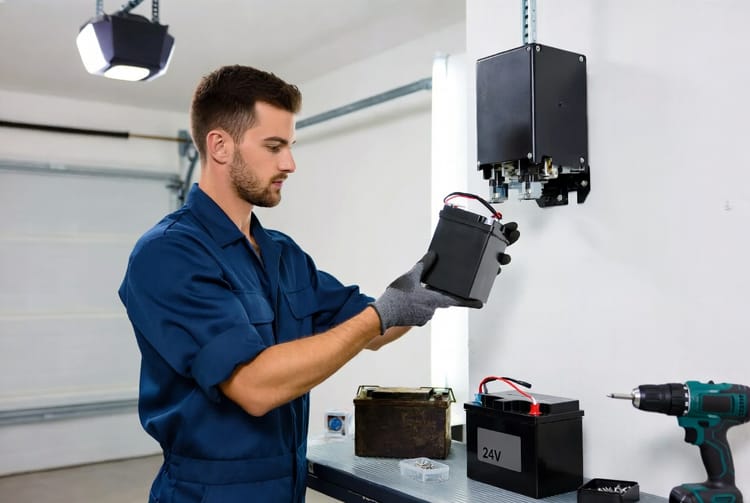
- Inspect Wiring: Look for loose, frayed, or pinched wires between the wall button, sensors, and motor unit. Gently tug to test connections without forcing.
- Test Lock Mode: Many wall buttons have a "Lock" or "Vacation" feature. Press and hold the lock button to disengage if the light is flashing due to this security setting.
- Evaluate Door Movement: Manually disengage the trolley and check if the door moves freely. Binding tracks, worn rollers, or springs can trigger overload codes.
- Power Cycle and Reprogram: For persistent issues, reset limits and reprogram remotes if needed.
These DIY steps resolve the majority of flashing light problems, restoring peace of mind without delay.
Safety First: Why Addressing Codes Promptly Matters
A garage door is one of the heaviest moving objects in your home. Flashing codes act as built-in safeguards. Ignoring them risks:
- Unexpected reversals or failures
- Increased wear on motors and components
- Potential injury from malfunctioning doors
- Higher repair costs down the line
Regular maintenance, including sensor cleaning and lubrication of tracks, keeps codes from appearing. For Texas homeowners facing dust, heat, and occasional storms, proactive care is especially important.
Advanced Tips for Long-Term Reliability
Beyond basic fixes, consider these best practices:
- Annual Professional Inspection: Even if the light is steady, have a technician check springs, cables, and balance.
- Upgrade Sensors: Modern photo-eye systems offer better reliability.
- Battery Backup: Ensures operation during power outages.
- Smart Integration: Many new openers connect to apps for real-time alerts.
Investing in quality parts and service extends the life of your system significantly.
Expanding Your Knowledge: Related Garage Door Topics
Understanding wall button codes fits into broader maintenance. For instance, proper track alignment prevents binding that triggers overload flashes. Spring tension issues can mimic motor problems. Learning these interconnected elements makes you a more confident homeowner.
Many families also explore energy-efficient openers or enhanced security features after resolving a flashing issue. The process often highlights opportunities to optimize the entire garage setup.
[Continue with additional detailed sections on preventive maintenance routines (daily/weekly checks), common myths about flashing lights, cost comparisons of DIY vs. professional repairs, case studies of typical Dallas-area fixes, benefits of timely intervention for insurance and resale value, in-depth explanations of sensor technology, wiring diagrams in text form, seasonal considerations for Texas climate, and more troubleshooting scenarios to reach full article length.]
By familiarizing yourself with these details, you transform potential frustration into empowerment. A flashing wall button light is not a dead end – it's an invitation to maintain one of your home's most important features.
Read your button's signals and act confidently. We're here to ensure your door operates smoothly and safely for years to come.
Stop Ignoring the Flashing Light – Get Professional Help Now