The Garage Door Opener Remote Case: Replacing a Broken Shell
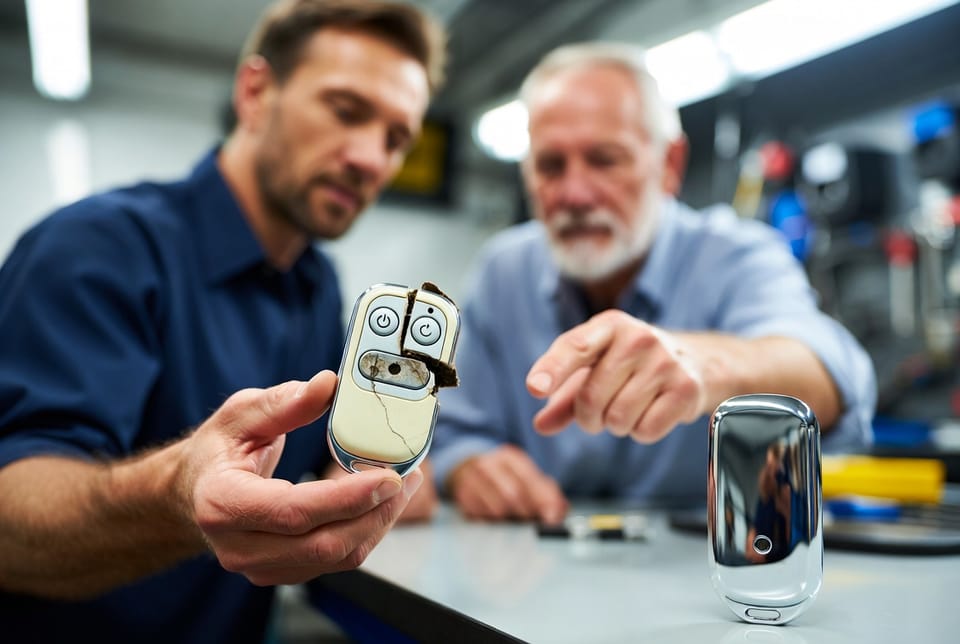
A cracked remote does not have to end your convenience. Most garage door opener remotes fail at the outer shell long before the electronics inside stop working. Buttons crack, plastic becomes brittle, and the case eventually splits—yet the circuit board, battery contacts, and transmitter remain perfectly functional. Replacing only the broken shell is one of the simplest, most cost-effective repairs a homeowner can perform. This guide walks you through every detail so you can restore reliable remote operation without unnecessary expense or professional service calls.
Replace Your Broken Remote Case Today – Call Now!
Why Garage Door Remote Cases Fail
Garage door remotes live hard lives. They ride in pockets, get dropped on concrete, sit in hot cars, and endure constant button pressure. Over time these stresses produce three primary failure patterns.
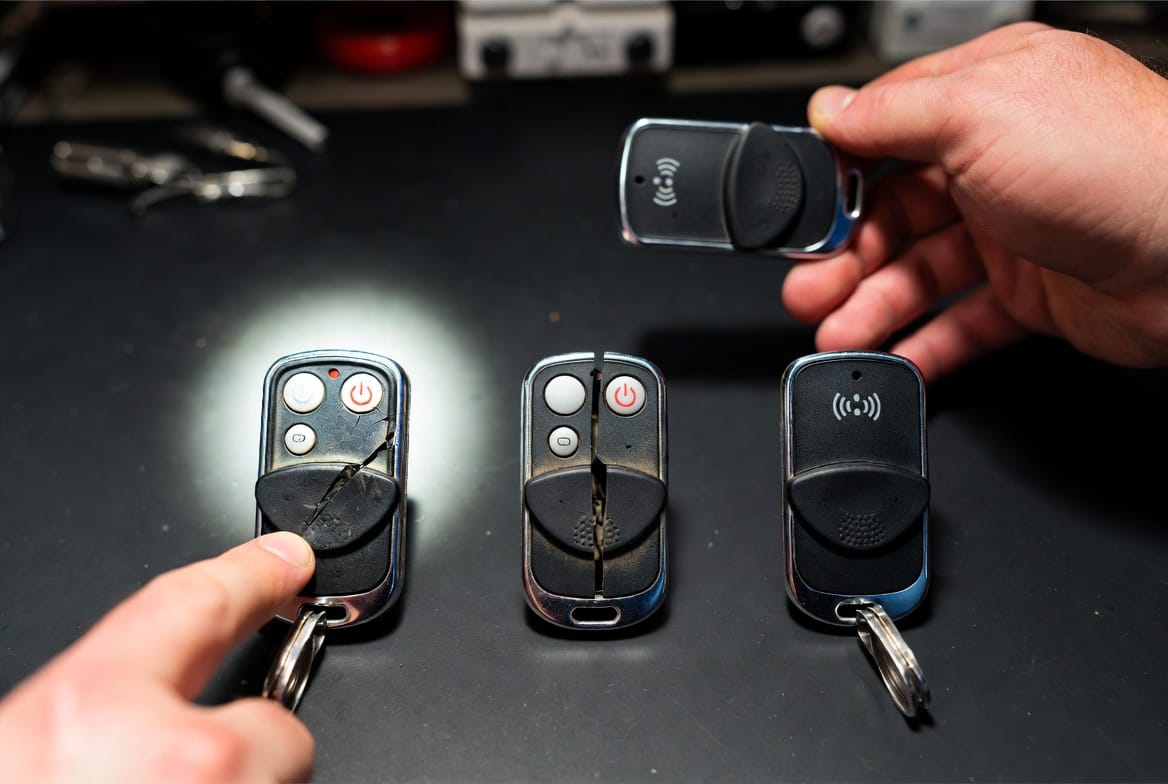
Cracked buttons appear first. The raised plastic that covers each switch gradually develops hairline fractures. Once the surface breaks, the button may stick, become mushy, or stop registering presses altogether. Moisture and dirt then enter through the cracks, accelerating further damage.
Worn shells follow. The outer housing thins at stress points—especially around the battery compartment and the key-ring hole. Ultraviolet light from sunlight makes the plastic brittle, so a single drop can finish the job and leave the remote in two pieces.
Intermittent operation is the final warning. Even when the case still looks intact, internal contacts shift slightly because the housing no longer holds everything firmly. The remote works only after you squeeze it or tap it against your palm—clear evidence that the shell has lost structural integrity.
These failures are mechanical, not electronic. The radio transmitter and coding chip almost always remain healthy. That single fact turns an expensive replacement into a straightforward case swap.
Recognizing the Signs That a New Shell Is Needed
Watch for these clear indicators:
- Visible cracks running across any button surface
- A shell that flexes or squeaks when squeezed
- Battery cover that no longer snaps shut securely
- Buttons that require extra force or multiple presses
- Remote that works only when held at a specific angle
If two or more of these symptoms appear together, the case has reached the end of its useful life. Continuing to use a compromised shell risks further damage to the circuit board and can leave you stranded outside your own garage.
Tools and Materials You Will Need
Gather these items before you begin. Nothing exotic is required:
- A new replacement remote case matched to your exact model
- A small flat-head screwdriver or plastic pry tool
- A soft cloth or microfiber towel
- Fresh battery of the correct type (usually CR2032 or 12-volt alkaline)
- Optional: a drop of dielectric grease for the contacts
Work on a clean, well-lit surface. A white towel protects both the electronics and the new plastic from scratches.
Step-by-Step: Transferring the Internals to a New Case
The entire process takes less than fifteen minutes once you have the correct shell. Follow these precise stages.
1. Identify and Order the Correct Replacement Shell
Remote cases are model-specific. Look on the back of your existing remote for a part number, FCC ID, or manufacturer logo. Match that information when ordering. Generic “universal” shells rarely fit the button layout or battery compartment correctly. Ordering the exact shell guarantees that every switch lines up and the cover closes with a satisfying click.
2. Prepare the Work Area and Remove the Battery
Place the old remote on the towel. Open the battery compartment and remove the battery. This single step eliminates any chance of short-circuiting the board while you work. Set the battery aside in a safe place.
3. Open the Old Case Carefully
Most remote shells use either small screws or molded plastic clips. If screws are present, remove them and keep them in a small dish. If the case is clip-together, insert the plastic pry tool into the seam and gently work around the perimeter. Never force the halves apart; apply steady, even pressure. Once the shell separates, you will see the circuit board resting loosely inside.
4. Lift Out the Circuit Board and Components
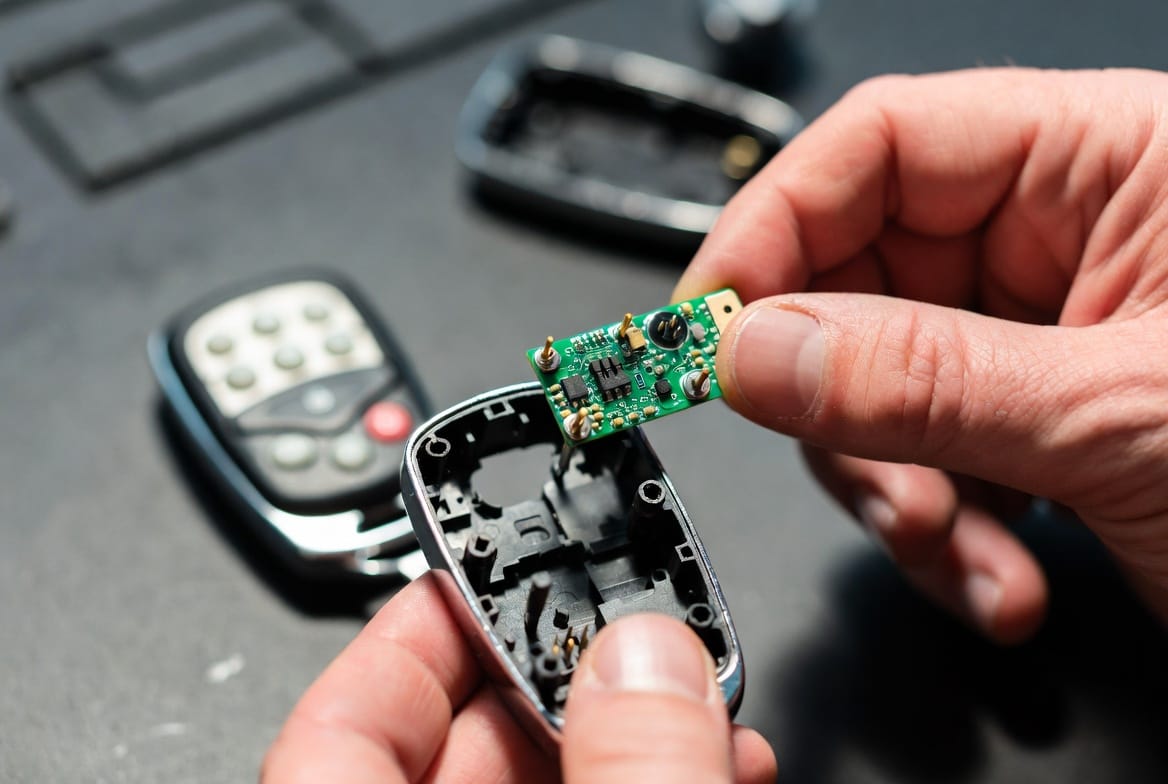
The board is usually held by two or three plastic posts or simply sits in molded channels. Lift it straight up. Note the orientation of any rubber button pads or metal contact domes. These small parts must transfer with the board. If a rubber keypad is present, peel it away carefully and set it aside with the board.
5. Clean the Components
Use the soft cloth to wipe dust and old grease from the board and contact surfaces. Avoid liquids. A quick visual inspection confirms that no corrosion or broken traces exist. At this stage you will almost always find the electronics in excellent condition—proof that the shell was the only problem.
6. Install the Board into the New Shell
Place the clean circuit board into the new case exactly as it sat in the old one. Align every mounting post and button opening. If a rubber keypad is used, position it so each raised button sits directly over its switch. Press gently until the board seats fully.
7. Reassemble and Test
Snap or screw the new shell closed. Insert a fresh battery. Stand outside the garage door range and press each button. The door should respond immediately and consistently. If any button feels stiff, reopen the case and verify that the rubber pad or board is perfectly aligned. A second test after reassembly confirms the repair is complete.
When to Replace the Entire Remote Instead of Just the Case
A new shell solves the problem only when the electronics remain healthy. Replace the complete remote under these conditions:
- Visible corrosion on the circuit board or battery contacts
- Broken antenna trace or missing components
- Remote that fails to program or loses its code after battery changes
- Manufacturer no longer produces matching cases for that model
In these rarer situations the cost of a full remote is still modest compared with a service call, and modern rolling-code units offer improved security. Most homeowners, however, discover that a simple shell swap is all that is required.
Advantages of Performing the Repair Yourself
Choosing to replace only the case delivers several clear benefits.
Cost savings are immediate. A quality replacement shell typically costs a fraction of a complete new remote or a technician visit.
Time savings matter equally. You restore operation the same afternoon instead of waiting for parts or scheduling an appointment.
Environmental responsibility improves when functional electronics stay out of the landfill.
Skill building is a quiet bonus. Once you have performed the transfer, future remotes become far less intimidating.
Common Mistakes and How to Avoid Them
Even a simple repair can go wrong if rushed. Watch for these pitfalls:
- Ordering the wrong shell—always double-check the model number before purchase.
- Forcing the case open—use a plastic tool and work the seam gradually.
- Losing tiny screws or contact domes—keep a magnetic tray or small dish nearby.
- Installing the board upside-down—match the orientation of the old unit carefully.
- Reusing a weak battery—fresh power eliminates false “still broken” diagnoses.
A few extra minutes of care at each stage guarantees success on the first try.
Long-Term Care for Your Newly Shelled Remote
Once the repair is complete, a few habits extend the life of the new case:
- Avoid leaving the remote on a hot dashboard.
- Store a second remote in a climate-controlled location as backup.
- Replace the battery at the first sign of reduced range rather than waiting for complete failure.
- Wipe the buttons occasionally to keep grit from working into the seams.
These small practices protect both the new shell and the electronics inside.
Final Thoughts on a Simple, Effective Fix
A broken garage door remote case is one of those everyday frustrations that feels larger than it actually is. The electronics almost always survive. By transferring them into a fresh shell you regain reliable operation, save money, and avoid the inconvenience of a non-working remote. The process is straightforward, requires only basic tools, and produces results that last for years.
When your remote shows cracked buttons, a worn shell, or intermittent operation, you now have a clear path forward. Gather the correct replacement case, follow the careful steps outlined above, and restore full function in a single short session.
Fix Cracked Remote Buttons Cheaply – Call Today!