The Garage Door Opener Installation: DIY vs. Professional
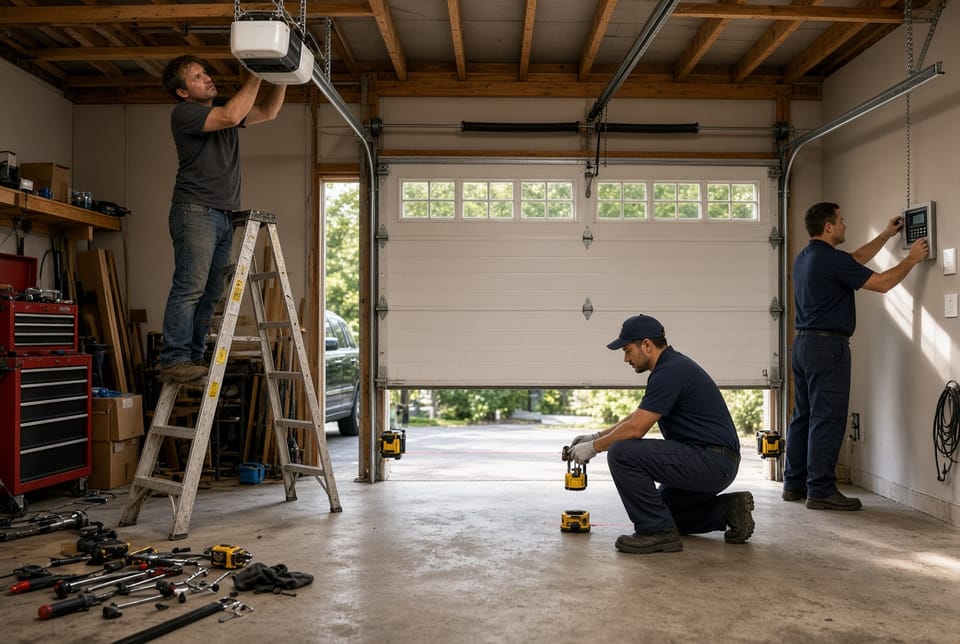
A garage door opener looks simple from the driveway. Press a button. The door rises. Press again. It closes. Behind that convenience sits a motor, a rail, low-voltage wiring, travel limits, force settings, and a pair of photo-eye safety sensors designed to keep a heavy door from closing on a child, a pet, or anyone in the opening.
Get Professional Garage Door Opener Installation Now
Choosing DIY garage door opener installation or a professional installation is not only a budget question. It is a safety, warranty, and reliability decision. Done correctly, either path can work. Done poorly, a cheap Saturday project can leave a door that will not close, slams with too much force, or fails to reverse when it must.
This guide compares both options, explains what the work actually includes, and lists the factors that should decide the call.
Why the Installation Method Matters
An opener is not a light fixture. It is a machine that moves a door that often weighs 130 to 300 pounds. The opener does not replace the springs. Springs still carry the door’s weight. The opener only moves a door that is already balanced.
That distinction matters. If the door is heavy, off-balance, or bound by worn rollers, a new motor will not “fix” it. The unit will strain, grind, and fail early. A professional checks door balance, hardware, and spring condition before hanging the opener. Many DIY projects skip that inspection because the box only covers the motor.
Correct installation also protects:
- Entrapment protection required on residential openers sold after 1993
- Manufacturer warranty on the motor and logic board
- Ceiling framing that must hold vibration for a decade
- Travel limits so the door seals without crushing the weatherstrip
- Force settings so the door reverses on contact instead of driving down
Get those details right and a quality opener should serve 10 to 15 years. Get them wrong and the labor savings disappear on a service call.
What a Complete Installation Includes
Whether you hang the unit or hire a technician, a complete job is more than bolting a motor to the ceiling.
A proper install typically includes:
- Confirming the door is properly balanced and moves by hand with modest effort
- Removing the old opener and disabling leftover lock bars or pull ropes
- Assembling the rail and trolley to the correct length for door height
- Mounting the header bracket on the true centerline above the opening
- Hanging the motor from solid framing—not drywall or thin plywood
- Connecting the door arm so the trolley travels without binding
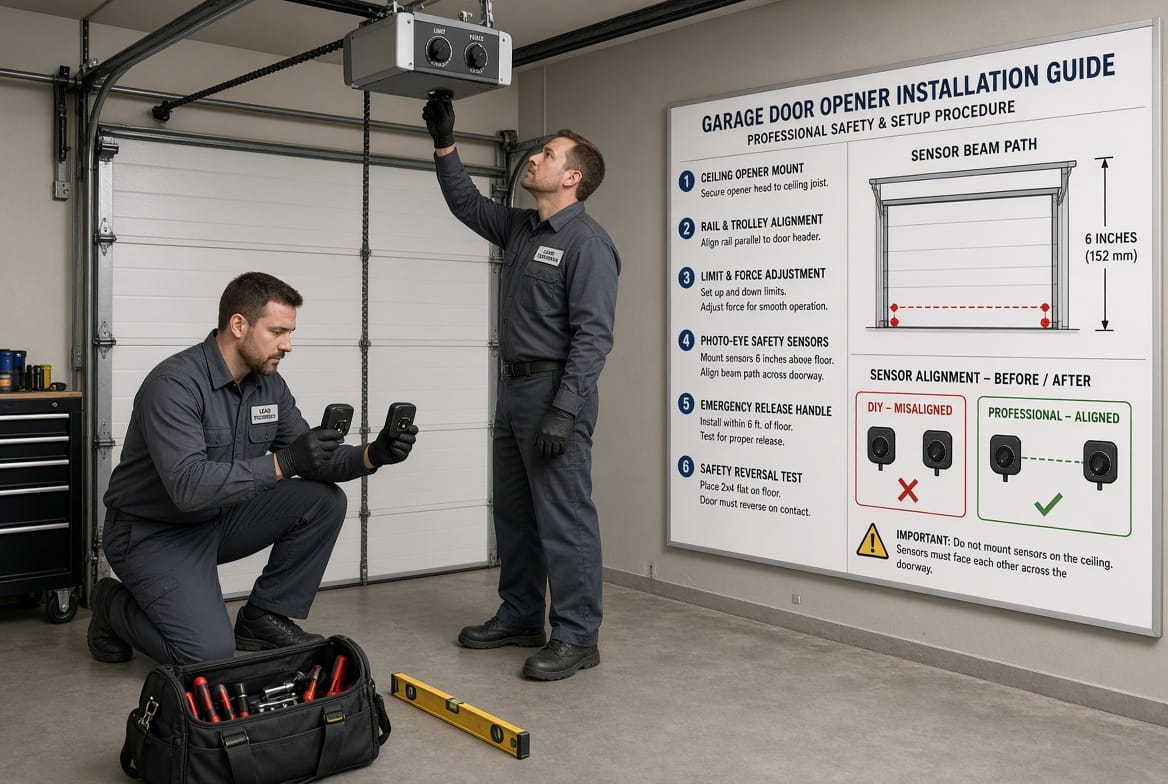
- Installing photo-eye sensors no higher than 6 inches from the floor
- Running low-voltage wire to the wall control and sensors
- Setting up/down travel limits
- Calibrating open and close force
- Programming remotes, keypads, and any smart app
- Completing required reversal tests before calling the job finished
Skip a step and the opener may run—until the day it does not run safely.
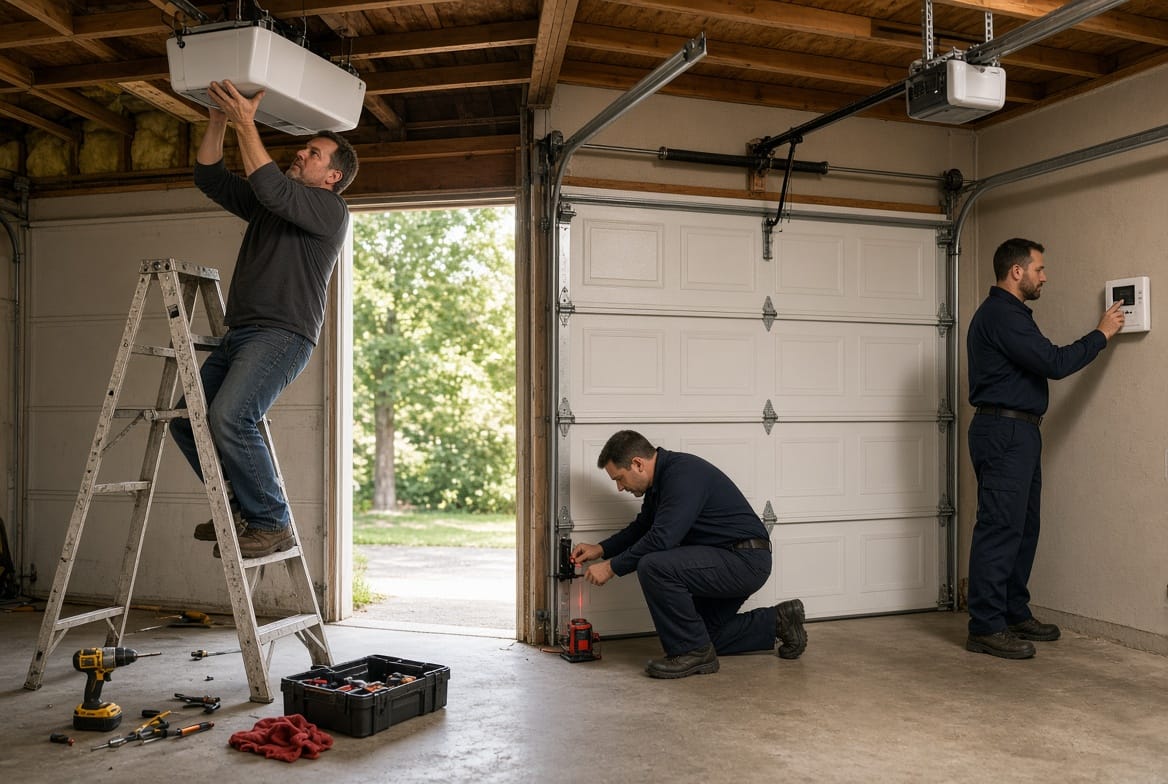
The DIY Route: Saves Money, Requires Tools and Time
DIY is attractive for a clear reason. The opener itself commonly costs $150 to $450, depending on drive type and features. Straightforward professional labor often adds $150 to $400. If the garage already has a ceiling outlet, solid joists, a balanced door, and a standard rail layout, you can keep that labor.
What DIY typically saves
- Professional labor of roughly $150–$400
- Scheduling delays
- Retail markup if you purchase the opener yourself
What DIY requires
Plan on 4 to 8 hours for a first install. Manuals often quote two to four hours. Those estimates assume experience, every tool on hand, and no surprises in the ceiling.
You will need:
- A stable 6- to 8-foot ladder
- Power drill and driver bits
- Socket set and adjustable wrenches
- Tape measure and a true level
- Stud finder
- Wire strippers
- Safety glasses
- A helper to lift the motor unit
You will also need patience. The header must be centered. The rail must be level and square. The trolley must meet the door arm cleanly. Sensors must face each other without glare or a crooked bracket breaking the beam.
When DIY is a reasonable choice
DIY is most realistic when all of the following are true:
- The door is balanced and lifts by hand without a fight
- Springs, cables, and rollers are in good condition
- A grounded outlet already exists near the motor location
- Ceiling framing is visible or easy to locate
- You are installing a standard ceiling-mount chain, belt, or screw-drive unit
- You will follow the manual and complete every safety test
- You accept that some manufacturers limit or void product warranty after self-installation
If any box is unchecked, the savings shrink quickly.
Hidden Costs and Risks of DIY
The product box does not list the problems that appear after a rushed install.
Misaligned safety sensors are the most common failure. Federal rules require a secondary entrapment device—almost always photoelectric eyes—on each side of the opening and no higher than six inches above the floor. That height exists so the beam can detect a small child or pet low in the doorway. Sensors mounted too high, aimed at reflective surfaces, or wired incorrectly create a door that will not close—or a door that closes as if the beam were optional.
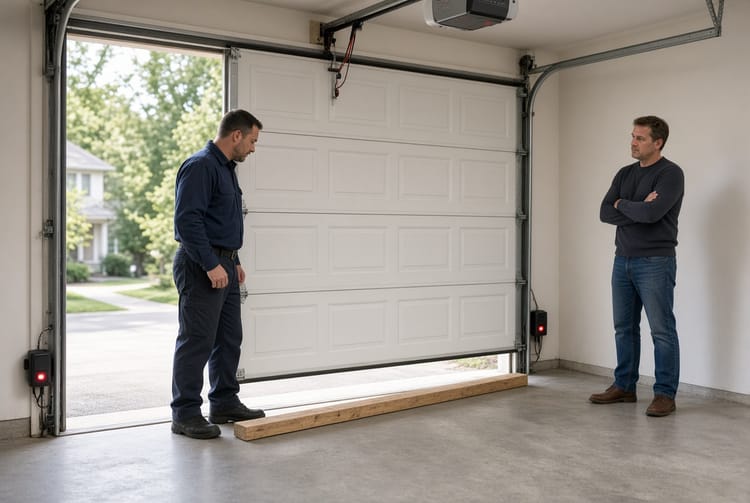
Incorrect force settings are quieter and more dangerous. Close-force tells the motor how much resistance should trigger reversal. Set it too high and the door can press down with unsafe force. Set it too low and the door reverses on every small bump. After any force or limit change, the door must reverse when it contacts a 1.5-inch object, commonly tested with a 2x4 laid flat.
Weak mounting creates vibration, rail sag, and stripped lag screws. Many garages use engineered lumber or have joists that do not fall where the motor wants to hang. A professional adds blocking. A rushed DIY mount can loosen over a winter of daily cycles.
Unseen spring problems belong in a different category. Torsion springs store dangerous energy. An opener install is not a spring job, but a door that slams or feels heavy needs spring service first. Do not wind springs to “help” a new opener.
Warranty gaps add a financial twist. Some brands honor the motor warranty only after dealer installation. Even when product coverage survives, there is no labor warranty on your own time. If the rail is a half-inch off and the trolley binds in month three, you own the repair.
Capable homeowners can succeed. The project is still closer to precision mechanical work than to hanging a shelf.
The Professional Route: Warranty, Safety, Correct Installation
A professional technician completes the same physical steps—and then the steps most homeowners never think to do.
A standard replacement often takes 1 to 3 hours. A first-time install, a jackshaft / wall-mount unit, or a garage that needs electrical or framing work takes longer.
You are not only paying for speed. You are paying for pattern recognition.
A good installer will:
- Test door balance before touching the new opener
- Flag worn rollers, bent tracks, or weak springs before they destroy a new motor
- Find solid mounting points and add reinforcement when the ceiling needs it
- Set sensor height and alignment to specification
- Tune limits so the door seats on the weatherstrip without over-travel
- Set force as low as reliable operation allows
- Program remotes, apps, keypads, and backup batteries
- Run both the beam-break test and the contact-reversal test
- Review the emergency release for power outages
Warranty and accountability
Professional work usually adds a labor warranty—often 90 days to one year, sometimes longer through a dealer program. If a bracket loosens or a sensor wire fails because of the install, the company returns. Many manufacturers also keep full product coverage intact when a trained installer completes the work.
That combination—product coverage plus workmanship coverage—is the quiet value of hiring help. The first invoice is higher. The unplanned second invoice is less likely.
Safety as the job, not an accessory
Professionals treat UL 325 compliance as the assignment. Residential openers must be listed to that standard. Required instructions include clear warnings: install only on a balanced door, remove pull ropes, place the wall control at least five feet above the floor and in sight of the door, attach the entrapment warning label, and verify reversal after setup.
A technician who works to that standard will not “just get it running.” They leave when the door reverses on beam interruption and on contact.
DIY vs. Professional at a Glance
| Factor | DIY Installation | Professional Installation |
|---|---|---|
| Upfront cost | Opener only, typically $150–$450 | Opener plus labor, commonly $300–$900 |
| Time | 4–8 hours for a first-timer | 1–3 hours for a standard job |
| Tools | You supply ladder, drill, level, wrenches | Included with the service |
| Warranty | Product coverage may be limited; no labor warranty | Product warranty plus workmanship coverage |
| Safety testing | Your responsibility | Included by the technician |
| Best fit | Handy owner, balanced door, existing outlet | Heavy doors, smart units, unknown framing, spring concerns |
The table helps. It is not the whole decision. A $200 labor savings is a poor trade if the door later needs a costly callback to correct sensors and force, or if a voided warranty turns a failed logic board into a full replacement.
Factors to Consider Before You Choose
Ask these questions before you open the box or book the appointment.
1. Is the door balanced?
Disconnect the opener or use the emergency release and lift the door by hand to waist height. A balanced door should stay put or drift only slightly. If it slams shut or rockets open, do not install an opener until a professional services the springs.
2. What type of opener are you installing?
- Chain-drive: affordable, durable, louder; a common DIY candidate
- Belt-drive: quieter; popular when living space sits above the garage
- Screw-drive: fewer parts, moderate noise
- Jackshaft / wall-mount: mounts beside the torsion bar, frees ceiling space, and is usually a professional job
Quiet belt-drive and smart Wi-Fi models can still be DIY in a simple garage. Wall-mount units, high-lift tracks, and custom rails change the math.
3. Does the ceiling cooperate?
No nearby outlet means electrical work. No solid joist at the hang point means blocking. Low headroom needs a special kit. Finished or vaulted ceilings hide the structure you must hit with lag screws. Each condition favors a technician who has already solved it.
4. How heavy and how wide is the door?
A lightweight single-car steel door is a different project from a double-wide insulated door or a heavy wood carriage door. Undersizing horsepower overworks the motor. Professionals match opener rating to door weight and daily cycles.
5. Are smart features part of the plan?
Camera or app-connected openers add pairing, firmware, battery backup, and sometimes a required wall control. The hardware can still be DIY. The support call after a messy wire run is not.
6. Who uses the garage?
Homes with young children or pets should treat sensor placement and reversal testing as non-negotiable. There is no acceptable “good enough” on entrapment protection. If you will not test both safety layers, hire the install.
7. What do code and insurance expect?
Automatic residential openers are expected to be UL 325 listed. A sloppy install may not trigger a permit in every town, but it can become an inspection or insurance issue later. Professional paperwork helps at resale.
How to Keep Either Path Safe
If you install the opener yourself, work as if an inspector will visit when you finish:
- Read the full manual before you lift the motor
- Confirm balance first
- Never connect power until the instructions say so
- Mount sensors at the specified height and verify the indicator lights
- Place the wall control in sight of the door and high enough that a child cannot treat it as a toy
- Attach the entrapment warning label
- Test beam interruption while the door is closing; the door must reverse
- Test contact reversal with a 2x4 laid flat; the door must reverse
- Practice the emergency release so a power outage is not your first lesson
If you hire a professional, ask three questions before you approve the quote:
- Will you inspect the springs and door balance at no extra charge?
- Is full safety testing included?
- What labor warranty comes with the install?
Clear answers separate a complete service from a hang-the-box-and-leave visit.
The Practical Bottom Line
DIY installation saves money when the garage is straightforward, the door is healthy, and you have the tools, time, and discipline to finish every safety step. Professional installation costs more on the invoice and returns value through correct mounting, calibrated safety systems, faster completion, and a warranty you can actually call.
There is no prize for struggling on a ladder with a heavy motor over concrete. There is also no requirement to hire help if you are truly equipped. The right choice is the one that leaves you with a door that opens quietly, closes completely, and reverses instantly when something is in the way.
Install your opener safely. If you want the work done to spec—with sensors aligned, limits set, and warranty protection in place.
Call Now for Warrantied Opener Installation