The Garage Door Opener Wall Button: Wiring, Programming, and Troubleshooting
Your garage door opener wall button is the reliable command center inside your garage. It provides instant, hands-free control without relying on remote clickers or smartphone apps. When this control interface works flawlessly, you enjoy seamless daily operation. Yet when it fails, frustration builds quickly.
Fix Your Garage Door Wall Button Today – Call Now!
At Domain House, we’ve helped thousands restore dependable performance through expert wall button wiring, programming, and troubleshooting. This comprehensive guide walks you through every aspect with clear, step-by-step instructions. You’ll learn how the button functions, identify common failures, master safe wiring techniques, handle programming for modern openers, and apply proven troubleshooting methods.
Whether your wall button has gone completely silent, flashes warning lights, or responds intermittently, the solutions here empower you with knowledge while highlighting when professional service ensures lasting safety and reliability. Let’s restore full control to your garage door system today.
How the Garage Door Opener Wall Button Works
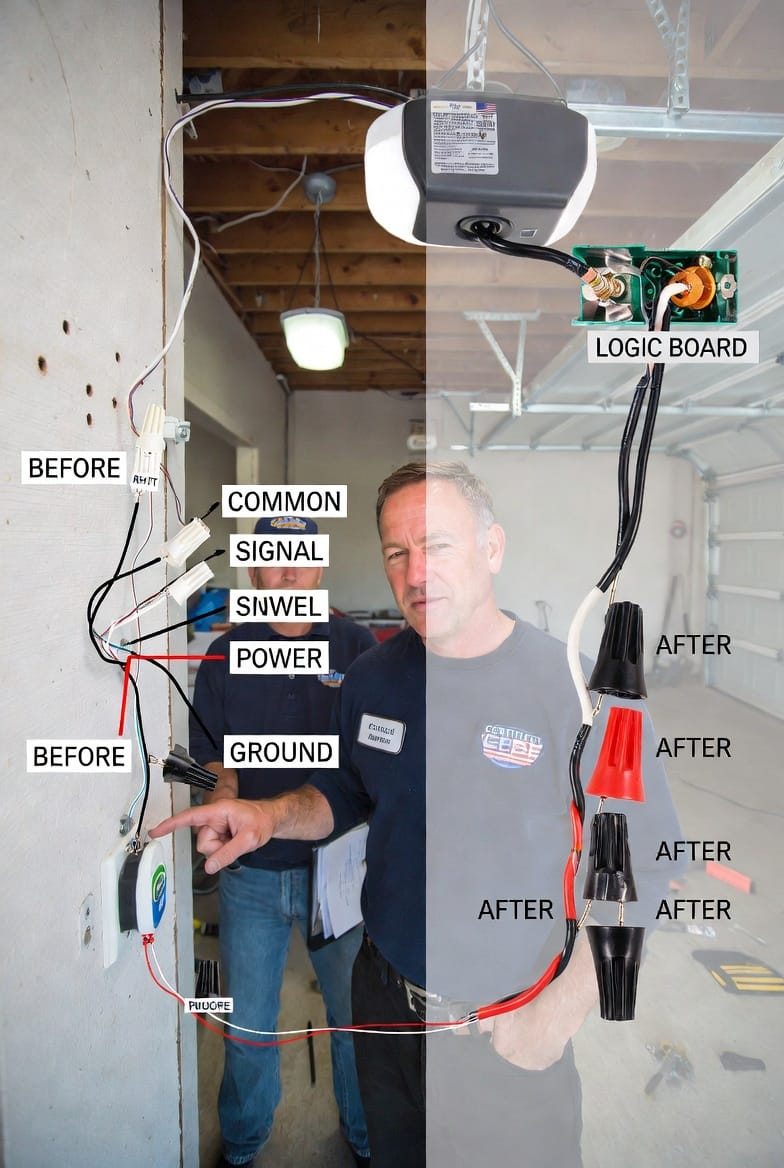
The garage door opener wall button serves as a direct-wired interface between you and the opener’s logic board. Unlike wireless remotes, it uses low-voltage wiring to send instant electrical signals that command the motor to open, close, or stop the door.
Most modern wall buttons feature three core functions: the large push button for open/close operation, an integrated LED indicator that confirms power and status, and a lock/vacation switch that disables all remote controls for added security. These components connect through two or three insulated wires (typically white for common, red or black for signal) running from the wall plate directly to the opener’s terminal block.
When you press the button, it completes a simple circuit that tells the opener’s circuit board to activate the motor. The system also incorporates built-in safety features. For example, the wall button’s LED may flash if the opener detects an obstruction or if the photo-eye sensors are misaligned. This design ensures your garage door remains one of the safest entry points to your home.
Understanding this control interface helps you diagnose issues faster. The button itself is a momentary switch rated for thousands of cycles, housed in a durable plastic or metal plate mounted at convenient shoulder height. Proper installation keeps wires concealed and protected from accidental damage, moisture, or pests.
Key benefits of a properly functioning wall button include:
- Instant response without battery changes
- No signal interference from nearby devices
- Integrated safety lockout for vacation or security mode
- Visual feedback through LED status lights
When maintained correctly, this component delivers decades of trouble-free service. However, wear, loose connections, or power fluctuations can disrupt operation. The good news? Most issues are straightforward to identify and resolve with basic tools and knowledge.
Common Issues with Garage Door Opener Wall Buttons
Even the most reliable garage door opener wall button can develop problems over time. Recognizing the warning signs early prevents larger safety concerns and costly repairs.
Non-responsive wall button tops the list of complaints. You press the button, but nothing happens. This usually stems from broken wires, corroded terminals, or a failed switch inside the button housing. Power interruptions or tripped breakers can also cause complete silence.
Flashing lights on the wall button often indicate a safety-related fault. A rapid blink may signal that the opener’s photo-eye sensors are blocked or misaligned. A steady or patterned flash could point to an internal logic board error or improper wiring. Ignoring these lights risks compromising the door’s automatic reversal system, which protects people and property.
Other frequent issues include:
- Intermittent operation – button works only sometimes due to loose connections or worn contacts
- Stuck or overly sensitive button – caused by dirt buildup or mechanical wear
- LED fails to illuminate – indicating power supply problems or damaged wiring
- Lock switch malfunctions – preventing remote use even when disengaged
These problems rarely happen overnight. Vibration from repeated door cycles, temperature swings, and occasional moisture exposure gradually degrade connections. The reassuring news is that most failures are localized to the wall button or its wiring and do not require replacing the entire opener unit.
Safety note: A non-functional wall button can create dangerous situations, especially during emergencies when quick manual operation is needed. Prompt attention to these issues maintains both convenience and the critical safety features built into modern garage door systems.
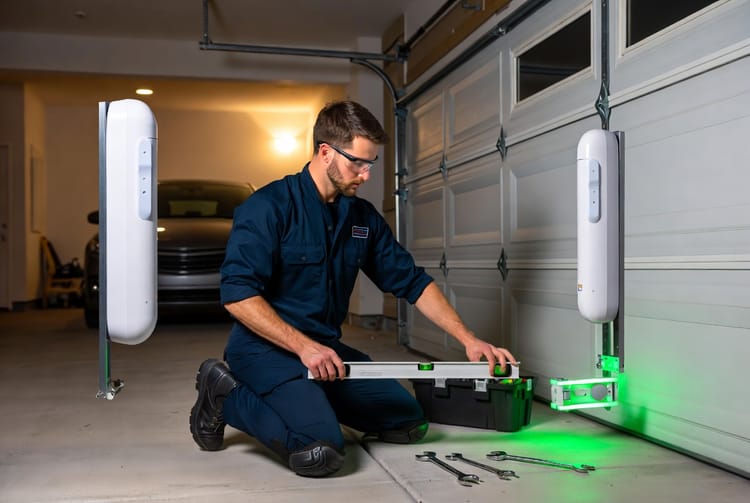
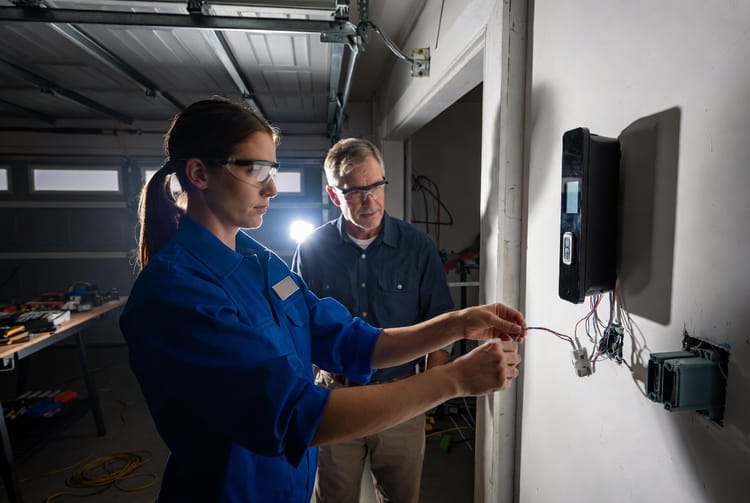
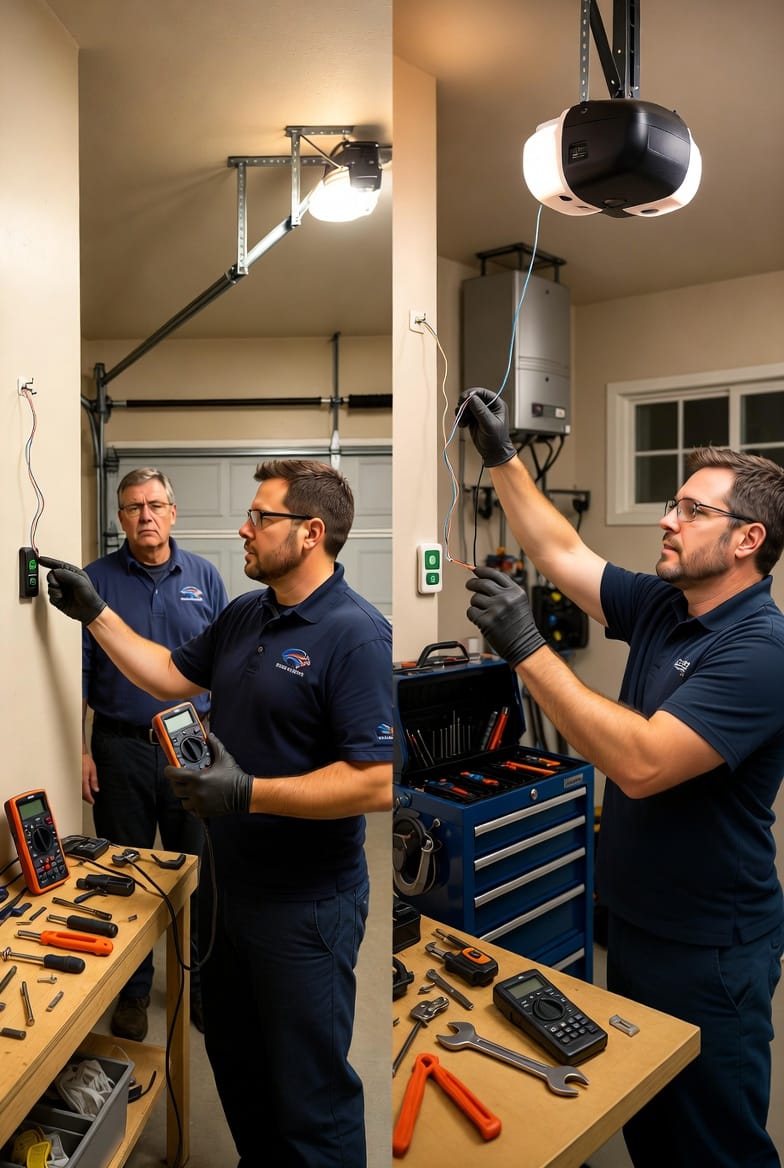
Step-by-Step Wall Button Wiring Guide
Proper garage door opener wall button wiring ensures reliable signal transmission and prevents future failures. Always begin by disconnecting power to the opener at the breaker panel and unplugging the unit for complete safety.
Gather these tools:
- Voltage tester
- Wire strippers
- Screwdrivers (flathead and Phillips)
- Needle-nose pliers
- Electrical tape
- Replacement wall button kit (matched to your opener model)
Locate the existing wires behind the old button plate. Most systems use three wires: white (common), red (signal), and sometimes black or green for ground or additional functions. Carefully note the terminal labels on your opener’s logic board – typically marked “W”, “R”, and “B” or similar.
Remove the old plate, disconnect wires, and clean terminals of any corrosion. Strip fresh ends on the wires, then attach them to the new wall button following the manufacturer’s terminal diagram. Secure connections tightly but avoid over-tightening to prevent wire damage.
Route wires neatly through the wall and secure them with staples or conduit where exposed. Reattach the button plate, restore power, and test immediately. The LED should illuminate steadily, confirming successful wiring.
Pro tip: Label each wire before disconnection. This simple step eliminates guesswork and reduces troubleshooting time dramatically. If your opener model uses a quick-connect terminal block, the process becomes even faster.
For older homes with aging wiring, consider upgrading to shielded low-voltage cable to protect against electromagnetic interference. A correctly wired wall button delivers instant response every time you press it, giving you peace of mind that your garage door system remains fully operational.
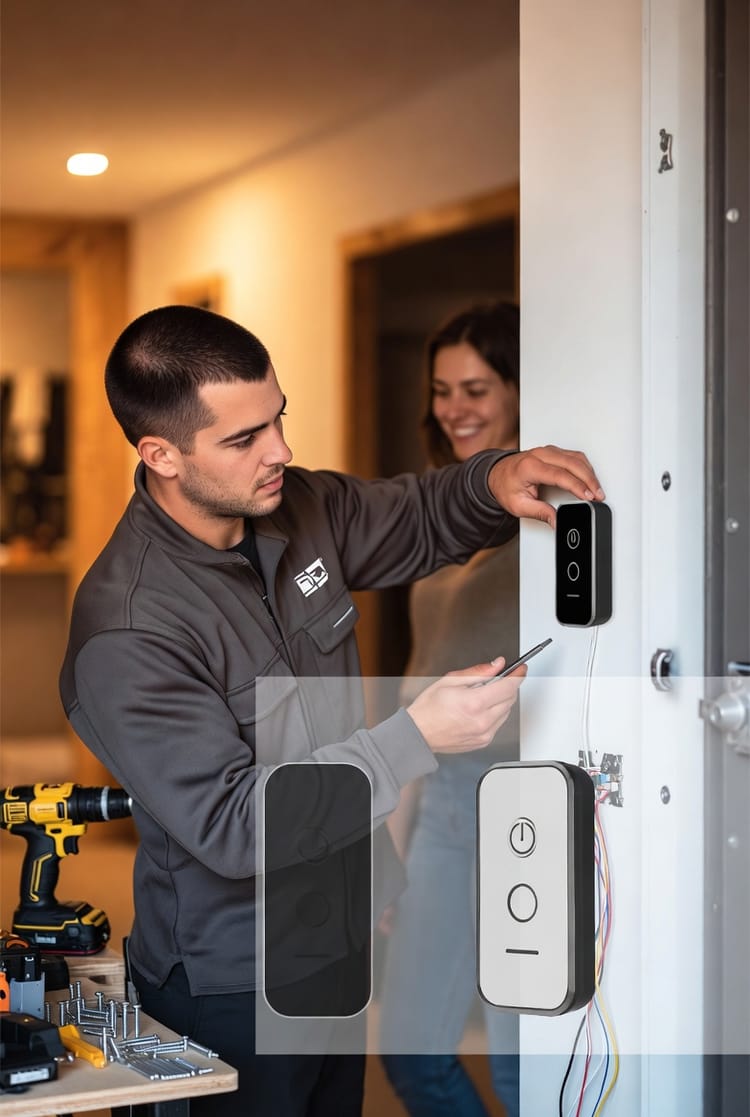
Programming Your Garage Door Opener Wall Button
Modern garage door opener wall button units often include programmable features that enhance security and convenience. Programming synchronizes the button with the opener’s logic board and enables advanced functions such as vacation lock mode or integration with smart home systems.
Begin by restoring power and pressing the “Learn” button on the opener unit (usually located on the back or side). Within 30 seconds, press and hold the wall button’s main push button until the opener’s lights flash or click, confirming successful pairing.
For units with digital displays or smart capability:
- Enter programming mode via the wall button’s menu (if equipped)
- Select desired features such as auto-close timers or remote lockout
- Confirm settings with the LED feedback sequence
Important: Not all basic wall buttons require programming. Traditional hardwired models operate immediately after correct wiring. However, newer models with multi-function consoles benefit greatly from proper programming to unlock full capabilities.
Test all functions thoroughly after programming. Press the button to cycle the door, engage the lock switch to verify remotes are disabled, and confirm the LED displays correct status codes. If the opener supports it, program multiple wall buttons for large garages or multi-bay setups.
This step ensures your control interface works in perfect harmony with the entire system, delivering the seamless performance you expect.
Comprehensive Troubleshooting Guide
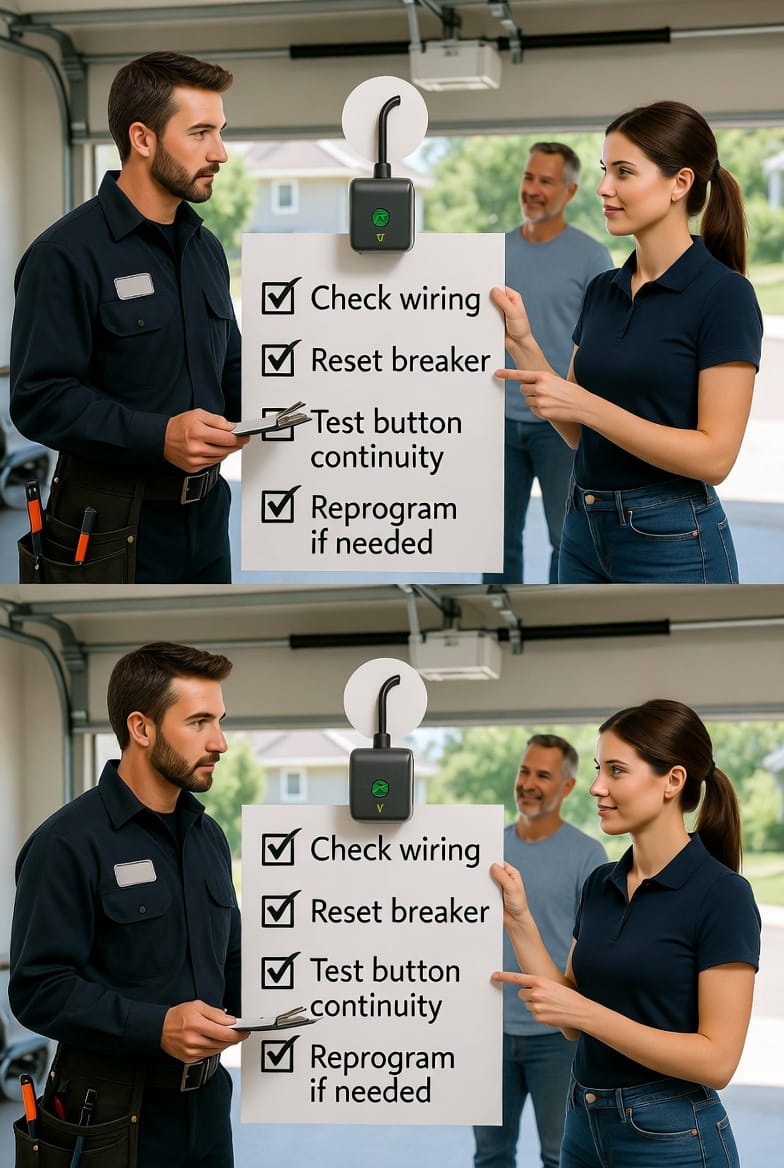
When your garage door opener wall button acts up, follow this systematic troubleshooting process. Work methodically and always prioritize safety by disconnecting power first.
- Check wiring connections – Inspect for loose, corroded, or broken wires at both the wall plate and opener terminals.
- Reset the breaker or GFCI outlet – Power fluctuations often cause temporary failures.
- Test button continuity – Use a multimeter to verify the switch closes the circuit when pressed.
- Reprogram if needed – Clear and re-pair the button following the steps above.
Additional quick checks include verifying photo-eye alignment (flashing lights usually indicate this) and ensuring no obstructions block the door’s path.
If the LED remains dark after power restoration, the issue likely resides in the wiring run itself. For intermittent problems, gently wiggle wires while testing to reveal hidden breaks.
When to call professionals: If troubleshooting does not restore full function, or if you notice burning smells, unusual noises from the opener, or repeated safety reversals, professional diagnosis prevents bigger repairs. Our team at Domain House arrives equipped with genuine replacement parts and years of specialized experience.
Why Professional Wall Button Repair Matters
A fully functional garage door opener wall button is more than a convenience – it’s a critical safety component. DIY attempts sometimes create hidden wiring faults that surface later. Certified technicians ensure code-compliant installation, proper programming, and long-term reliability.
Benefits of professional service include:
- Warranty-backed parts and labor
- Safety certification for the entire door system
- Faster resolution using specialized diagnostic tools
- Preventive maintenance recommendations
Restore Reliable Control Today
Your garage door deserves a wall button you can trust every single time. With the right wiring, programming, and troubleshooting approach, most issues resolve quickly and permanently.
Control your door reliably.
Expert Garage Door Wall Button Repair – Call Now!