The Garage Door Opener Safety: Understanding Auto-Reverse
A modern garage door can weigh several hundred pounds. When that mass travels downward under power, a few inches of travel can become a serious entrapment risk. The feature designed to interrupt that motion is auto-reverse. It is not a convenience option. It is a required safety system on residential openers, and it only works if both of its independent protections are aligned, clean, and correctly adjusted.
Protect Your Family – Fix Auto-Reverse Now
This guide explains how auto-reverse works, how to test it with a simple 2x4, what the photo-eye sensors contribute, and what to do when the system fails. The goal is practical: you should be able to verify the protection in a few minutes and know when to stop using the opener until a technician restores it.
Why Auto-Reverse Exists
Before current standards took hold, a closing door that met a child, pet, or object could keep pushing. The industry response was a dual-protection design:
- Contact reversal (force sensing) reacts after the door physically meets resistance.
- Non-contact reversal (photo-eyes) reacts when something breaks an infrared beam near the floor, often before contact.
Both layers matter. Photo-eyes catch many objects in the opening. Force sensing is the backup when the beam is missed, dirty, or misaligned. A safe door needs both.
How Auto-Reverse Works
Photo-Eye Sensors
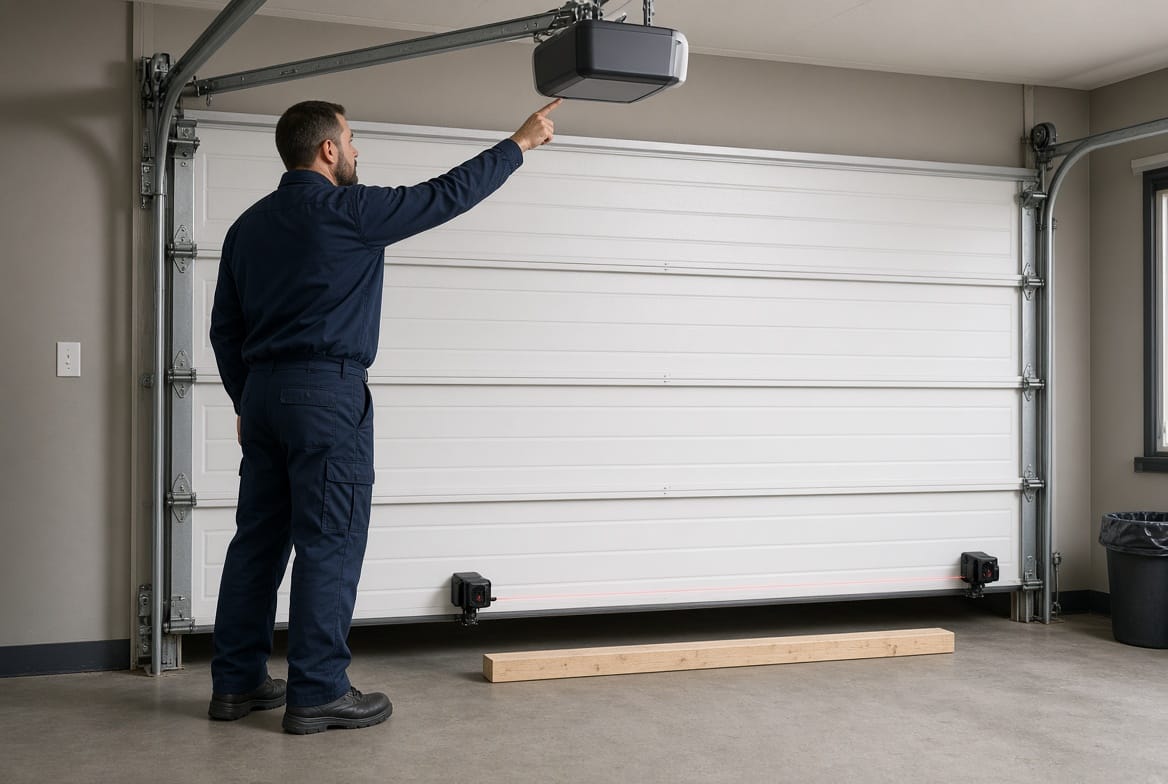
Two small units sit on opposite sides of the opening, typically 4 to 6 inches above the floor. One unit emits a modulated infrared beam. The other unit looks for that specific beam.
If the beam is intact, the opener is allowed to close. If a person, toy, pet, or box interrupts the beam while the door is traveling down, the control board stops the motor and reverses the door to the fully open position.
These sensors are sensitive to real-world conditions:
- Dust, cobwebs, and mud on the lenses
- Brackets bumped out of alignment
- Direct sunlight at certain hours
- Loose low-voltage wiring
A blinking LED on one sensor is often the first clue that the pair is no longer “seeing” each other.
Force-Sensing Reversal
The opener also watches how hard the motor must work. During a normal close, current draw and resistance stay within an expected range. When the bottom of the door hits something solid, resistance rises sharply. The logic board treats that spike as an obstruction and commands an immediate reverse.
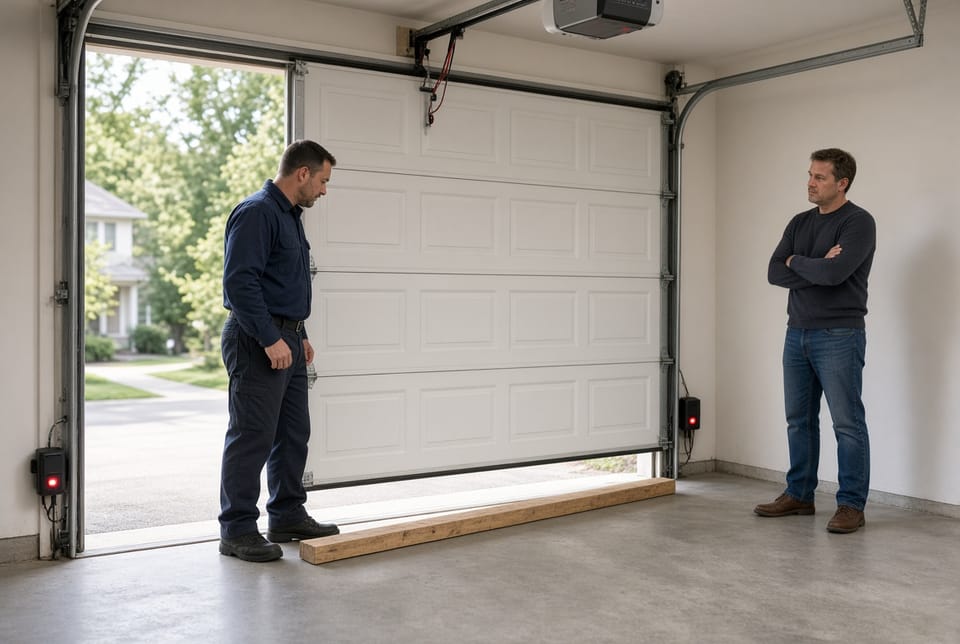
This is the system the classic 2x4 test evaluates. The board on the floor is tall enough to represent a small object at the threshold. A correctly set opener should contact that object and reverse within about two seconds, not grind downward.
Force settings are adjustable. Too little close force and the door may reverse from ordinary track friction. Too much close force and the door can apply dangerous pressure before it reverses. The correct setting is the minimum force that still closes the door smoothly.
Limits and Travel
Travel limits tell the opener where “fully open” and “fully closed” are. If the down limit is set too high, the door may stop on the 2x4 instead of reversing. If it is set too low, the door may press into the floor after the obstruction is removed. Limit and force adjustments work together. Changing one often requires retesting the other.
How to Test Auto-Reverse Safely
Clear the opening first. Move vehicles, bikes, and tools. Keep children and pets out of the garage during the test. Stand to the side, never under the door.
Test 1: The 2x4 Contact Test
- Open the door fully.
- Place a standard 2x4 laid flat in the center of the doorway. The flat orientation is about 1.5 inches high, which is the intended test height.
- Press the wall control or remote to close.
- Watch the bottom edge.
Pass: The door touches the board, stops, and reverses to fully open. A brief pause is acceptable if reversal still happens quickly.
Fail: The door keeps pushing, bends the board, hesitates for several seconds, or does not reverse.
Do not substitute a soft roll of towels for a formal test if you want a reliable result. A firm board of the correct height is the standard method.
Test 2: The Photo-Eye Beam Test
- Start the door closing from the fully open position.
- Wave a broom handle, box, or similar object through the beam path near the floor.
- Observe the response.
Pass: The door stops and reverses immediately, usually before it reaches the object. Lights on the opener may flash.
Fail: The door continues closing as if the beam were still intact.
If the door will not close at all, check sensor alignment and lens cleanliness before assuming the opener is broken. Many “won’t close” complaints are dirty or tilted photo-eyes.
Monthly Habits That Keep the System Honest
A safety feature that is never tested is only assumed to work. Industry guidance is straightforward: test both protections every month, and test again after any service, spring work, opener replacement, or unusual door behavior.
A practical monthly routine:
- Wipe both sensor lenses with a soft cloth.
- Confirm the sensor LEDs show a steady, aligned state.
- Run the beam interruption test.
- Run the 2x4 contact test.
- Listen for binding, grinding, or a motor that sounds strained.
Also inspect the door itself. Bent tracks, dry rollers, broken cables, or a weak spring change the force the opener must apply. An opener that once reversed correctly can fail the same test after the door becomes harder to move.
Adjusting Force Settings Without Guesswork
If the 2x4 test fails and the door hardware looks sound, the close-force setting may be too high.
Typical approach on traditional openers:
- Locate the down/close force control on the motor unit.
- Reduce force in small increments.
- Repeat the 2x4 test after each change.
- Confirm the door still closes fully on a clear floor.
Do not keep increasing force to “make it close no matter what.” That habit defeats the protection. If the door needs excessive force, the real problem is often tracks, rollers, springs, or a binding section—not a timid opener.
Smart or button-based openers use on-unit menus or a learning cycle instead of analog dials. Follow the model’s procedure, then always finish with the same physical tests.
If repeated small adjustments do not produce a clean reverse, stop. Continued experimentation can leave the door in an unsafe state.
What to Do If Auto-Reverse Fails
A failed test means the automatic closer should not be trusted for daily use until the cause is corrected.
Immediate steps:
- Stop automatic operation. Use the door only if you can do so safely by hand after disconnecting the opener, and only if the springs and cables are intact.
- Do not bypass photo-eyes. Tape, cardboard, or “just this once” wiring tricks remove a required protection.
- Check the simple faults first: dirty lenses, obvious misalignment, a sensor bracket kicked by a bumper, and debris in the tracks.
- Re-test after each correction.
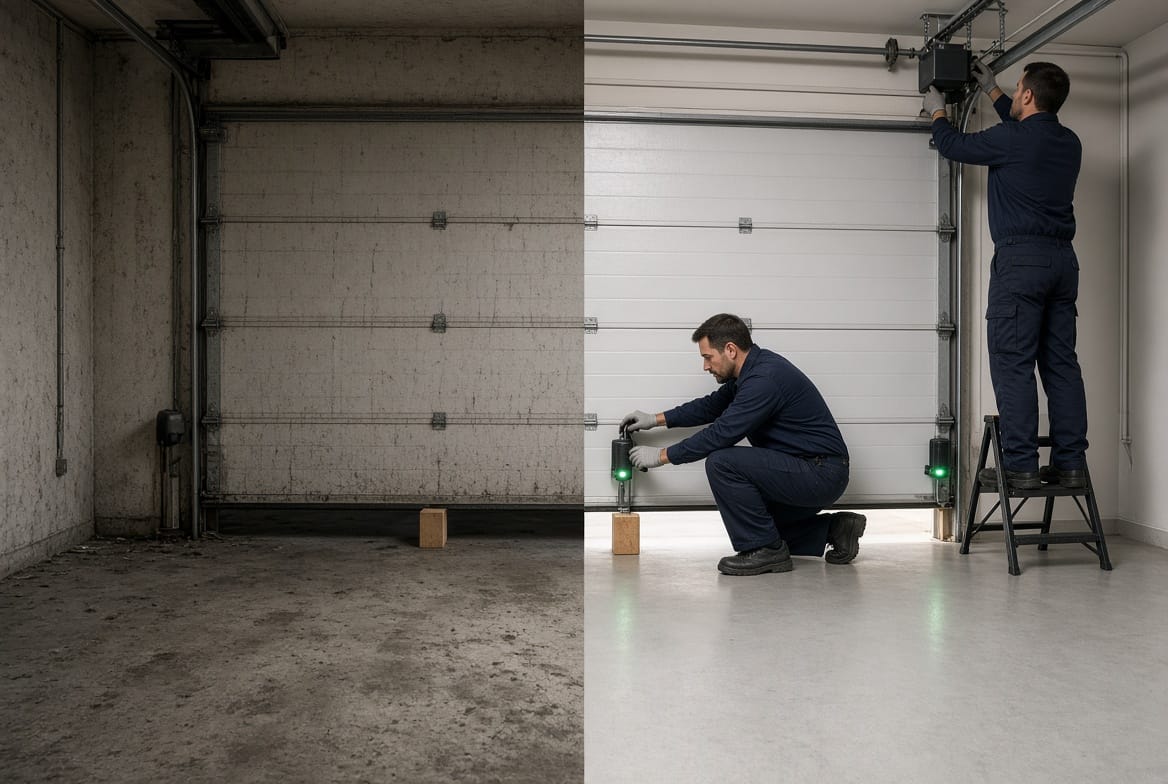
- Call for service if the door still pushes through the 2x4, ignores the beam, or needs extreme force to move.
Persistent failure can come from a worn logic board, damaged sensor pair, stretched or slipping drive, incorrect limits, or a door that is no longer balanced. Those are professional repairs. The cost of a service visit is small compared with the risk of a door that will not reverse.
Common Reasons the System Stops Protecting You
- Misaligned photo-eyes after a bump from a car or lawn mower.
- Dirty lenses that weaken the infrared signal.
- Force set too high after a previous owner “fixed” a sticking door by turning the dial.
- Travel limits that no longer match the floor or weather seal.
- Unbalanced door that forces the motor to work near its limit on every cycle.
- Aging sensors or control board that no longer respond within the required time.
Address the door’s mechanical condition first. An opener cannot safely compensate for a door that is fighting its own hardware.
Balancing Safety With Everyday Use
Auto-reverse should be decisive, not jumpy. A door that reverses from a light gust or a slightly dirty track is inconvenient, but a door that ignores a 2x4 is unsafe. The correct middle ground is:
- Smooth travel on a maintained door
- Immediate reverse on a real obstruction
- Photo-eyes that interrupt closing before contact whenever possible
If your household includes young children or pets, treat the monthly test as non-negotiable. The protection is only as good as the last successful check.
A Short Safety Checklist
- Test the 2x4 contact reverse every month.
- Test the photo-eye beam every month.
- Keep sensor lenses clean and brackets firm.
- Use the lowest close force that still completes a normal cycle.
- Replace damaged sensors as a pair when one unit fails.
- Never disable a safety device to force the door closed.
- Schedule professional service when tests fail after basic cleaning and alignment.
The Bottom Line
Auto-reverse is the garage door’s last line of defense against crushing force. Sensors watch the opening. The opener watches resistance. Together they should stop a closing door and send it back up. You can verify that behavior in minutes with a board on the floor and a quick beam check.
If the door does not reverse promptly, treat it as a safety failure, not a nuisance. Adjust only within the manufacturer’s method, retest, and get help when the system will not pass.
Test your auto-reverse for safety. If the door fails the 2x4 test, ignores the sensors, or needs more than a minor alignment.
Sensors Not Reversing? Get Expert Help Today