The Garage Door Opener Motor Capacitor: Why It Fails and How to Replace
A garage door that refuses to open or close can disrupt an entire day. When the opener motor hums without moving the door, the culprit is often a small but critical electrical component known as the motor capacitor. This part supplies the extra energy needed to start the motor under load. Understanding why the garage door opener motor capacitor fails and how to replace it safely restores convenience and protects the rest of the system from further stress.
Replace Your Failed Motor Capacitor Today – Call for Repair
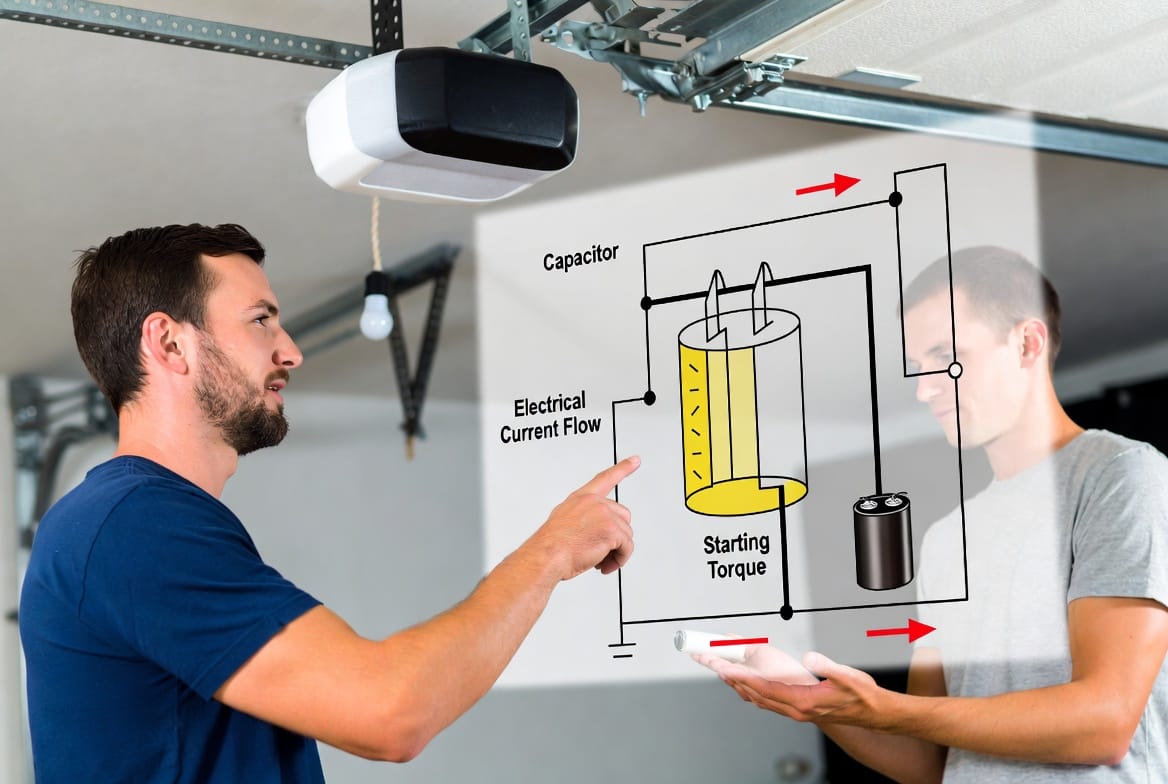
Most residential openers rely on a single-phase induction motor. These motors cannot generate sufficient starting torque on their own. The capacitor creates a phase shift in the electrical current, producing the temporary boost required to overcome the weight of the door and the friction in the rails. Once the motor reaches operating speed, the capacitor’s role diminishes, yet it continues to support smooth running in many designs. When this component weakens or fails, the entire opener stalls.
What the Motor Capacitor Actually Does
Inside every garage door opener motor sits a cylindrical or oval-shaped capacitor rated in microfarads (µF). Its job is straightforward yet essential: it stores and releases electrical energy at the precise moment the motor begins to turn. Without that stored energy, the motor windings receive current that is out of phase, resulting in weak or zero torque.
The capacitor works by creating an artificial second phase. In a single-phase power supply common to homes, this phase difference generates a rotating magnetic field strong enough to start the heavy garage door. Typical values range from 20 µF to 80 µF depending on the motor size and horsepower. Matching the exact microfarad rating during replacement is non-negotiable; an incorrect value can overheat the motor or prevent starting altogether.
Over years of daily cycles—often two to four openings and closings per day—the capacitor endures repeated charge and discharge cycles. Heat from the motor, voltage fluctuations, and normal aging gradually degrade the internal dielectric material. Eventually the capacitor can no longer hold its charge, and the motor loses its ability to start.
Common Causes of Capacitor Failure
Several factors accelerate the decline of a motor capacitor. Heat is the primary enemy. Garage environments often experience extreme temperature swings, especially in uninsulated spaces. Prolonged high temperatures dry out the electrolyte or weaken the dielectric film inside the capacitor.
Voltage spikes from power surges or utility fluctuations stress the component further. Each surge can create microscopic damage that accumulates over time. Mechanical vibration transmitted through the opener rail and chain or belt also loosens internal connections.
Age itself is unavoidable. Most original capacitors last eight to twelve years under normal use. After that period the risk of failure rises sharply. Using an opener beyond its design cycle rating or forcing the door against obstacles increases the electrical load and shortens capacitor life.
Recognizing these stresses helps owners understand that failure is rarely sudden; it is the result of cumulative wear. Regular observation of opener behavior can catch problems early.
Clear Signs That the Capacitor Has Failed
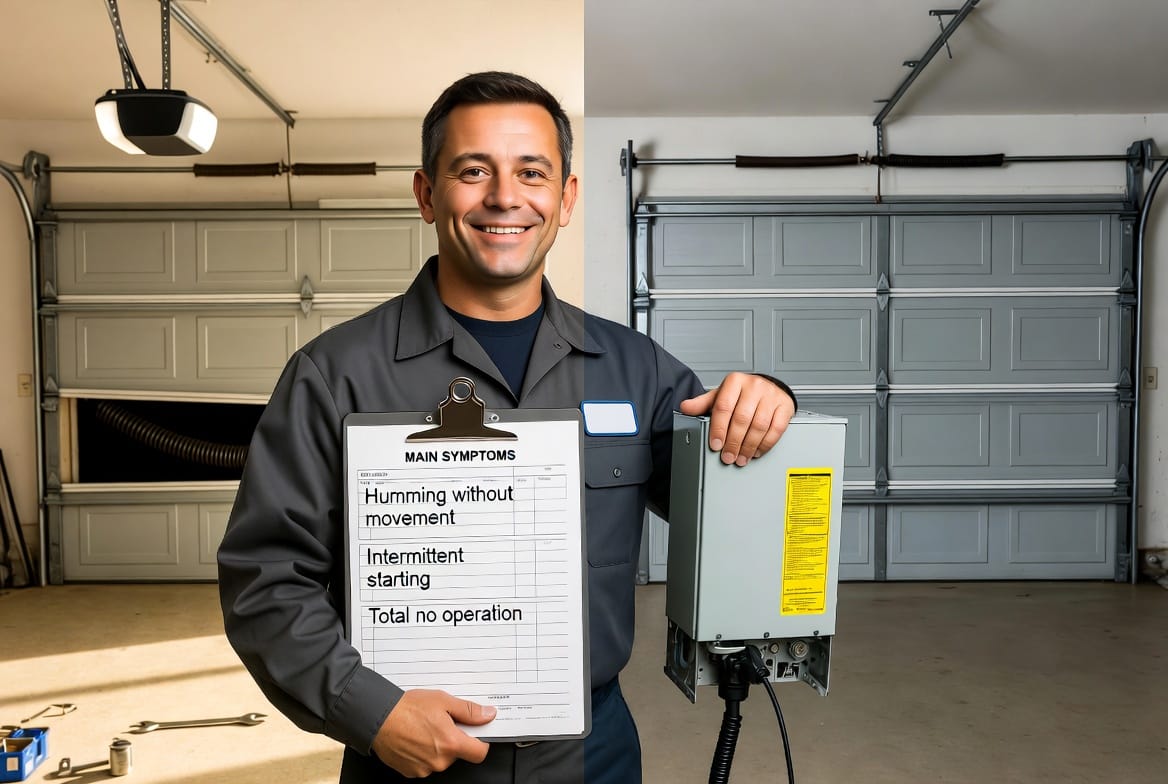
The most frequent symptom is a steady humming sound from the motor while the door remains motionless. The motor receives power and attempts to start, yet without the capacitor’s phase shift it cannot generate torque. The humming continues until the thermal overload protector trips or the user releases the wall button.
Intermittent starting is another warning. On cooler mornings the door may open normally; later in the day, after the motor has warmed, the same opener hesitates or fails. Temperature changes affect the already weakened capacitor, producing inconsistent performance.
Complete loss of operation follows advanced failure. Pressing the remote or wall control produces no sound and no movement. In some cases the lights on the opener may still illuminate, confirming power is present, yet the motor remains silent.
Additional clues include a visible bulge or leakage on the capacitor itself once the cover is removed, a burning odor near the motor, or a door that starts slowly then stops midway. Any of these signs point strongly toward capacitor trouble rather than a broken spring, misaligned sensors, or a failed logic board.
Safe Diagnosis Before Replacement
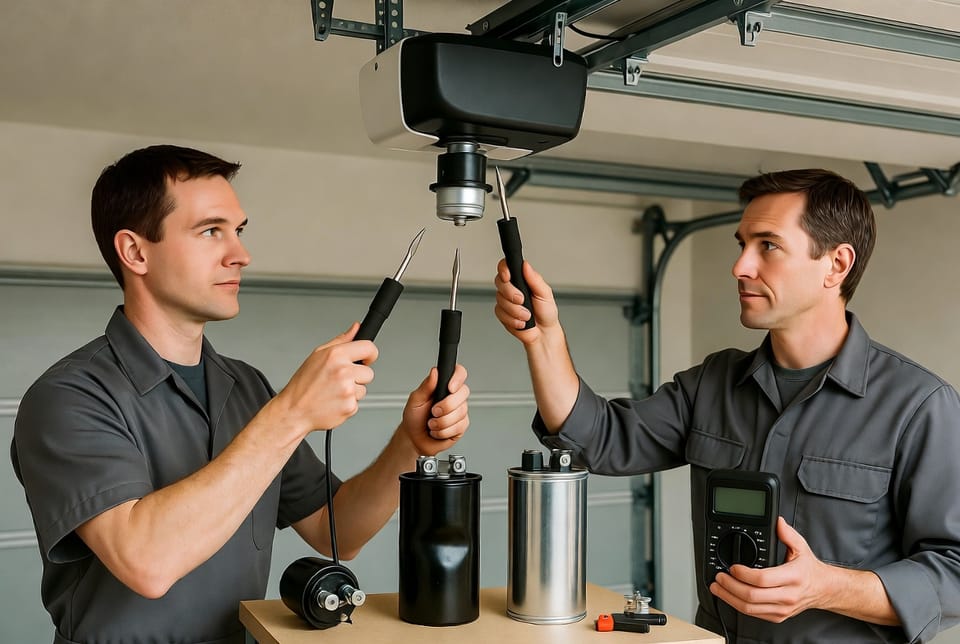
Before touching any electrical part, disconnect power at the circuit breaker and unplug the opener. Verify zero voltage with a multimeter. Never rely on the wall switch alone; residual charge can remain in the capacitor even after power is removed.
Locate the capacitor. In most units it is mounted on or near the motor housing, secured by a metal strap or plastic clip. It appears as a silver or black cylinder with two or three terminals. Note the printed microfarad rating and voltage rating—typically 250 V or 370 V—before removal.
A simple resistance or capacitance test can confirm failure. A healthy capacitor will show a rising then falling resistance as it charges from the meter, or it will display a value close to its labeled microfarads on a capacitance meter. An open or shorted reading indicates the part must be replaced.
Visual inspection often reveals the truth: a swollen top, oil residue, or cracked casing means the capacitor has already failed and should not be reinstalled.
Critical Safety Steps When Handling Capacitors
Even after power is disconnected, a motor capacitor can retain a dangerous electrical charge. Always discharge it safely before handling. Use an insulated screwdriver with a well-insulated handle to short the terminals together while wearing rubber gloves and eye protection. A visible spark may occur; this is normal and expected.
Never touch the terminals with bare fingers. Treat every capacitor as if it is fully charged until proven otherwise. After discharge, wait a few minutes and recheck with the multimeter to confirm zero voltage.
Match the replacement part exactly. The microfarad rating must be identical or within the manufacturer’s specified tolerance—usually ±5 % or ±10 %. Voltage rating must be equal to or higher than the original. Using a lower voltage capacitor invites rapid failure and possible motor damage.
Purchase only quality capacitors designed for continuous-duty motor applications. Automotive or general-purpose capacitors lack the heat resistance and cycle life required for garage door service.
Step-by-Step Replacement Process
- Confirm power is off and the capacitor is fully discharged.
- Photograph or sketch the wiring connections so they can be restored correctly.
- Loosen the mounting strap or clip and carefully lift the old capacitor free.
- Transfer any connecting wires to the new capacitor, matching terminal positions exactly. Some capacitors use quick-connect spade terminals; others require screw terminals.
- Secure the new capacitor firmly so vibration cannot loosen it.
- Reinstall the opener cover and restore power.
- Test the door through several full open and close cycles, listening for smooth, quiet operation.
If the door still hums or fails to start after replacement, the problem may lie elsewhere—worn brushes, a seized bearing, or a failing start winding. In those cases professional diagnosis is the safer path.
Throughout the process keep the work area clean and organized. Dropping a tool into the opener mechanism or miswiring the capacitor can create new hazards. Work slowly and deliberately.
Preventing Future Capacitor Failures
Simple habits extend capacitor life. Keep the garage temperature as stable as possible; insulation and weather sealing reduce extreme heat. Install a whole-house surge protector or a dedicated opener surge device to limit voltage spikes.
Lubricate the rails, rollers, and hinges according to the manufacturer schedule. Smooth mechanical operation lowers the starting load on the motor and therefore on the capacitor. Test the balance of the door by disconnecting the opener and lifting the door by hand; a properly balanced door should stay open halfway and require only modest force. An unbalanced door forces the motor to work harder every cycle.
Schedule a professional inspection every two to three years. A trained technician can measure capacitor health, check motor current draw, and identify early signs of wear before complete failure occurs.
When Professional Service Is the Better Choice
Many homeowners successfully replace a capacitor themselves. Yet certain situations call for expert help. If the opener is still under warranty, opening the housing may void coverage. If the wiring appears burned or the motor smells of overheated insulation, additional repairs are likely needed. Multi-horsepower commercial-style openers or units with complex logic boards also benefit from specialized knowledge.
A bad capacitor stops your opener. Call for repair at (855) 321-2976. Trained technicians arrive with the correct replacement parts, diagnostic tools, and the experience to restore full function quickly and safely. They also inspect related components so the same problem does not return within weeks.
Restoring Reliable Daily Operation
A functioning garage door opener motor capacitor is the quiet foundation of everyday convenience. When it fails, the disruption is immediate and frustrating. By recognizing the humming symptom, confirming the exact microfarad rating, discharging the old part safely, and installing a precise replacement, most owners can return their opener to reliable service.
The process rewards careful attention to detail. Matching specifications, respecting residual charge, and testing thoroughly after installation prevent repeat visits and protect the more expensive motor and electronics. For those who prefer not to work with electricity or who encounter additional issues, professional assistance remains only a phone call away.
Maintaining the entire opener system—springs, cables, sensors, and the capacitor—ensures years of smooth, quiet operation. A few minutes of preventive care each season far outweighs the inconvenience of a door that refuses to move on a rainy morning or late at night.
The next time the motor hums without lifting the door, the diagnosis is clear. Address the motor capacitor promptly, follow the safety steps, and restore the reliable access that modern households depend upon every day.
Restore Reliable Door Operation – Call for Professional Help