The Garage Door Opener Learn Button: Programming Multiple Remotes
In today’s busy households, a reliable garage door opener is more than a convenience—it’s essential for daily life. Yet many homeowners struggle when adding new or replacement remotes. The solution lies in one small but powerful feature: the garage door opener learn button.
Expert Garage Door Remote Programming – Call for Fast Help!
This comprehensive guide walks you through everything you need to know about the learn button, how it works, and step-by-step instructions for programming multiple remotes on popular brands including LiftMaster, Genie, and Chamberlain. Whether you’re a DIY enthusiast or simply want to save time and money, mastering this process will restore full control of your garage access.
Programming your own garage door remotes is straightforward, safe, and empowering when done correctly.
What Is the Garage Door Opener Learn Button?
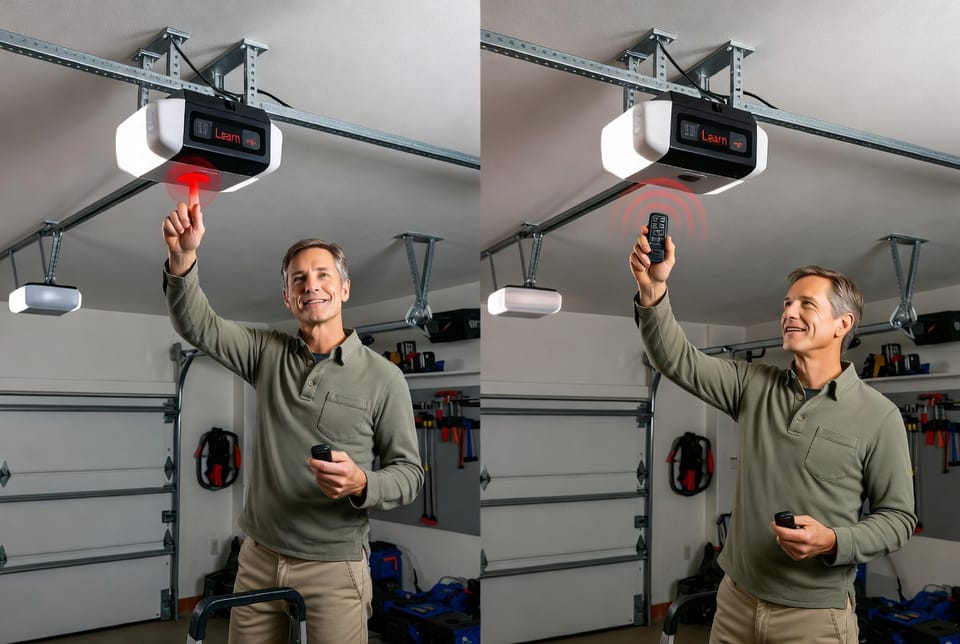
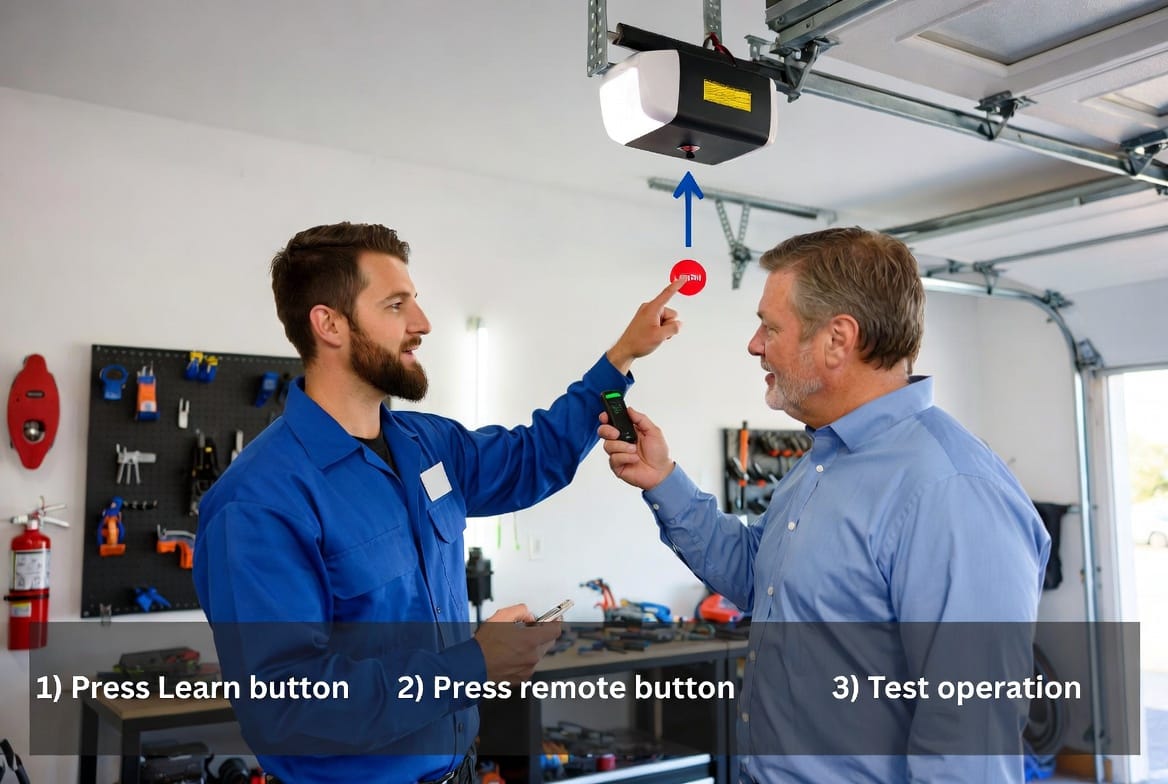
The learn button is the key synchronization tool built into most modern garage door openers. It allows the opener’s receiver to pair with new remote controls, keypads, or even smart home devices.
What it does:
- It puts the garage door opener into “learning mode” for a short period (usually 30 seconds).
- During this window, it captures the unique signal code from your remote.
- Once synced, the remote can safely command the door to open, close, or stop.
This feature eliminates the need for complicated wiring or professional reprogramming in most cases. It’s designed for user-friendly operation while maintaining high security standards.
Locating the Learn Button on Your Opener
Finding the learn button is the first critical step.
Typical locations include:
- On the back panel of the motor unit (most common)
- On the side of the opener housing
- Near the hanging antenna wire (often colored)
Pro Tip: Most units have the button clearly labeled “Learn” in colored text (red, orange, purple, or black depending on the model and age). If your opener is over 10 years old, consult your manual as button placement may vary.
Programming for LiftMaster and Chamberlain Openers
LiftMaster and Chamberlain openers (often the same parent company) use a straightforward process:
- Locate and press the Learn button on the opener. The indicator light will glow steadily or flash.
- Within 30 seconds, press and hold the desired button on your remote control for 3 seconds.
- Release the button. The opener light should flash or click, confirming successful pairing.
- Test the remote by pressing the button from outside the garage.
To program multiple remotes: Repeat the process for each additional remote. The system can typically store 5–12 remotes depending on the model.
Programming for Genie Garage Door Openers
Genie systems often feature a red, orange, or purple Learn button:
- Press and release the Learn button (LED will light up).
- Press the remote button three times in quick succession.
- Wait for the opener lights to flash, indicating successful programming.
- Test the remote immediately.
Genie openers are known for their compatibility with older and newer remotes, making them versatile for households adding multiple users.
Advanced Tips for Programming Multiple Remotes
Managing several remotes requires organization and best practices:
- Assign specific buttons for different openers if you have multiple garage doors.
- Clear existing codes when needed by holding the Learn button for 10–15 seconds until the LED turns off. This erases all previously programmed remotes.
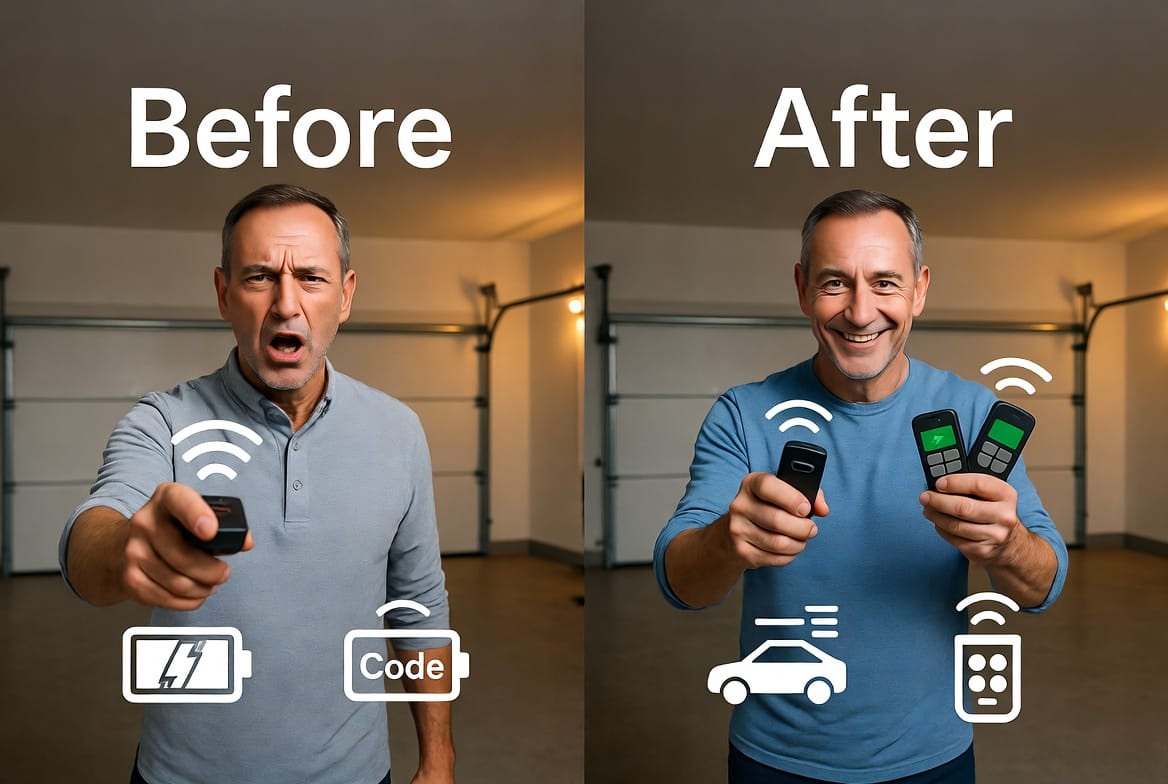
- Replace remote batteries regularly. Weak batteries are the most common reason for programming failures.
- Keep original remotes as backups during the process.
Safety First: Always stand clear of the garage door path when testing. Ensure children and pets are supervised, as garage doors are heavy and powerful.
Troubleshooting Common Issues
Even with correct steps, occasional challenges may arise:
- Remote not working after programming: Check battery strength and ensure you pressed the Learn button first.
- Opener light doesn’t flash: Wait 1–2 minutes and retry. Older units may need a longer reset period.
- Interference problems: Move away from Wi-Fi routers, cordless phones, or large metal objects during programming.
- Maximum remote limit reached: Clear all codes and reprogram only the remotes you currently need.
With patience and the right approach, most issues resolve quickly without professional intervention.
Why Proper Programming Matters
Correctly programming your garage door opener remotes ensures:
- Enhanced home security through unique rolling codes
- Convenience for every family member
- Cost savings by avoiding unnecessary service calls
- Peace of mind knowing your system works reliably
Modern openers feature rolling code technology, making them significantly more secure than older fixed-code models.
When to Call a Professional
While most homeowners can successfully program their own remotes, certain situations benefit from expert assistance:
- Complex smart home integrations
- Very old or discontinued opener models
- Persistent technical issues after multiple attempts
- Commercial or multi-door installations
Ready to take control of your garage access? Programming your own remotes is an achievable and satisfying project for most homeowners.
We provide fast, reliable service and can assist with everything from simple programming to complete system upgrades.
Don’t let a few remotes disrupt your daily routine. Master your garage door opener learn button and enjoy seamless access every time.
Program Your Garage Door Remotes Today – Call Now!