The Garage Door Opener Gear Kit: Replacing Worn Gears
Garage door openers perform tireless work every day, lifting heavy doors with precision and safety. At the heart of many traditional chain-drive and belt-drive units sits a critical component: the drive gear. When this gear wears out, the entire system can grind to a frustrating halt. The good news is that a simple garage door opener gear kit restores full function without the expense of replacing the whole opener. This guide explains why gears fail, how to recognize the classic symptoms, and the straightforward DIY process for installing a fresh gear kit. You will finish with the confidence to handle this common repair yourself and keep your garage door operating smoothly for years.
Save vs Full Opener – Call for Your Gear Kit
Understanding the Role of the Drive Gear
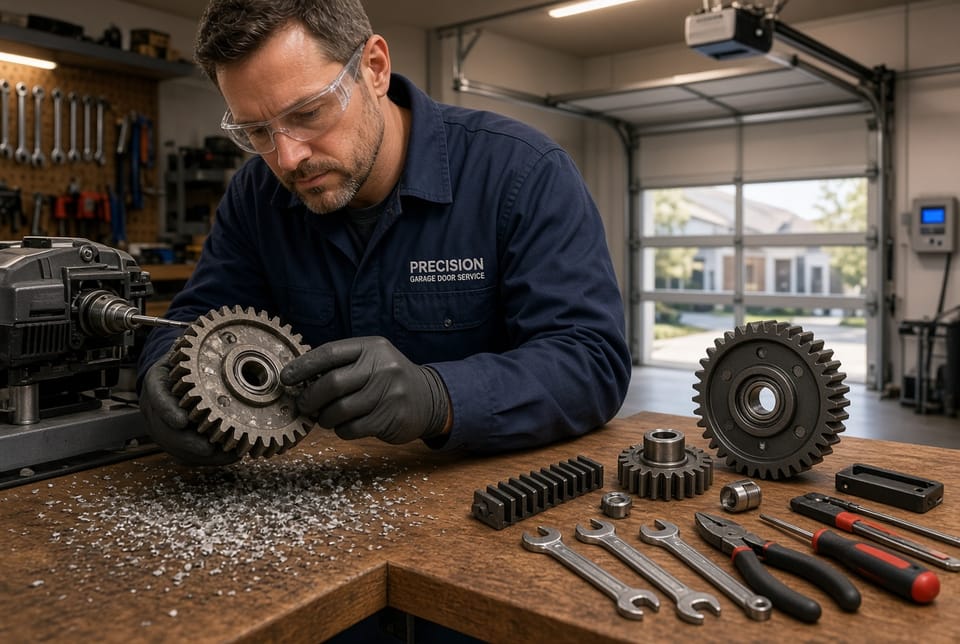
The drive gear transfers power from the motor to the chain or belt that raises and lowers the door. In most residential openers manufactured over the past several decades, the gear is made of high-strength plastic or nylon. This material choice keeps production costs reasonable and reduces noise during normal operation. Metal gears appear in some older or commercial-grade units, yet plastic remains the industry standard for everyday home use.
Because the gear meshes constantly with a metal worm gear or sprocket, it absorbs continuous stress. Over thousands of cycles, that stress slowly erodes the teeth. Once the teeth become rounded or break away, the motor continues to spin while the door stays motionless. Recognizing this single point of failure early prevents further damage to the opener and the door itself.
Why Gears Wear Out: Metal Versus Plastic
Plastic gears dominate modern openers for good reason. They are quieter, lighter, and less expensive to produce than metal counterparts. However, plastic has clear limitations under repeated load. Temperature swings inside a garage—from freezing winter nights to scorching summer days—cause the material to expand and contract. Combined with the constant torque of a heavy door, microscopic cracks eventually form at the base of each tooth.
Metal gears, by contrast, resist wear far longer. They handle higher torque and extreme temperatures without deforming. The trade-off is increased noise, greater weight, and higher manufacturing cost. Most homeowners therefore encounter plastic gears. Understanding the material difference helps set realistic expectations: plastic gears are designed as serviceable wear items, not lifetime components.
Several factors accelerate wear:
- Frequent daily cycles (families with multiple vehicles often open and close the door ten or more times a day)
- Unbalanced or heavy doors that force the opener to work harder
- Lack of regular lubrication on the chain or rail
- Age—most plastic gears begin showing wear after seven to twelve years of normal use
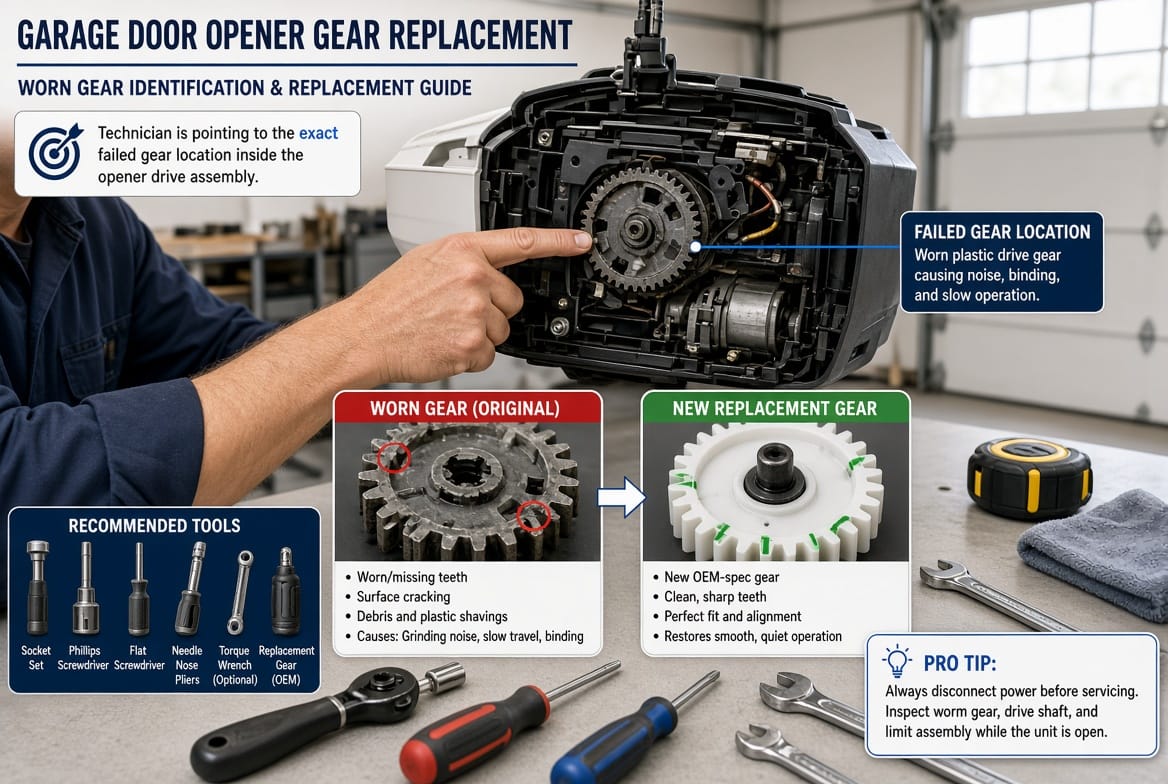
When the plastic teeth finally strip, the opener motor still hums or runs, yet the door refuses to move. That is the classic signal that a gear kit replacement is required.
Clear Signs That Your Gears Have Failed
Early detection saves time and money. Listen and watch for these unmistakable indicators:
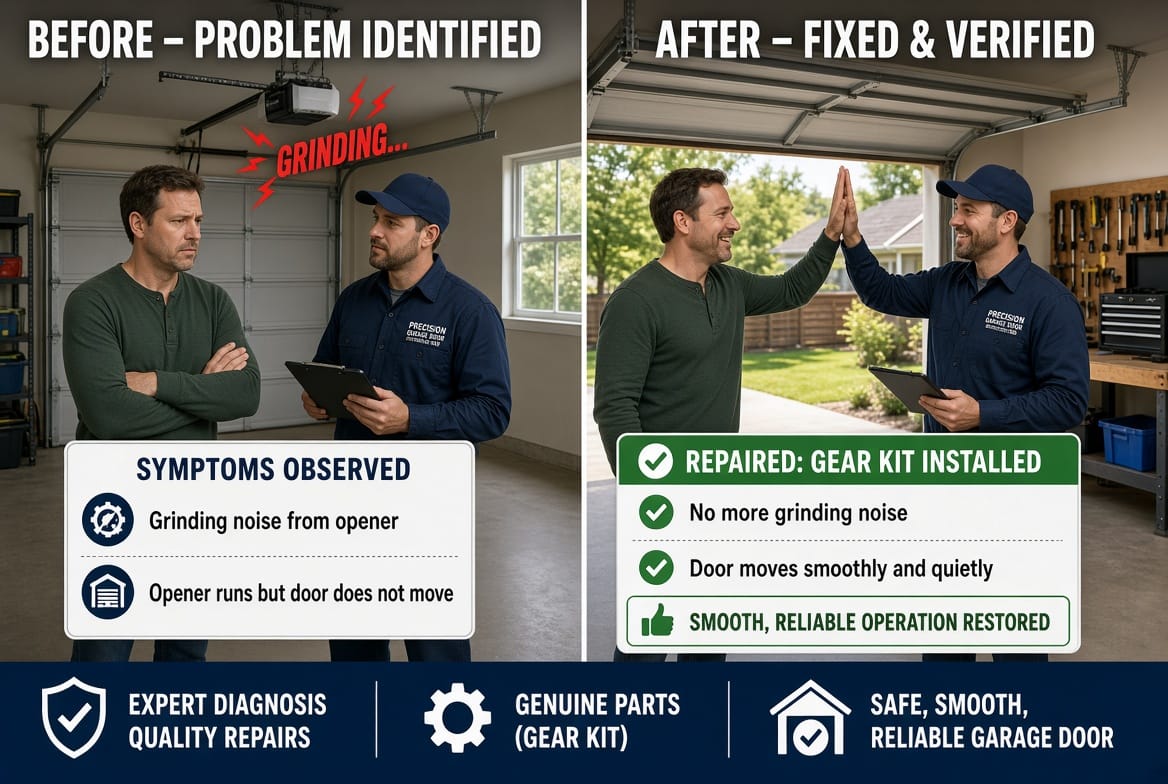
- Grinding or loud clicking noises coming from the opener housing while the motor runs
- The opener motor activates and the light may flash, yet the door remains completely still
- Visible plastic shavings or black dust scattered on the floor beneath the motor unit
- Intermittent operation—sometimes the door moves a few inches before stopping
- A burning plastic smell after the opener has attempted to cycle
These symptoms almost always point to worn drive gears rather than a failed motor or broken spring. A motor that runs freely without moving the door is rarely the culprit; the power is simply not transferring through the stripped gear.
The Smart Solution: Installing a Garage Door Opener Gear Kit
Replacing the entire opener can cost several hundred dollars plus professional labor. A quality garage door opener gear kit, on the other hand, typically includes the main drive gear, the matching worm gear if needed, and any required bushings or clips. The kit is engineered specifically for your opener model and costs a fraction of a new unit. Most homeowners with basic tools can complete the job in under an hour.
Tools and Materials You Will Need
Gather these items before you begin:
- Compatible gear kit matched to your opener brand and model
- Screwdrivers (Phillips and flat-head)
- Socket set or adjustable wrench
- Needle-nose pliers
- Work light or headlamp
- Clean rags and a small brush for debris removal
- Optional: light machine oil for reassembly
Safety comes first. Unplug the opener from the electrical outlet and disconnect the battery backup if present. Pull the emergency release cord so the door is free of the trolley. Place a sturdy ladder under the motor unit and lock the door in the closed position with a clamp or heavy object to prevent accidental movement.
Step-by-Step Replacement Process
- Remove the opener cover. Most units secure the plastic or metal housing with a few screws. Set the cover aside carefully.
- Locate the drive gear assembly. It sits directly above or beside the motor shaft and meshes with the worm gear.
- Take a clear photo of the existing setup. This visual reference makes reassembly far easier.
- Disconnect any wires or limit-switch linkages that may obstruct access, labeling them if necessary.
- Remove the retaining clips, screws, or bolts holding the old gear in place. Plastic gears often slide off the shaft once the clip is freed.
- Clean the shaft and surrounding area thoroughly. Remove all plastic fragments and old grease.
- Install the new gear from the kit. Align the keyway or flat side of the shaft correctly, then secure with the provided hardware.
- If the kit includes a new worm gear, replace it at the same time for optimal mesh and quieter operation.
- Reconnect any previously removed components and double-check alignment.
- Replace the cover, restore power, and test the opener with the door disconnected first. Once smooth operation is confirmed, reconnect the trolley and run several full cycles.
The process is methodical rather than complex. Taking your time with each step ensures a professional-quality result.
Advantages of Choosing a Gear Kit Over a Full Opener Replacement
Selecting a gear kit delivers multiple benefits:
- Significant cost savings—often less than one-fifth the price of a new opener
- Minimal downtime—most repairs finish the same afternoon
- Environmental responsibility—extending the life of a still-functional motor and electronics reduces waste
- Preservation of existing features—your current remote programming, smart-home integration, and safety sensors remain intact
- Proven reliability—fresh gears restore the original quiet, smooth performance
Many homeowners discover that after the gear replacement the opener feels better than it has in years. The motor no longer strains, and the door travels evenly without hesitation.
Preventing Future Gear Wear
A few simple habits dramatically extend the life of the new gears:
- Test the door balance twice a year. Disconnect the opener and lift the door by hand; it should stay halfway open without assistance.
- Lubricate the chain or belt according to the manufacturer schedule using a garage-door-specific lubricant.
- Keep the tracks clean and free of debris.
- Avoid forcing the door closed manually when the opener is engaged.
- Schedule a professional safety inspection every few years to catch imbalance or spring issues early.
These practices protect the investment you have just made in the gear kit and keep the entire system operating at peak efficiency.
Common Questions About Gear Kit Replacement
Is the repair truly DIY-friendly?
Yes. If you can change a light fixture or assemble basic furniture, you possess the necessary skill level. Clear instructions included with quality kits further simplify the process.
Will any gear kit fit my opener?
No. Always match the kit to your exact brand and model number, usually found on a sticker on the motor housing. Universal kits exist, yet model-specific kits guarantee perfect fit and quiet mesh.
What if the motor still does not work after gear replacement?
In rare cases the motor bearings or capacitor may have suffered secondary stress. A quick continuity test or professional diagnosis resolves the issue. Most of the time, however, the new gears alone restore full operation.
How long will the new gears last?
With proper door balance and occasional lubrication, replacement gears commonly provide another eight to twelve years of reliable service.
Restoring Quiet, Reliable Operation
A worn garage door opener gear does not mean the end of your current unit. The garage door opener gear kit offers a precise, affordable, and satisfying repair that returns the system to like-new performance. By recognizing the grinding noise, the motor-run-without-movement symptom, and the other clear warning signs, you can act before further damage occurs. The replacement process itself is straightforward, requires only common tools, and yields immediate results.
Instead of discarding a perfectly good motor and electronics, choose the targeted solution. Fresh gears deliver smooth travel, reduced noise, and renewed peace of mind every time you press the remote. When you are ready for the correct gear kit matched to your opener. Expert guidance ensures you receive the exact components needed for a successful DIY repair. Take action today and enjoy years of dependable garage door operation once again.
Restore Smooth Operation – Call Now for Gear