The Garage Door Limit Switch: Adjusting Where the Door Stops
Limit switches are the unsung heroes of your garage door system. They ensure the door travels exactly where it should — stopping cleanly at the fully open position and sealing tightly at the bottom when closed. When these switches fall out of alignment, everyday convenience turns into frustration and potential safety concerns.
Fix Your Garage Door Limits Today – Call Now!
The good news? Adjusting the garage door limit switch is a straightforward process that restores smooth, quiet, and dependable operation. In this comprehensive guide, we walk you through exactly how limit switches control open and close positions, the telltale signs of misadjustment, and a complete step-by-step procedure you can follow with confidence. Whether you’re a homeowner looking to maintain your system or simply want to understand the mechanics, this article delivers the authoritative insights you need for lasting results.
Understanding How Limit Switches Control Your Garage Door Travel
Every modern garage door opener relies on limit switches to tell the motor precisely when to stop. These small but critical components — usually two adjustment screws or dials mounted directly on the opener unit — monitor the door’s position as it moves along its tracks.
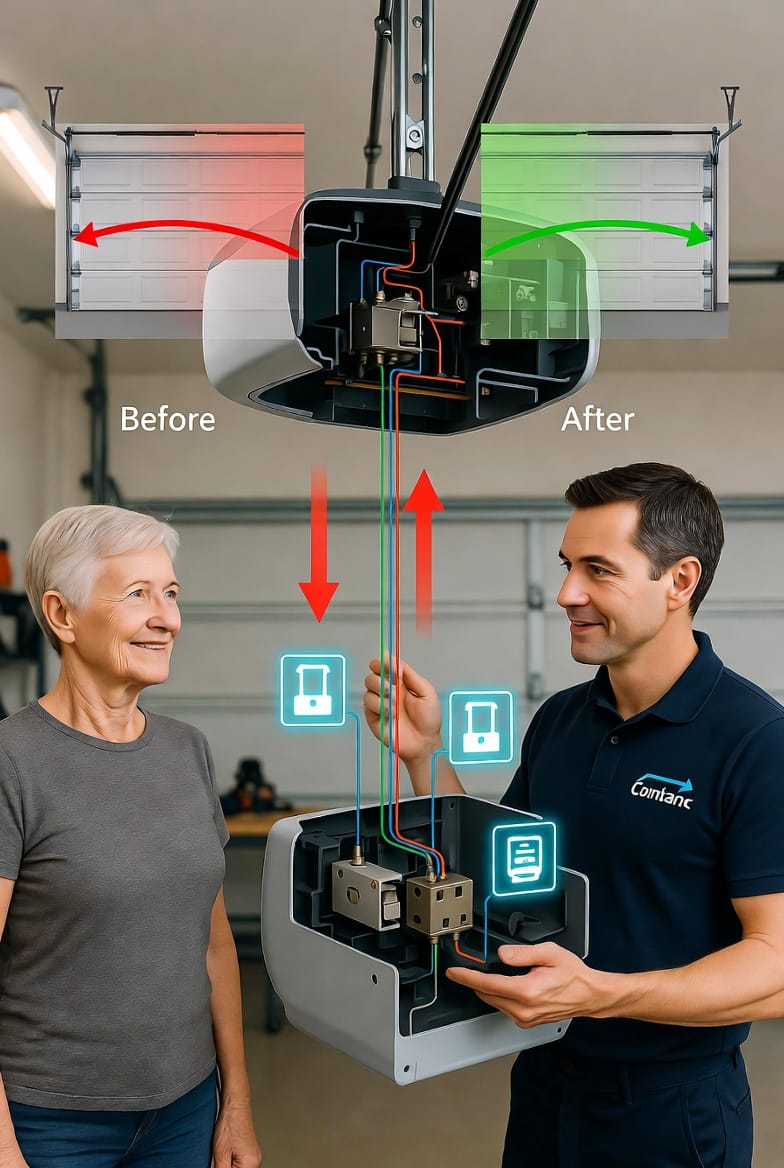
One switch governs the open limit, signaling the motor to stop once the door reaches the desired height at the top of the garage. The second controls the close limit, ensuring the door lowers fully and presses gently against the floor or weather seal without excessive force.
As the opener’s trolley, chain, belt, or screw drive moves the door, the mechanism physically or electronically triggers these switches. When the correct point is reached, the switch cuts power to the motor, halting travel instantly. This prevents over-travel that could damage the door, tracks, or opener itself.
Properly calibrated limit switches deliver consistent performance day after day. They eliminate unnecessary strain on springs, cables, and rollers while maintaining the security and energy efficiency your garage relies on. When everything is in balance, you enjoy silent, reliable operation every time you press the remote or wall button.
Common Signs Your Garage Door Limit Switch Needs Adjustment
Misadjusted limit switches rarely happen overnight, but the symptoms become unmistakable over time. Recognizing these issues early helps you address them before minor annoyances escalate into costly repairs or safety hazards.
Here are the most frequent indicators:
- The door reverses prematurely before reaching the floor, often triggered by the safety sensors interpreting the incomplete close as an obstruction.
- A noticeable gap remains at the bottom when the door should be fully sealed, allowing drafts, pests, and light to enter while reducing security.
- The door stops short of the full open position, leaving it hanging awkwardly and limiting headroom or vehicle clearance.
- The door hits the ground with a thud and immediately reverses, indicating the close limit is set too aggressively.
- Unusual noises or jerky movement during the final inches of travel, signaling the opener is fighting against an incorrect stop point.
These problems not only affect convenience but can accelerate wear on the entire system. The reassuring truth is that a quick garage door limit switch adjustment typically resolves all of them in minutes, restoring the factory-fresh performance you expect.
Why Proper Limit Switch Adjustment Matters for Safety and Longevity
Beyond daily convenience, correctly set limit switches play a vital role in overall garage door safety. A door that doesn’t close fully creates security vulnerabilities, while one that slams too hard can damage seals, bend tracks, or stress the torsion springs.
By taking the time to adjust the garage door limit switch, you protect your investment, reduce energy loss through gaps, and ensure the built-in safety features — such as auto-reverse and infrared sensors — function exactly as designed. Homeowners who maintain proper travel limits report fewer service calls, quieter operation, and greater peace of mind knowing their family and vehicles are protected behind a securely sealed door.
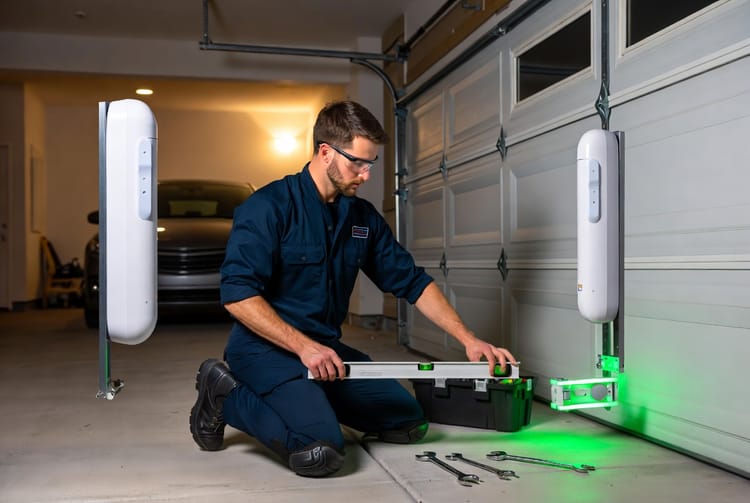
Tools and Safety Precautions Before You Begin
Before touching any adjustment screws, gather the right tools and follow essential safety steps. You will need:
- A sturdy step ladder rated for your weight
- A Phillips or flat-head screwdriver (depending on your opener model)
- Work gloves and safety glasses
- A helper for spotting if possible
- Your opener’s manual for reference (though the procedure is similar across major brands)
Safety first: Disconnect power to the opener by pulling the red emergency release cord or unplugging the unit. This prevents accidental activation while you work. Never stand directly under the door during testing, and always test the auto-reverse feature after any adjustment.
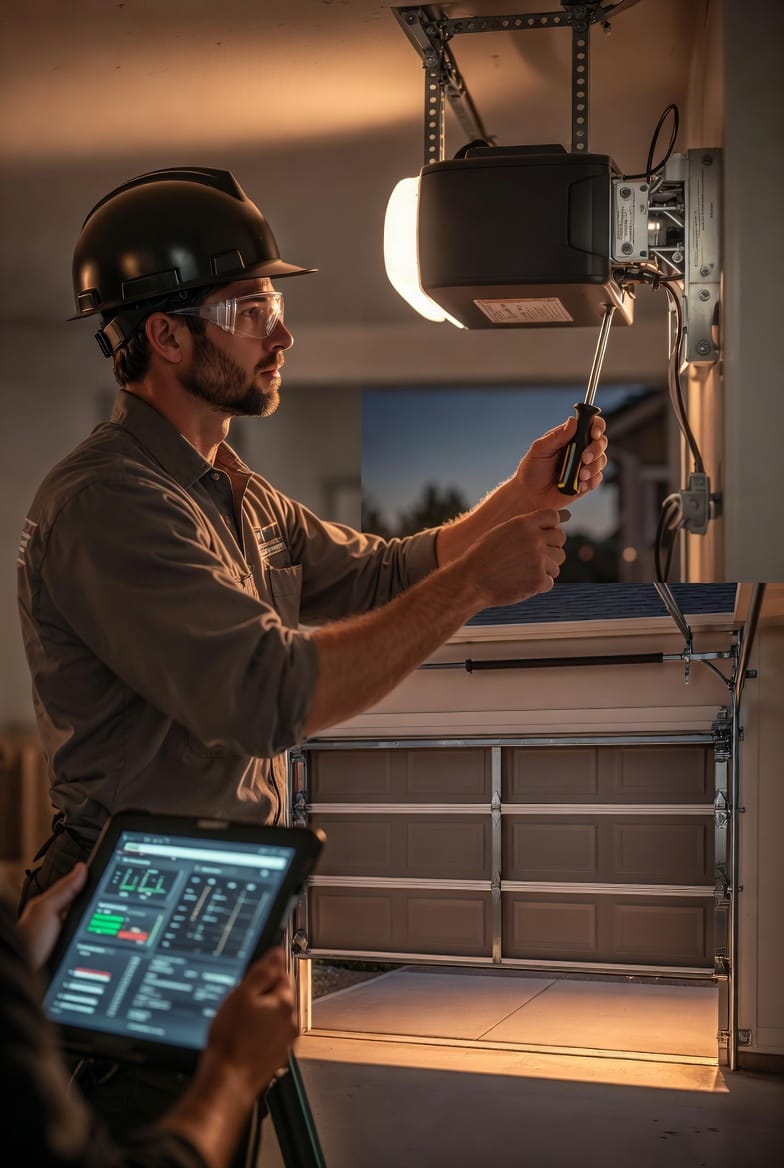
Step-by-Step Procedure to Adjust the Garage Door Limit Switch
With safety measures in place, you’re ready to restore perfect travel. The process involves small, incremental changes and repeated testing — the key to professional-level results.
- Reconnect power and test current operation. Run the door through several full cycles using the wall button or remote. Note exactly where it stops short, reverses early, or leaves a gap. This baseline observation guides your adjustments.
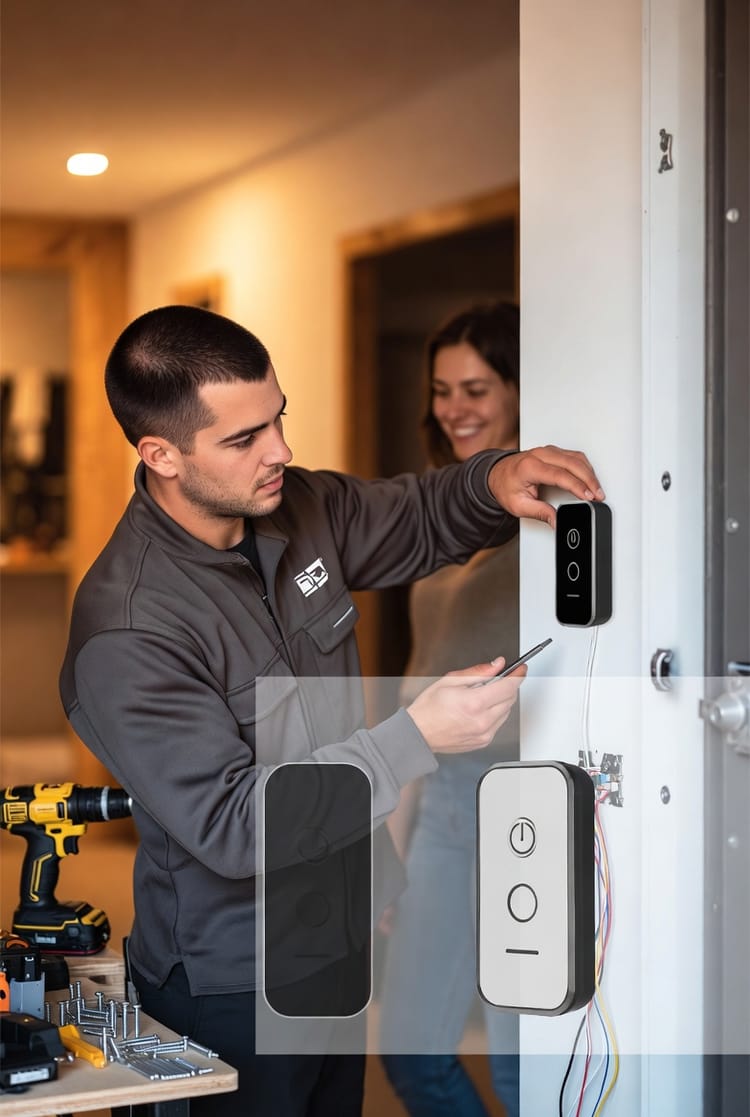
- Locate the limit switch controls. On most openers, you’ll find two clearly labeled screws or dials on the side or back of the motor unit — one for the open limit and one for the close limit. They are often color-coded or marked with arrows indicating direction.
- Adjust the close limit first. If the door leaves a gap or reverses too soon, turn the close-limit screw one-quarter turn in the direction that increases travel (usually clockwise on many models — confirm with your unit). This tells the motor to continue a bit farther before stopping.
- Run a test cycle. Activate the opener and watch the door lower. It should now press gently against the floor without bouncing or reversing. If it still falls short, repeat the quarter-turn adjustment and test again. Avoid large turns; small changes yield the best precision.
- Fine-tune the open limit. If the door stops short of full height, locate the open-limit screw and turn it in the appropriate direction to extend travel. Test by opening the door fully — it should reach the desired height without straining against the tracks or header.
- Cycle the door multiple times. After both limits are set, run the opener through at least five complete open-and-close cycles. Listen for smooth, quiet movement and confirm the door seals evenly at the bottom while clearing the header completely when open.
- Verify safety features. Place a 2x4 board flat on the floor and close the door. It must reverse immediately upon contact. Test the photo-eye sensors by blocking the beam during closing; the door should stop and reverse. These checks ensure your adjustment hasn’t compromised built-in protections.
- Make final micro-adjustments if needed. Sometimes a final one-eighth turn on either screw perfects the seal or clearance. Patience here separates amateur fixes from professional outcomes.
Throughout the process, work methodically and test after every change. Most homeowners achieve flawless results within 10–15 minutes once they understand the simple logic of the limit switches.
Common Mistakes to Avoid During Adjustment
Even experienced DIYers occasionally over-adjust or skip safety steps. Turning the screws too far can cause the door to over-travel, damaging the opener or tracks. Always adjust in quarter-turn increments and never force the mechanism. If your opener uses electronic limits instead of mechanical screws, the process may involve pressing and holding programming buttons — refer to the specific model instructions to avoid resetting the entire unit unintentionally.
When to Call a Professional for Limit Switch Service
While many adjustments are straightforward, certain situations call for expert help. If the switches are seized, wiring appears damaged, or the door still behaves erratically after multiple attempts, it’s time to contact a trained technician. Professionals bring specialized tools, years of brand-specific experience, and the ability to diagnose related issues such as worn gears or misaligned tracks in one visit.
Long-Term Benefits of Perfectly Adjusted Limit Switches
Once your garage door limit switch is correctly set, you’ll notice immediate improvements: quieter operation, reduced wear on moving parts, better weather sealing, and enhanced security. The door will respond predictably every time, giving you confidence in your home’s largest moving system. Regular checks every six months keep performance optimal and can extend the life of your opener by years.
Simple Maintenance Tips to Keep Limits Accurate
After adjustment, maintain your system with these easy habits:
- Lubricate rollers, hinges, and tracks twice a year.
- Inspect the bottom weather seal for cracks or gaps.
- Test safety features monthly.
- Keep the opener rails clean and free of debris.
These small steps complement your limit switch adjustment and ensure consistent, trouble-free performance.
Achieve Perfect Travel Stops for Smooth Operation
Your garage door deserves to operate exactly as designed — smoothly, safely, and reliably. By understanding and adjusting the garage door limit switch, you take control of where the door stops and restore the seamless convenience you rely on every day.
Perfect travel stops for smooth operation. If you prefer expert assistance or want to ensure the job is done right the first time.Our trained technicians deliver fast, precise service that keeps your garage door working flawlessly for years to come.
Professional Limit Switch Adjustment – Call Now!