The Garage Door Keypad Programming: Step-by-Step Guide
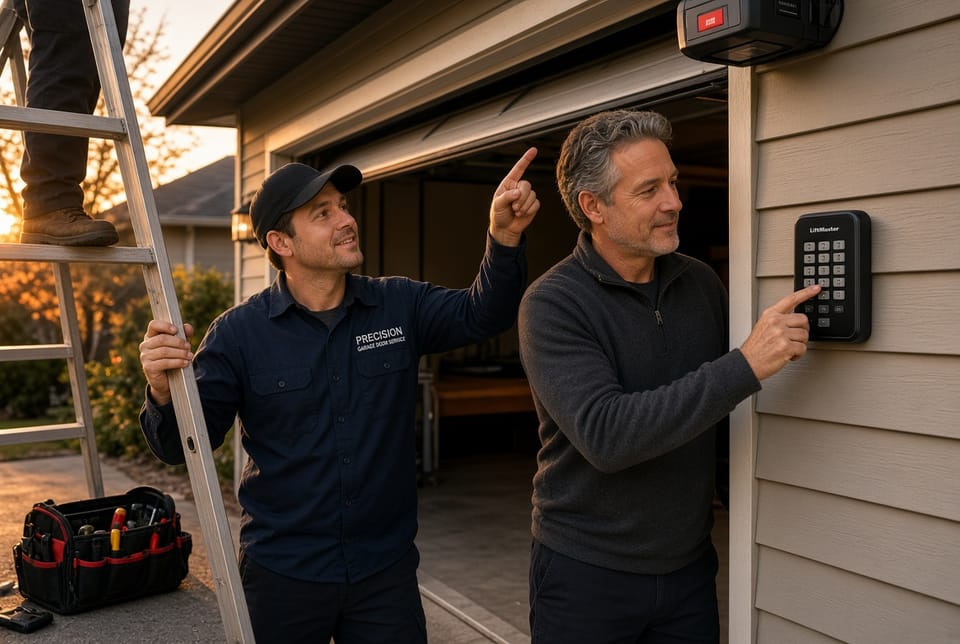
A wireless garage door keypad delivers convenient, key-free entry for the whole family. When programmed correctly, it works reliably in rain, cold, or darkness. This guide walks you through programming a wireless keypad for the most common opener brands—LiftMaster, Genie, and Chamberlain—plus how to clear old codes and solve typical problems. Follow the steps carefully and you can complete the task in just a few minutes.
Call Now for Fast Garage Door Keypad Programming Help
Why Program a Wireless Keypad?
A properly programmed keypad lets authorized users open the garage without carrying a remote or keys. It uses a rolling code system that changes the signal after every use, adding a strong layer of security. Many homeowners add a keypad after moving into a new house, replacing a worn unit, or simply wanting easier access for children, guests, or delivery drivers.
The process is straightforward once you understand the Learn button on your opener and the specific sequence for your brand. Most units store several codes, so you can give family members their own PIN if desired.
Safety First: Essential Precautions
Garage doors are heavy and move with significant force. Always follow these rules:
- Clear the area under and around the door before starting. Never stand or allow anyone to stand in the door’s path.
- Keep children and pets away during programming; the door may move unexpectedly.
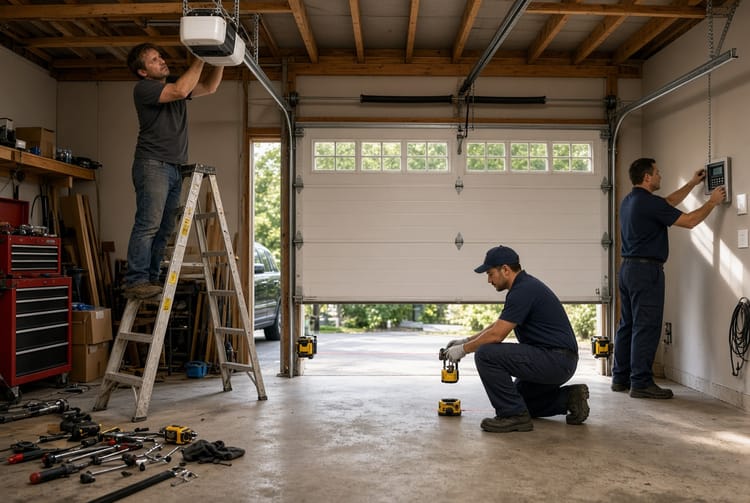
- Use a stable ladder when reaching the motor unit. Have a second person steady the ladder if possible.
- If the opener lights flash or the door starts moving during programming, stay clear until it stops.
- Disconnect power only if your specific model instructions require it (most modern units do not).
These simple precautions keep the job safe and stress-free.
Tools and Preparation
You need very little:
- A fresh 9-volt battery (keep one spare on hand)
- A stepladder
- Your chosen 4-digit PIN written down
- The owner’s manual for your exact keypad and opener model (recommended)
Locate the Learn button on the motor unit hanging from the ceiling. It is usually on the back or side, often behind the light lens, and may be yellow, purple, orange, red, green, or white depending on the year and model. An LED next to the button confirms when the unit is in programming mode.
Write down your new PIN before you begin. Choose a number that is easy for your household to remember but not obvious (avoid 1234 or your street address).
General Programming Principles
Nearly all wireless keypads follow the same core idea:
- Put the opener into Learn mode by pressing its Learn button.
- Enter your PIN on the keypad within a short time window (usually 30 seconds).
- Confirm with an Enter, Home, or Up/Down button until the opener lights flash or you hear a click.
The exact button sequence and timing vary by brand. Always work quickly once the Learn LED is lit.
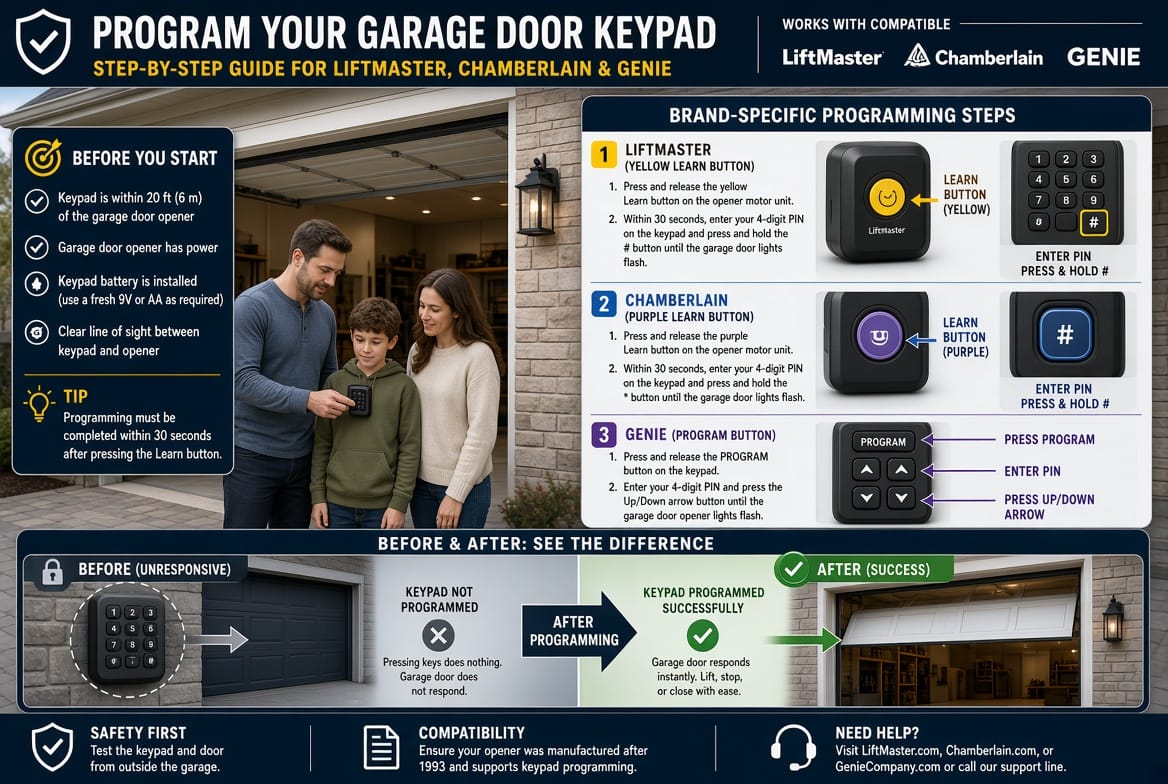
Programming a LiftMaster Wireless Keypad
LiftMaster openers are among the most popular. Many models use Security+ 2.0 or Security+ 3.0 technology.
Typical steps for most current LiftMaster keypads:
- Press and release the Learn button on the motor unit. The LED glows.
- Within 30 seconds, enter your 4-digit PIN on the keypad.
- Press and hold the Enter or Home button until the opener lights blink or you hear two clicks.
- Release the button and test immediately by entering the PIN again.
Some universal LiftMaster keypads require an extra identification step. Press and hold the * and # buttons until the keypad lights stop blinking, enter the PIN then #, enter the opener ID number from the chart in your manual, then # again. After that, press the Learn button and finish with the PIN plus 0 or Enter.
If your opener has a white Learn button and is connected to the myQ app, you can often set or change the PIN directly in the app for extra convenience and temporary guest codes.
Test the keypad several times from different distances to confirm reliable range.
Programming a Chamberlain Wireless Keypad
Chamberlain and LiftMaster share the same parent company, so the procedures are very similar. Many Chamberlain keypads (such as the 940EV series) use the identical Learn-button method.
- Locate the Learn button (color tells you the frequency: yellow for newer Security+ 2.0, purple for 315 MHz, etc.).
- Press and release it.
- Enter your 4-digit PIN and press Enter the number of times that matches your Learn-button color (one time for yellow, two for purple, three for red/orange, four for green).
- Press 0, then press the Learn button again if instructed.
- Finish by entering the PIN and holding Enter until confirmation.
Wall-control panels on some Chamberlain systems also allow programming without climbing to the motor. Use the menu to select “Program” then “Keypad,” enter the PIN, and confirm.
Because the brands are closely related, a Chamberlain keypad often works on a LiftMaster opener and vice versa when the frequencies match.
Programming a Genie Wireless Keypad
Genie uses Intellicode rolling-code technology. The keypad usually has a dedicated PROGRAM button and an Up/Down arrow.
First-time PIN setup on the keypad itself:
- Make sure the keypad backlight is off.
- Press 3-5-7, then the PROGRAM button. The LED blinks slowly.
- Enter your new PIN (3 to 8 digits).
- Press PROGRAM again. The LED blinks twice and turns off.
Pairing the keypad to the opener:
- Press and release the Learn or Program button on the Genie motor unit. The LED begins flashing.
- Within 30 seconds, enter your PIN on the keypad and press the Up/Down arrow 3–4 times slowly until the door moves.
- Wait for the backlight to time out, then test by entering the PIN and pressing Up/Down once.
For multi-door setups, an extra programming sequence tells the keypad how many openers it will control. Consult your specific Genie model chart if you have more than one door.
Always program the keypad before mounting it permanently on the wall.
How to Clear Old Codes
Clearing old codes is essential when you move into a new home, after a tenant leaves, or if you suspect someone still has an old PIN.
On LiftMaster and Chamberlain openers:
Press and hold the Learn button for about 6–10 seconds until the LED turns off. This erases all stored remotes and keypads. You must then reprogram every device you want to keep.
On Genie openers:
The method depends on the model. Newer units often require holding the Program button until a blue LED appears, then holding both Up and Down arrows until both LEDs turn solid blue. Older Intellicode models use a long press on the Learn Code button until the LED stops blinking.
After clearing, immediately reprogram your new keypad and any remotes. This “clean slate” approach guarantees no leftover access remains.
Some keypads also have their own reset sequence (holding 0 and Enter, or PROGRAM + Up/Down for several seconds) that returns the pad to factory settings.
Changing an Existing PIN
If you already know the current code, many keypads let you change it without a full reset:
- Enter the old PIN.
- Press and hold # or the PROGRAM button.
- Enter the new PIN and confirm.
If you have forgotten the old PIN, you must use the full Learn-button method described earlier. There is no master override code for security reasons.
Troubleshooting Common Keypad Problems
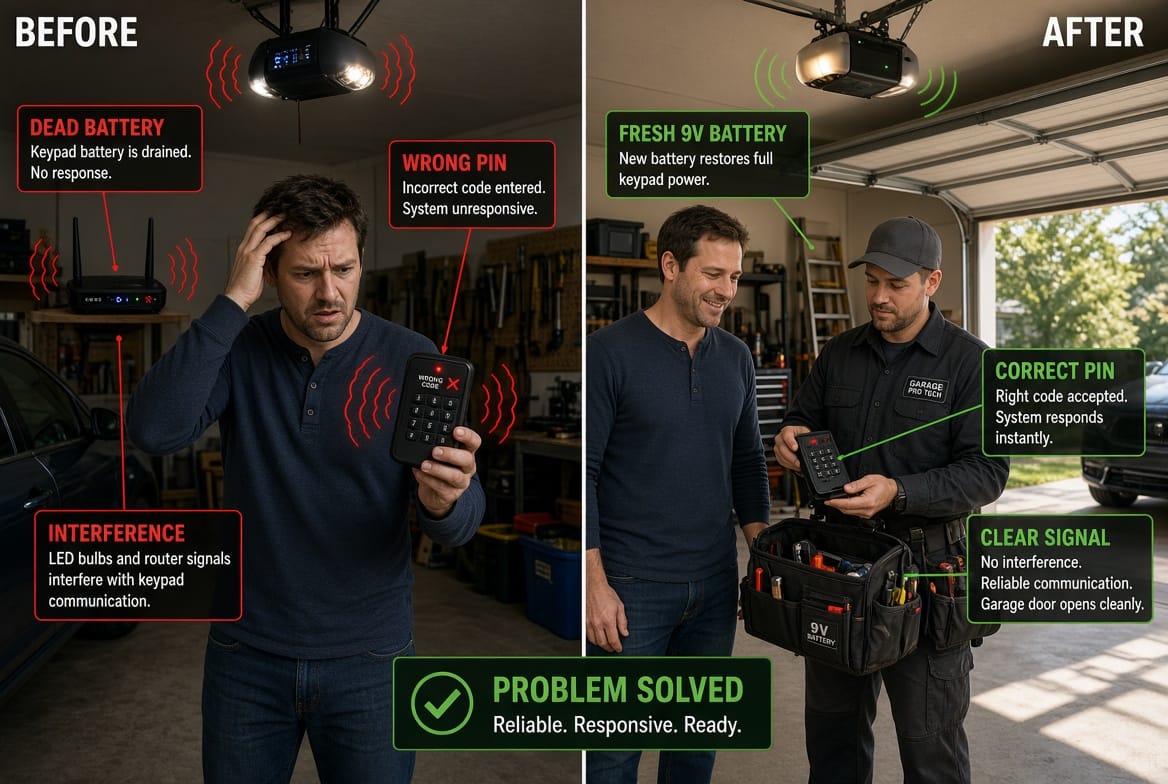
Even a correctly programmed keypad can stop working. The three most frequent issues are a dead battery, a wrong code, and radio-frequency interference.
Dead battery
The keypad backlight does not light when you press a button. Replace the 9-volt battery with a fresh alkaline or lithium cell (lithium performs better in cold weather). Clean any corrosion on the contacts with a pencil eraser or isopropyl alcohol. After replacement, you may need to re-enter the PIN and re-pair with the Learn button because some models lose memory when power is completely gone.
Wrong code or lockout
The keypad lights up but the door does not move, or it beeps rapidly. Double-check that you are using the exact PIN you programmed. After several incorrect attempts, many units lock out for 3–15 minutes as a security feature—simply wait and try again. If the code was changed by another household member, reprogram a new one.
Interference
The keypad works only at very close range or works intermittently. Common sources include cheap LED bulbs in the opener itself, nearby Wi-Fi routers, baby monitors, or ham radios. Swap the opener bulbs for garage-door-rated LED or incandescent bulbs. Temporarily unplug other electronics to isolate the source. Relocating the keypad a few inches or adding a signal booster (available from the manufacturer) often solves persistent range problems.
Other quick checks:
- Confirm the interior wall-control “Lock” or “Vacation” button is not activated.
- Make sure the opener antenna wire hangs straight down and is not damaged.
- Test the wall button and handheld remote. If they also fail, the issue is with the opener, not the keypad.
Extra Tips for Long-Term Reliability
- Replace the keypad battery once a year even if it still works.
- Keep a written copy of the PIN in a secure place (not on the keypad itself).
- Program a temporary PIN for guests or service technicians and delete it afterward.
- Clean the keypad buttons periodically; dirt can cause missed keystrokes.
- If you have multiple openers, label each keypad or use different PINs to avoid confusion.
When to Call a Professional
Most homeowners finish programming in under ten minutes. Call for help if:
- The Learn button does not respond or the LED never lights.
- You hear grinding or the door moves erratically.
- The keypad has water damage or cracked buttons.
- You prefer not to climb a ladder.
A trained technician can diagnose wiring, receiver, or compatibility issues quickly and safely.
Program your keypad easily.
A wireless garage door keypad is one of the simplest upgrades you can make for daily convenience and security. By following the brand-specific steps, clearing old codes when needed, and addressing the three most common problems, you restore reliable access in a single afternoon. Keep this guide handy, use a fresh battery, and enjoy key-free entry for years to come.
Call Now for Easy Garage Door Keypad Setup & Troubleshooting