The Garage Cleanout Dumpster: Decluttering and Organizing
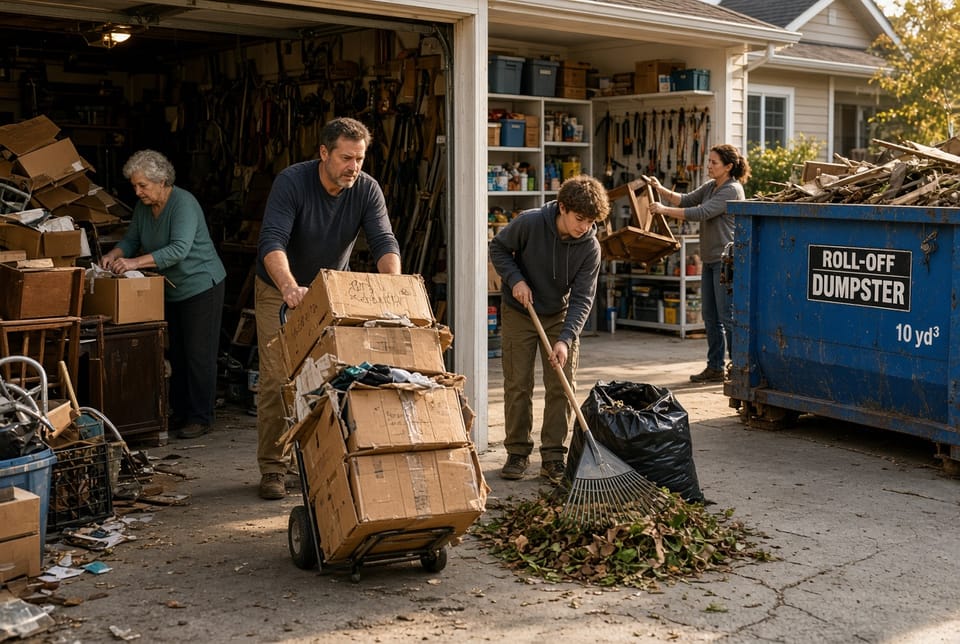
A cluttered garage ranks among the most common household frustrations. Year after year, old boxes stack higher, broken furniture collects dust in corners, and yard waste spills over from seasonal projects. What began as convenient storage slowly transforms into an unusable space that steals square footage, hides tools, and creates daily stress every time the door opens. The solution many homeowners discover is straightforward yet transformative: renting a garage cleanout dumpster. This dedicated container turns an overwhelming project into a manageable process of decluttering and organizing.
Call Now for Fast Garage Cleanout Dumpster Delivery
Using a dumpster for garage cleanouts delivers more than simple trash removal. It provides a structured system for sorting, loading, and maximizing every cubic foot so the space becomes functional again. Whether the goal is reclaiming room for vehicles, creating a workshop, or simply restoring order, the right approach ensures success without unnecessary effort or leftover debris.
Understanding the Common Need for Garage Cleanouts
Most garages accumulate a mix of items over time. Cardboard boxes filled with forgotten seasonal decorations sit beside broken chairs and tables no longer safe for use. Yard waste from lawn care or garden projects—branches, leaves, and soil bags—mixes with outdated appliances or damaged shelving. The result is restricted movement, potential safety hazards, and lost opportunities for productive use of the area.
A garage cleanout dumpster addresses this exact challenge. Delivered directly to the driveway, the container stays on-site for the duration of the project, allowing steady progress at a comfortable pace. Homeowners load at their own schedule, avoiding multiple trips to distant disposal sites and the associated fuel costs or time drains. This convenience alone makes the difference between endless procrastination and completed organization.
The process begins with recognizing that nearly every garage holds a combination of recyclable, disposable, and salvageable materials. Separating these categories early prevents overload and keeps the dumpster efficient. Professional dumpster service ensures the container size matches the volume of debris, so nothing is left behind once the project ends.
Preparing for a Successful Garage Cleanout
Preparation sets the foundation for smooth progress. Begin by clearing a path from the garage entrance to the driveway where the dumpster will sit. Measure available space to confirm the container fits without blocking vehicle access or neighboring properties. Most standard residential dumpsters range in size to handle typical garage volumes, providing ample room for boxes, furniture, and organic waste.
Next, gather basic tools: heavy-duty work gloves, dust masks, sturdy trash bags for smaller items, and a push broom for final sweeping. Protective eyewear proves useful when handling broken materials. Schedule the dumpster delivery for a day when weather permits outdoor work and helpers can assist if needed. Having extra hands turns heavy lifting into shared effort and shortens the overall timeline.
Create a simple inventory of major categories before loading begins. List old boxes, broken furniture, yard waste, and any other bulky pieces. This mental map guides sorting and prevents random dumping that wastes valuable container space. A prepared approach keeps the project focused and reassuring, transforming what feels monumental into a series of clear steps.
Sorting Tips for Efficient Decluttering
Effective sorting forms the core of any successful garage cleanout. Without it, the dumpster fills unevenly and leaves residual clutter. Follow these practical guidelines to organize materials before they enter the container:
- Separate by material type: Group cardboard and paper products together, wood and metal furniture in another area, and organic yard waste in a third. This method speeds loading and supports responsible disposal practices.
- Identify salvageable items first: Check boxes for usable contents or unbroken furniture that might serve elsewhere in the home. Set these aside for donation or reuse rather than automatic disposal.
- Break down bulky pieces: Flatten cardboard boxes completely. Disassemble broken furniture frames when possible to reduce volume. Cut longer branches from yard waste into shorter lengths that nest tightly.
- Create temporary staging zones: Designate spots inside or just outside the garage for each category. Work from the back of the garage forward so cleared areas stay clear.
- Handle hazardous or restricted items carefully: Keep paints, chemicals, batteries, and electronics out of the general dumpster. These require separate handling to avoid contamination risks and comply with local guidelines.
- Use bags strategically: Place smaller debris and loose yard waste into durable bags. This contains messes and allows denser packing once inside the dumpster.
Sorting reduces the overall volume dramatically. What appears as an impossible mountain of junk often compresses into manageable loads once categorized and prepared. The process also brings unexpected discoveries—tools long missing or sentimental items worth preserving—making the cleanout feel rewarding rather than purely laborious.
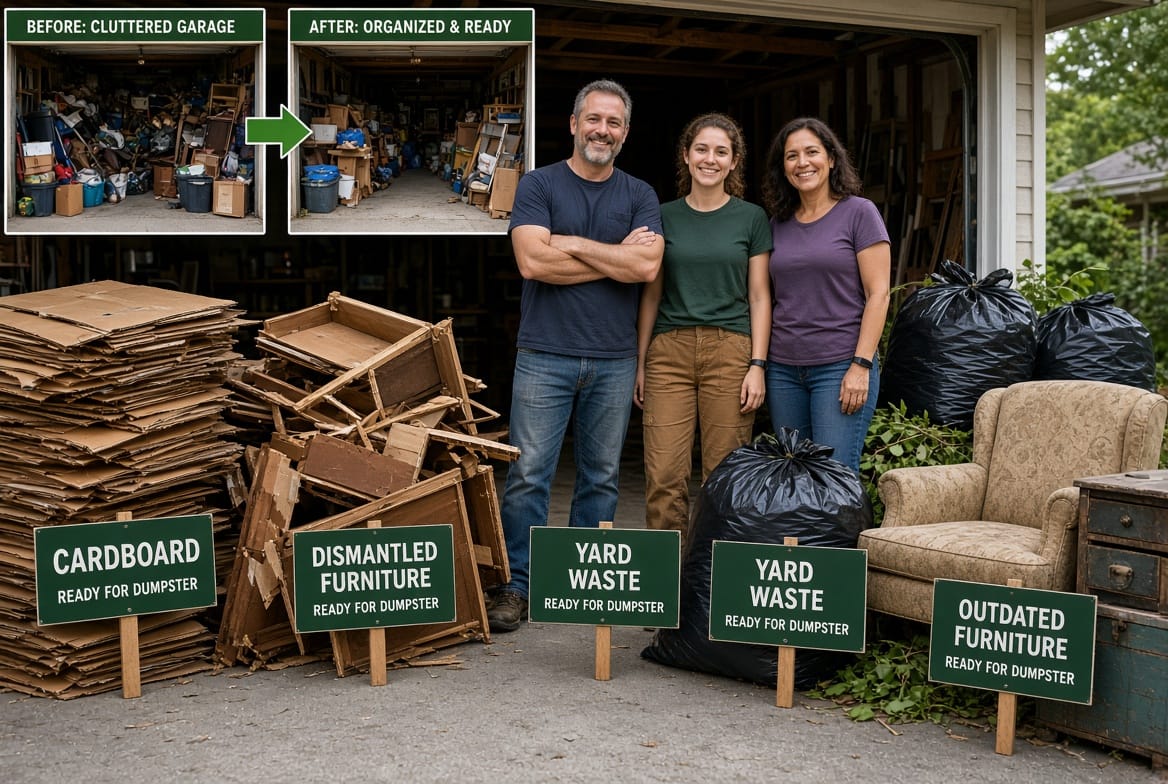
Maximizing Space Inside the Dumpster
Once sorted materials stand ready, loading technique determines how much the dumpster can hold. Poor placement leaves air pockets and forces an extra rental or leftover debris. Strategic packing turns the same container into a high-capacity solution.
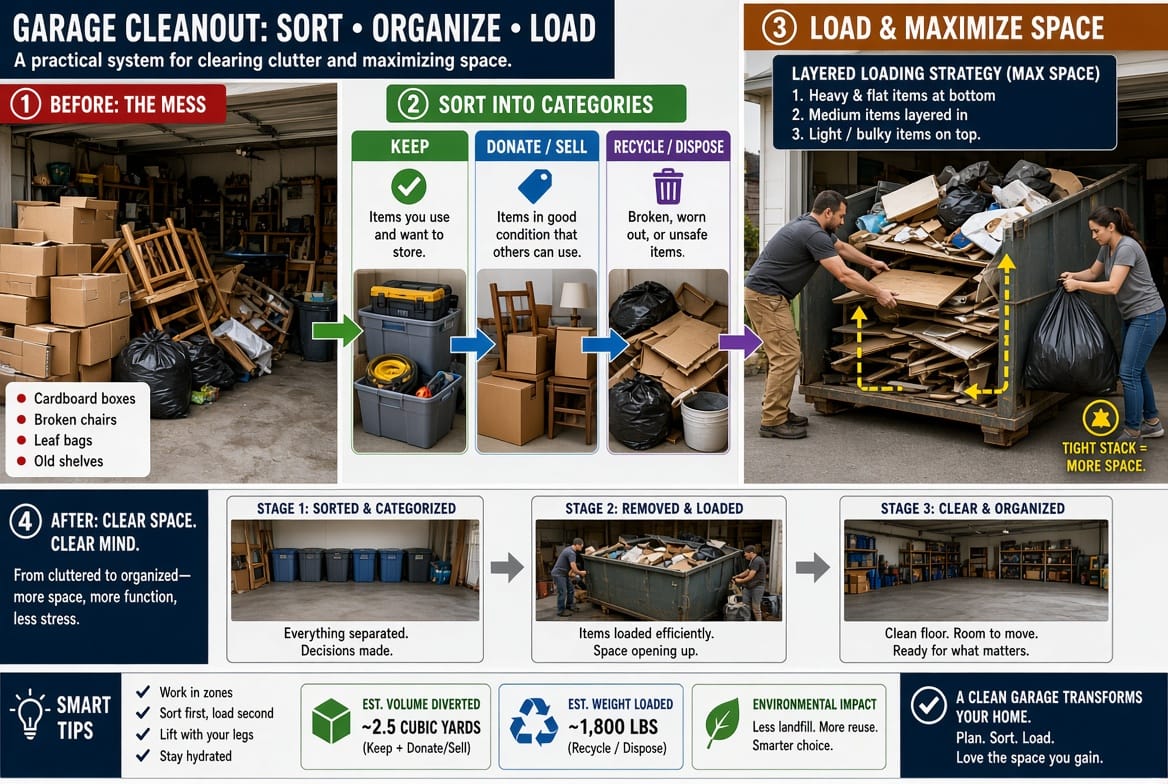
Start with the heaviest and largest items at the bottom. Place broken furniture frames, solid wood pieces, and dense boxes first to create a stable base. Distribute weight evenly across the floor of the container rather than piling everything in the center. This balance prevents shifting during transport and protects the dumpster structure.
Next, fill voids with medium-sized debris. Nested boxes and compacted yard waste fit neatly into gaps between larger pieces. Break down remaining furniture further if needed—remove legs, fold collapsible items, or stack tabletops vertically against the walls. Always keep the load level and below the top rim to meet safety and transport standards.
Continue layering lighter materials toward the top. Bags of leaves or smaller cardboard pieces settle into remaining spaces. Periodically walk around the dumpster and rearrange loose items with a rake or shovel to eliminate empty pockets. The goal is dense, even packing that uses every available cubic foot without exceeding weight limits.
Several additional tactics further maximize capacity:
- Load from the rear forward: Begin at the end closest to the garage and work outward. This keeps the entrance clear for continuous movement.
- Orient long items lengthwise: Position boards, poles, or furniture legs parallel to the dumpster walls for tighter fits.
- Compress soft materials: Step carefully on bagged yard waste (while wearing sturdy boots) to reduce air volume before placing the next layer.
- Avoid overfilling risks: Never heap materials above the designated fill line. Excess height creates hazards during hauling and may incur additional fees.
- Monitor progress regularly: Pause after each major load to assess remaining space and adjust the plan if certain categories dominate.
These methods routinely allow homeowners to clear an entire two-car garage using a single appropriately sized dumpster. The sense of accomplishment grows with every successful layer, reinforcing that organization is fully achievable.
Handling Specific Materials: Boxes, Furniture, and Yard Waste
Different materials demand slightly different techniques for safe and efficient disposal.
Old boxes often form the bulk of garage clutter. Empty them completely first, checking for forgotten valuables. Flatten each box by cutting tape and unfolding seams. Stack the flattened sheets tightly against one dumpster wall or interleave them between heavier items. This approach converts bulky volume into thin layers that occupy minimal space.
Broken furniture requires caution. Inspect each piece for sharp edges, protruding nails, or unstable joints. Wear gloves and eye protection while disassembling. Remove cushions, drawers, and hardware separately. Wood frames go in first as base material; metal components can nest within open spaces. Avoid forcing oversized pieces—cutting them into smaller sections when safe ensures they fit without damaging the container.
Yard waste benefits from moisture control. Dry leaves and grass pack denser than wet material. Bag loose debris or create compact piles. Place these organic loads toward the middle or top layers so heavier solids remain stable underneath. Branches and twigs should be cut short and laid flat rather than sticking upright, preventing air gaps and potential puncture risks to the dumpster liner.
Combining these materials correctly—heavy furniture base, mixed boxes in the middle, lighter yard waste on top—creates an optimally packed load. The dumpster becomes a true partner in decluttering rather than a simple holding bin.
Safety Considerations and Common Risks
Safety remains essential throughout any garage cleanout. Heavy lifting risks include back strain or muscle injury when handling furniture alone. Always lift with bent knees and straight back, or recruit help for larger pieces. Sharp object hazards arise from broken glass, metal edges, or nails; thick gloves and careful handling minimize cuts. Dust and allergen exposure can irritate lungs, making masks and good ventilation important during sweeping and box handling.
Additional weight limit risks exist if the dumpster is overloaded with dense materials. Exceeding capacity may prevent safe hauling or generate extra charges. Stay within the provider’s stated guidelines and distribute weight evenly. Finally, trip and fall dangers increase in cluttered spaces; keep pathways clear and work methodically from one zone to the next.
Addressing these concerns proactively keeps the project positive and injury-free. A well-planned cleanout feels controlled and reassuring rather than chaotic.
The Lasting Benefits of a Decluttered Garage
Once the dumpster is filled and removed, the transformation becomes evident. Vehicles fit comfortably again. Tools and seasonal items occupy designated shelves instead of floor piles. The space supports new uses—home gym, hobby workshop, or simply clean storage—improving daily life and even property value. The psychological benefit of order cannot be overstated; walking into an organized garage reduces stress and encourages ongoing maintenance habits.
Regular seasonal reviews prevent future buildup. A quick purge every few months, supported by occasional dumpster access when larger projects arise, maintains the hard-won clarity. The initial investment of time and a single rental pays dividends in functionality for years.
Completing the Project and Moving Forward
After the final load, sweep the garage thoroughly and inspect for any remaining debris. Confirm the dumpster contents sit safely below the fill line. Contact the service provider for pickup at the scheduled time. Once the container departs, the clean space stands ready for reorganization—installing shelves, labeling bins, or simply enjoying the open floor.
Maintenance proves straightforward. Adopt a “one-in, one-out” rule for new items entering the garage. Schedule brief quarterly reviews to catch accumulation early. Should a major project arise again—renovation leftovers, storm cleanup, or another full declutter—the proven dumpster method remains available and effective.
Decluttering a garage no longer needs to feel overwhelming. With a properly sized garage cleanout dumpster, thoughtful sorting, and strategic loading, the process becomes efficient, safe, and deeply satisfying. Homeowners regain control of valuable square footage and create an environment that supports rather than hinders daily routines.
Declutter your garage with a cleanout.
Start Your Garage Cleanout – Reserve a Dumpster Now