The Flooded Basement Mold Prevention: Steps to Stop Growth
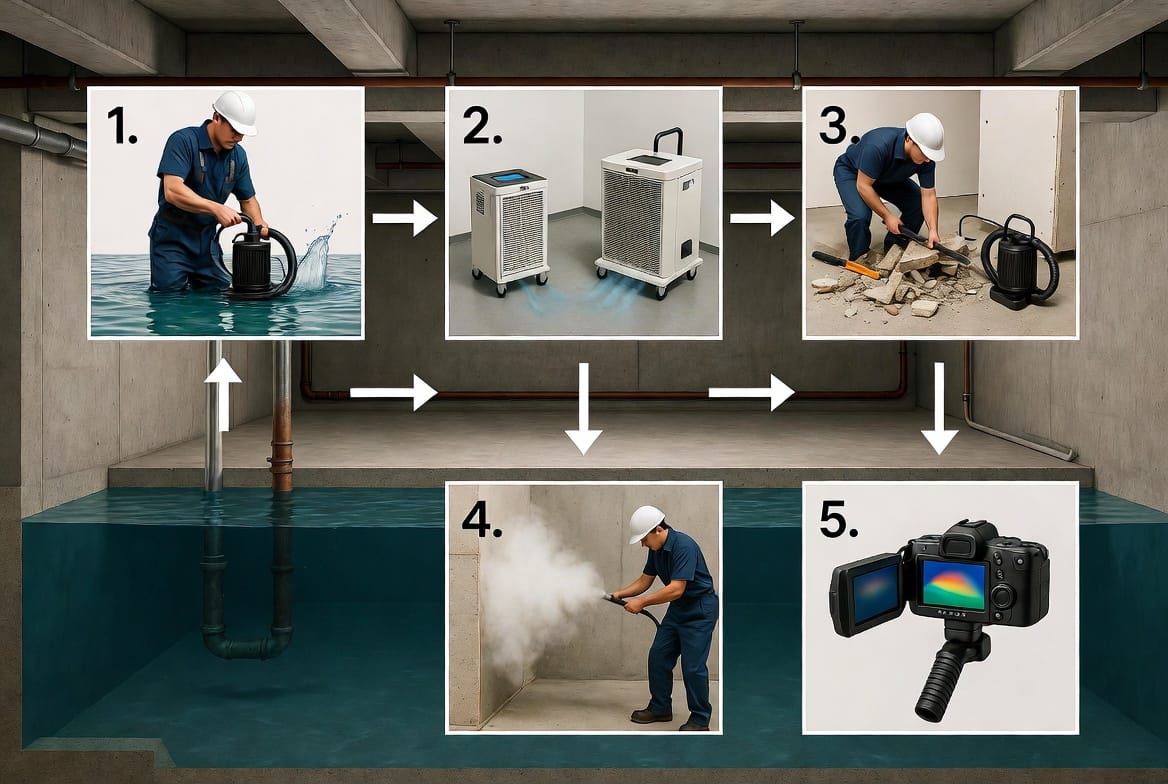
A flooded basement creates an immediate crisis that extends far beyond the visible water. Within hours, excess moisture transforms ordinary building materials into ideal breeding grounds for mold. Left unchecked, this silent invader compromises structural integrity, diminishes indoor air quality, and poses lasting health concerns for every occupant. The good news is clear and reassuring: mold growth is almost entirely preventable when precise, timed actions are taken. This comprehensive guide details the exact professional sequence required to stop mold before spores ever take hold—remove water quickly, dehumidify within 24 hours, remove wet materials, apply antimicrobials, and maintain vigilant monitoring. Follow these steps with authority and confidence, and your basement can return to a clean, dry, healthy space.
Prevent Flooded Basement Mold – Call Experts Now!
Understanding the Urgency of Mold Prevention After Flooding
Floodwater introduces not only moisture but also organic debris, soil particles, and microscopic contaminants. Basement environments—cool, dark, and often poorly ventilated—provide perfect conditions for mold colonies to establish. Research-backed timelines show that mold can begin colonizing porous surfaces in as little as 24 to 48 hours. That narrow window is why every successful prevention plan prioritizes speed and thoroughness. Homeowners who delay often face expensive remediation later; those who act decisively protect both property value and family well-being. The strategies outlined here are the same protocols used by certified restoration professionals and can be adapted for any residential or light-commercial basement.
Step One: Remove Water Quickly
The foundation of all mold prevention is the immediate and complete removal of standing water. Every gallon left behind prolongs elevated humidity and saturates materials that will later feed fungal growth.
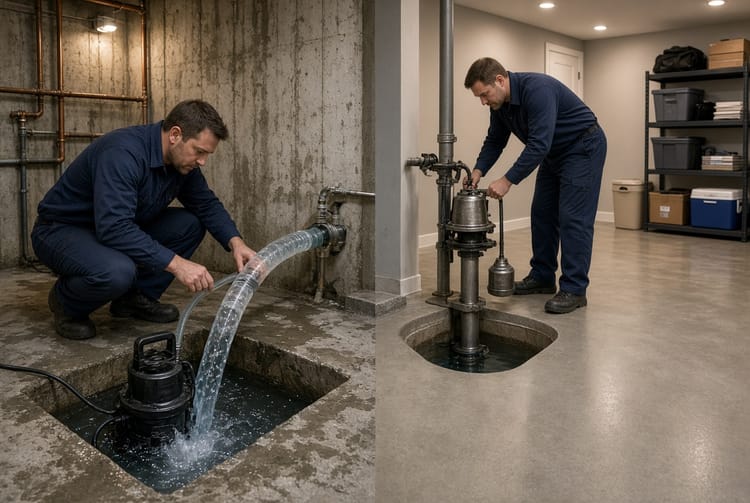
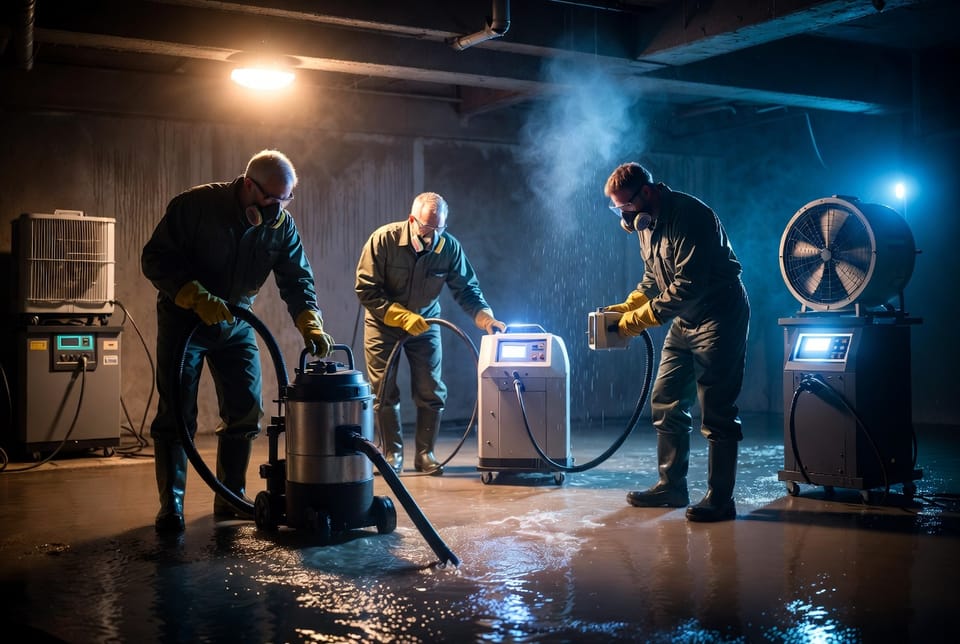
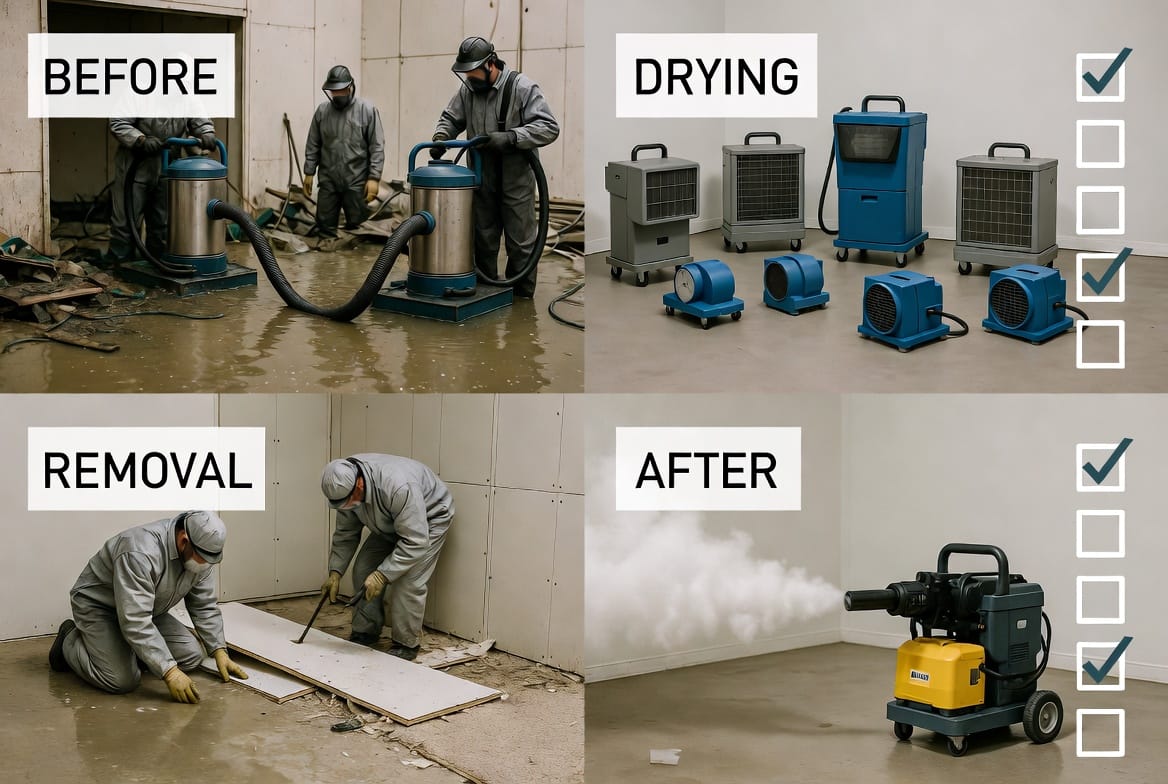
Begin by shutting off electrical power to the affected area if water has reached outlets or panels—safety always comes first. Next, use a combination of submersible pumps for deeper water and wet/dry vacuums for residual pooling. Work systematically from the lowest points outward, directing discharge hoses well away from the foundation to prevent re-entry. For large volumes, professional truck-mounted extraction units accelerate the process dramatically, removing thousands of gallons in a short time.
Once bulk water is gone, inspect every corner, including under staircases, behind storage units, and along foundation walls. Use moisture meters to confirm that free water has been eliminated. This stage typically requires several hours of continuous effort, yet it is non-negotiable. Incomplete extraction leaves hidden reservoirs that later release vapor and sustain mold. Document the process with photographs; these records prove invaluable for insurance claims and for verifying that the first critical barrier against mold has been secured.
Creating Optimal Airflow During Extraction
While water is being removed, introduce air movers to begin surface drying. Position them to create circular airflow patterns that prevent stagnant pockets. Avoid pointing fans directly at wet walls in a way that drives moisture deeper into cavities. Instead, aim for a sweeping motion across floors and lower wall sections. This concurrent approach shortens overall drying time and reduces the risk that residual moisture will linger beyond the critical 24-hour threshold.
Step Two: Dehumidify Within 24 Hours
With free water eliminated, the next non-negotiable action is aggressive dehumidification. Ambient relative humidity must be driven below 50 percent—and ideally under 40 percent—within the first day. Industrial low-grain refrigerant or desiccant dehumidifiers outperform consumer units by extracting far greater volumes of moisture from the air.
Place units strategically in the center of the space and in any isolated rooms or crawl-adjacent areas. Continuous operation is essential; modern equipment features automatic pump-out systems so collected water can be drained without interruption. Simultaneously keep air movers running to accelerate evaporation from surfaces and to feed moist air into the dehumidifiers. Monitor temperature and humidity with digital hygrometers placed at multiple heights. Record readings every few hours. A steady downward trend confirms that conditions are moving out of the danger zone for mold growth.
If outdoor weather is cool and dry, controlled ventilation can supplement mechanical drying, but never open windows when outdoor humidity exceeds indoor levels. Professional-grade equipment typically restores safe humidity levels within 24 to 36 hours when sized correctly for the cubic footage of the basement. Homeowners attempting this step with inadequate machines frequently discover that moisture remains trapped in concrete and wood, allowing mold to develop out of sight.
Why the 24-Hour Window Matters
Scientific observation of fungal biology reveals that many common indoor molds—Cladosporium, Aspergillus, and Penicillium among them—require sustained moisture to germinate. Once relative humidity drops and materials begin to dry, spore activation is interrupted. Missing this window allows mycelial networks to embed deeply, turning a simple drying project into a full-scale remediation. The reassuring truth is that disciplined adherence to the timeline almost always prevents that escalation.
Step Three: Remove Wet Materials (Carpet, Drywall, and More)
Even after bulk water and airborne moisture are controlled, porous materials that have absorbed water must be evaluated and, in most cases, removed. Carpet, padding, drywall, insulation, and particleboard rarely survive saturation without becoming future mold reservoirs.
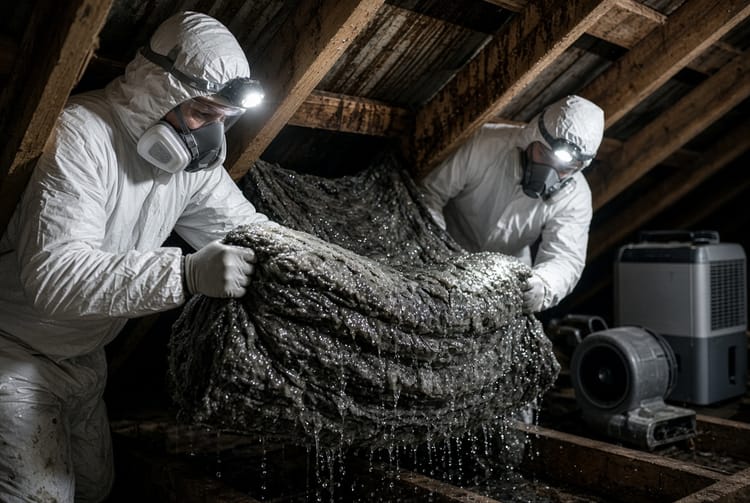
Start with flooring. Lift saturated carpet and discard both carpet and pad; the cost of replacement is far lower than the cost of repeated mold outbreaks. Concrete floors can usually be cleaned and dried in place, but any residual adhesive or underlayment should be scraped away. Move next to walls. Drywall that feels soft, shows staining, or registers elevated moisture readings above the flood line should be cut out at least twelve inches above the highest water mark. Insulation behind the drywall is almost always discarded. Baseboards, trim, and any wood that remains damp beyond 48 hours may also require removal or specialized drying techniques.
During demolition, contain the work area with plastic sheeting and negative-air machines if possible. This prevents dust and spores from migrating upstairs. Bag all debris securely and remove it promptly. The goal is to eliminate every organic food source that mold could exploit. Once wet materials are gone, the remaining structure—concrete, framing lumber, and metal—can be dried thoroughly and treated.
Assessing Salvageable Items
Not every item must be discarded. Solid wood furniture can often be cleaned, dried, and refinished. Metal shelving and plastic storage bins survive immersion if washed with detergent and dried completely. Personal belongings should be sorted quickly: papers and photographs may be freeze-dried by specialists, while clothing can usually be laundered with antimicrobial additives. Decision-making at this stage balances cost against long-term risk; when in doubt, removal is the safer, more authoritative choice for permanent mold prevention.
Step Four: Apply Antimicrobials
After surfaces are clean and beginning to dry, apply a professional-grade antimicrobial solution. These products are specifically formulated to inhibit fungal and bacterial growth on remaining materials. Choose EPA-registered formulations labeled for use after water damage. Application methods include pump sprayers for open areas, fogging machines for cavities, and wipe-on treatments for finished surfaces.
Focus especially on the bottom plates of wall framing, the underside of subfloors, and any concrete that contacted floodwater. Allow the product to dwell according to manufacturer instructions before wiping excess. Antimicrobials are not a substitute for drying; they provide an additional protective barrier once moisture levels are already declining. Reapplication may be warranted in especially humid climates or after subsequent water events. Combined with the earlier steps, this treatment dramatically reduces the probability of hidden colonies forming weeks later.
Integrating Antimicrobial Treatment with Final Drying
Continue running dehumidifiers and air movers during and after antimicrobial application. The chemical protection works best on surfaces that are progressing toward dryness. Periodic re-checking with moisture meters ensures that no area rebounds above the safe threshold. This integrated approach—mechanical drying plus chemical inhibition—forms the professional standard for reliable mold prevention.
Ongoing Monitoring for Mold
Even after the visible work is complete, disciplined monitoring remains essential for the following two to four weeks. Inspect the basement daily for any musty odors, discoloration, or fuzzy growth on remaining surfaces. Continue using a quality moisture meter on wood framing and concrete until readings stabilize at levels consistent with unaffected areas of the home. Maintain indoor relative humidity between 30 and 50 percent with a permanent dehumidifier if the basement tends toward dampness.
Install a simple remote humidity sensor that sends alerts to a smartphone; modern devices make continuous oversight effortless. If any suspicious growth appears, address it immediately with additional cleaning and drying rather than allowing it to expand. Periodic professional inspections during the first month provide an extra layer of reassurance, especially after severe flooding events.
Common Pitfalls That Allow Mold to Return
Many otherwise diligent homeowners undermine their efforts by underestimating the volume of water absorbed by materials, by shutting off drying equipment too early, or by attempting to clean rather than remove saturated drywall. Another frequent error is neglecting hidden cavities—pipe chases, electrical boxes, and the space behind finished walls. Thoroughness at every stage eliminates these vulnerabilities. When uncertainty arises, consulting certified water-damage technicians ensures that no detail is overlooked.
The Role of Professional Restoration in Guaranteeing Results
While motivated homeowners can execute many of these steps, complex or large-scale flooding often benefits from professional intervention. Certified teams arrive with commercial extraction equipment, industrial dehumidifiers sized precisely to the space, infrared cameras that reveal hidden moisture, and the experience to sequence every action within the critical timeline. Their systematic approach consistently achieves faster, more complete drying and therefore higher success rates in mold prevention. Engaging experts early also streamlines insurance documentation and reduces the total recovery time for the household.
Long-Term Basement Resilience Strategies
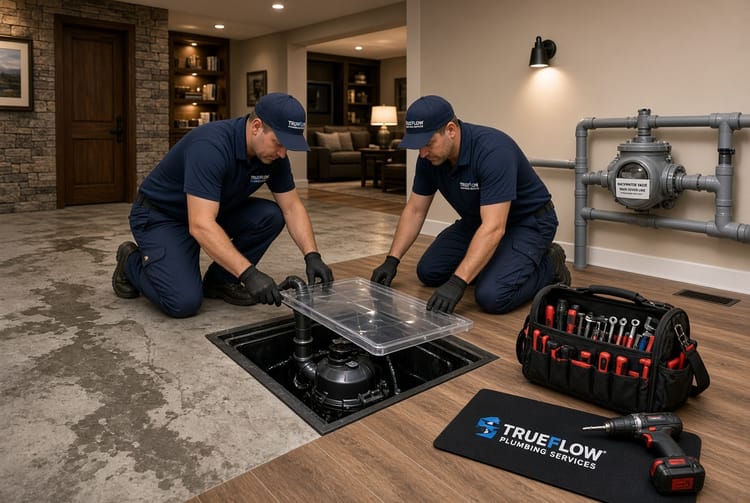
Once the immediate crisis is resolved, strengthen the basement against future water intrusion. Improve exterior grading so water drains away from the foundation. Ensure gutters and downspouts discharge at least six feet from the house. Consider a sump pump with battery backup and a water alarm system. Interior waterproofing coatings or exterior drainage systems provide additional protection in chronically wet locations. These proactive measures complement the emergency steps outlined above and keep the environment consistently inhospitable to mold.
Protecting Health During and After Cleanup
Throughout the process, prioritize personal protective equipment: N95 or higher respirators, gloves, eye protection, and disposable coveralls. Children, elderly individuals, and anyone with respiratory sensitivities should remain outside the work zone until drying and cleaning are complete and air quality has been verified. After restoration, a final HEPA vacuuming of remaining surfaces and a thorough cleaning of HVAC systems (if affected) restore healthy indoor conditions. The result is a basement that not only looks recovered but truly supports the well-being of everyone who lives above it.
Final Assurance: Prevention Is Within Reach
A flooded basement need not lead to chronic mold problems. By executing the precise sequence—remove water quickly, dehumidify within 24 hours, remove wet materials, apply antimicrobials, and maintain rigorous monitoring—homeowners and professionals alike can stop growth before it starts. Each action builds on the previous one, creating a comprehensive defense that is both scientifically sound and practically achievable. Speed, thoroughness, and the right equipment transform a potential disaster into a manageable recovery.
Prevent mold with rapid drying. When water invades your basement, every hour counts.
Prevent Flooded Basement Mold – Call Experts Now!