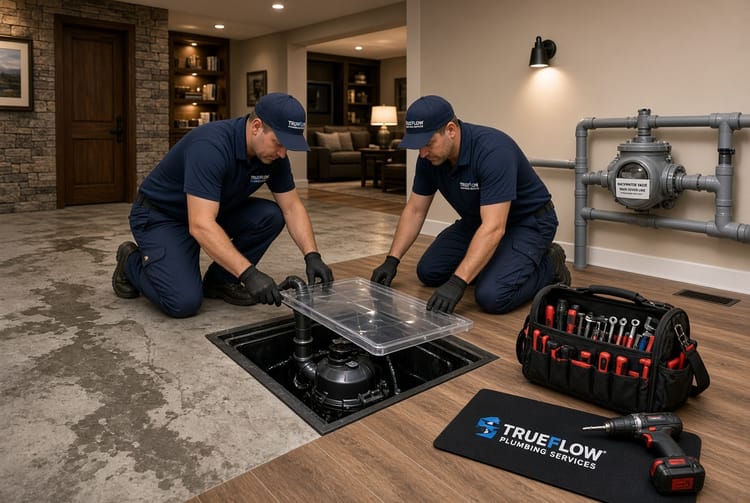
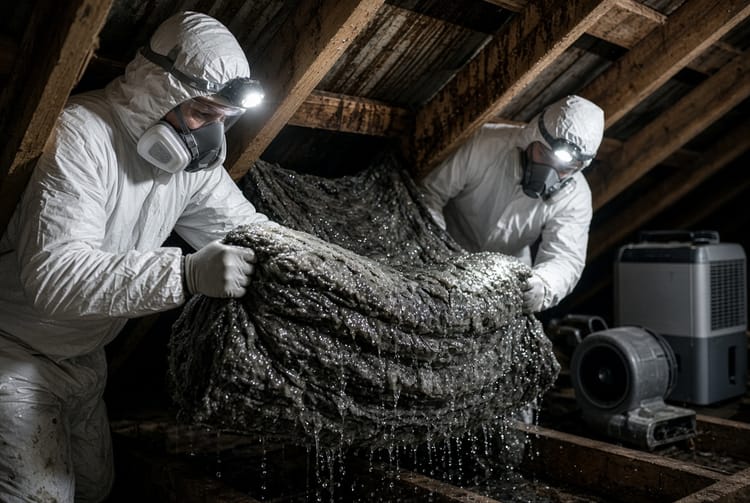
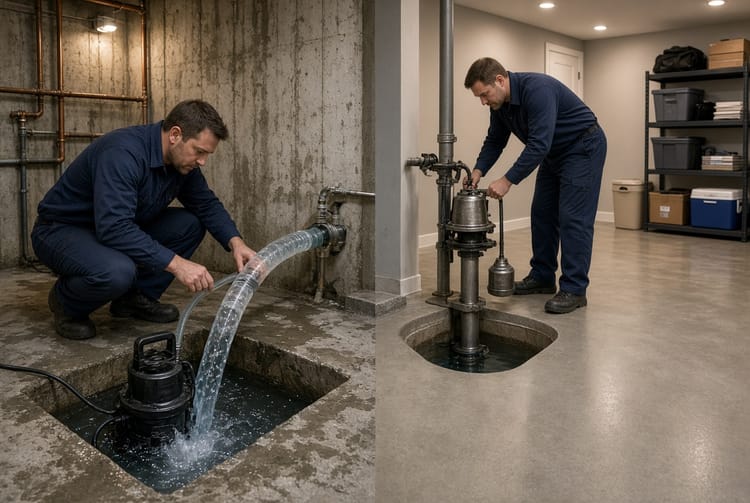
The Flooded Basement Cleanup: Steps for Safe Recovery
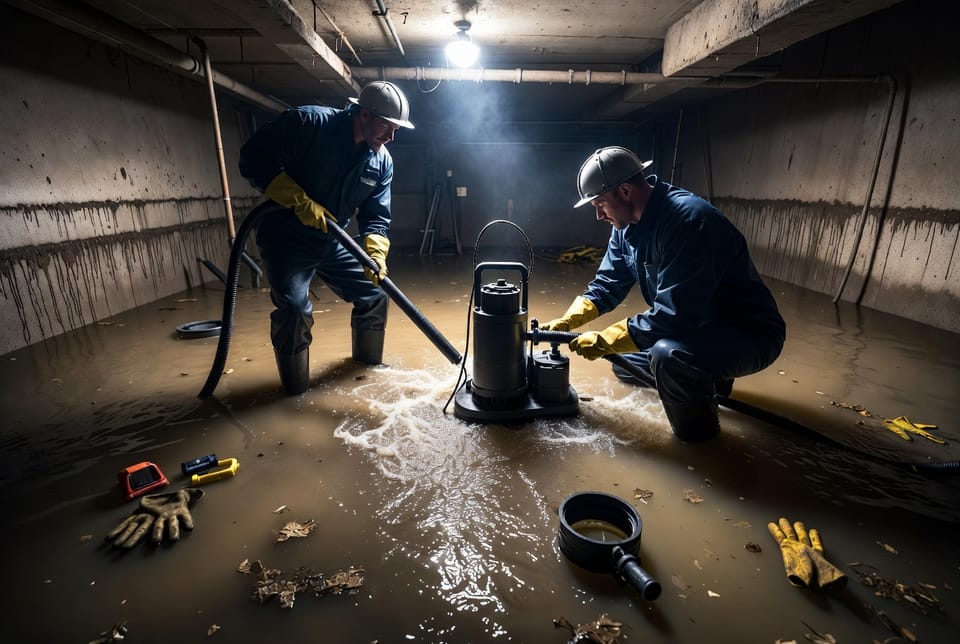
Dealing with a flooded basement can feel overwhelming, but with the right approach, you can protect your home and health effectively. Water damage in lower levels often strikes unexpectedly from heavy rains, burst pipes, or appliance failures. Prompt, methodical flooded basement cleanup prevents long-term structural issues, mold growth, and costly repairs.
Expert Flooded Basement Cleanup – Call Today!
This comprehensive guide walks you through every essential step for safe recovery. Following these procedures helps restore your space efficiently while minimizing risks. Remember, while DIY efforts work for minor incidents, professional water damage restoration ensures thorough results, especially with hidden moisture or contamination.
Image Placement Note: The main hero image above sets the professional recovery tone.
Why Quick Action Matters in Basement Flood Recovery
Basements are vulnerable due to their position below ground level. Standing water quickly saturates porous materials like drywall, flooring, and insulation. Delaying cleanup increases dangers:
- Electrical hazards from submerged outlets and wiring.
- Structural weakening as water erodes foundations and supports.
- Mold and mildew proliferation within 24-48 hours.
- Health risks including respiratory issues from airborne contaminants.
Acting swiftly with a structured plan brings peace of mind. Professional teams emphasize safety first, using specialized equipment to restore your basement to a clean, dry, and safe condition.
Step 1: Ensure Safety Before Entering the Flooded Area
Safety is non-negotiable in any flooded basement cleanup. Rushing in without precautions can lead to serious injury or worse.
- Turn off electricity at the main breaker if water reaches outlets or appliances. Never touch electrical devices with wet hands or while standing in water.
- Wear protective gear: waterproof boots, gloves, masks, and eye protection to guard against contaminated water and debris.
- Check for gas leaks or structural instability. If you smell gas or notice cracks, evacuate immediately and contact professionals.
- Avoid using household vacuums or standard extension cords, as they pose electrocution risks.
By prioritizing these measures, you create a secure environment for the recovery process. Homeowners who follow safety protocols report faster, smoother cleanups with fewer complications.
Reassuring note: When in doubt, trusted restoration experts handle these hazards with certified equipment and procedures, allowing you to focus on your family’s well-being.
Step 2: Stop the Source of Water Intrusion
Before removing any water, identify and halt the flow. Continuing water entry undermines all subsequent efforts.
Common sources include:
- Burst or leaking pipes – Inspect visible plumbing thoroughly.
- Foundation cracks or overwhelmed sump pumps during storms.
- Clogged gutters and downspouts directing water toward the home.
- Appliance failures like water heaters or washing machines.
Once located, shut off the main water valve if necessary. For external flooding, sandbags or temporary barriers provide short-term protection. Document the damage with photos for insurance claims – clear records strengthen your case.
This step prevents re-flooding and sets the foundation for effective extraction. Addressing the root cause early saves significant time and money in the long run.
Step 3: Remove Standing Water Efficiently
With safety secured and the source stopped, focus on water extraction. Standing water breeds bacteria and accelerates damage.
- Use a submersible pump or wet/dry vacuum designed for flood scenarios. Position the pump at the lowest point for maximum efficiency.
- Drain water gradually to avoid overwhelming your drainage system or causing soil shifts around the foundation.
- Dispose of contaminated water responsibly, following local regulations to protect the environment.
Bold key tip: Professional-grade pumps remove hundreds of gallons per hour, far outperforming consumer tools. For basements with several inches of water, rapid extraction within the first day dramatically reduces absorption into walls and floors.
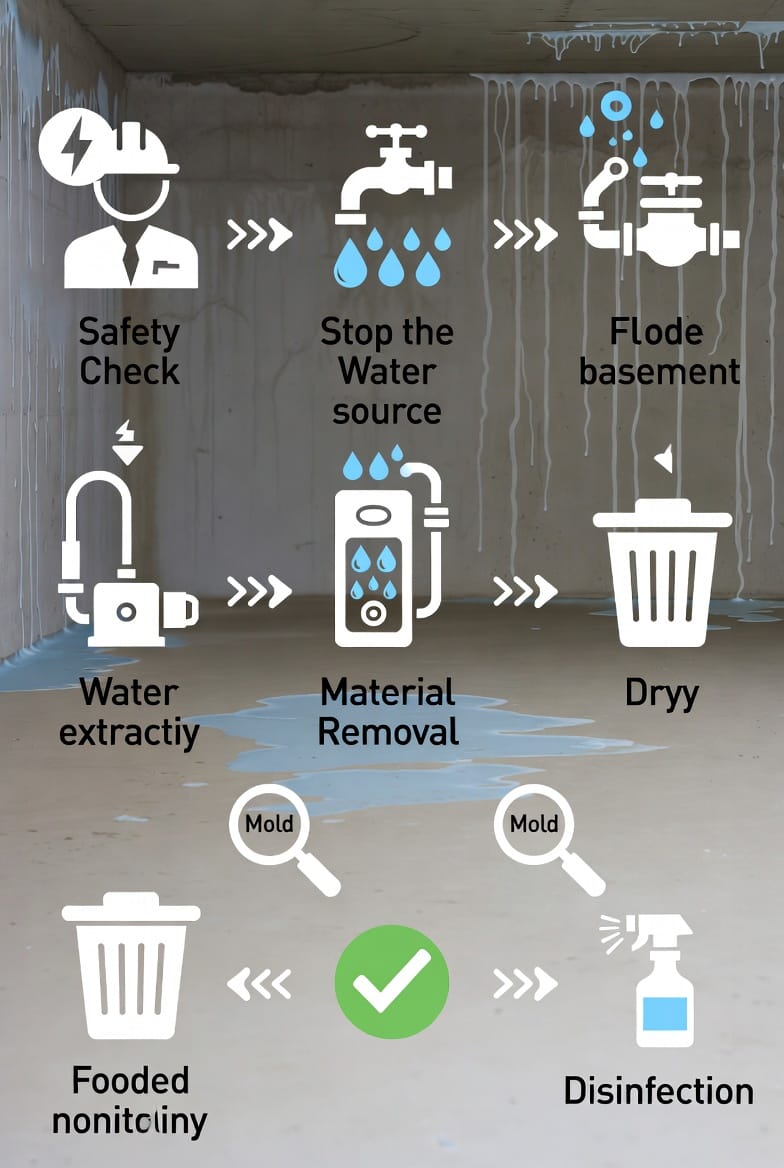
Step 4: Extract Remaining Moisture and Begin Drying
After bulk water removal, residual dampness remains in carpets, padding, and hidden spaces. Thorough extraction prevents hidden problems.
- Employ powerful extractors on carpets and upholstery.
- Introduce industrial dehumidifiers and air movers to circulate dry air and pull moisture from materials.
- Monitor humidity levels with moisture meters – aim to return the space to normal 30-50% relative humidity.
Drying typically takes several days, depending on severity. Continuous monitoring ensures no pockets of moisture linger, which could foster mold. This phase restores air quality and protects belongings.
Authoritative insight: Proper drying techniques preserve irreplaceable items and reduce the need for extensive replacements, offering both emotional and financial relief.
Step 5: Remove and Dispose of Irreparably Wet Materials
Not everything can be saved. Saturated porous materials often harbor contaminants and must be removed.
- Cut out and discard wet drywall up to at least 12-18 inches above the water line.
- Remove and replace insulation, carpeting, and padding that absorbed floodwater.
- Inspect wooden elements for warping or rot; treat salvageable pieces promptly.
This selective removal creates a clean slate for restoration. Professionals use antimicrobial treatments during this stage to inhibit future growth.
Homeowners appreciate how this targeted approach minimizes waste while maximizing safety and longevity of the repaired basement.
Step 6: Thorough Disinfection and Cleaning
Once dry, deep cleaning eliminates bacteria, viruses, and odors left by floodwater.
- Apply EPA-approved disinfectants to all affected surfaces, including floors, walls, and fixtures.
- Scrub and sanitize non-porous items thoroughly.
- Use specialized cleaners for stubborn stains or residues.
Key risk to bold: Floodwater often contains sewage or chemicals – proper disinfection is essential for a healthy living environment.
This step restores not just appearance but true habitability. Families report feeling secure again after professional-grade sanitization.
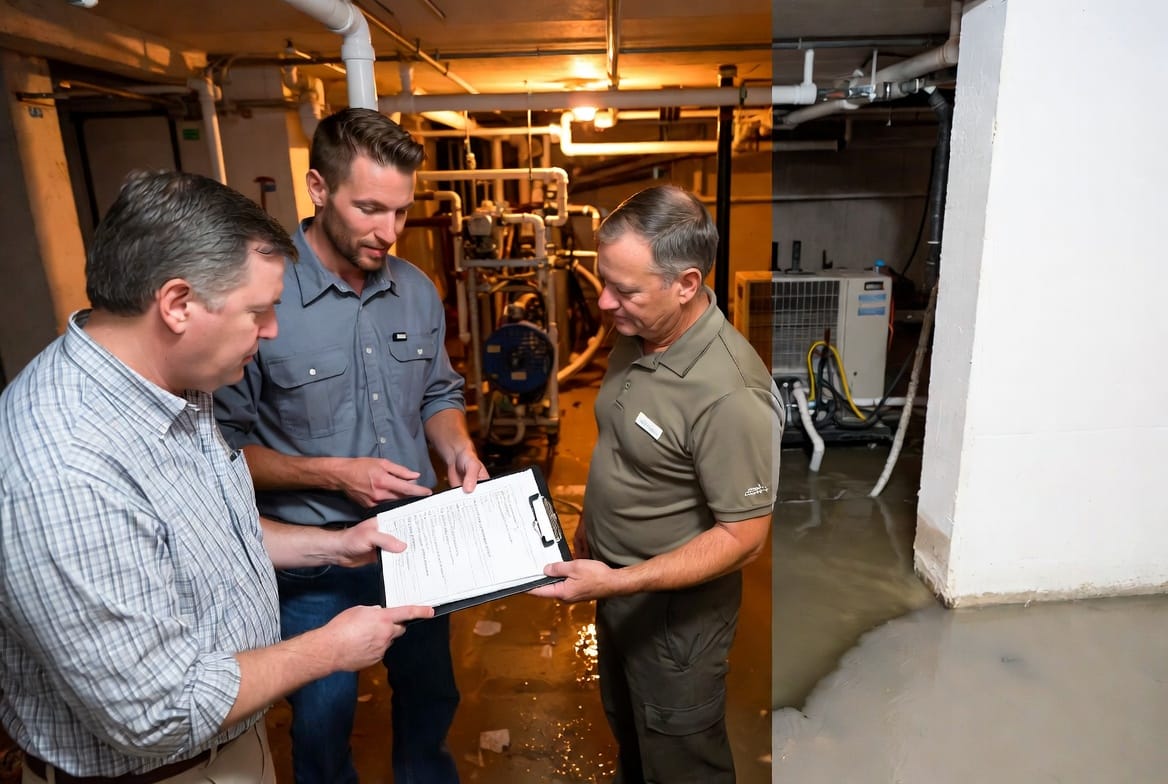
Step 7: Monitor for Mold and Prevent Future Issues
Mold can develop even after visible drying if conditions remain favorable. Vigilance is key.
- Use moisture meters regularly for the first few weeks post-cleanup.
- Inspect for musty odors or discoloration.
- Improve ventilation and consider sump pump upgrades or waterproofing coatings for prevention.
Long-term reassurance: Implementing preventive measures like proper grading around the foundation, regular gutter maintenance, and backup power for pumps significantly lowers future flood risks. Many homeowners transform their basements into valuable, usable spaces after recovery.
Additional considerations include:
- Insurance documentation – Keep detailed records and communicate with your provider promptly.
- Belongings salvage – Prioritize heirlooms and electronics with expert help.
- Air quality testing – Optional but recommended after major events.
When to Call Professional Flooded Basement Cleanup Services
While this guide empowers informed action, large-scale or contaminated floods demand expertise. Certified restorers bring:
- Advanced detection tools for hidden moisture.
- High-capacity equipment for faster results.
- Experience navigating insurance claims.
- Guarantees on workmanship and mold prevention.
Emergency CTA: Safe basement recovery starts with the right steps. Their team responds quickly, guiding you through every phase with care and competence.
Understanding the Emotional and Financial Impact
A flooded basement disrupts daily life and creates stress. Beyond physical cleanup, addressing the emotional toll matters. Families often regain normalcy faster with supportive professionals who explain each process transparently. Financially, timely intervention limits repair scopes and preserves property value.
Investing in quality recovery pays dividends through avoided future claims and healthier living conditions.
Common Myths About Basement Water Damage
- Myth: "It will dry out on its own."
Reality: Without intervention, hidden damage escalates rapidly. - Myth: "Bleach kills all mold."
Reality: Bleach is ineffective on porous surfaces and doesn’t address roots. - Myth: "All water is the same."
Reality: Category 3 (black) water requires stricter protocols.
Clearing these misconceptions helps homeowners make smarter decisions.
Maintaining Your Restored Basement
Post-recovery maintenance keeps your space pristine:
- Schedule annual inspections of plumbing and foundation.
- Install water alarms for early detection.
- Use dehumidifiers seasonally in humid climates.
- Ensure proper drainage systems function optimally.
These habits protect your investment and provide ongoing peace of mind.
In conclusion, flooded basement cleanup follows a logical, safety-first sequence: secure the area, stop the water, extract and dry thoroughly, remove damaged materials, disinfect, and monitor diligently. By adhering to these steps, you achieve safe, lasting recovery. For complex situations, expert assistance ensures optimal outcomes without unnecessary risks.
Your basement can return to being a functional, valuable part of your home. Take action today – proactive recovery protects what matters most.
Restore Your Basement Fast – Call for Professional Help