The Electric Water Heater Thermostat: How to Test and Adjust
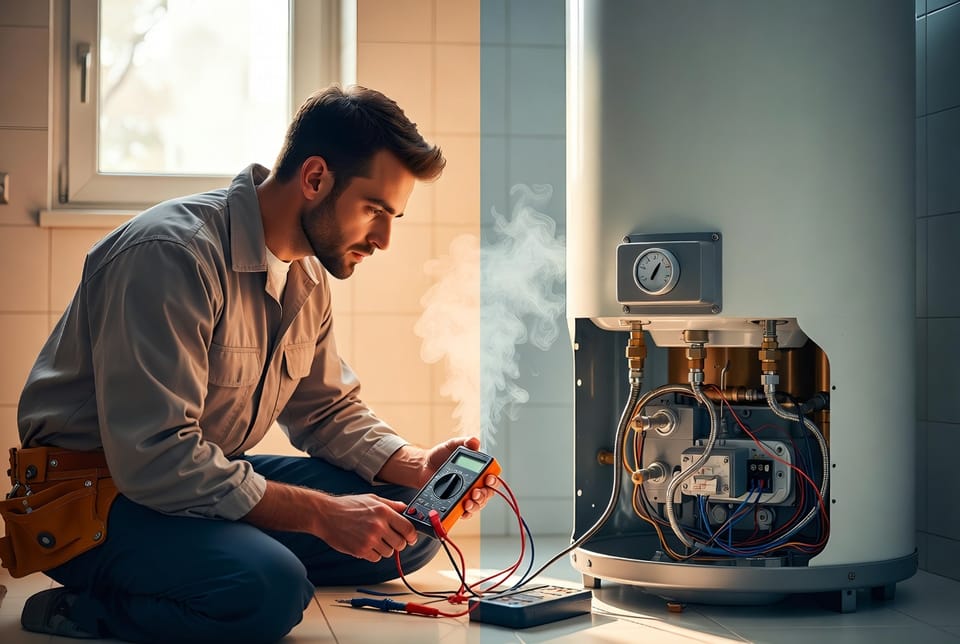
Electric water heaters provide consistent hot water for showers, laundry, and dishwashing in countless homes. At the heart of their reliable performance lies the electric water heater thermostat, a critical component that regulates temperature by controlling the upper and lower heating elements. When this device malfunctions, it can lead to frustrating issues like inconsistent water temperatures or complete loss of hot water.
Test & Fix Your Thermostat Today – Call Now!
The good news? Testing and adjusting your electric water heater thermostat is a DIY-accessible repair for many homeowners with basic electrical knowledge and the right tools. This comprehensive guide walks you through everything you need to know, empowering you to diagnose and fix problems safely and effectively.
Proper thermostat function ensures energy efficiency, prevents scalding risks, and extends the life of your water heater. Let's dive in and restore your system's peak performance.
How Electric Water Heater Thermostats Work
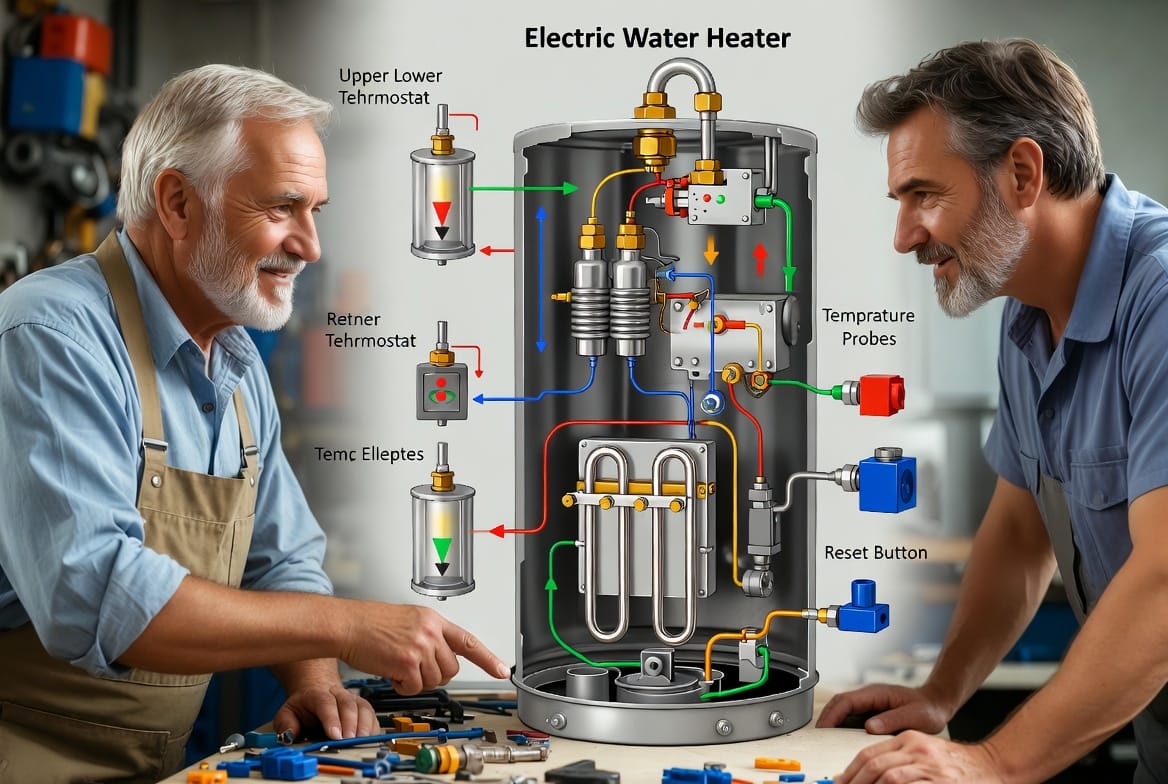
Electric water heaters typically feature two thermostats — one for the upper heating element and one for the lower — working in tandem to maintain your desired water temperature, usually set between 120°F and 140°F.
Each thermostat acts as a temperature-sensitive switch. When water temperature drops below the set point, the thermostat closes the circuit, allowing electricity to flow to the heating element. Once the target temperature is reached, it opens the circuit to stop heating.
Key components include:
- Temperature-sensing bulb or probe that detects water heat.
- Adjustable dial or screw for setting the desired temperature.
- Reset button (high-limit switch) that trips if temperatures exceed safe levels, typically around 170°F, protecting against overheating.
- Wiring terminals connecting to the heating elements and power supply.
The upper thermostat prioritizes heating the top of the tank first, then signals the lower thermostat to activate. This layered approach ensures faster hot water recovery. Understanding this operation is essential before attempting any thermostat testing or adjustment.
Properly functioning thermostats deliver consistent performance while minimizing energy waste and wear on heating elements.
Common Signs of a Faulty Electric Water Heater Thermostat
Recognizing failure early prevents bigger issues like cold showers or higher utility bills. Watch for these warning signs:
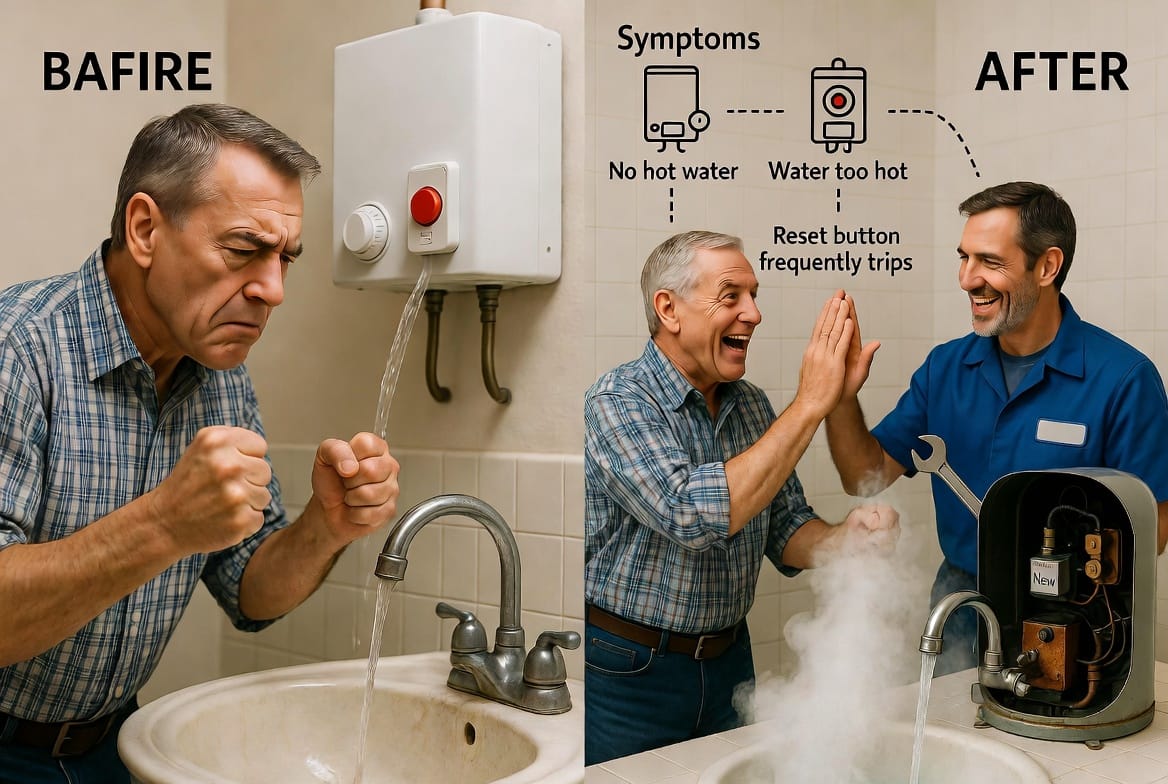
- No hot water despite the unit being powered on.
- Water that is too hot (scalding) or too cold (lukewarm).
- Frequent tripping of the reset button on the thermostat.
- Inconsistent temperatures throughout the day.
- Unusual noises, such as clicking or humming from the tank.
- Higher-than-normal energy bills without increased usage.
These symptoms often stem from a stuck thermostat, faulty temperature sensing, or electrical connection problems. Addressing them promptly through testing can save you from unnecessary full-unit replacements.
Essential Safety Precautions Before Starting
Safety first — working with electricity and water demands respect. Always prioritize these steps:
- Turn off the power to the water heater at the circuit breaker and verify with a non-contact voltage tester.
- Shut off the cold water supply and drain a few gallons from the tank to reduce pressure.
- Allow the tank to cool completely to avoid burns.
- Wear insulated gloves and safety glasses.
- Never work on a wet floor or with wet hands.
- If you are unsure about any step, consult a licensed professional immediately.
Following these precautions minimizes risks and ensures a confident, successful repair.
Tools and Materials You'll Need
Gather these items for a smooth DIY process:
- Digital multimeter capable of measuring continuity and voltage.
- Screwdrivers (flathead and Phillips).
- Insulated pliers.
- Non-contact voltage tester.
- Thermometer for verifying water temperature.
- Replacement thermostat if testing confirms failure.
- Electrical tape and wire nuts (as needed).
Having the right tools makes thermostat testing straightforward and accurate.
Step-by-Step Guide: How to Test the Electric Water Heater Thermostat
Testing with a multimeter is the most reliable way to diagnose issues. Follow these detailed steps:
- Power Down and Access the Thermostats
Remove the access panels on the water heater to expose the upper and lower thermostats. Carefully remove the insulation. - Verify Power Supply
Use your voltage tester to confirm power is off. Then, set your multimeter to AC voltage and check incoming power terminals for 240V when the breaker is on (for verification only — turn off again before proceeding). - Test the Upper Thermostat
Set the multimeter to continuity (ohms) mode. Place one probe on the top terminal of the thermostat and the other on the corresponding heating element terminal. With the thermostat turned up, you should hear a beep or see low resistance if it's calling for heat.
Repeat for the reset button circuit. - Test the Lower Thermostat
Follow similar steps for the lower thermostat. Compare readings to manufacturer specifications (typically near zero ohms when closed). - Check for Proper Operation
Measure resistance across the thermostat while simulating temperature changes if possible, or simply verify it opens and closes the circuit appropriately.
Detailed multimeter readings interpretation:
- Good thermostat: Continuity when below set temperature, no continuity when above.
- Bad thermostat: No continuity at all, or constant continuity regardless of temperature setting.
These tests provide clear evidence of whether adjustment or replacement is needed, giving you peace of mind.
How to Adjust the Electric Water Heater Thermostat
Once tested, minor adjustments can often resolve temperature issues:
- Locate the adjustment dial or screw on each thermostat.
- Turn clockwise to increase temperature, counterclockwise to decrease.
- Make small changes (5-10°F at a time) and allow the tank to recover fully before retesting water temperature.
- Test water at the faucet farthest from the heater for accuracy.
- Never exceed 140°F to avoid scalding risks, especially in households with children or elderly members.
Reassemble carefully, restore power, and monitor performance over the next few hours. Proper adjustment restores comfort and efficiency quickly.
When to Replace the Thermostat
If testing shows no continuity or erratic behavior, replacement is necessary. Choose a compatible model matching your water heater's voltage and size. Installation follows reverse steps of removal, with careful attention to wiring diagrams.
Replacement tips:
- Match wattage and voltage ratings exactly.
- Secure all connections tightly.
- Replace both upper and lower thermostats simultaneously for balanced performance if one has failed.
This DIY repair often resolves issues without calling in expensive service.
Maintenance Tips for Long-Term Reliability
Prevent future problems with these proactive steps:
- Test thermostats annually as part of routine maintenance.
- Flush the tank regularly to remove sediment that can affect temperature sensing.
- Inspect wiring for signs of corrosion or looseness.
- Keep the area around the water heater clean and dry.
- Consider installing a water heater blanket for better insulation and efficiency.
Consistent maintenance extends equipment life and keeps hot water flowing reliably.
Troubleshooting Additional Issues
Sometimes symptoms persist after thermostat work. Check heating elements for continuity, verify adequate voltage supply, or inspect the high-limit reset. Addressing the root cause ensures lasting results.
In complex cases involving older units or persistent electrical faults, professional diagnosis prevents safety hazards.
Conclusion: Restore Your Hot Water Confidence Today
Mastering how to test and adjust your electric water heater thermostat puts you in control of your home's comfort and energy use. This DIY-accessible repair saves time and money while delivering professional-level results when done carefully.
Thermostat issues often cause water temperature problems. If you're uncomfortable with electrical testing, experiencing ongoing issues, or prefer expert assurance. Our experienced technicians provide fast, reliable service to get your hot water back on track.
Don't let faulty thermostats disrupt your daily routine. Take action today for consistent, safe, and efficient hot water tomorrow.
Expert Water Heater Thermostat Repair – Call Now