The Concrete Driveway Sealing: When and How to Apply
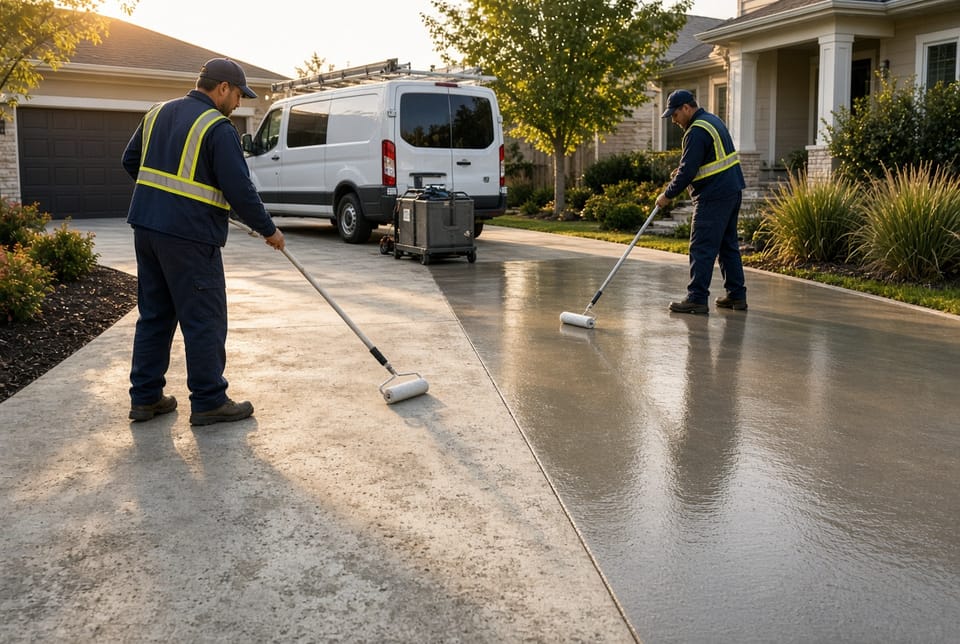
A well-maintained concrete driveway adds curb appeal, supports property value, and withstands years of vehicles, weather, and daily use. Sealing is one of the most effective maintenance steps you can take. When applied at the right time with the correct product and method, a quality sealer shields the surface from moisture intrusion, oil stains, UV fading, and freeze-thaw damage. This guide explains exactly when to seal, what type of sealer works best outdoors, and how to apply it for lasting results.
Get Professional Driveway Sealing – Call Today
Why Sealing Matters for Long-Term Driveway Health
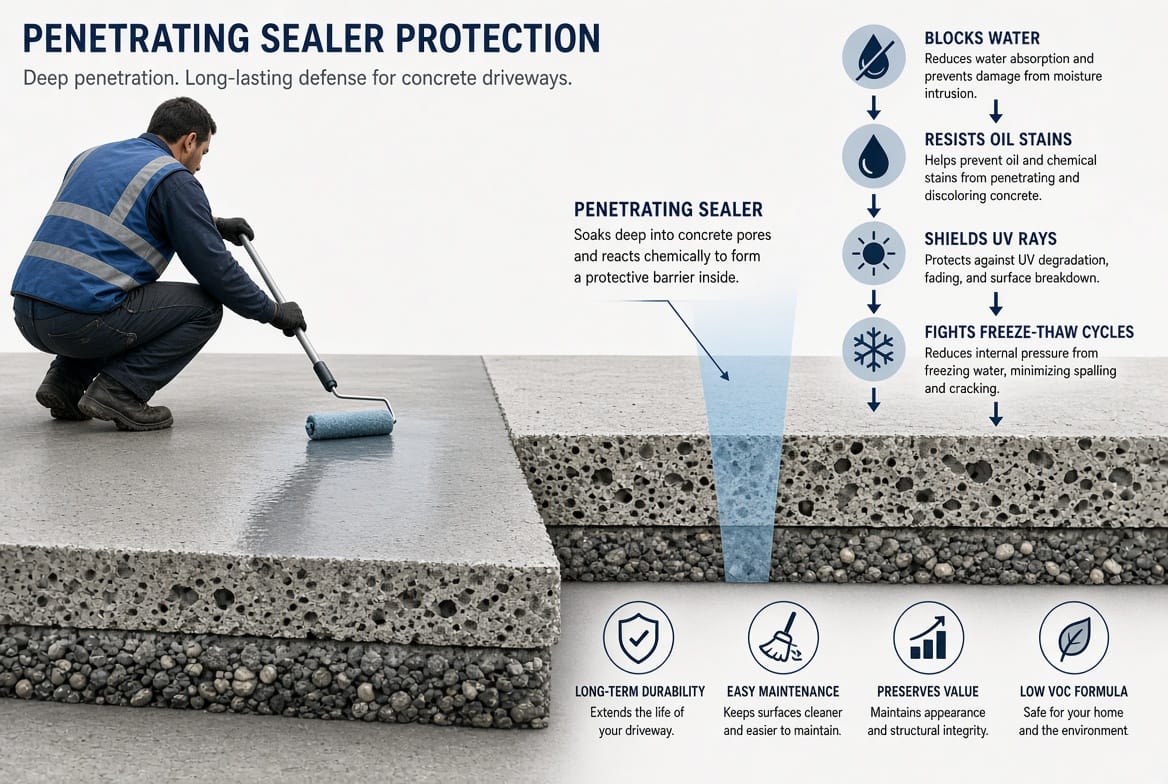
Concrete looks solid, yet it is porous. Water, de-icing salts, motor oil, and sunlight slowly penetrate the surface. Over time this leads to spalling, cracking, discoloration, and a dull appearance. A properly chosen sealer fills or coats those pores and creates a protective barrier.
Key benefits of regular sealing include:
- Reduced water absorption that helps prevent freeze-thaw cracking
- Greater resistance to oil, grease, and chemical stains
- Slower fading from ultraviolet exposure
- Easier routine cleaning
- Extended service life of the slab itself
Sealing is not a one-time event. It is an ongoing maintenance practice that keeps the driveway looking and performing its best. Homeowners who follow a consistent schedule avoid costly repairs later.
When to Seal a Concrete Driveway
Timing is critical. Sealing too early or too late reduces effectiveness.
New Concrete: Wait 30 Days
Freshly poured concrete must cure before any sealer is applied. During the first weeks the slab continues to hydrate and release moisture. Industry practice calls for a minimum 30-day wait after placement. Applying sealer sooner can trap moisture and cause cloudiness, poor adhesion, or surface weakness. After the 30-day mark, the concrete is ready for its first protective coat.
Existing Driveways: Every 2–5 Years
Once the initial sealer is in place, reapplication is typically needed every 2–5 years. The exact interval depends on climate, traffic volume, and sealer type. Harsh winters with heavy salt use or intense summer sun usually require the shorter end of that range. Milder regions can often stretch to four or five years.
Simple Tests That Show It Is Time
You do not need laboratory equipment to decide. Two quick checks work well:
- Water-bead test: Sprinkle water on the surface. If it soaks in within a few minutes instead of beading, the sealer has worn away.
- Visual inspection: Look for fading, a chalky film, or dark spots where water has been sitting.
When either sign appears, schedule sealing. Waiting too long allows damage to begin beneath the surface.
Choosing the Right Sealer for Outdoor Driveways
Not every sealer suits a driveway. Film-forming products such as some acrylics can create a glossy layer that becomes slippery when wet and may peel under vehicle traffic. For exterior concrete that sees cars, weather, and foot traffic, penetrating sealers are the preferred choice.
Penetrating sealers (typically silane or siloxane based) soak into the pores rather than sitting on top. They leave little or no change in appearance while still blocking water and contaminants. Advantages include:
- Breathability that lets trapped moisture escape
- No slippery film
- Better resistance to wear from tires
- Longer intervals between reapplications compared with many topical coatings
Always select a product labeled for exterior or driveway use and follow the manufacturer’s coverage rate. Quality penetrating sealers deliver reliable protection when applied correctly.
Preparing the Surface: Clean, Repair, and Wait for Ideal Conditions
Success begins long before the roller comes out. Poor preparation is the most common reason sealing jobs fail.
Thorough Cleaning
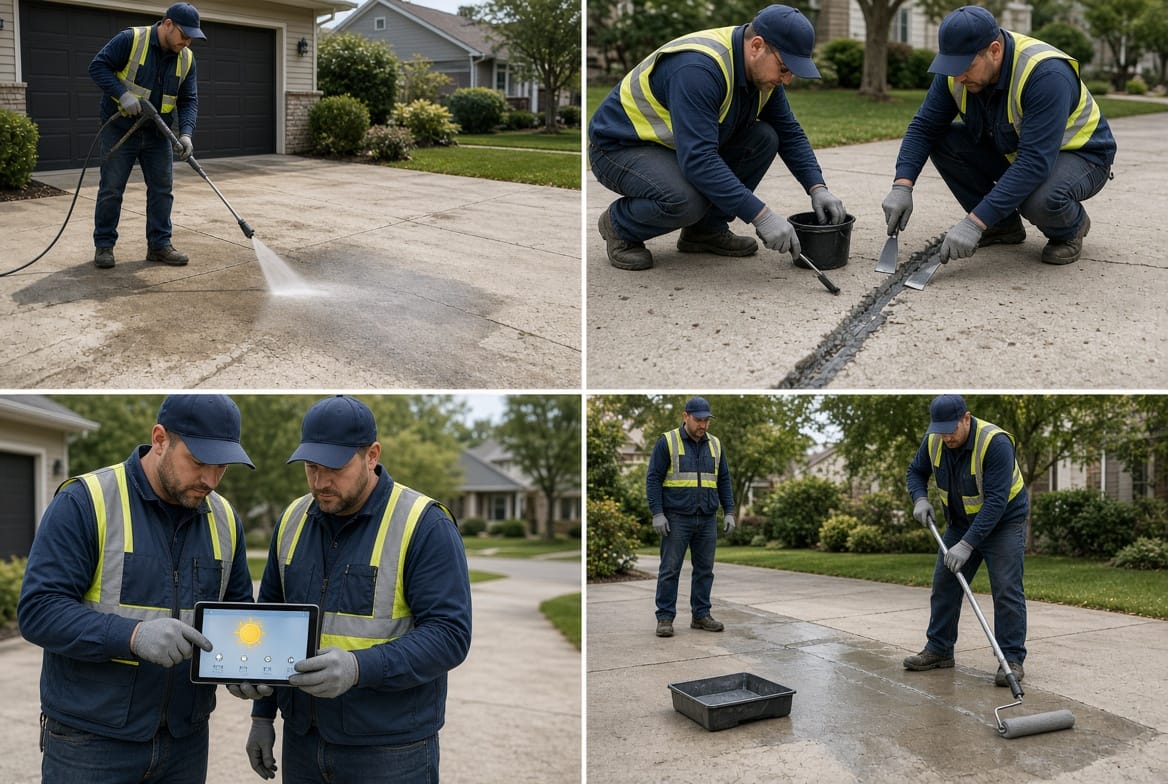
Remove dirt, oil, mildew, and old sealer residue. Pressure washing with a suitable detergent followed by a complete rinse is standard. Stubborn oil stains may need a concrete degreaser. Allow the surface to dry fully after washing.
Repair Cracks and Spalls First
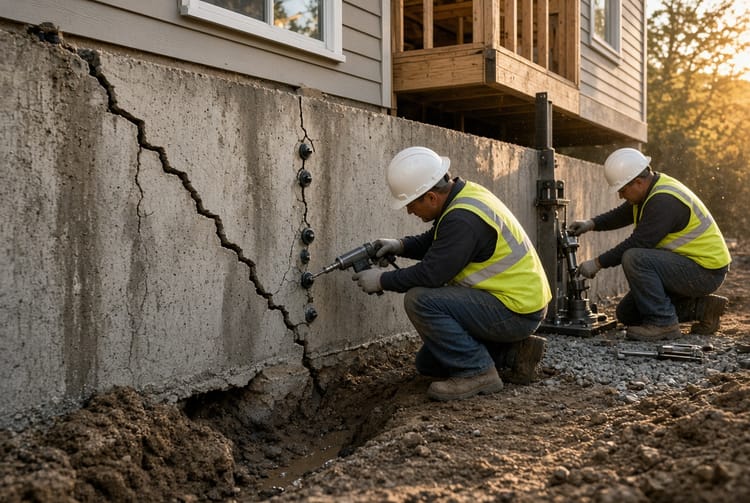
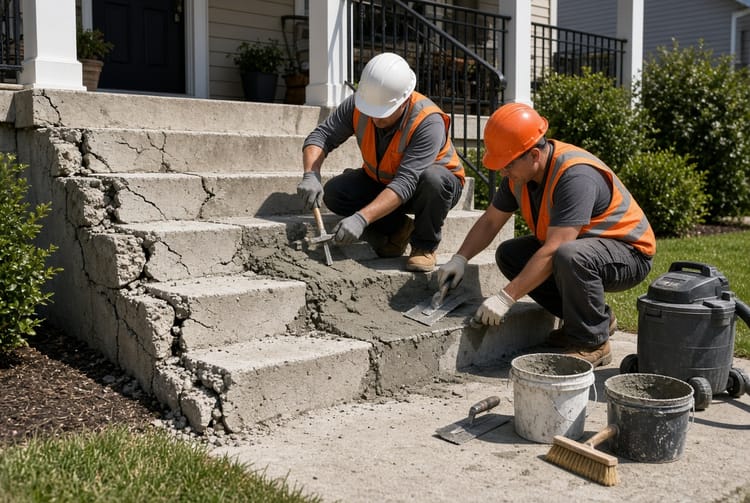
Any open cracks or broken edges should be filled with a compatible concrete repair product. Sealer cannot hide structural defects; it only protects sound concrete. Address repairs at least a day or two before sealing so the patch material can set.
Weather and Temperature Requirements
Apply sealer only when the driveway is completely dry and the forecast shows no rain for at least 24–48 hours afterward. Ideal air and surface temperatures usually fall between 50°F and 90°F. Avoid sealing in direct, intense midday sun on very hot days, as the product can flash-dry and leave an uneven finish. Early morning or late afternoon on a warm, low-humidity day is often best.
Step-by-Step Application Guide
Once the surface is clean, repaired, and dry, application is straightforward.
- Read the product label for coverage rate, number of coats, and drying times.
- Protect adjacent surfaces such as garage doors, landscaping, and siding with plastic sheeting or tape.
- Stir the sealer thoroughly. Do not shake if the product warns against it.
- Apply the first coat using a roller designed for sealers or a low-pressure sprayer followed by back-rolling for even coverage. Work in manageable sections.
- Allow the recommended dry time (often 2–4 hours) before a second coat if the manufacturer advises two coats.
- Keep vehicles and foot traffic off the surface for the full cure period listed on the label—usually 24 hours or more.
Apply thin, even coats. Heavy application can leave puddles that dry cloudy or sticky. Overlap each pass slightly so no missed strips remain.
Helpful Application Tips
- Use a roller with the nap recommended by the sealer manufacturer.
- Work from the farthest point toward an exit so you do not walk on wet sealer.
- Maintain a wet edge to avoid lap marks.
- Have extra product on hand; running short mid-job creates visible seams.
These practices produce a uniform protective layer that looks professional and lasts.
Avoiding Common Mistakes
Even experienced homeowners can run into problems. Watch for these issues:
- Sealing too soon after pouring (before the 30-day cure)
- Applying over a damp or dirty surface
- Choosing a film-forming sealer that becomes slippery
- Ignoring the temperature and rain forecast
- Applying too thick a coat
Each of these errors can lead to peeling, whitening, or reduced protection. Following the preparation and timing guidelines above prevents most problems.
Ongoing Maintenance After Sealing
A newly sealed driveway still needs basic care. Sweep regularly to remove abrasive dirt and debris. Clean oil drips promptly. Avoid harsh de-icers when possible; use sand or a concrete-safe ice melt instead. Re-test the surface with the water-bead method every year or two so you know when the next coat is due.
With this routine, most driveways remain in excellent condition for many years. Sealing is inexpensive compared with replacing a damaged slab.
Protect Your Investment with Professional Help When Needed
Many homeowners successfully seal their own driveways. Others prefer the speed and consistency of a trained crew, especially on large or sloped surfaces. Either approach works when the core rules are followed: wait the proper time, choose a penetrating sealer for outdoor use, clean and dry the concrete, and apply in warm, dry weather.
Protect your driveway with proper sealing. Regular maintenance keeps the surface strong, attractive, and ready for daily use. If you would like help evaluating your driveway or scheduling professional sealing. A well-timed application today prevents bigger repairs tomorrow.
Keep Your Driveway Strong for Years – Call Today