The Ceiling Fan Installation: Wiring, Balancing, and Seasonal Direction
Ceiling fan installation delivers year-round comfort, energy savings, and style when done correctly. Whether upgrading an existing fan or adding a new one, a DIY-friendly project like this empowers homeowners to achieve professional results. Proper wiring a ceiling fan, balancing for wobble-free operation, and seasonal direction changes ensure silent, efficient performance that keeps rooms cooler in summer and warmer in winter.
Get Professional Ceiling Fan Installation Today
With clear step-by-step guidance, the right tools, and a focus on safety, you can complete this project confidently. This comprehensive guide walks you through every detail, from electrical connections to final testing. Follow along and enjoy a perfectly functioning ceiling fan that enhances your home’s comfort for decades.
Why Proper Ceiling Fan Installation Matters
A well-installed ceiling fan reduces reliance on air conditioning and heating, potentially cutting energy bills by up to 40 percent. Yet many DIY attempts fail due to overlooked wiring details, blade imbalance, or incorrect seasonal direction.
Key risks include electrical shorts, noisy wobbling, or inefficient airflow that wastes energy. By mastering wall-switch versus pull-chain wiring, precise balancing techniques, and the simple flip of the direction switch, you eliminate these issues. The result? A quiet, powerful fan that delivers a gentle breeze or gentle circulation exactly when needed.
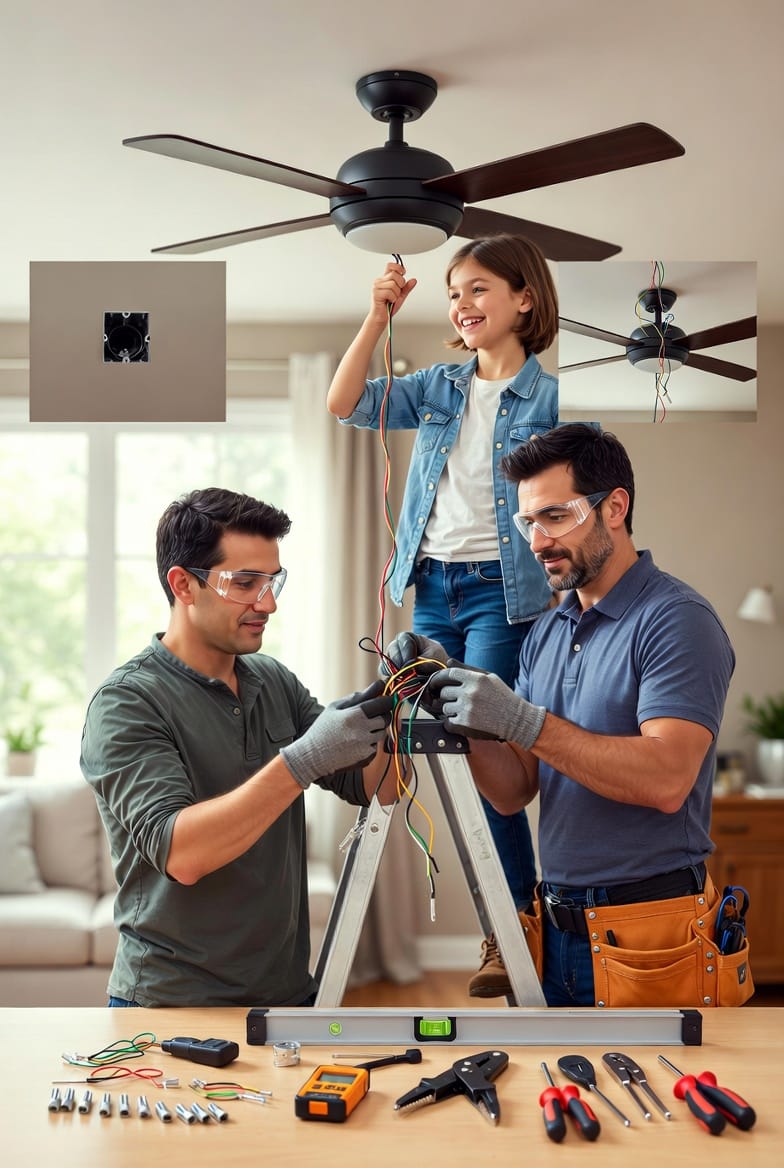
Essential Tools and Materials for Success
Before starting, gather these items to ensure a smooth ceiling fan installation:
- Voltage tester and wire strippers
- Screwdrivers (flathead and Phillips)
- Ladder and safety glasses
- Wire nuts and electrical tape
- Ceiling fan balancing kit
- Level and stud finder
- Drill with appropriate bits
Having everything ready prevents mid-project trips to the store and keeps your focus on safe, accurate work.
Safety First: Non-Negotiable Steps
Safety remains paramount in any electrical project. Turn off power at the breaker box and verify with a voltage tester. Never work on live wires. If your ceiling box lacks proper support or you feel unsure about any step, stop and call a licensed professional.
This reassuring approach protects your home and family while giving you the confidence to proceed with the DIY-friendly portions.
Preparing the Ceiling Box and Choosing Your Fan
Locate a joist or use a fan-rated brace for secure mounting. Remove the old fixture if present and inspect the box. Most modern homes have fan-rated boxes, but older ones may need reinforcement.
Select a fan sized for your room: 42–52 inches for average spaces. Ensure it includes all necessary hardware and a reverse switch for seasonal direction changes.
Wiring the Ceiling Fan: Wall Switch vs. Pull Chain Explained
Proper wiring forms the foundation of reliable operation. The process differs slightly between wall switch control and pull-chain models.
For a wall switch setup, the ceiling box typically supplies one hot wire (black), neutral (white), and ground (green or bare). Connect the fan’s black wire to the hot supply, white to neutral, and green to ground. If your fan includes a light kit, the blue wire connects to a separate switched hot or remains capped if not used.
Pull-chain fans add flexibility with onboard switches for speed and light control. Wiring remains similar at the ceiling, but the fan housing contains the pull-chain mechanism. Match the fan’s wiring diagram precisely—most include color-coded leads for easy identification.
Step-by-step wiring process:
- Strip ¾ inch of insulation from each wire end.
- Twist like-colored wires together and secure with wire nuts.
- Tuck connections neatly into the box.
- Secure the fan mounting bracket to the box with provided screws.
Bold reminder: Double-check every connection before restoring power. Incorrect wiring risks overheating or failure, while proper technique ensures years of trouble-free service.
This detailed wiring a ceiling fan method works for both configurations and delivers consistent power delivery to the motor.
Mounting the Fan Securely
Attach the canopy to the mounting bracket, then hang the motor housing. Tighten all screws firmly but avoid over-tightening, which can strip threads.
Connect the blades only after the motor is fully secured. This sequence prevents strain on the wiring and ensures perfect alignment.
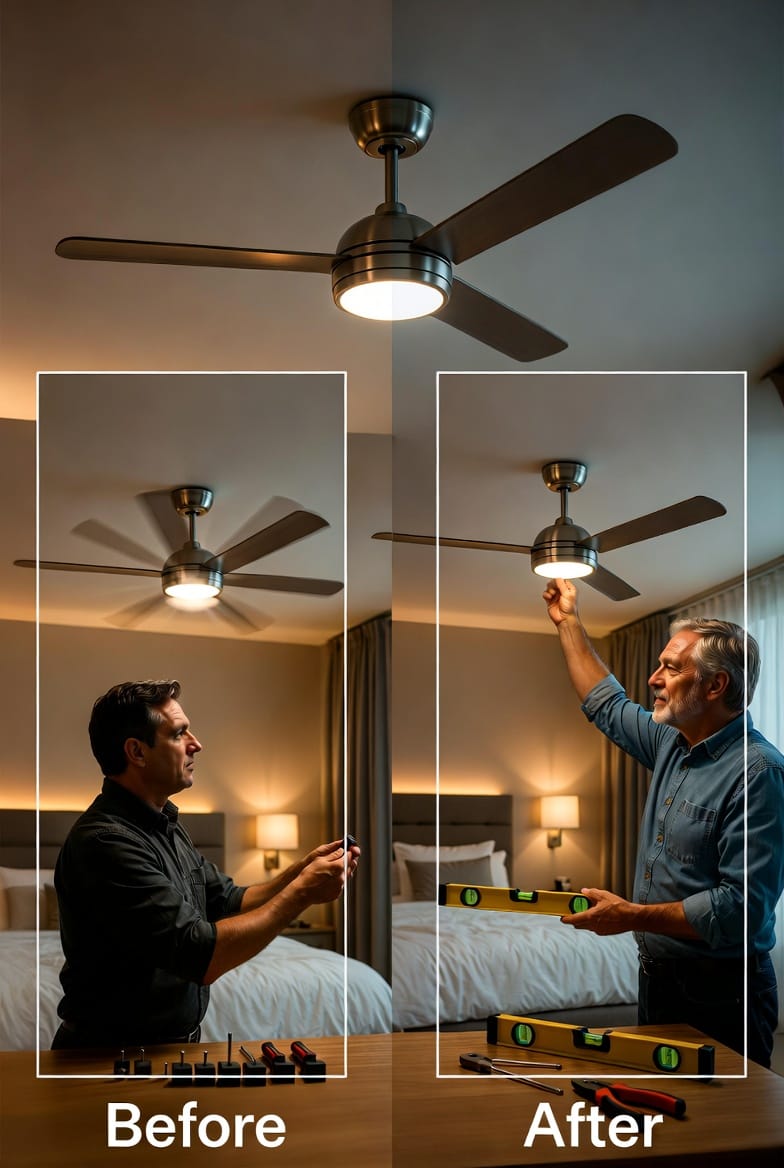
Balancing for Wobble-Free Operation
Balancing eliminates annoying wobble that can damage the motor over time. Even brand-new fans may need adjustment due to slight manufacturing variations or shipping stress.
Essential balancing tips:
- Tighten all blade screws securely while the fan is off.
- Use a balancing kit (included with most quality fans) to add small weights to the heavier blade edges.
- Check the mounting bracket for level and re-secure if any movement exists.
- Run the fan at each speed and add weights incrementally until wobble disappears.
A properly balanced fan operates silently and lasts longer. Many homeowners notice immediate improvement after this quick step.
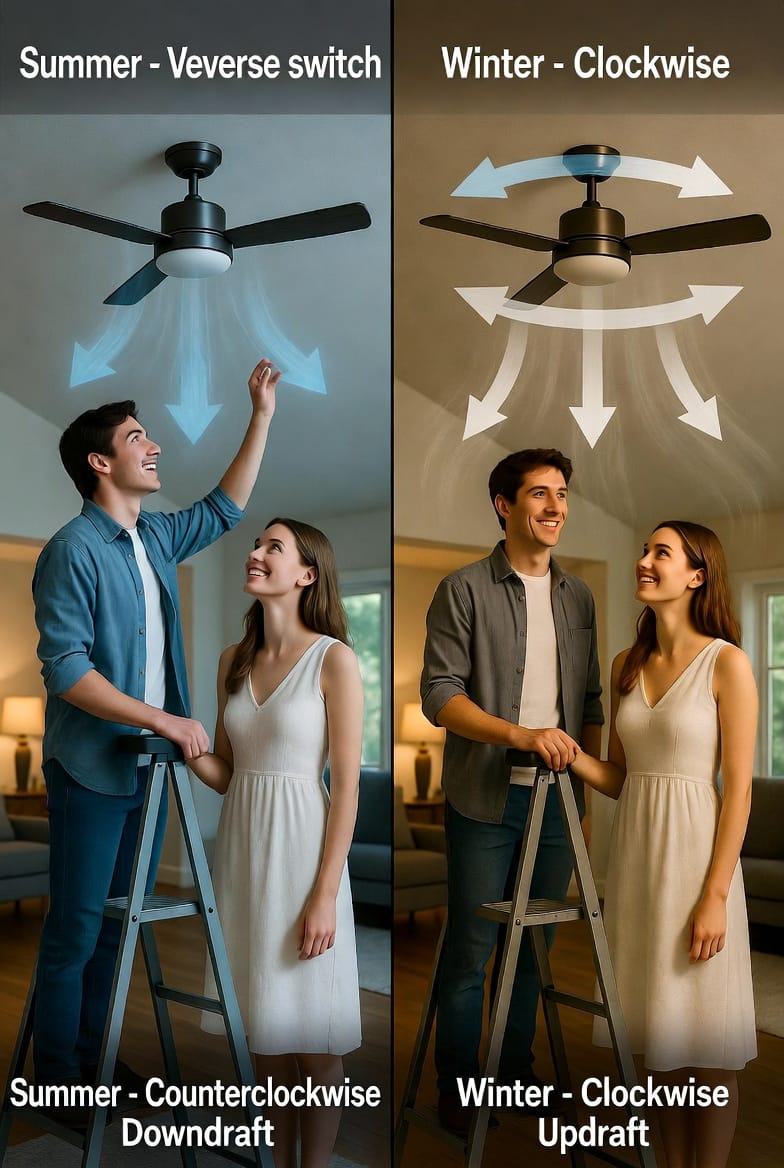
Seasonal Direction Changes: Summer Downdraft and Winter Updraft
Most ceiling fans feature a small reverse switch on the motor housing. This simple toggle optimizes airflow for each season.
Summer mode (downdraft): Set the switch to counterclockwise rotation. Blades push air downward, creating a refreshing breeze that makes the room feel cooler without lowering the thermostat.
Winter mode (updraft): Flip to clockwise rotation. The fan pulls air upward, then circulates warm air trapped at the ceiling down the walls. This gentle movement eliminates cold spots and improves heating efficiency.
Change the direction twice a year—spring and fall—for maximum comfort and energy savings. The switch takes seconds and requires no tools.
Testing, Troubleshooting, and Final Adjustments
Restore power and test all speeds and the light kit if equipped. Listen for unusual noises and watch for wobble. Minor adjustments to blade balance or mounting screws usually resolve any remaining issues.
Common troubleshooting:
- Noisy operation → recheck blade tightness and balance.
- Fan does not respond → verify wiring connections.
- Uneven airflow → confirm correct seasonal direction.
Long-Term Maintenance for Lasting Performance
Dust blades monthly and tighten screws annually. These simple habits extend the life of your ceiling fan installation and maintain peak efficiency.
Enjoy Year-Round Comfort with Confidence
Your completed ceiling fan installation now delivers quiet, efficient performance tailored to every season. The combination of correct wiring, precise balancing, and proper seasonal direction creates a reliable system that enhances comfort while lowering energy costs.
Warning: Install safely for wobble-free comfort. Electrical work carries inherent risks, and improper installation can lead to fire hazards or equipment damage. If you encounter any uncertainty during wiring or mounting, do not proceed.
Their experienced team handles every detail with precision, giving you peace of mind and a perfectly balanced ceiling fan ready for years of reliable service.
Ready for a Wobble-Free Ceiling Fan? Call Now